
 Headlight Bulbs


 Track Order
 My Vehicles
 Contact Us
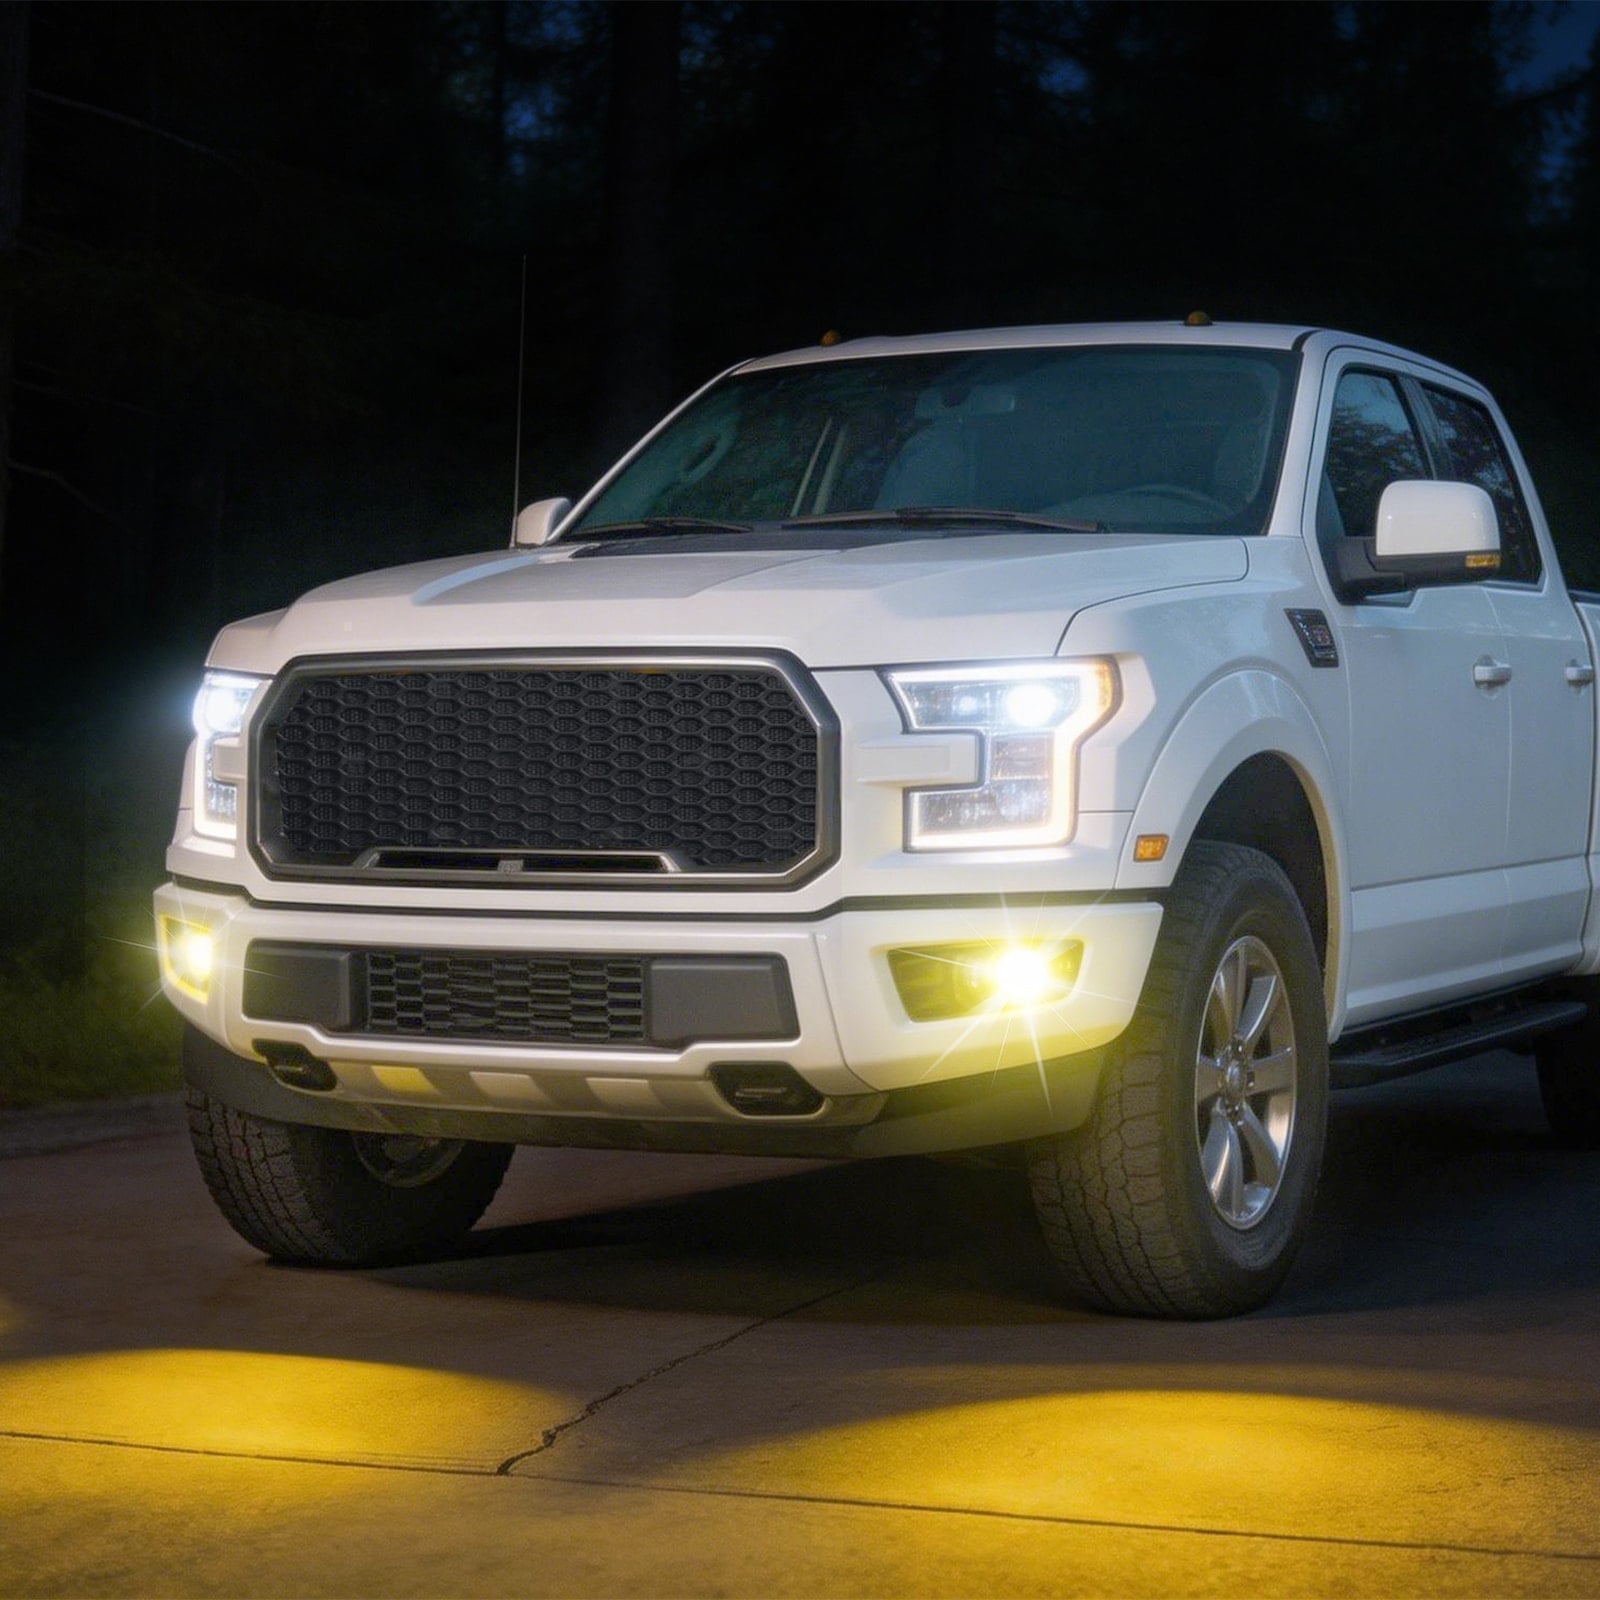
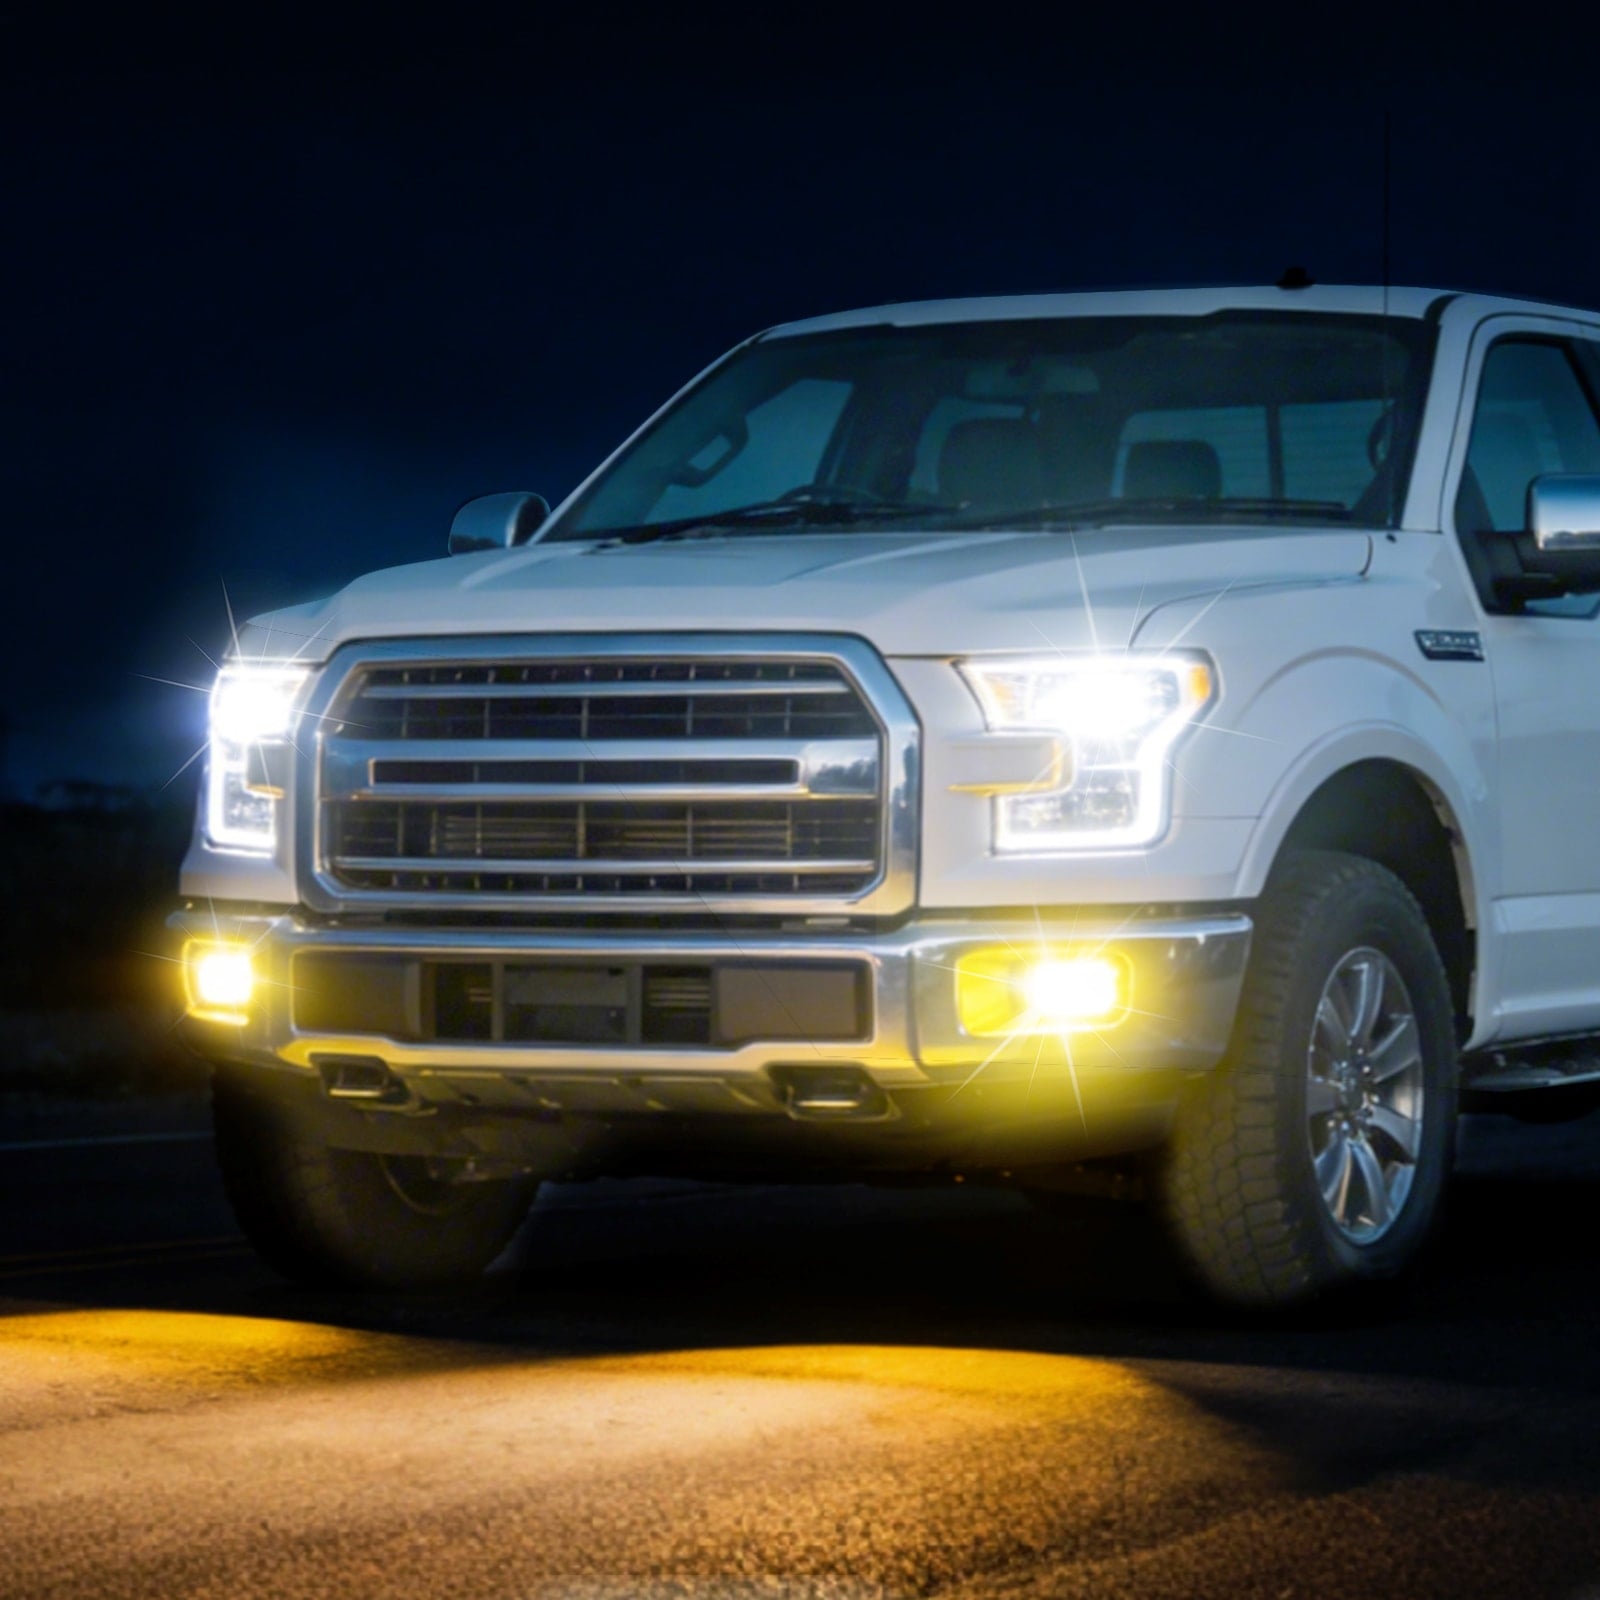
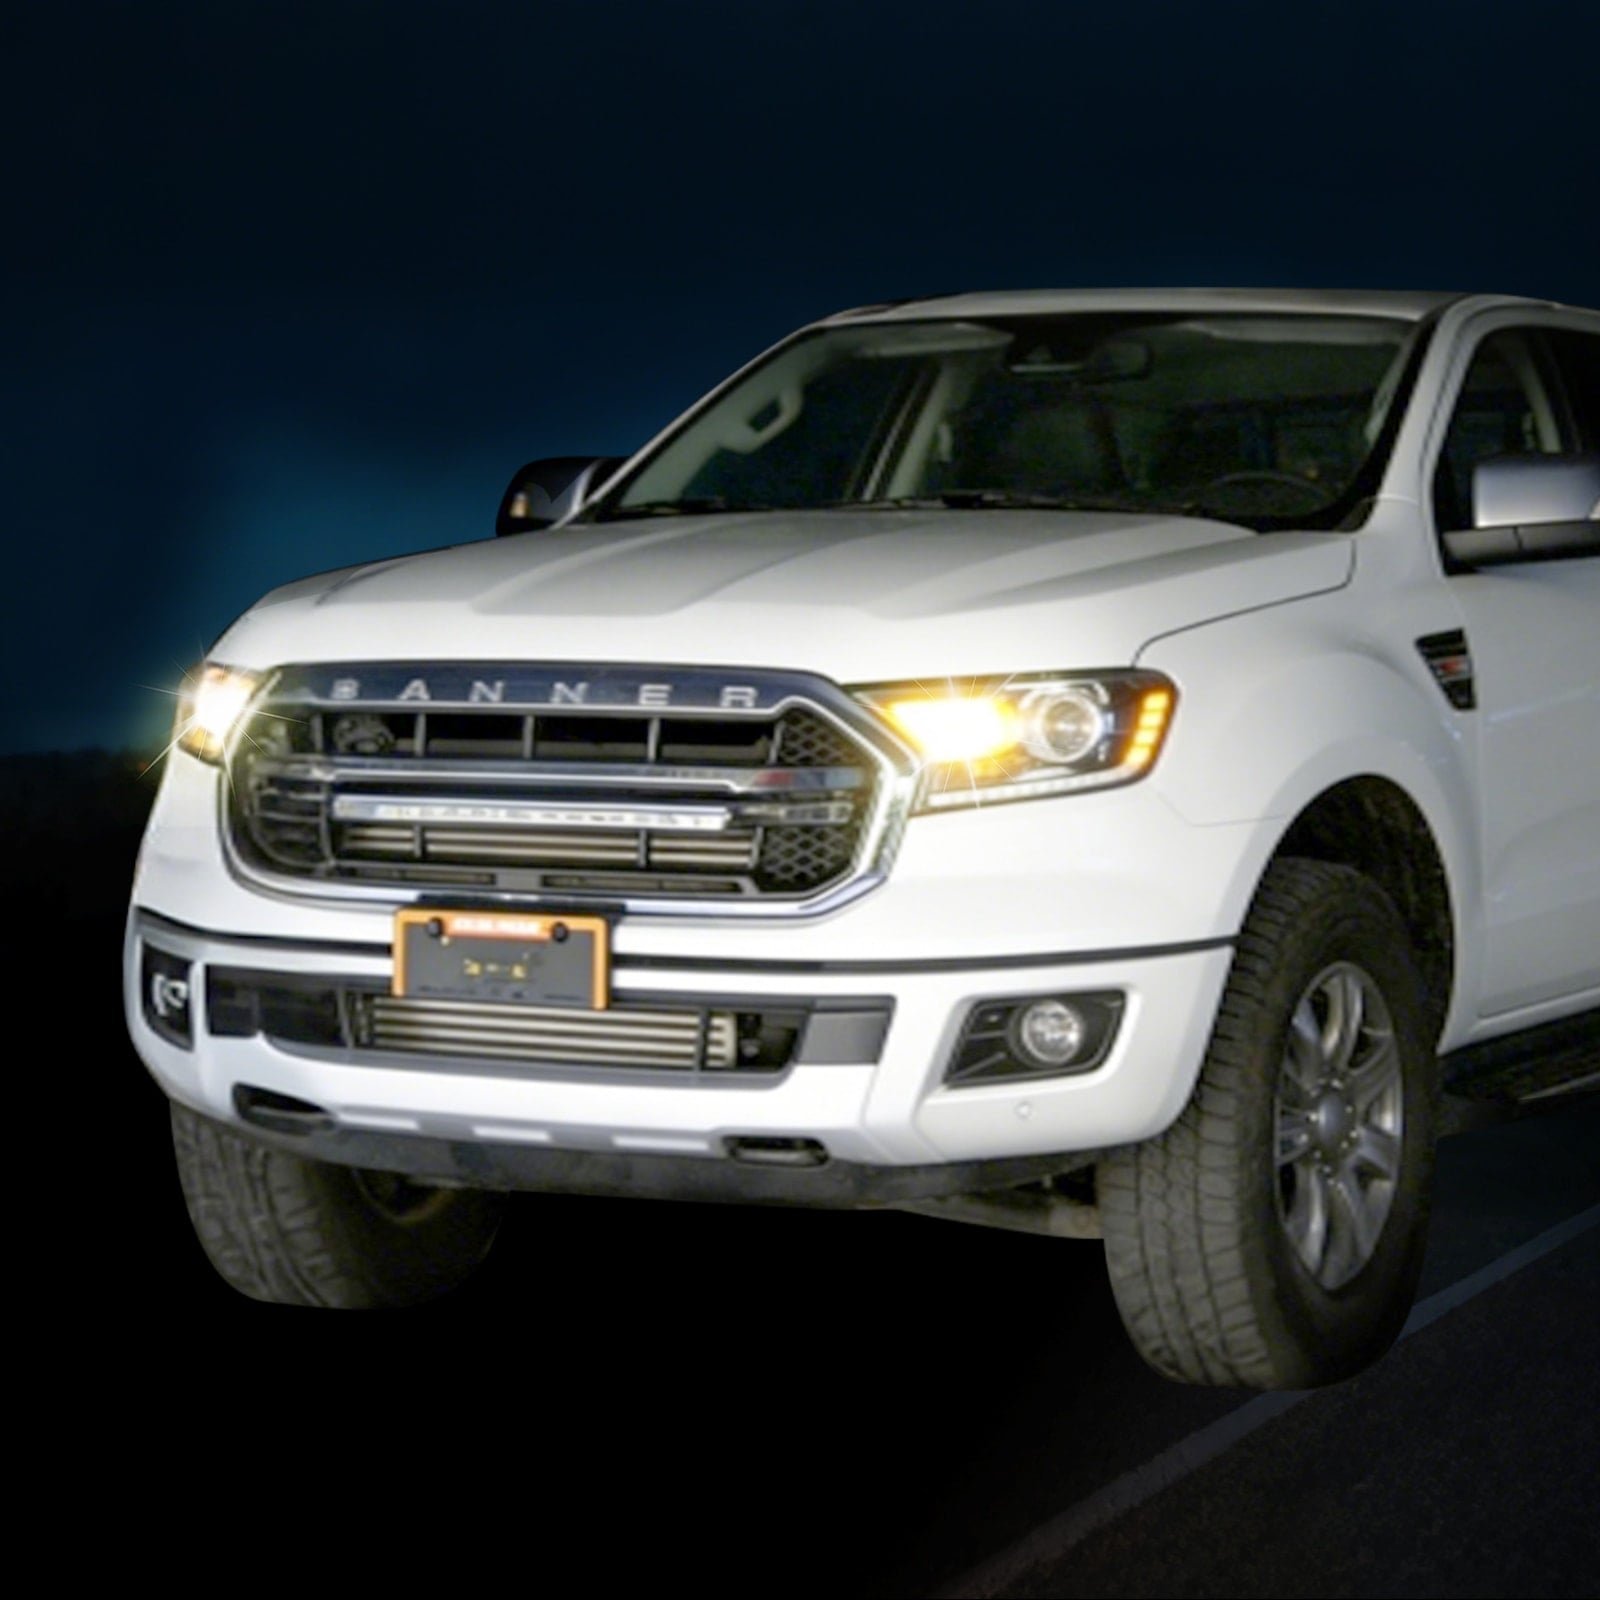

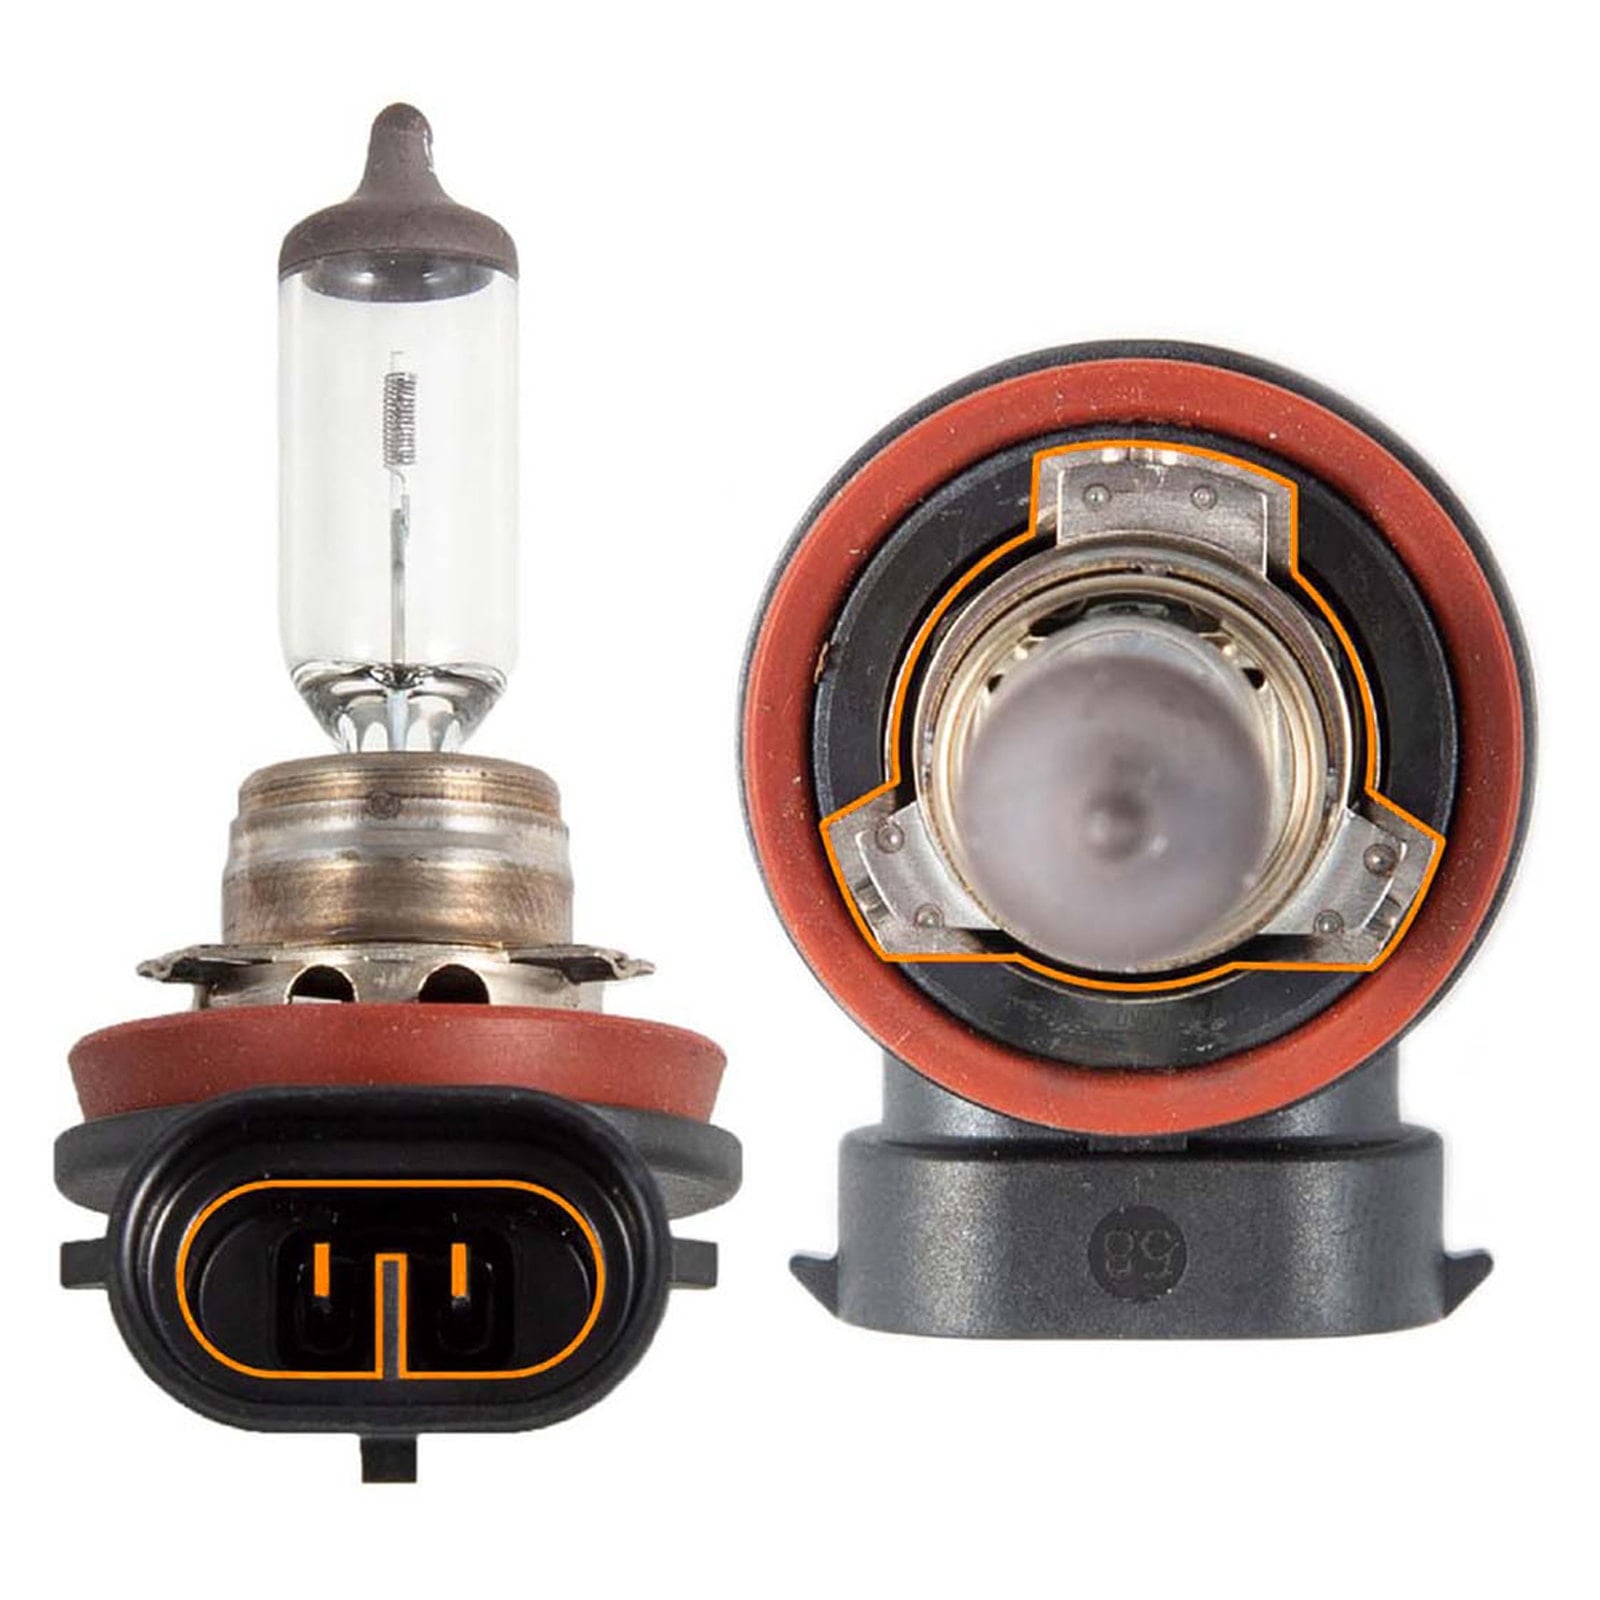
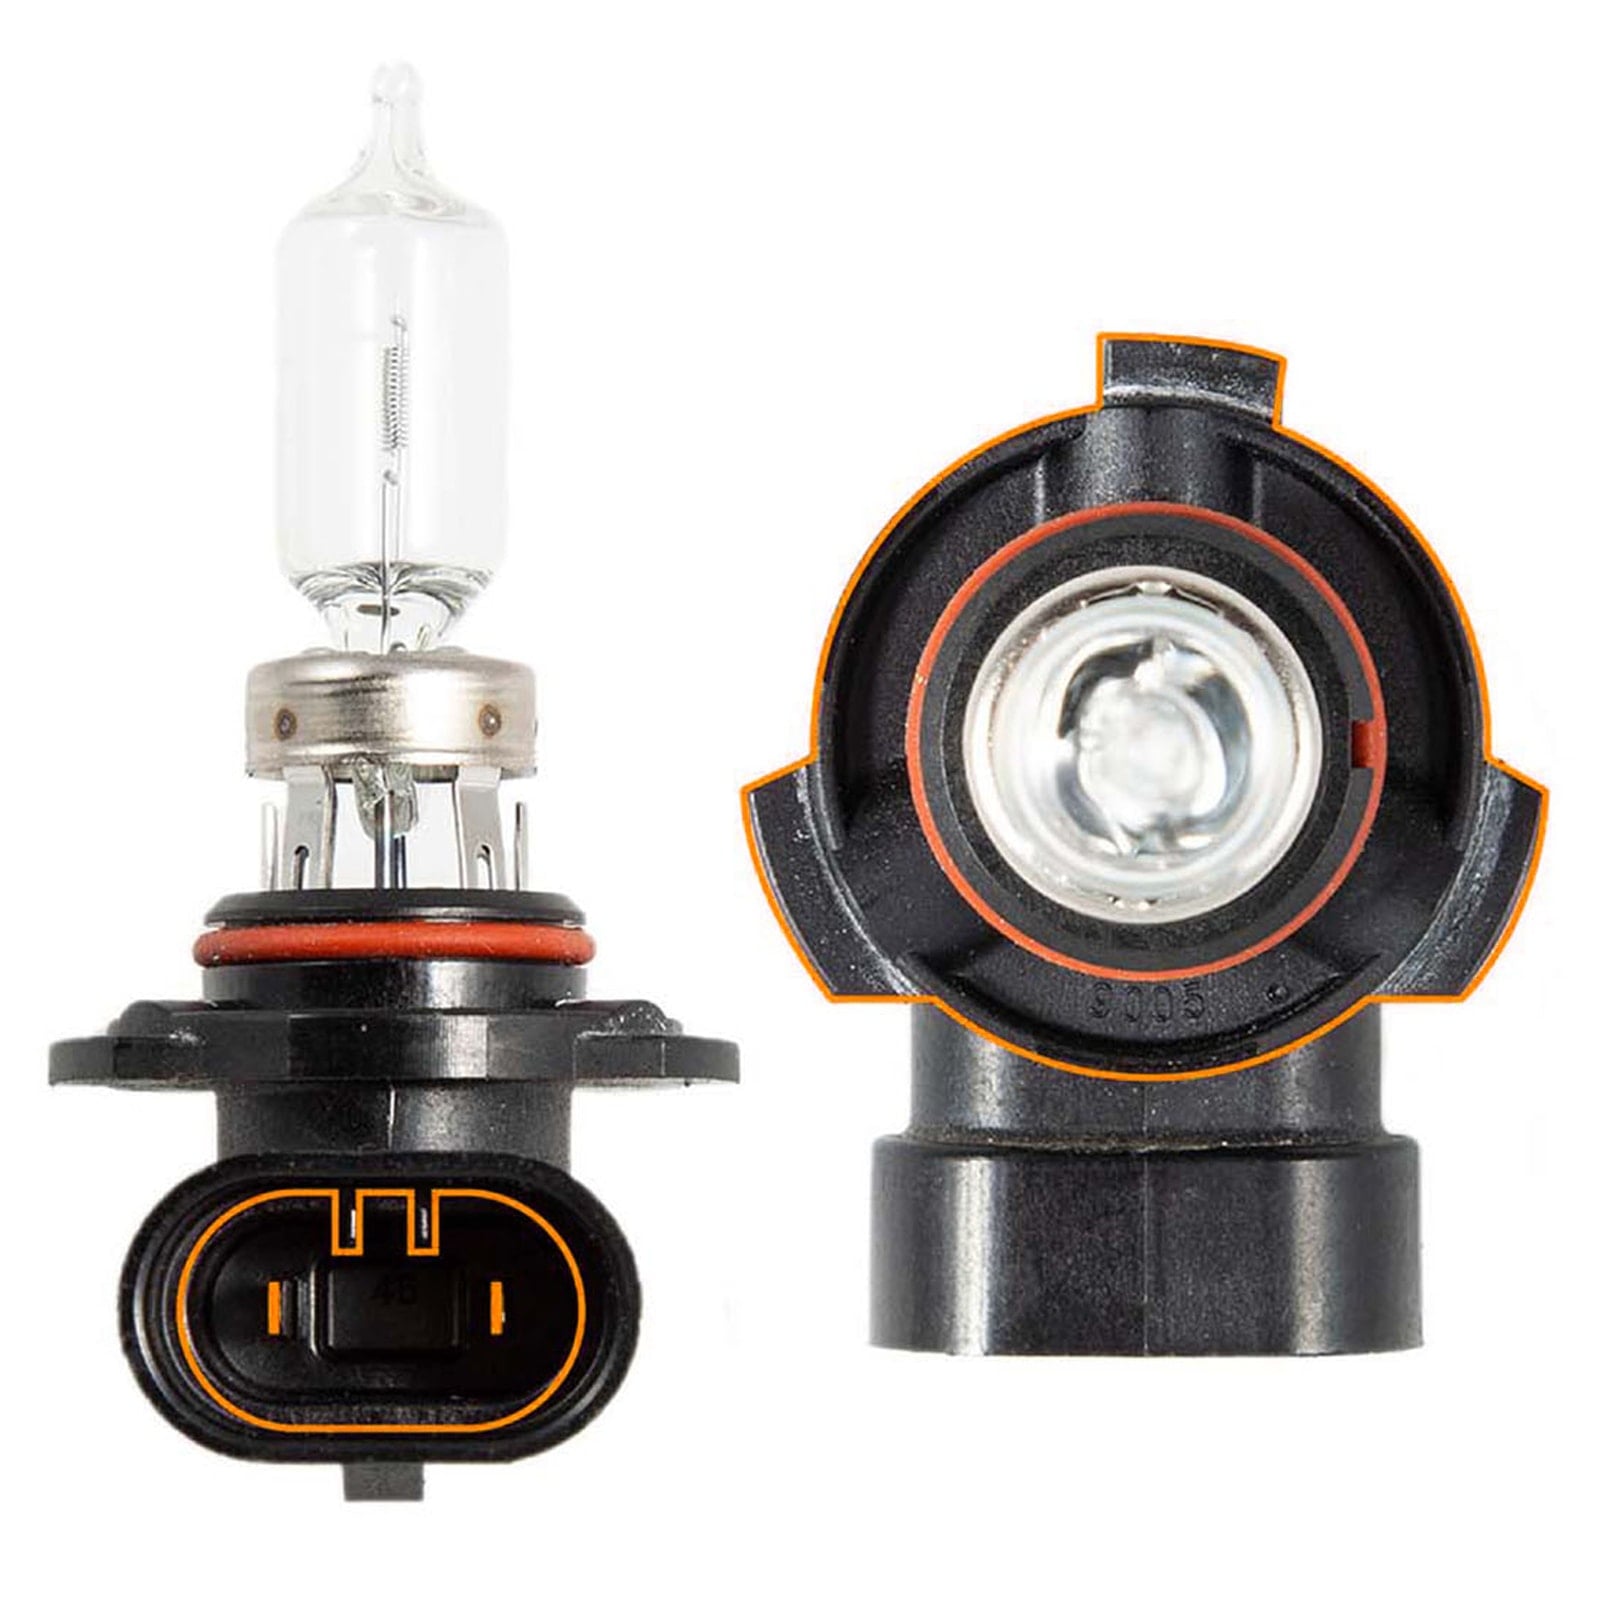
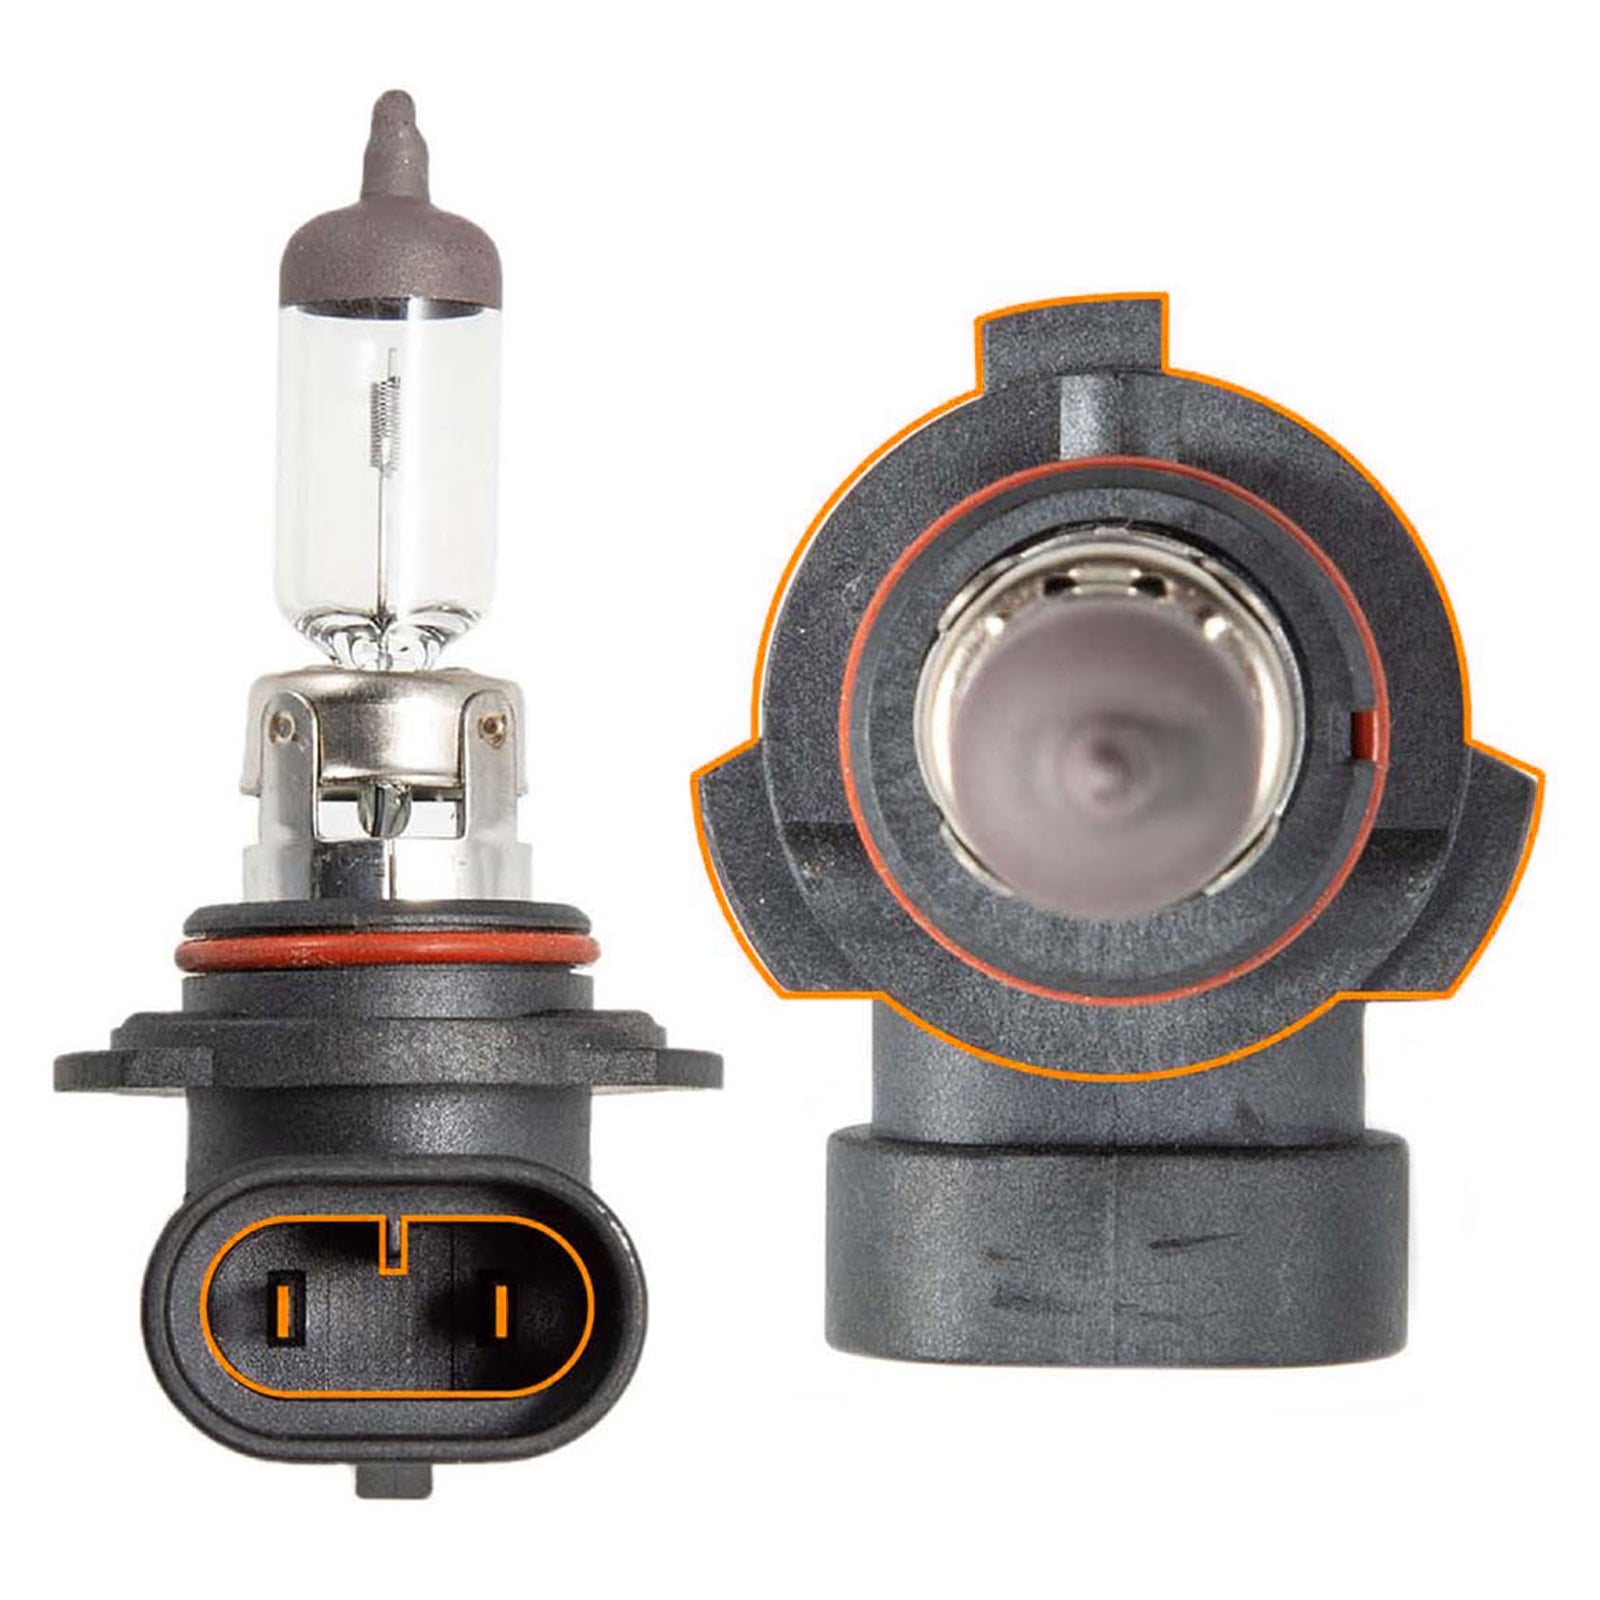
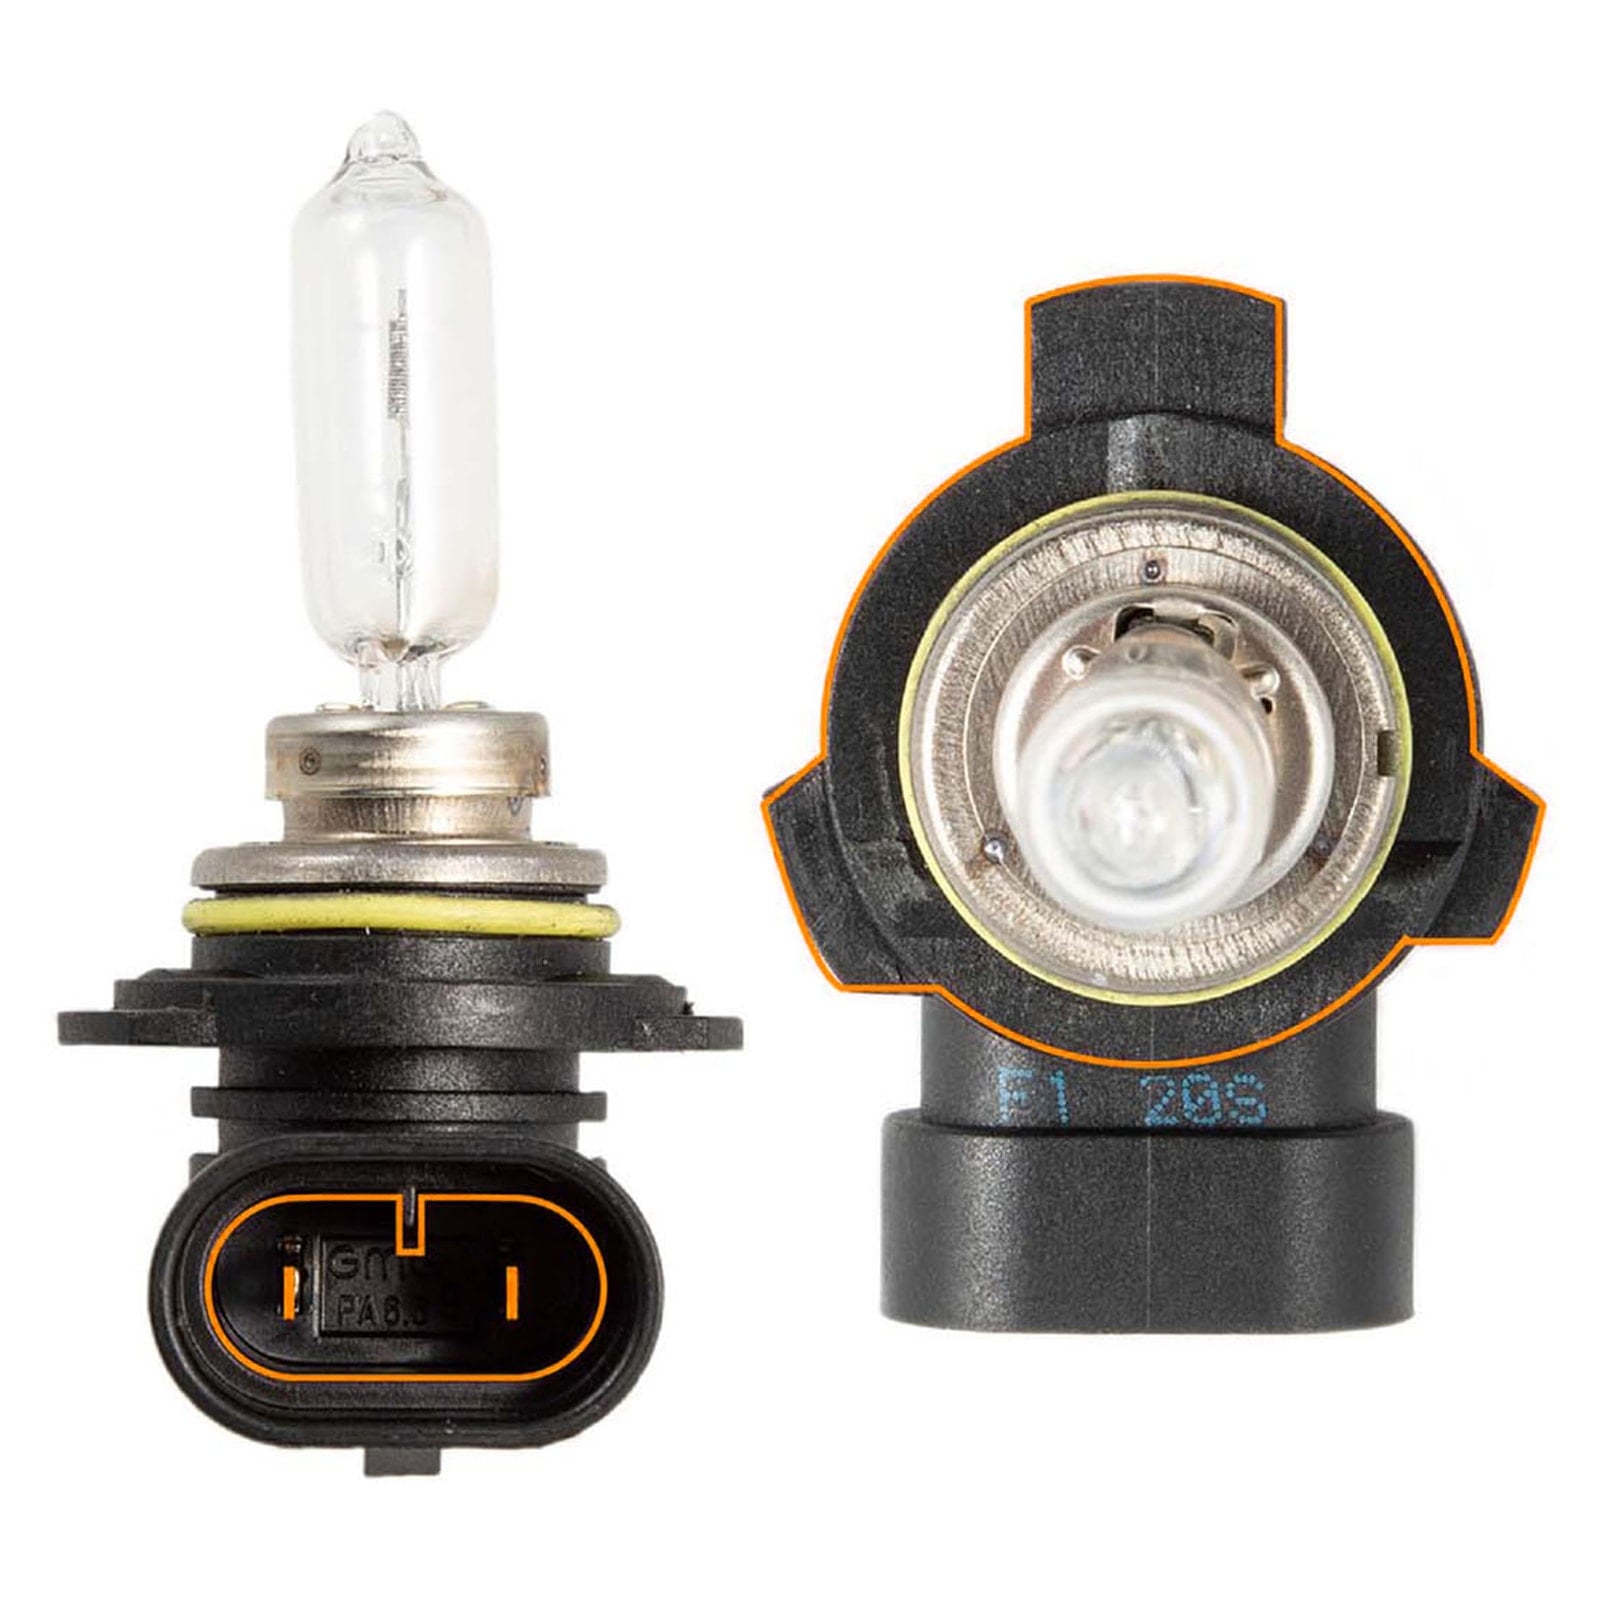
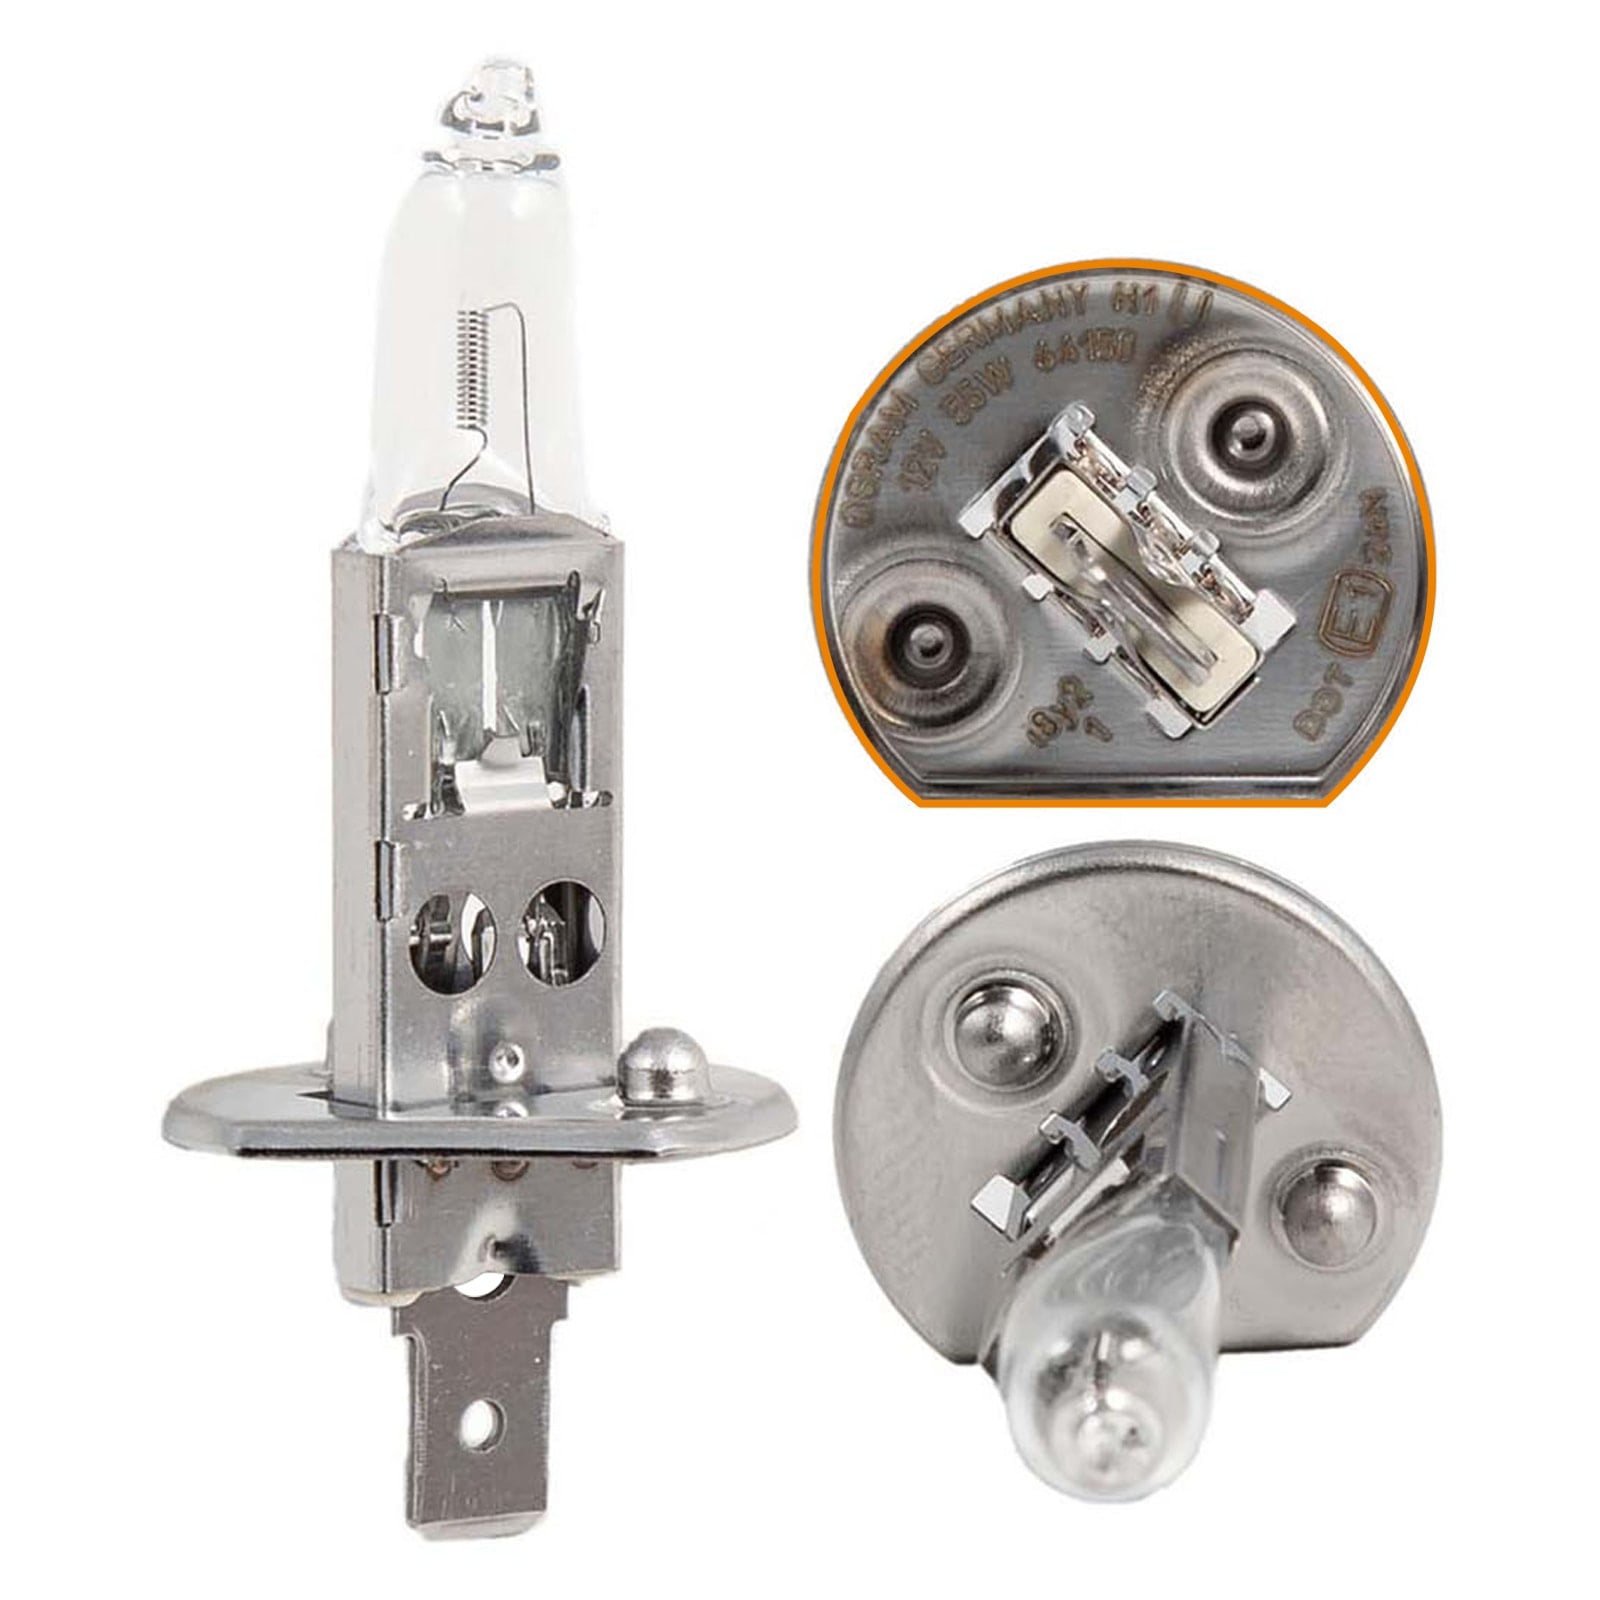

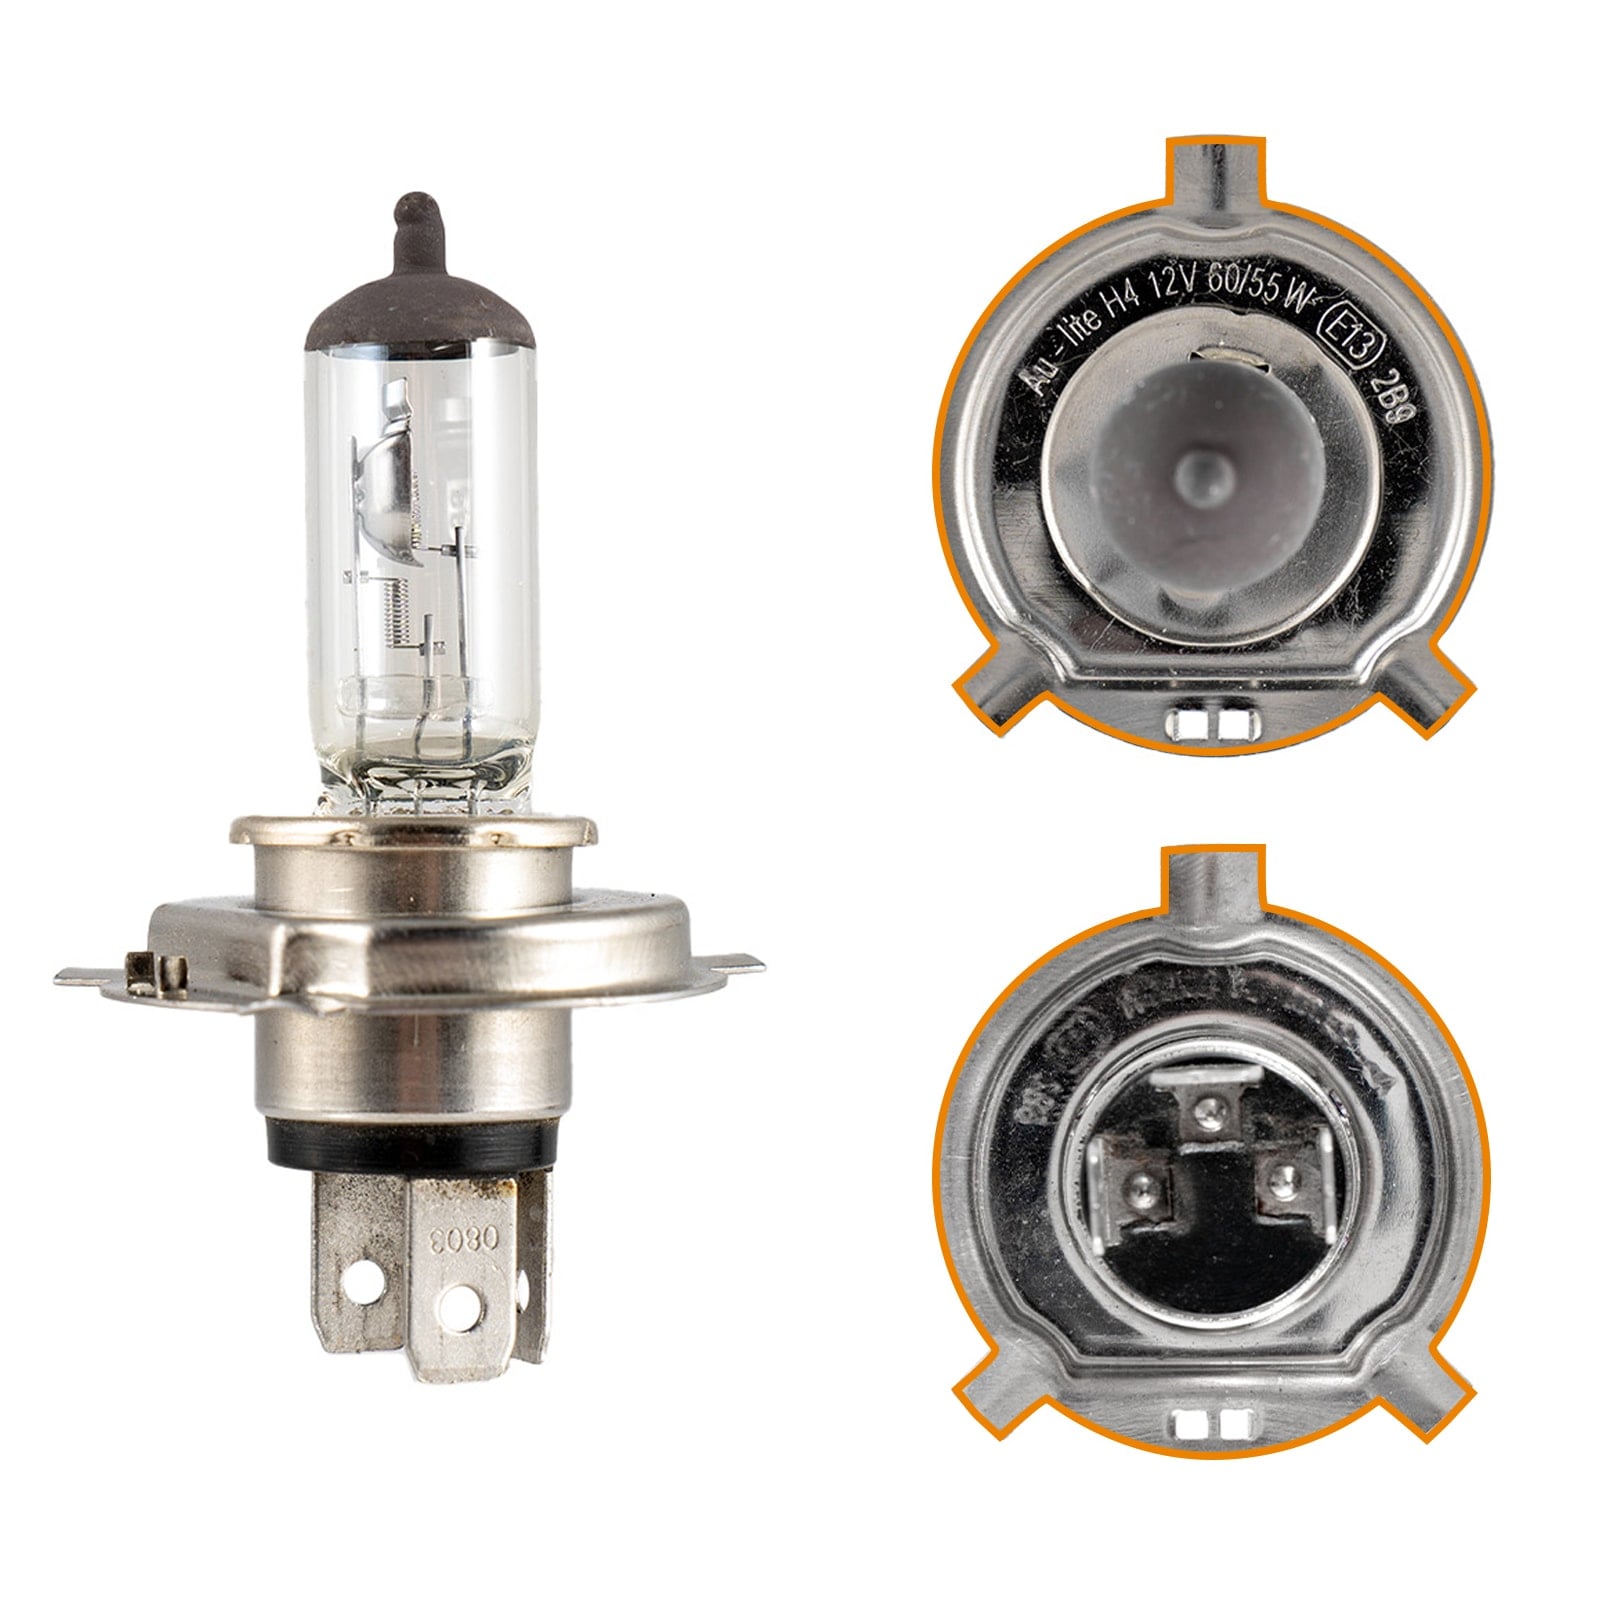
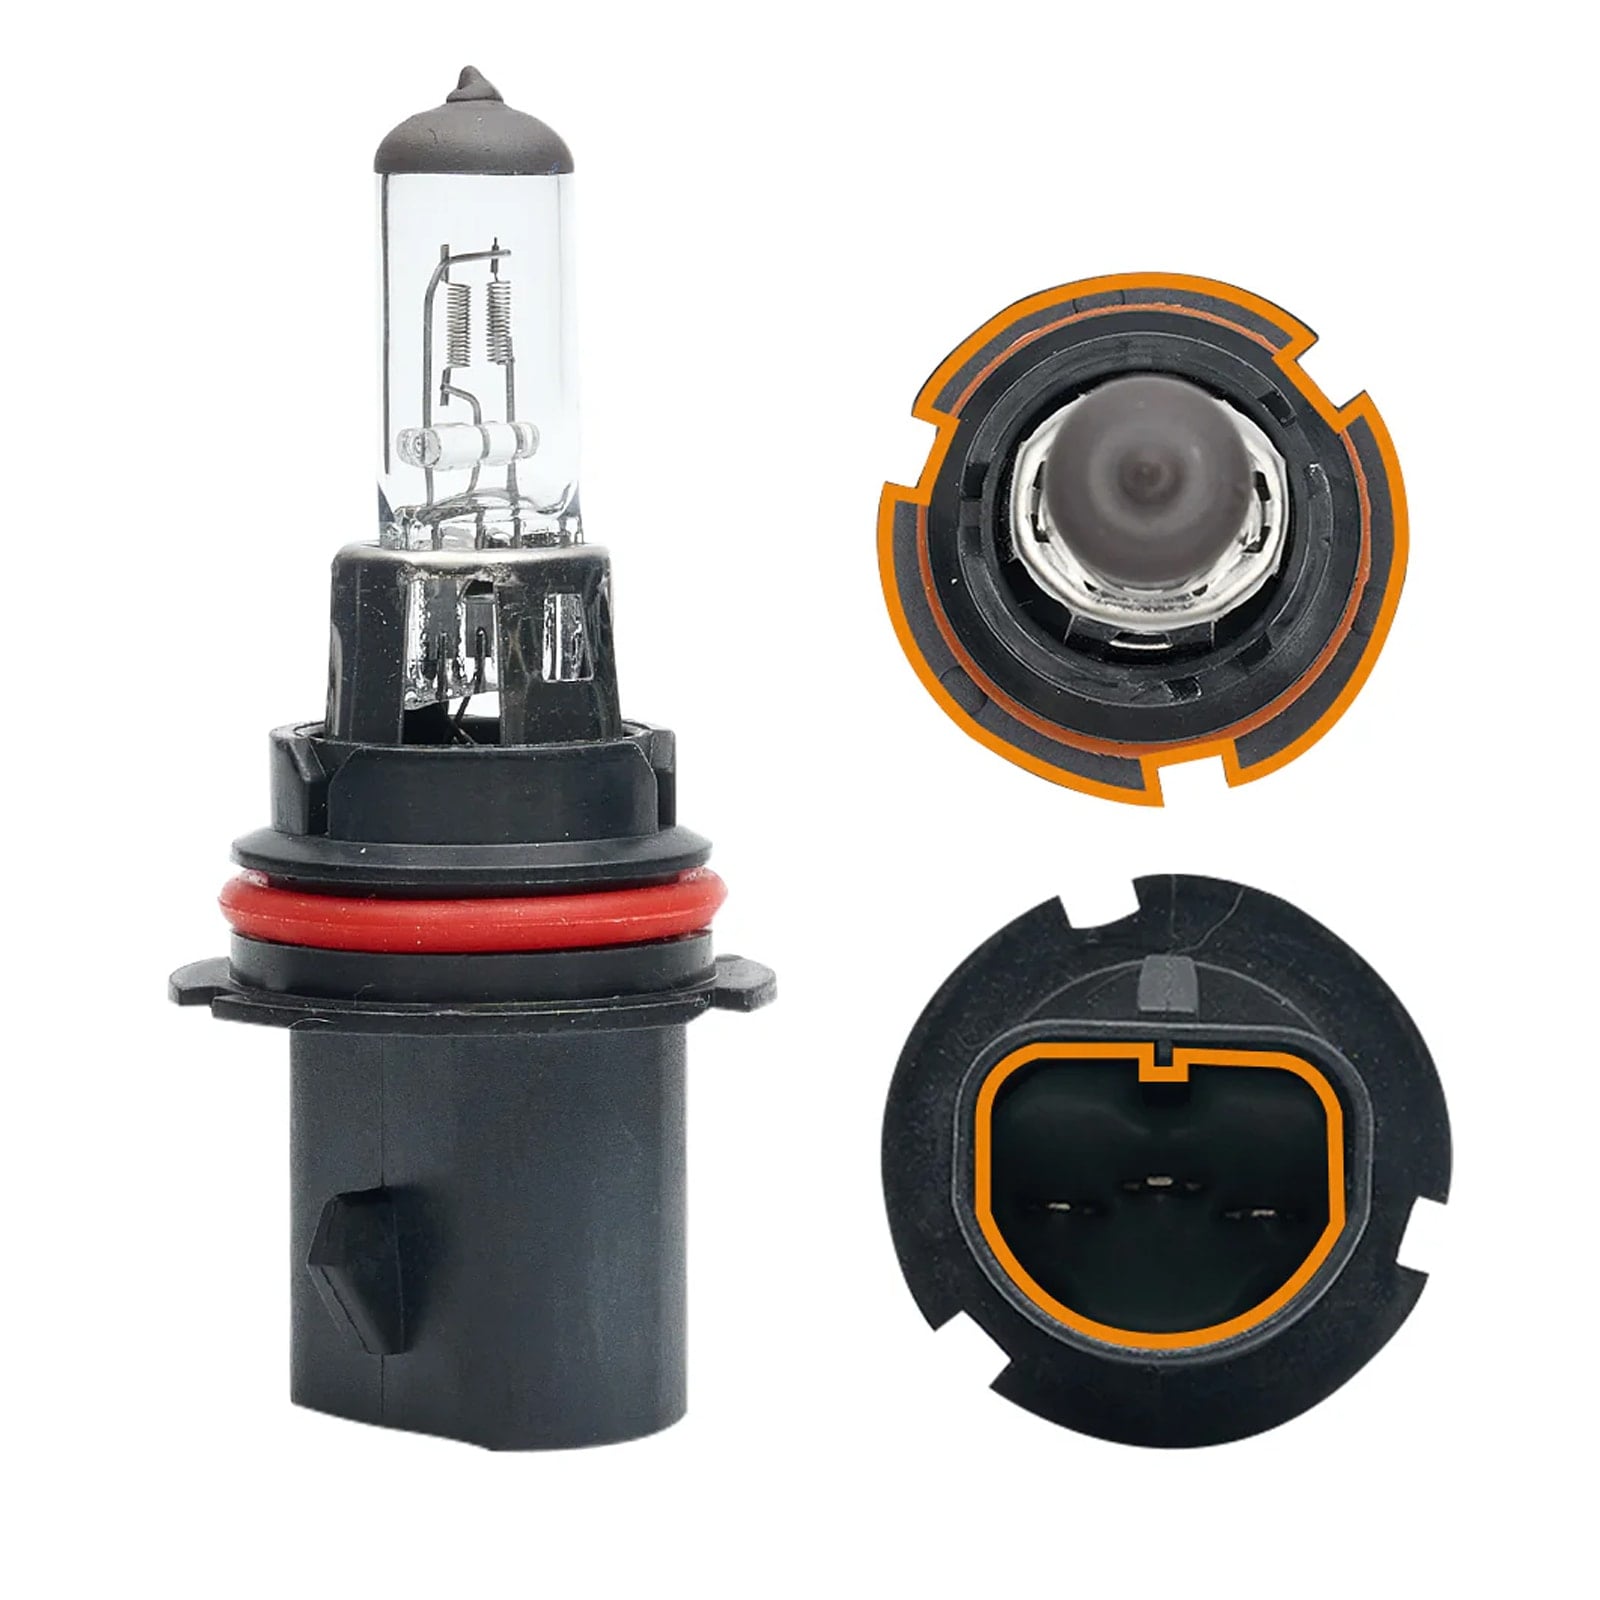
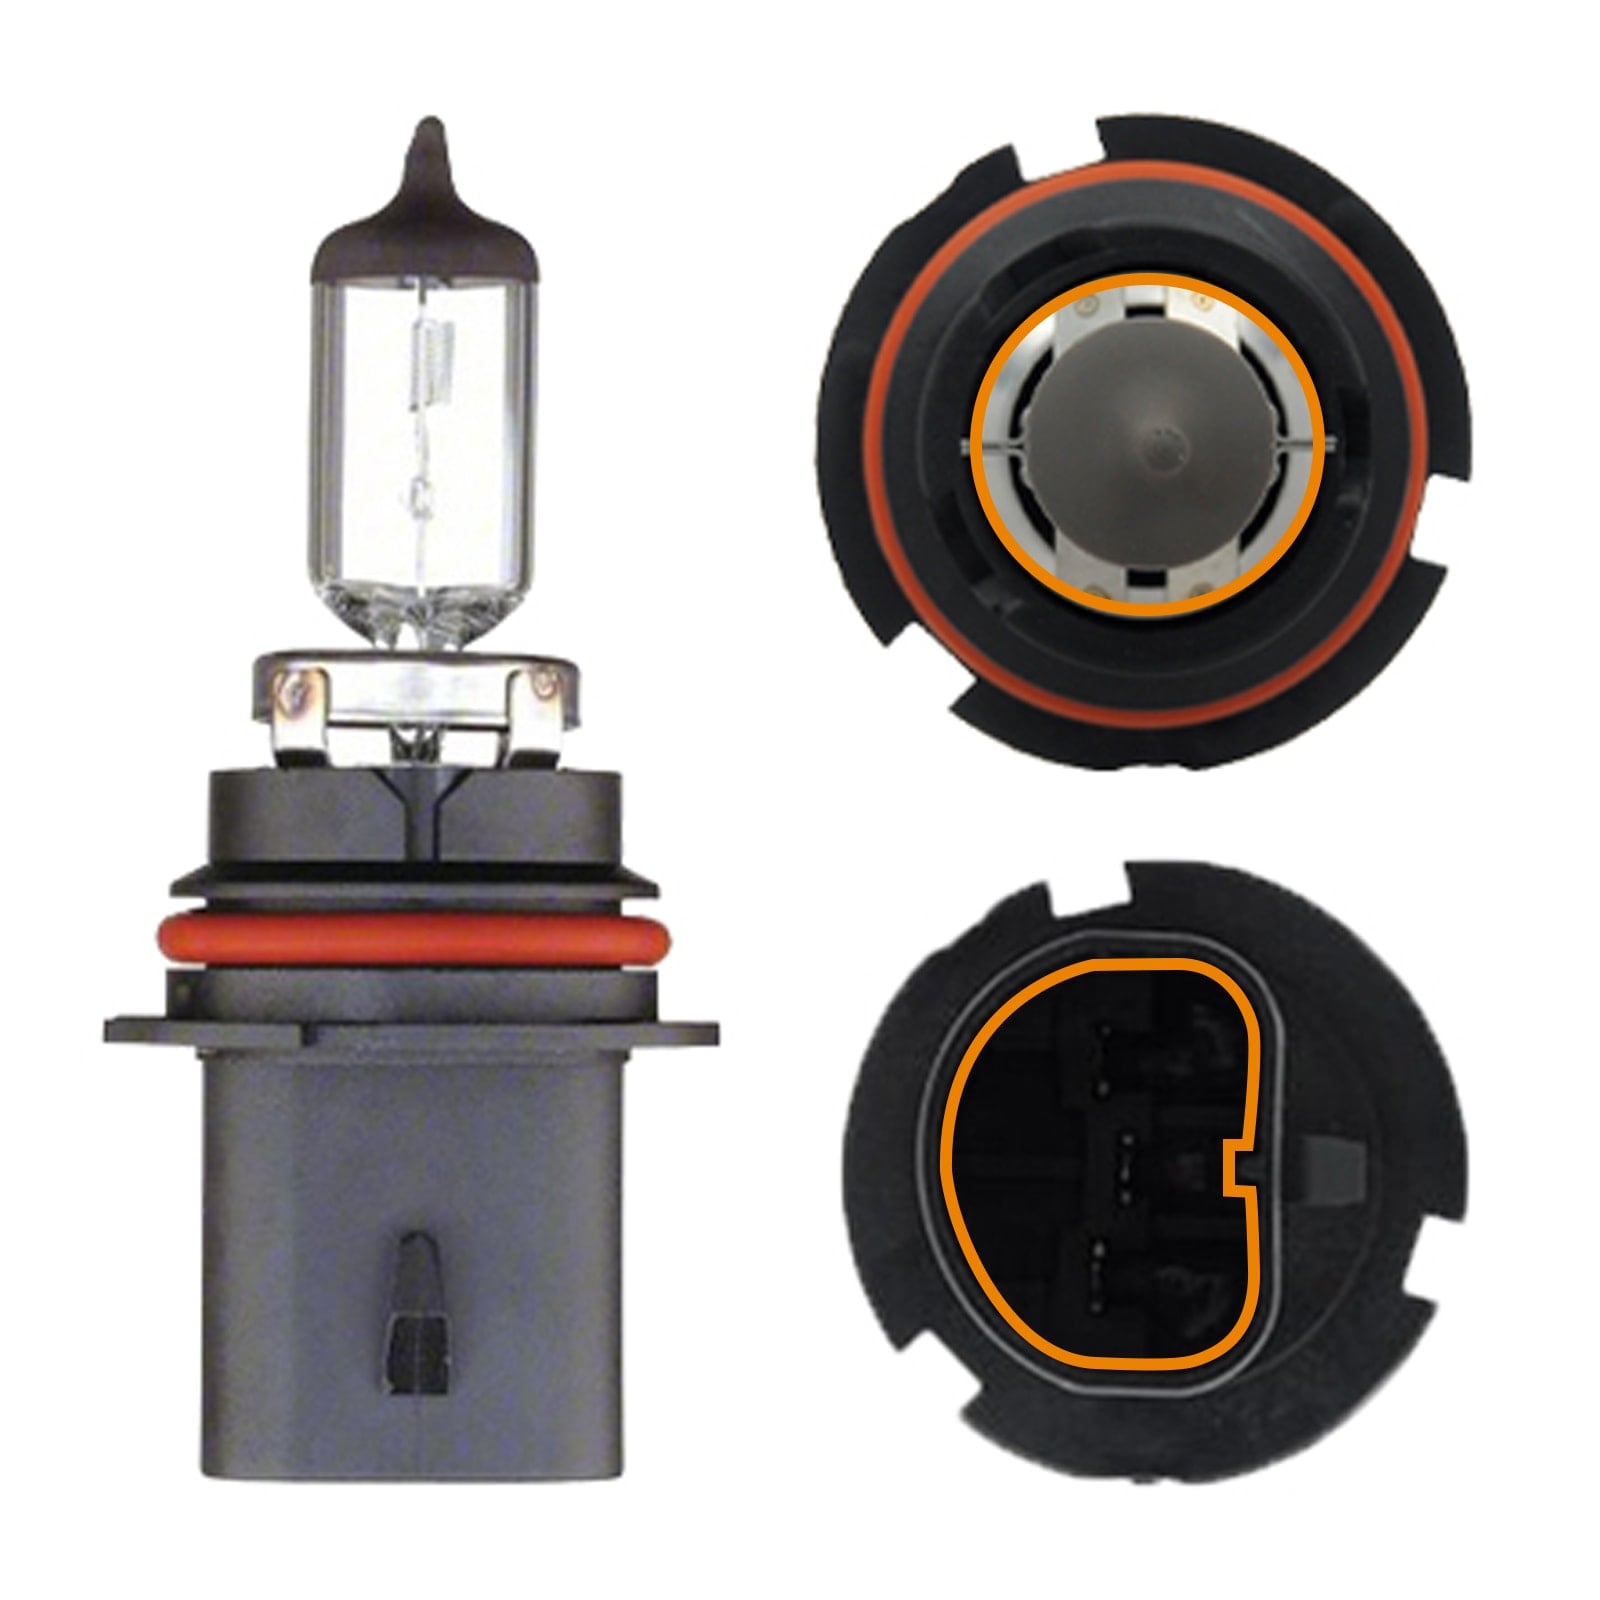
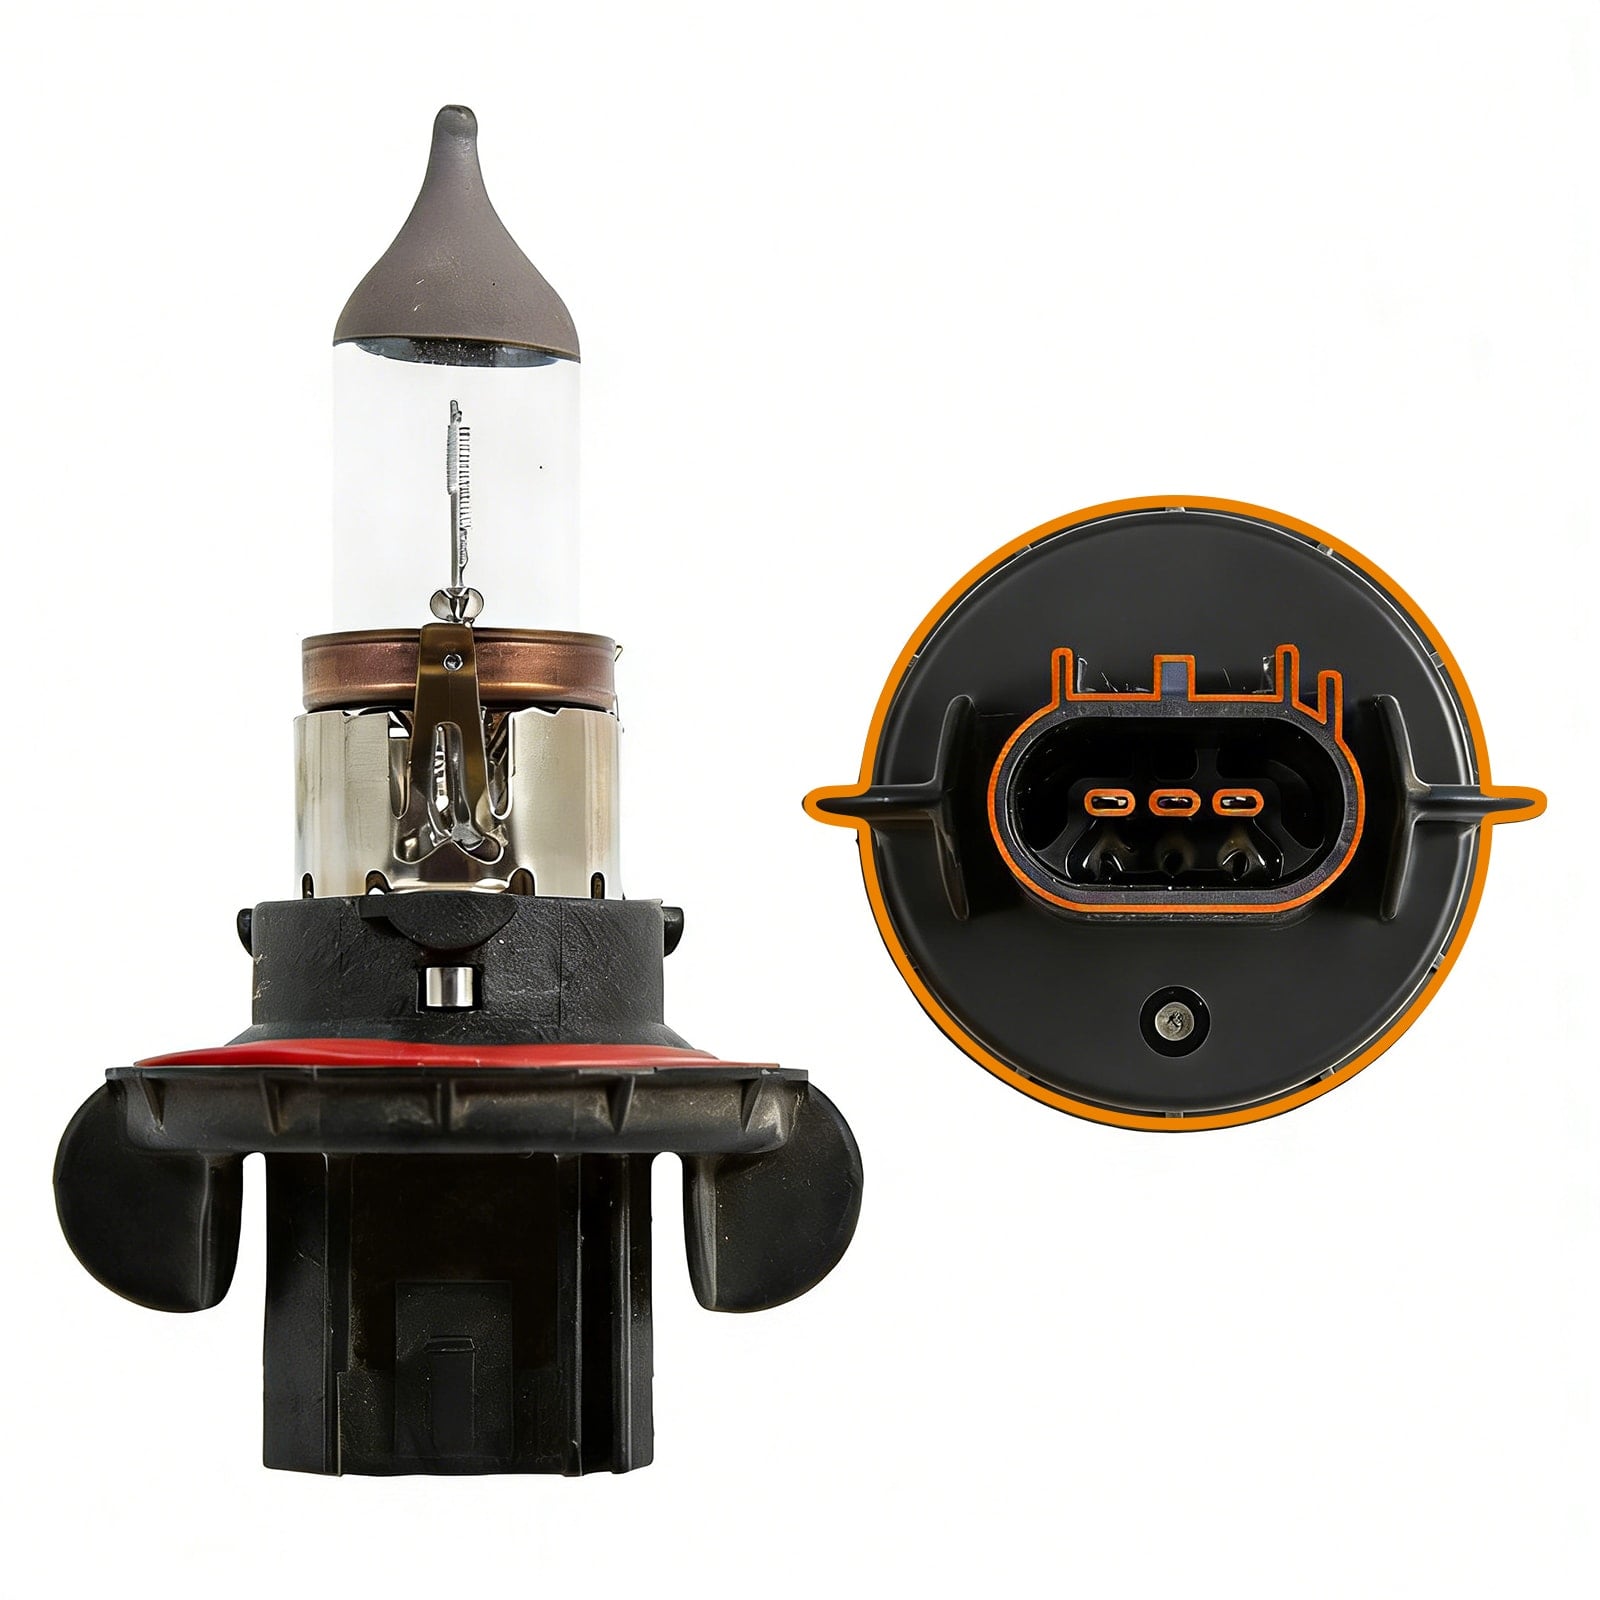
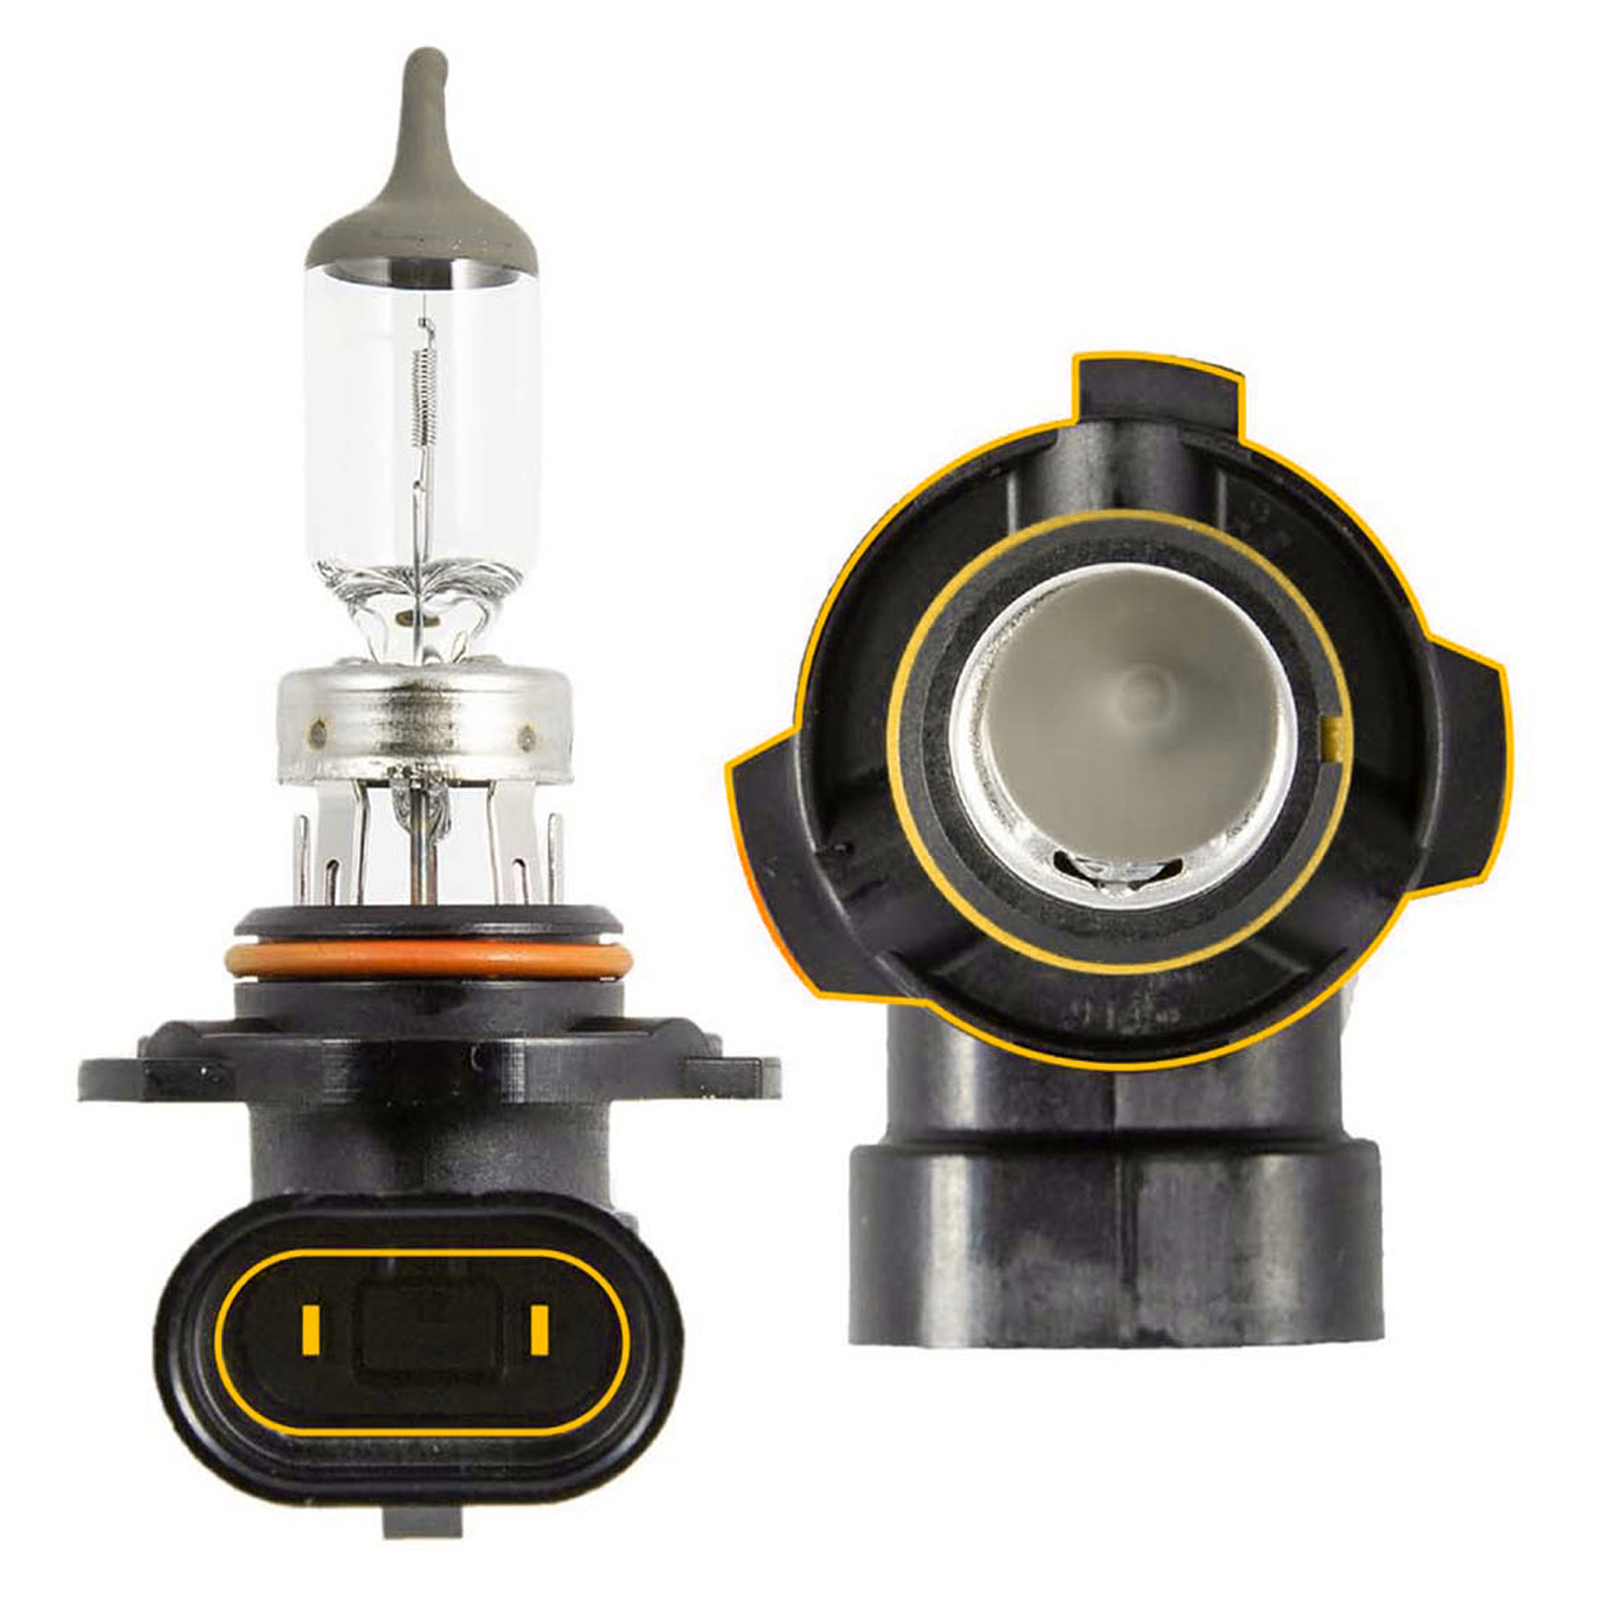
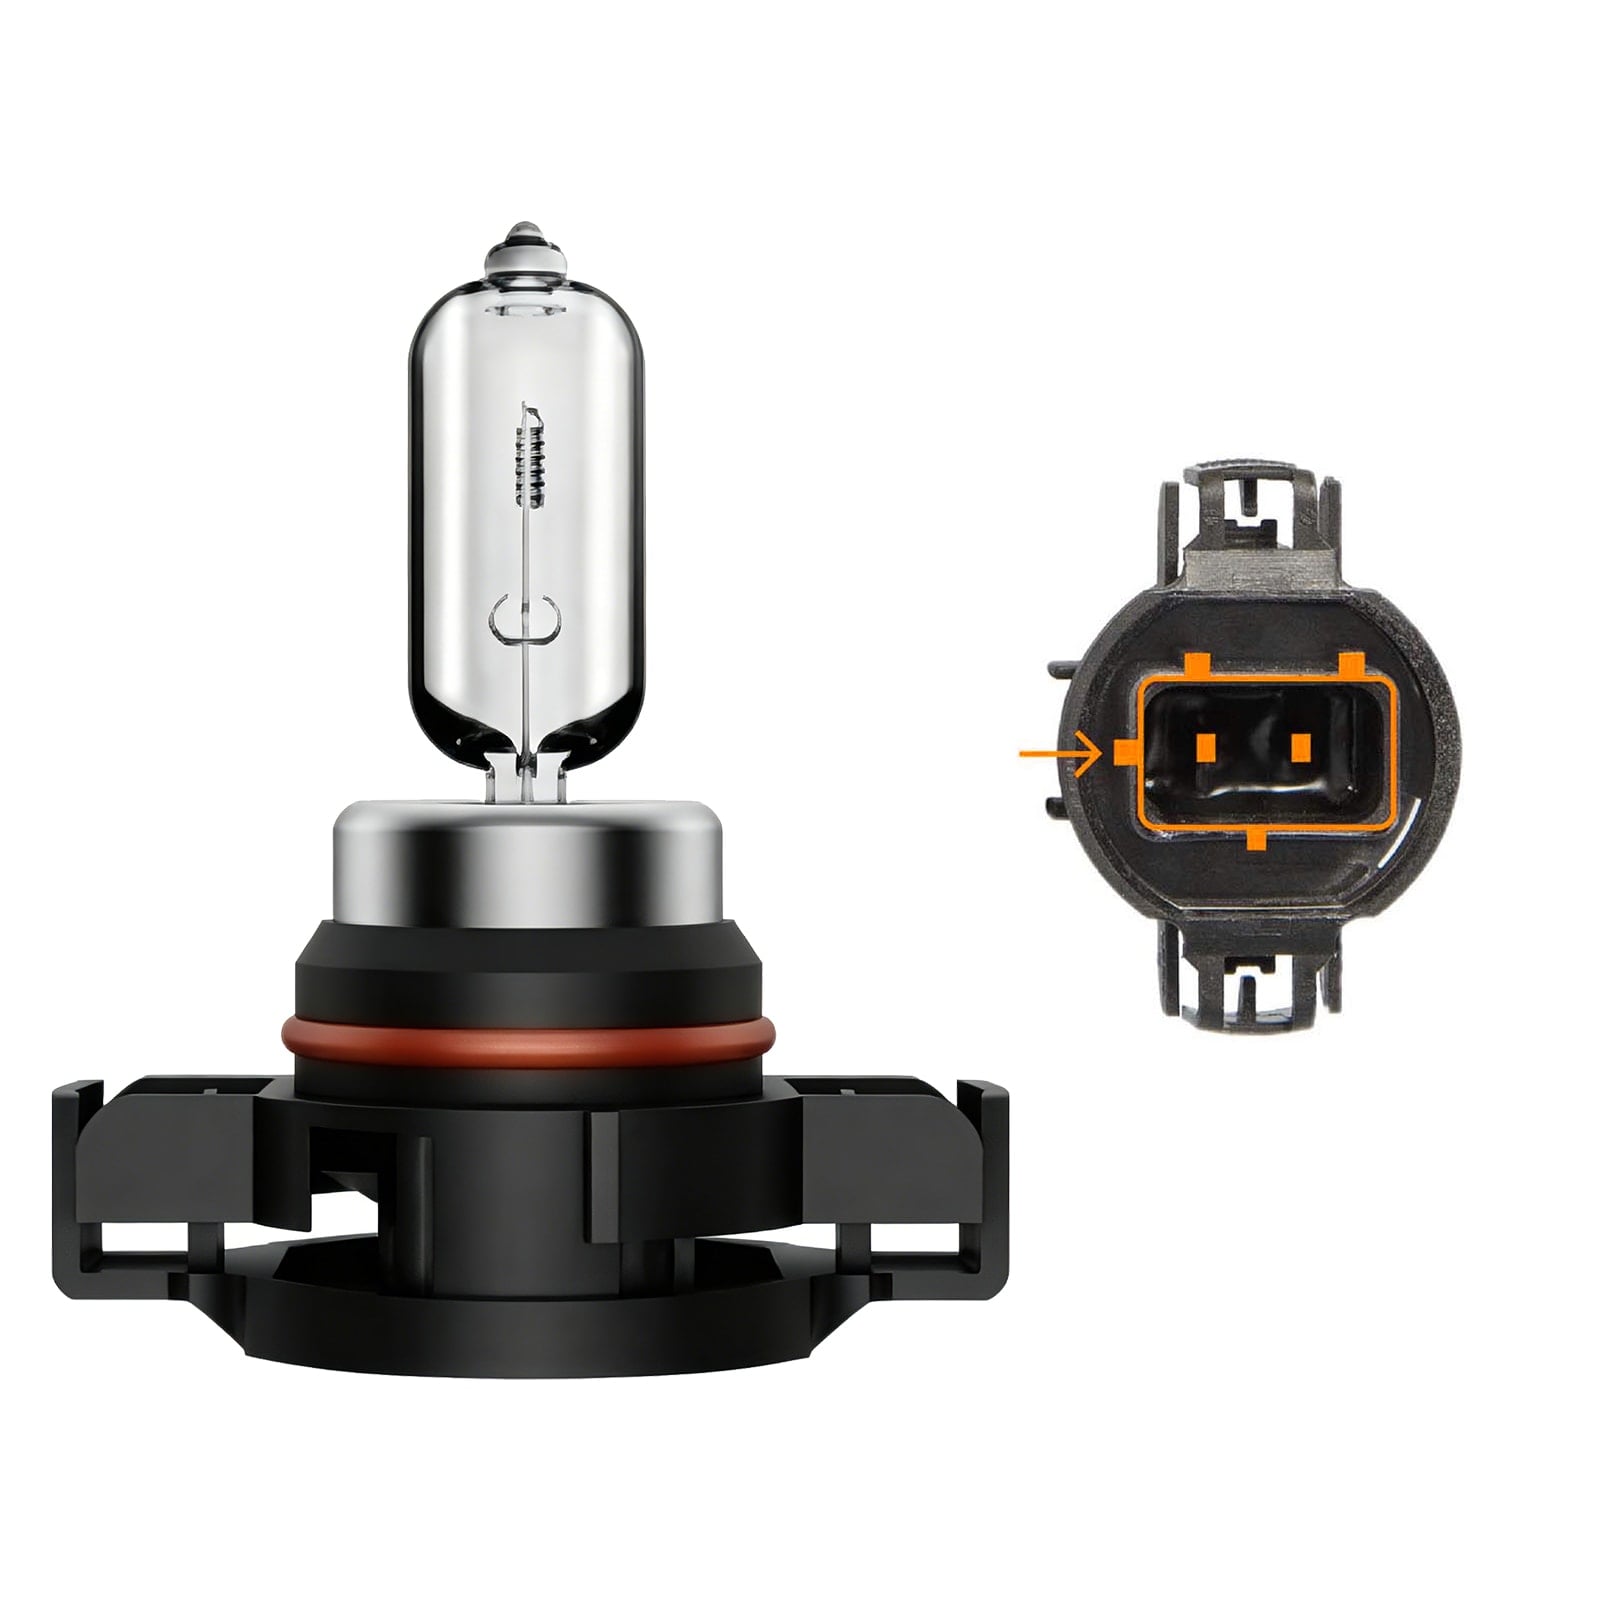
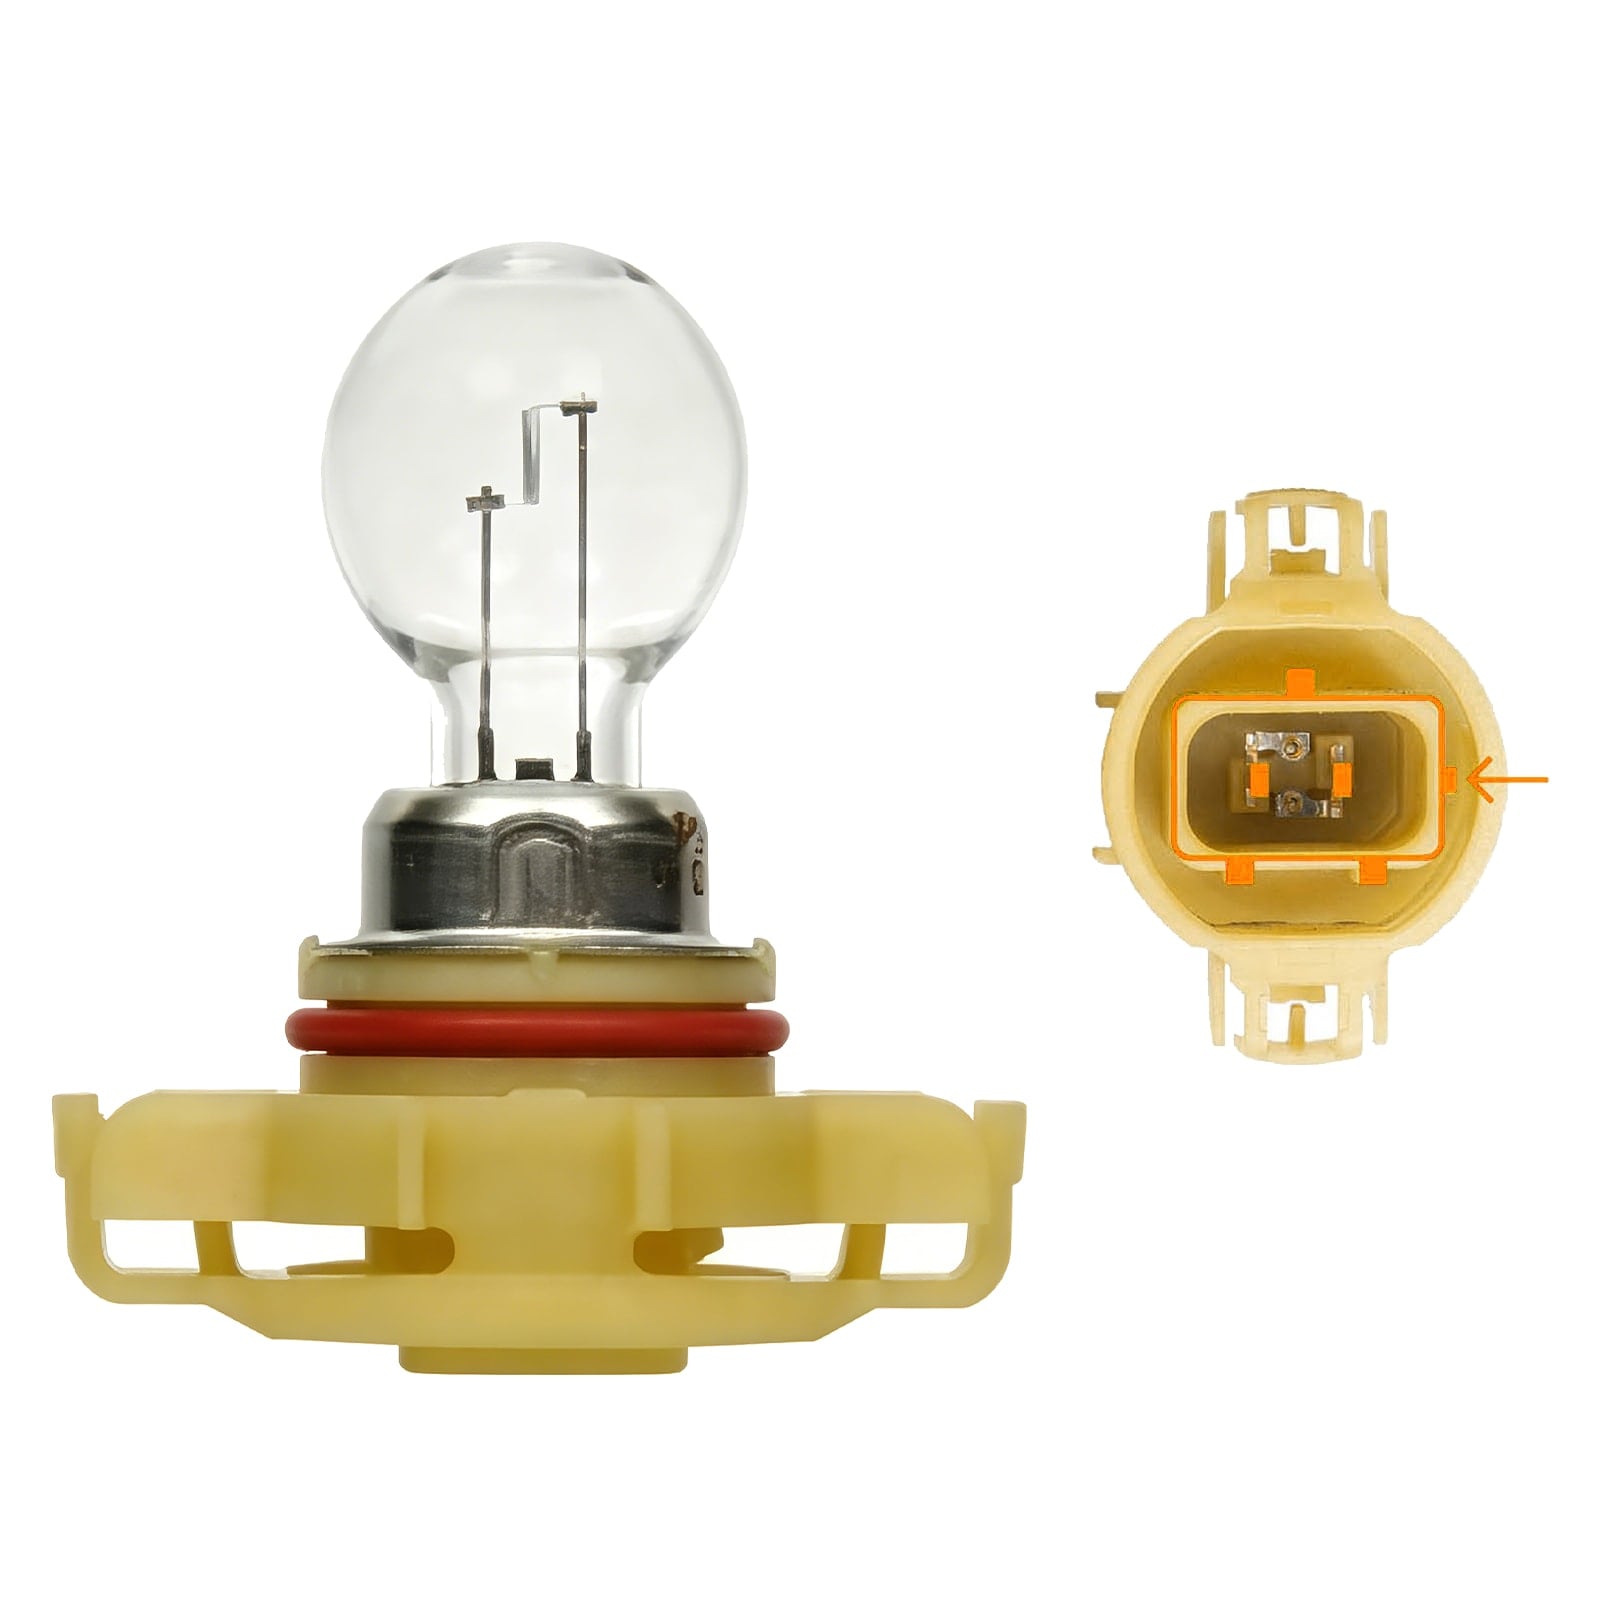
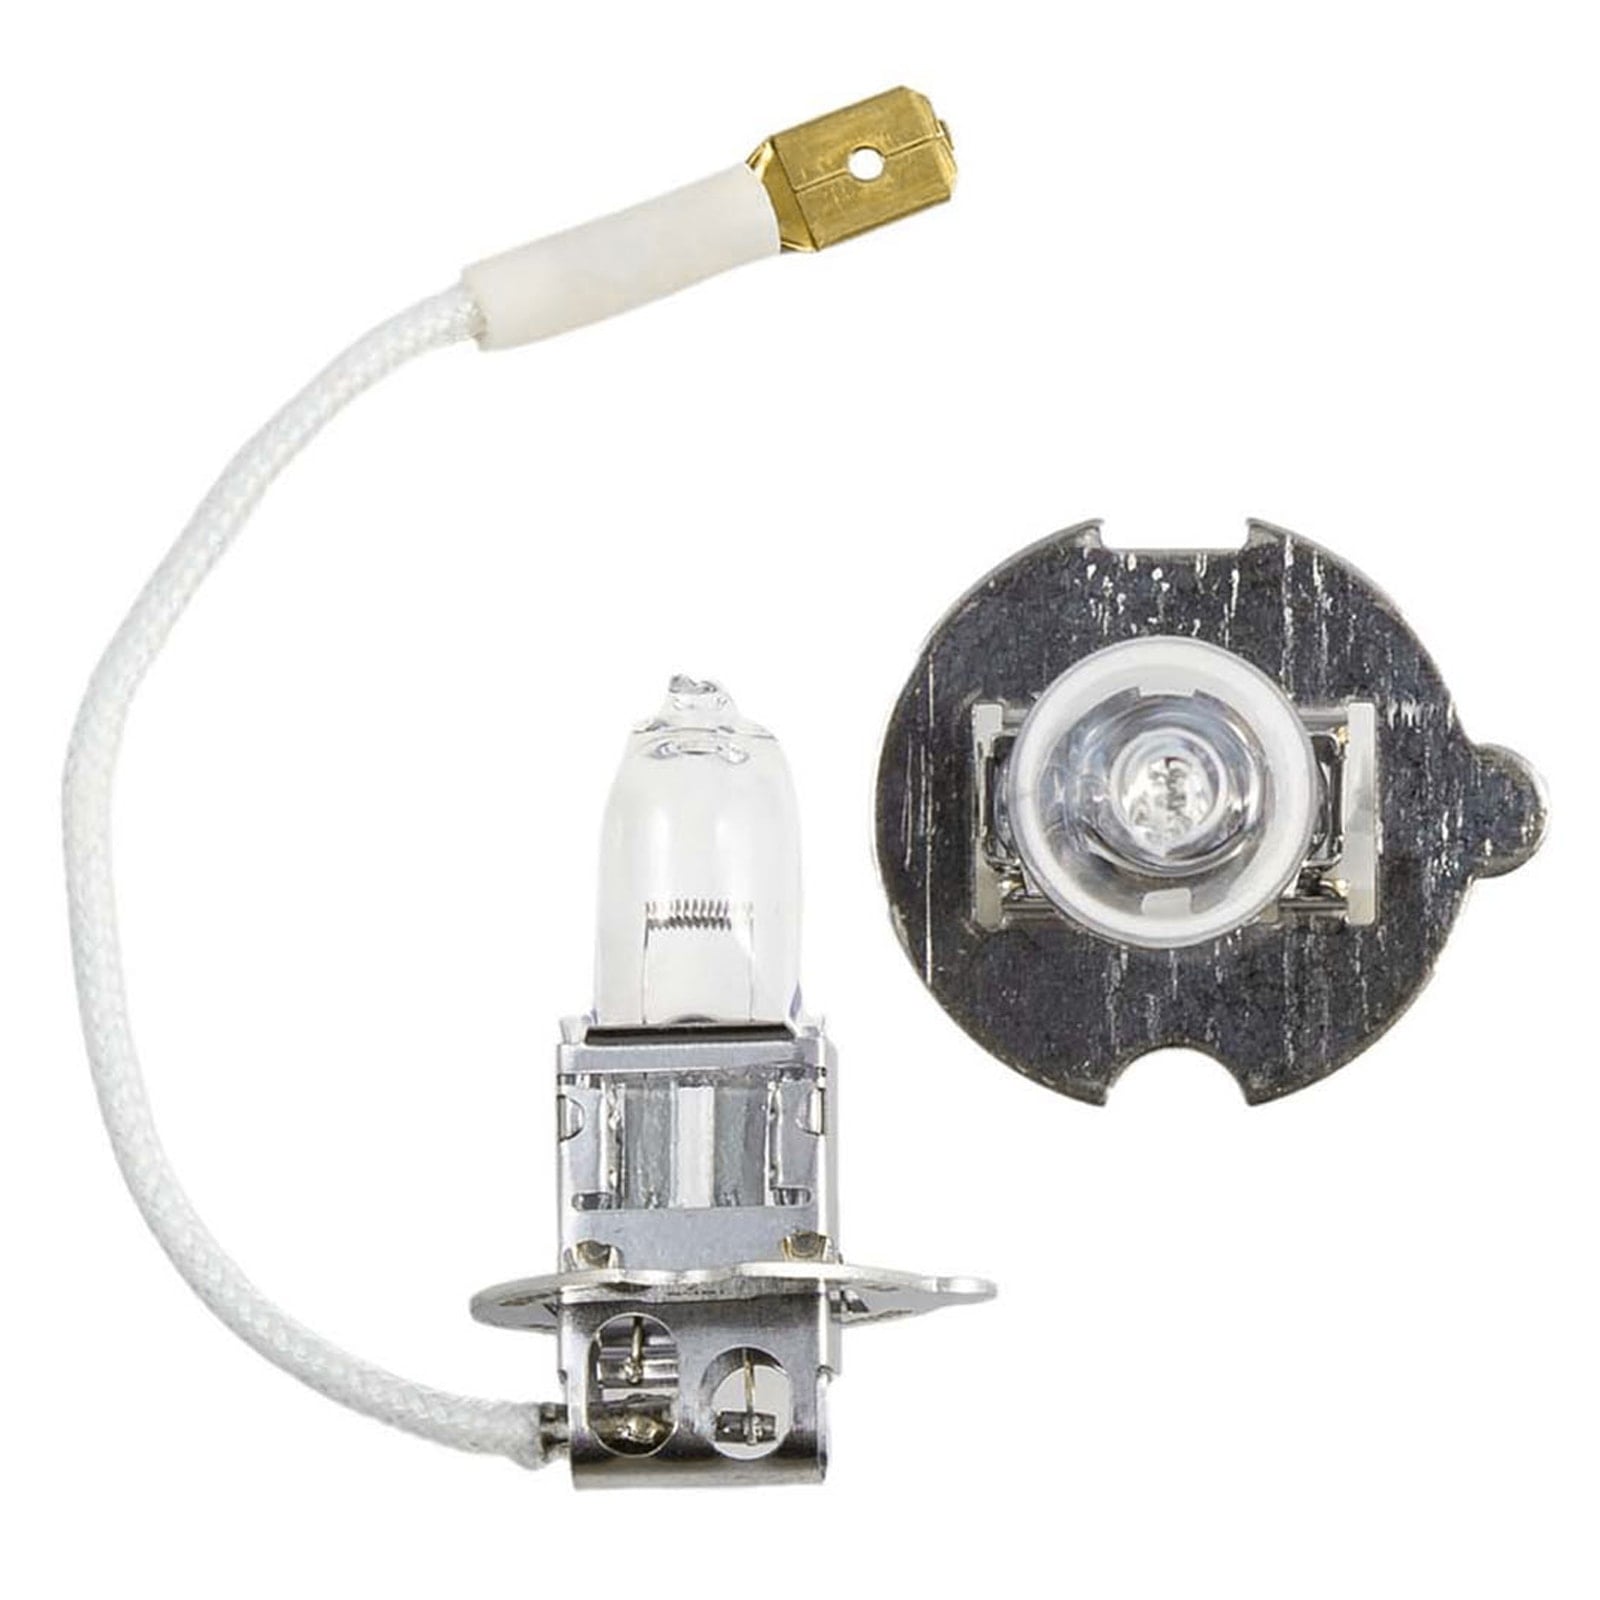
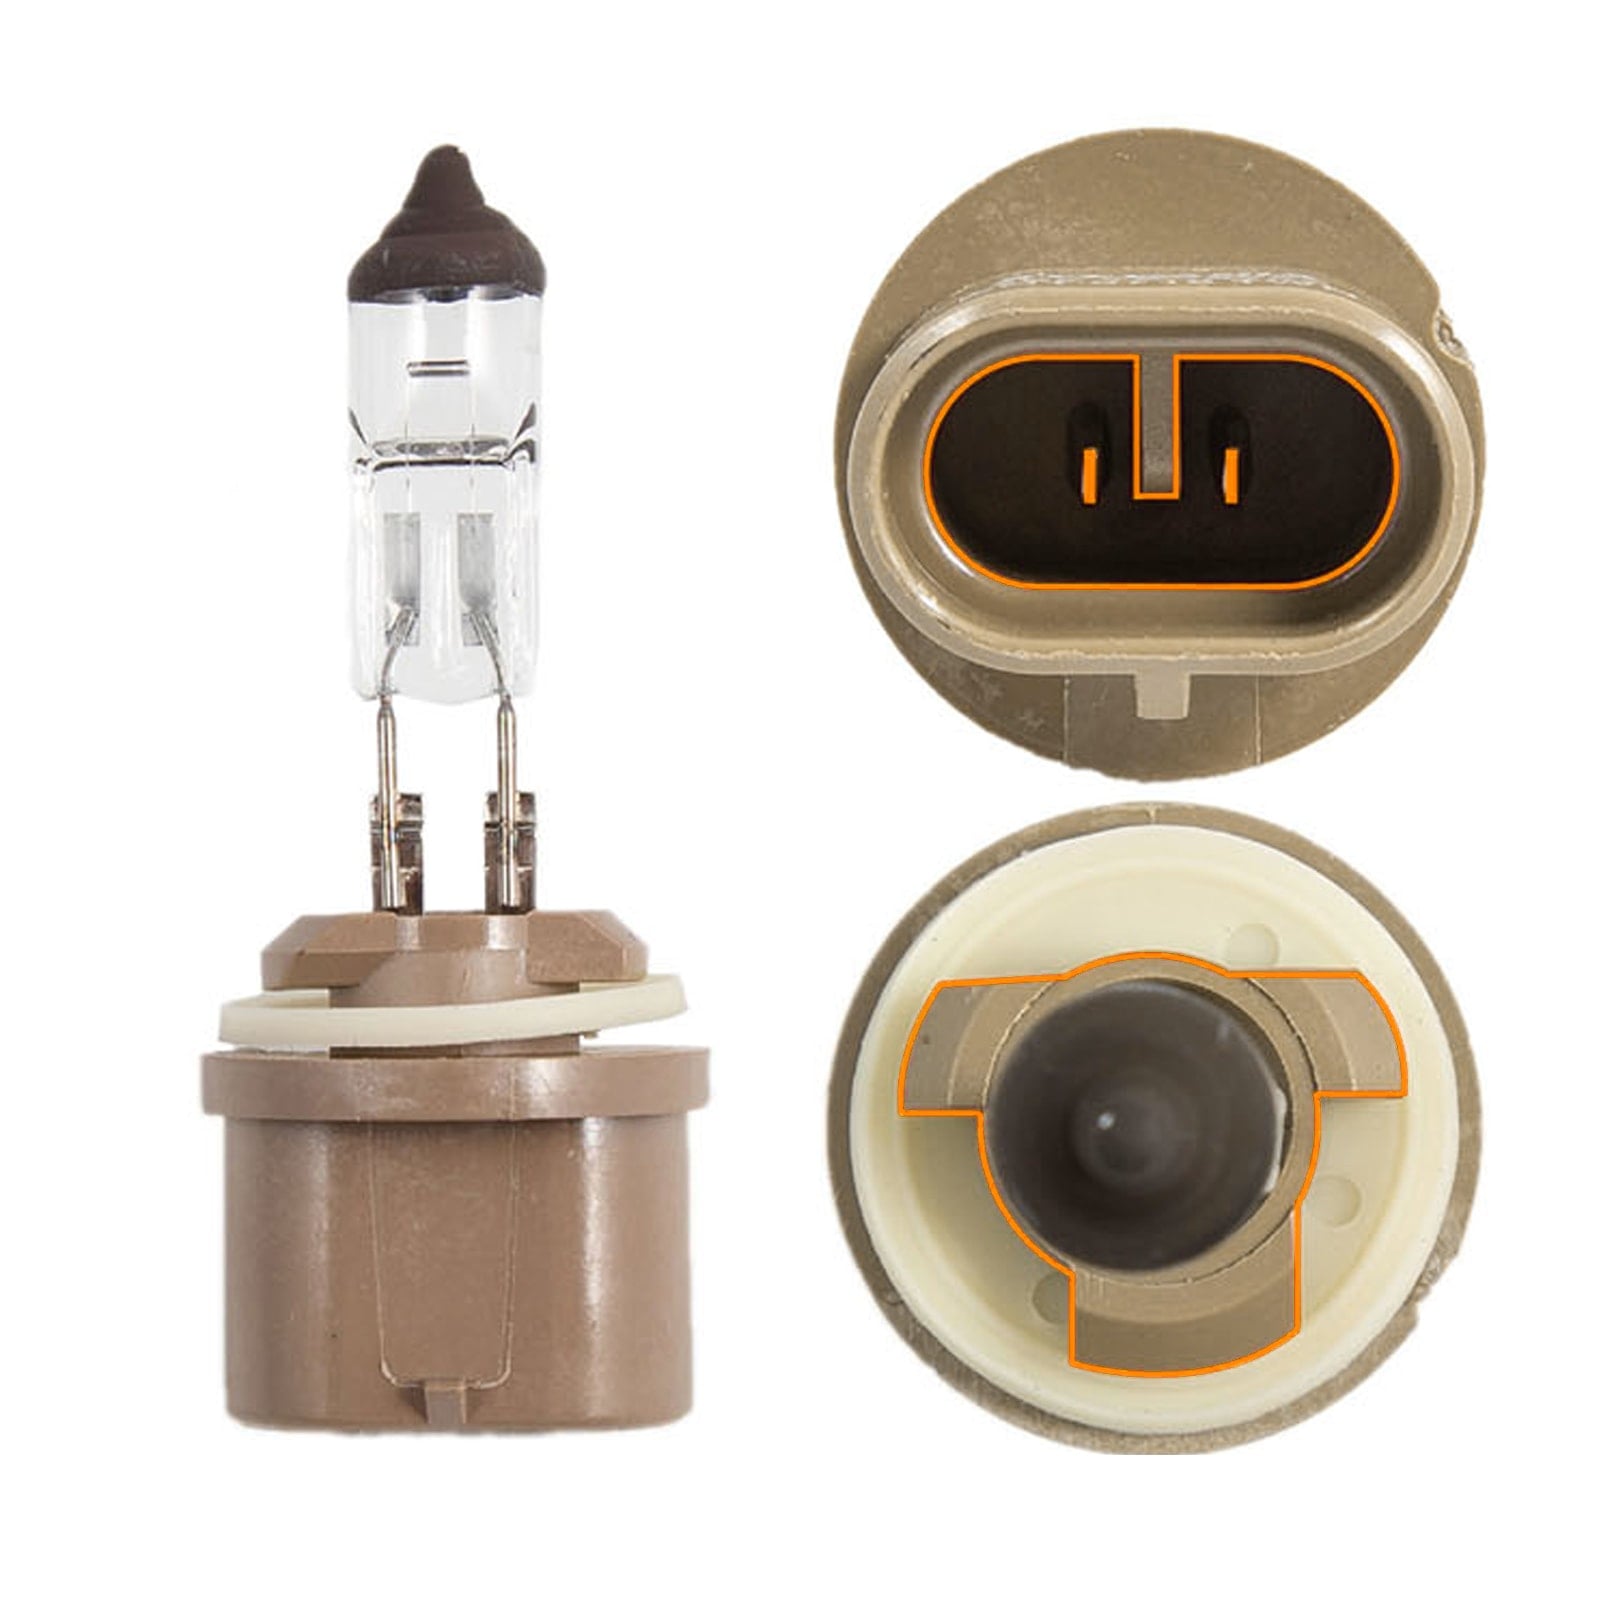
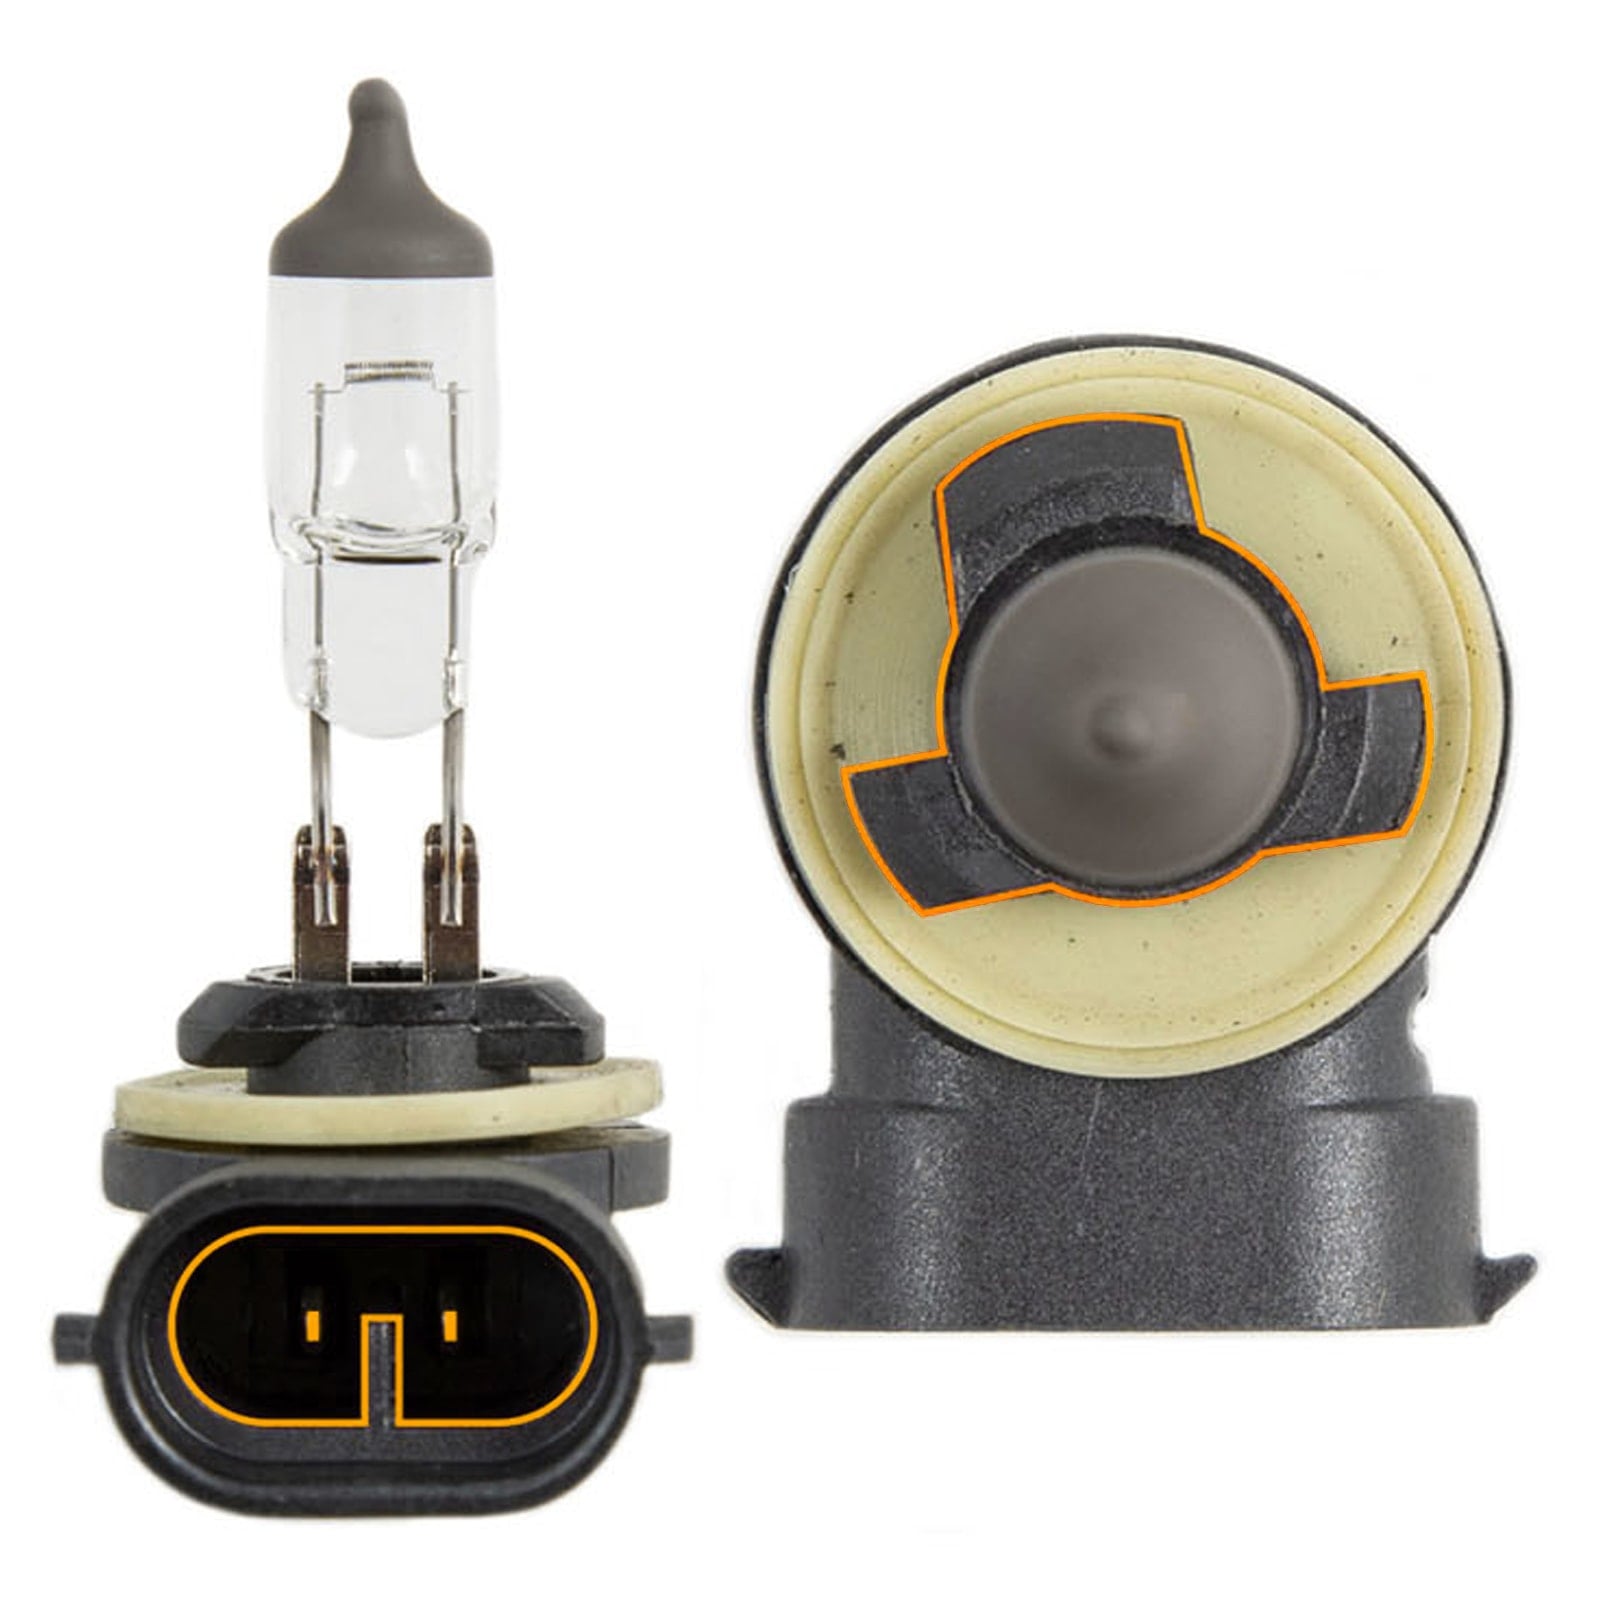
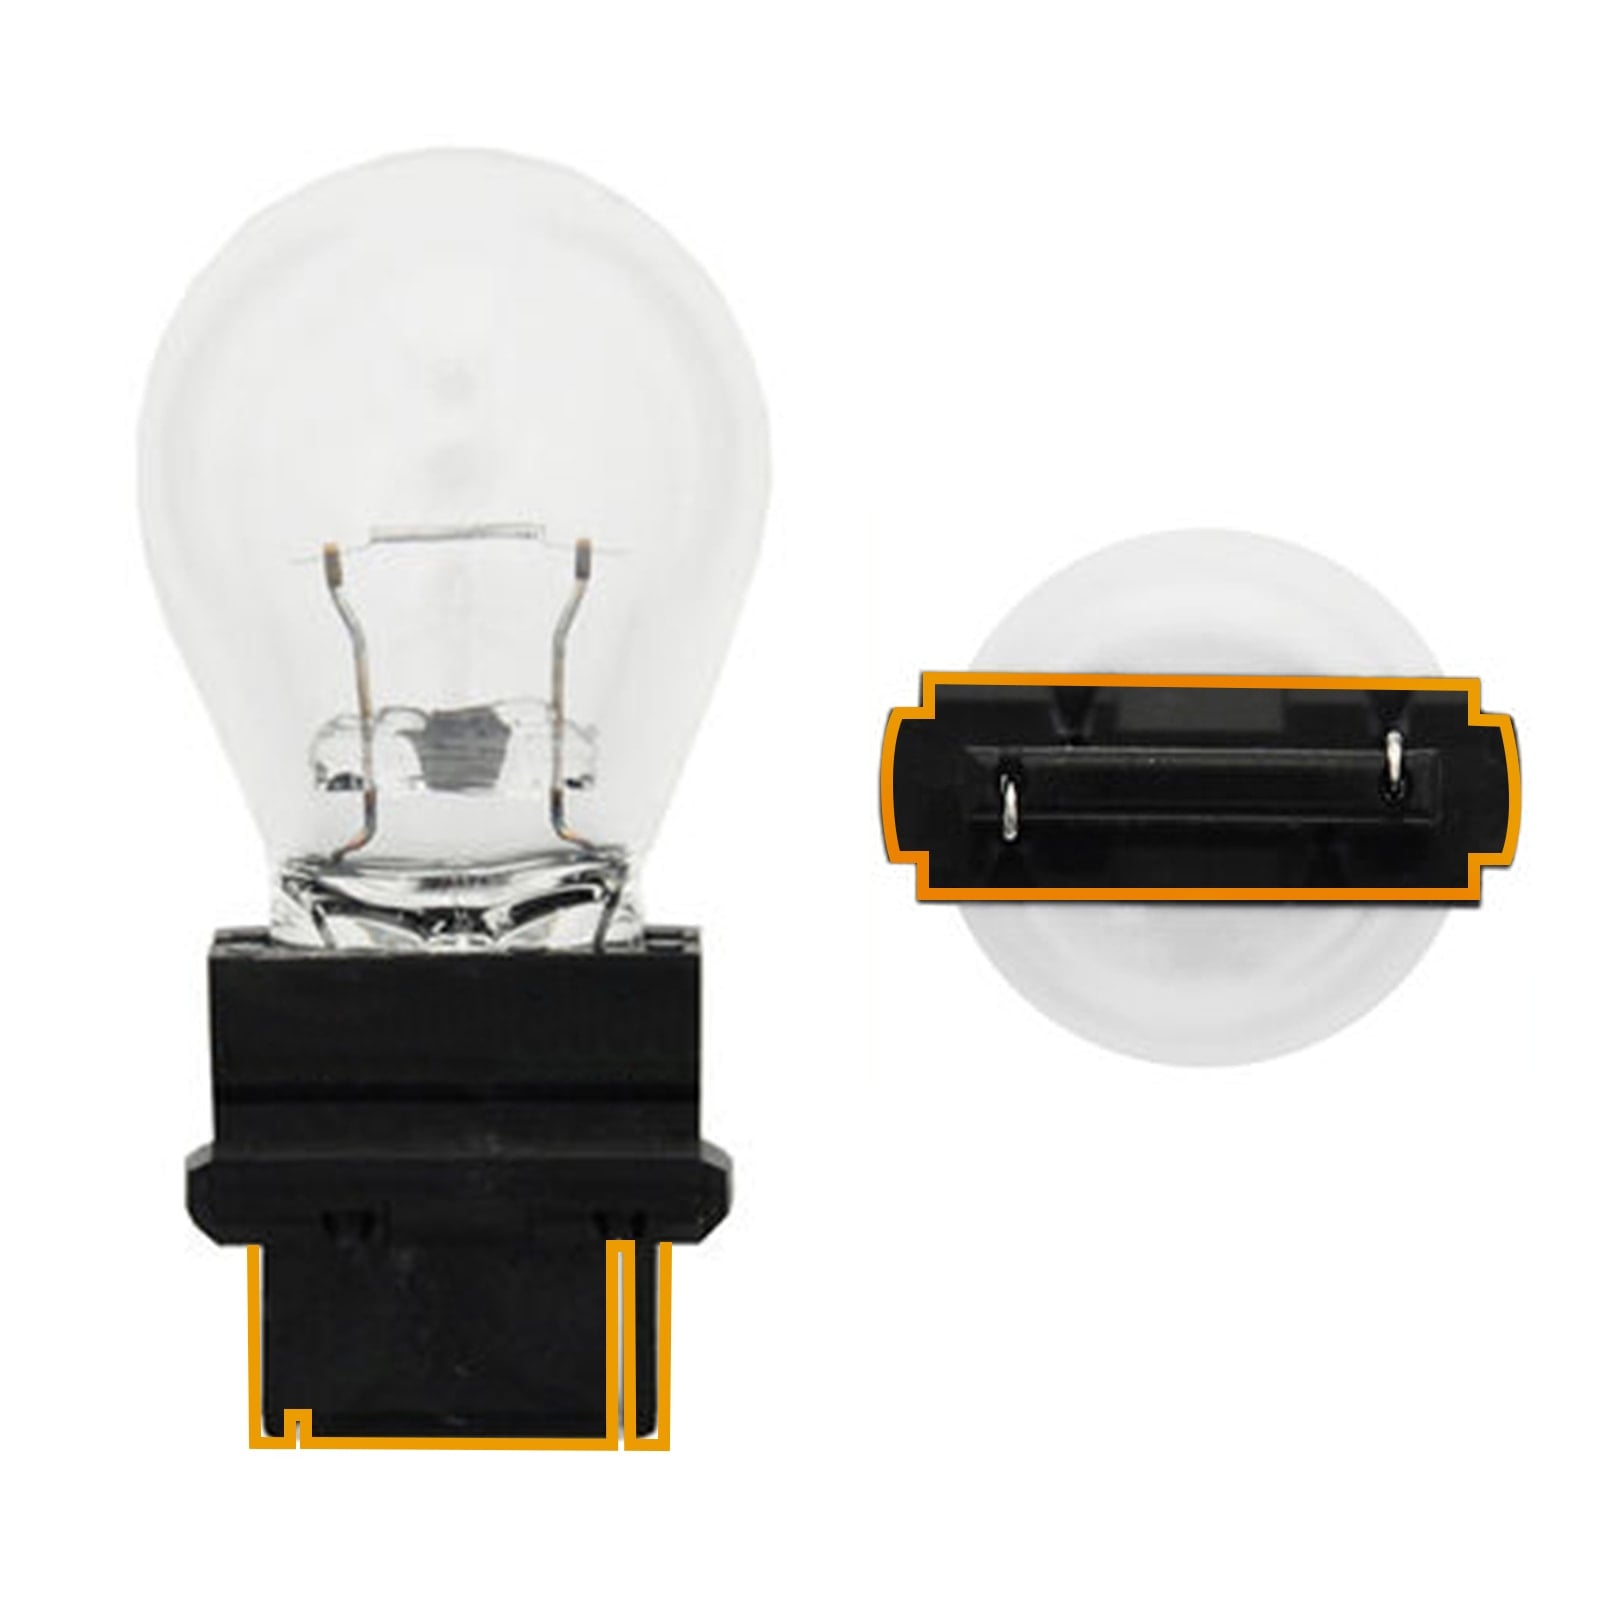
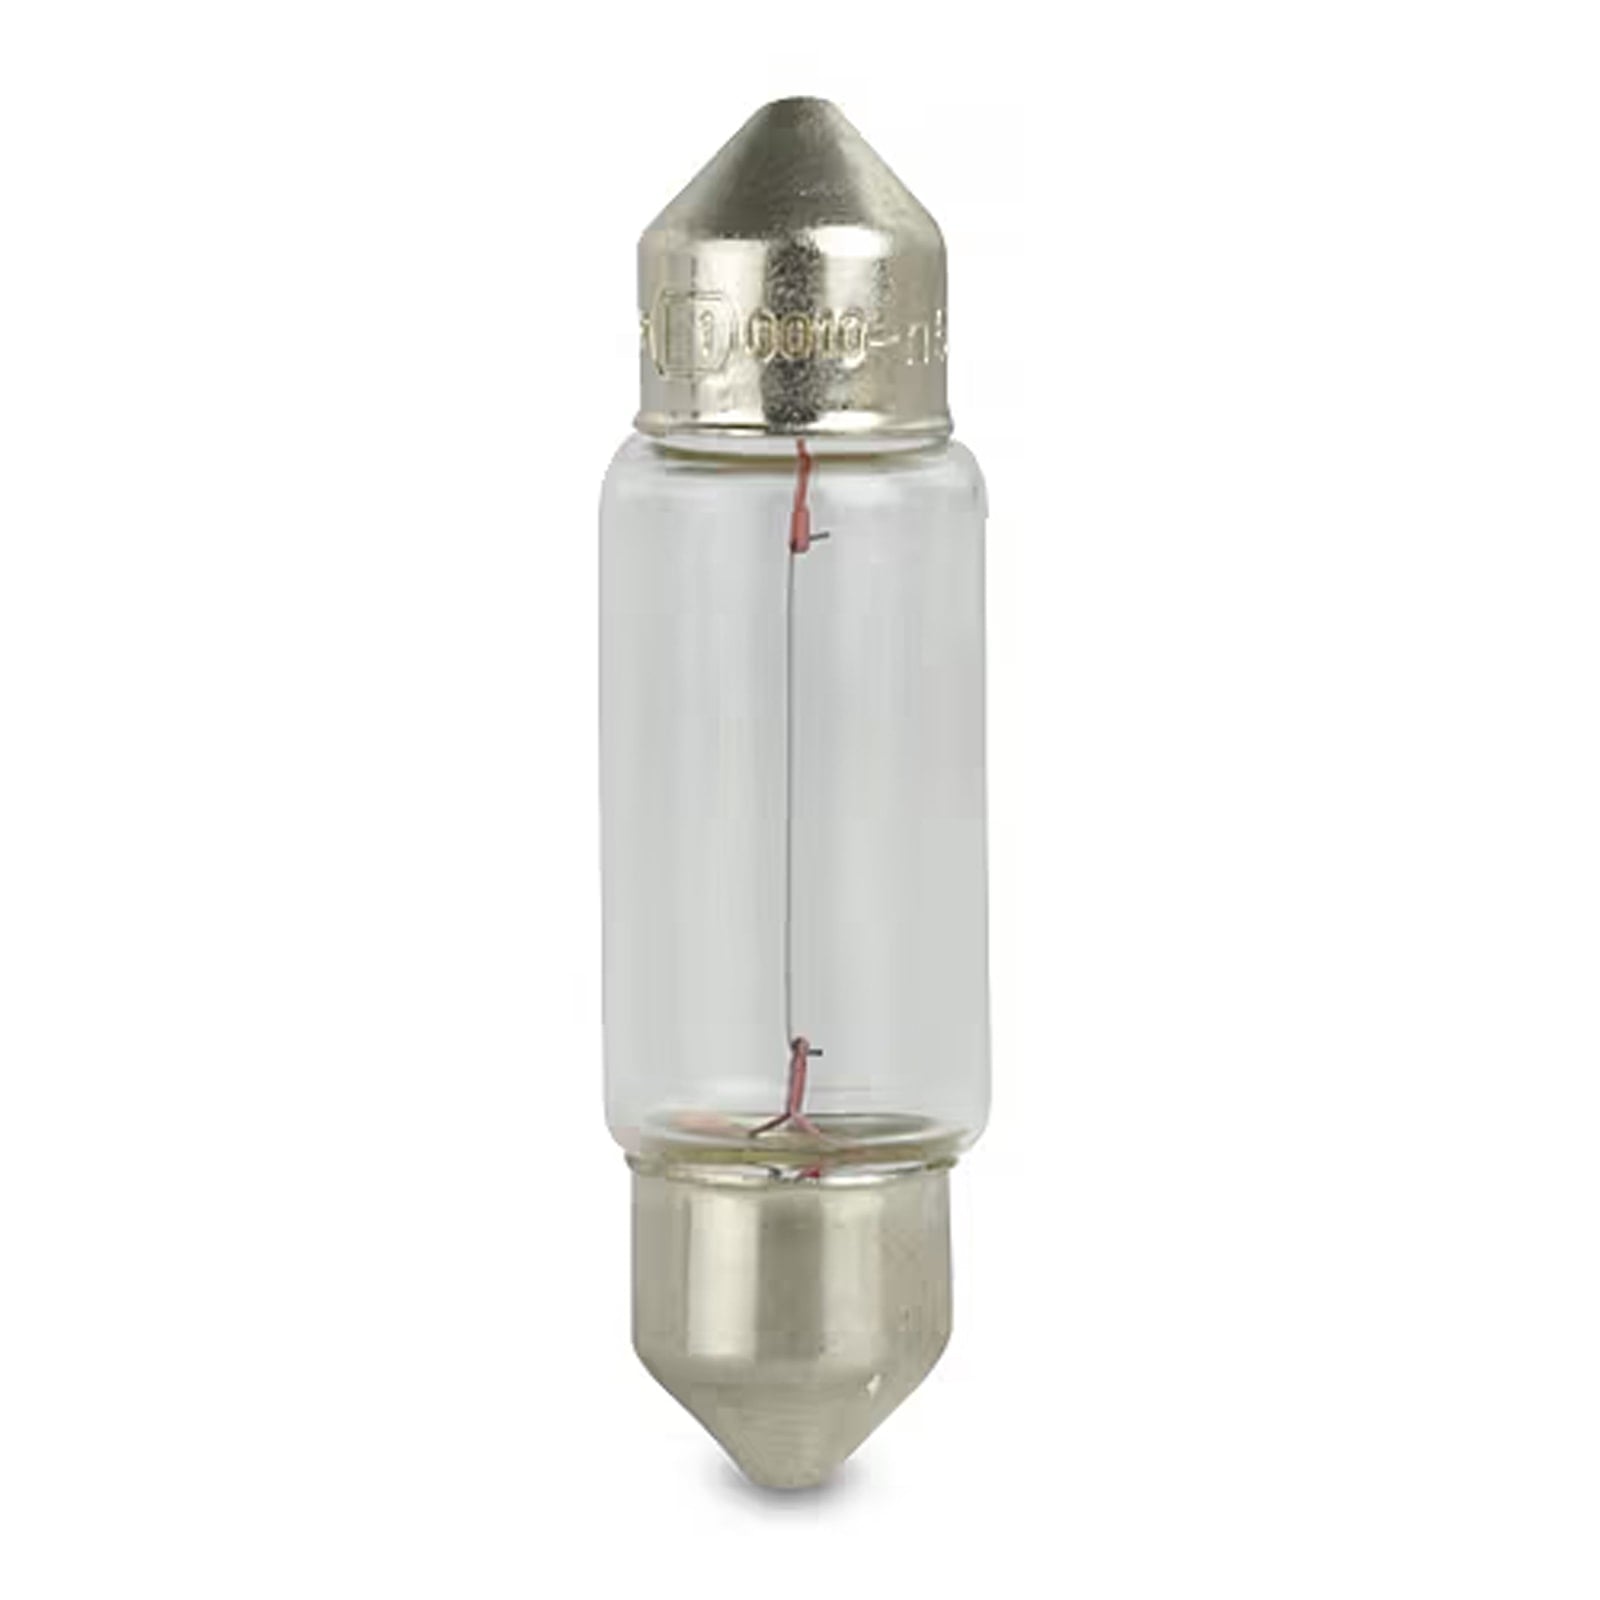
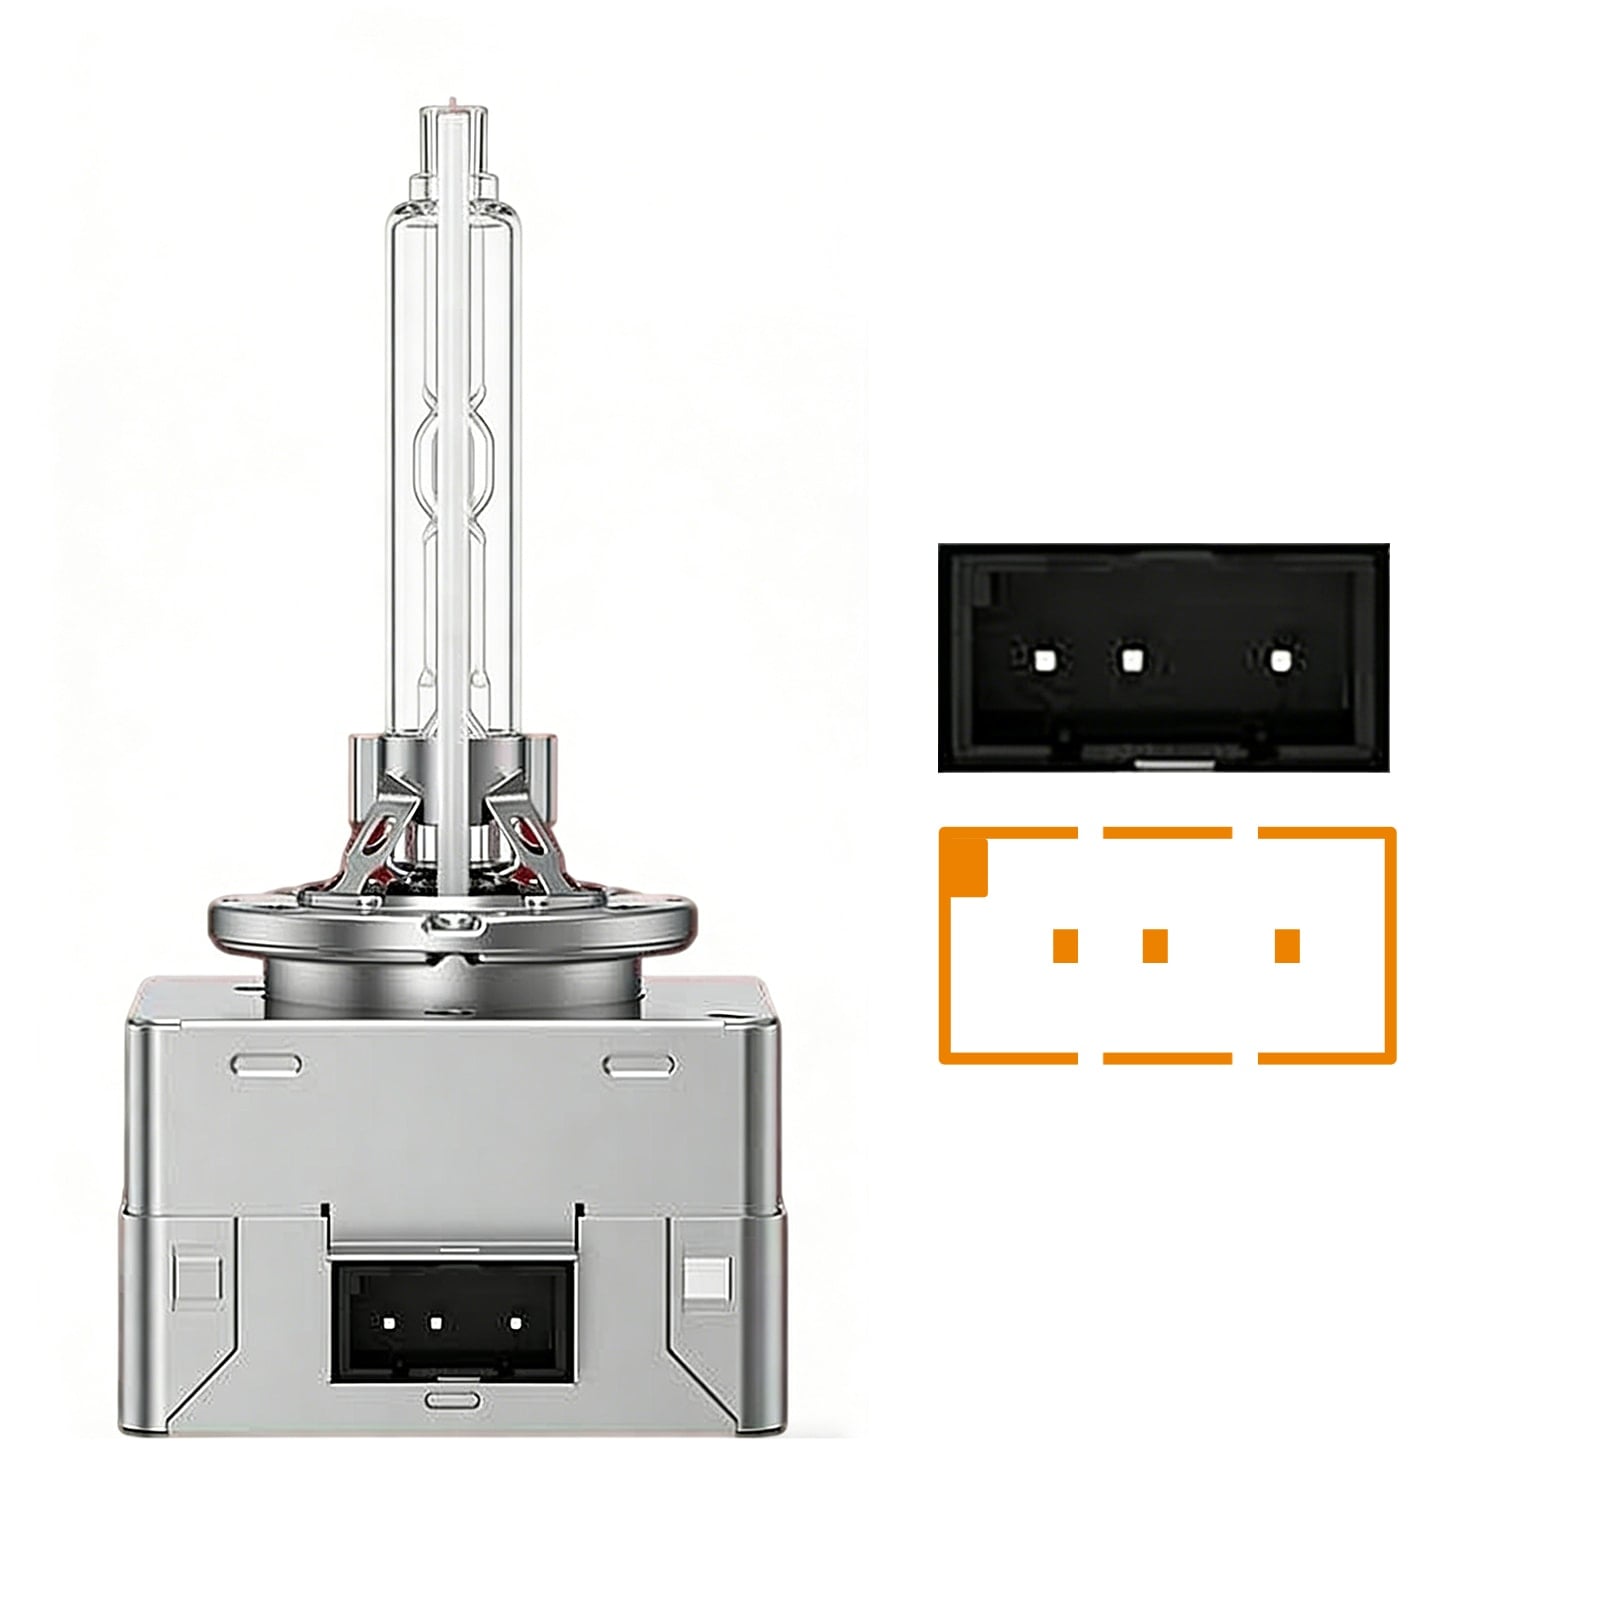
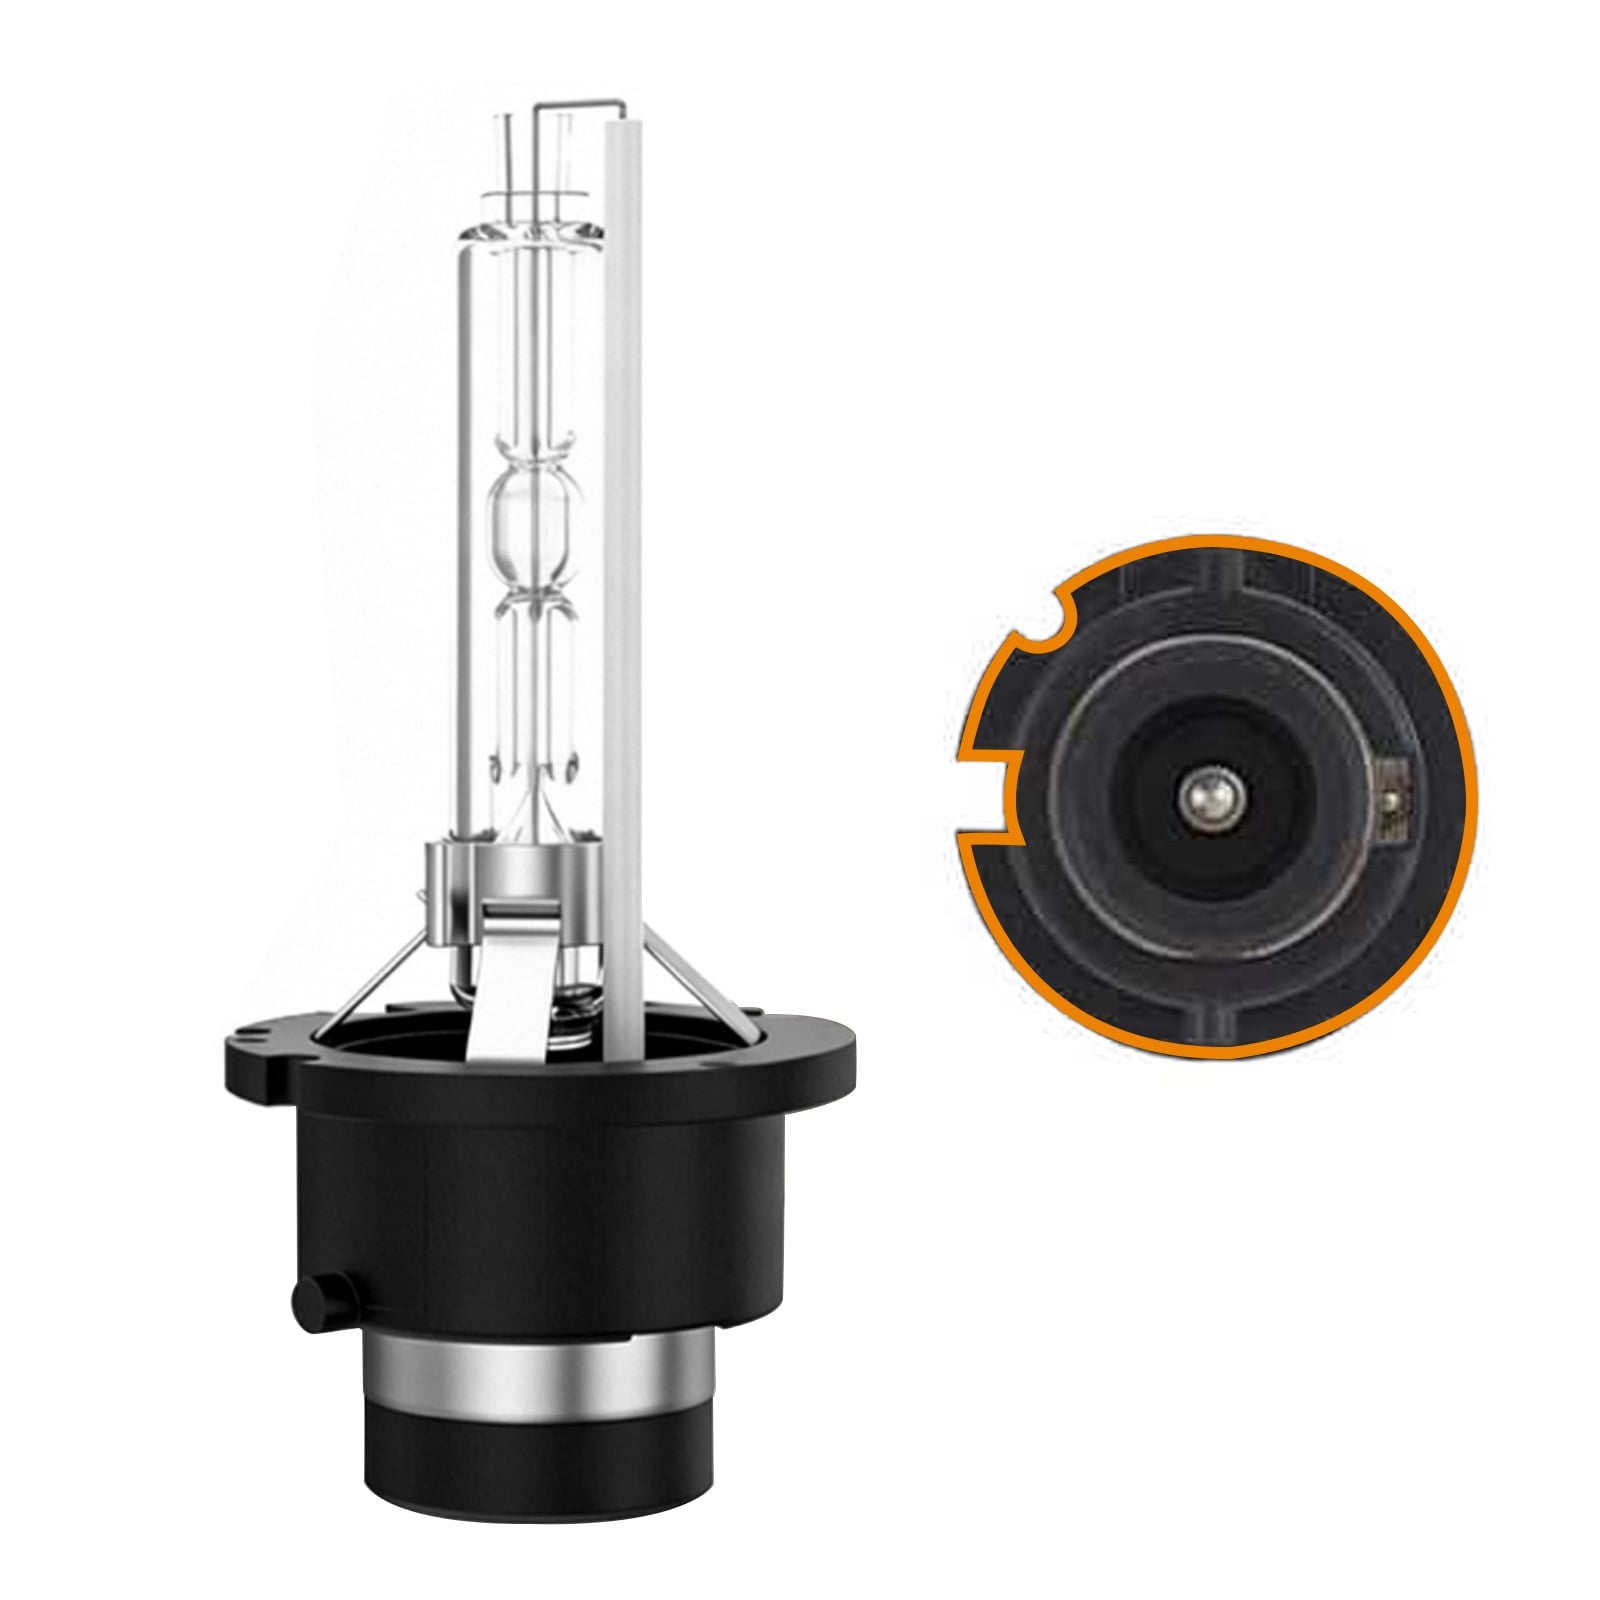
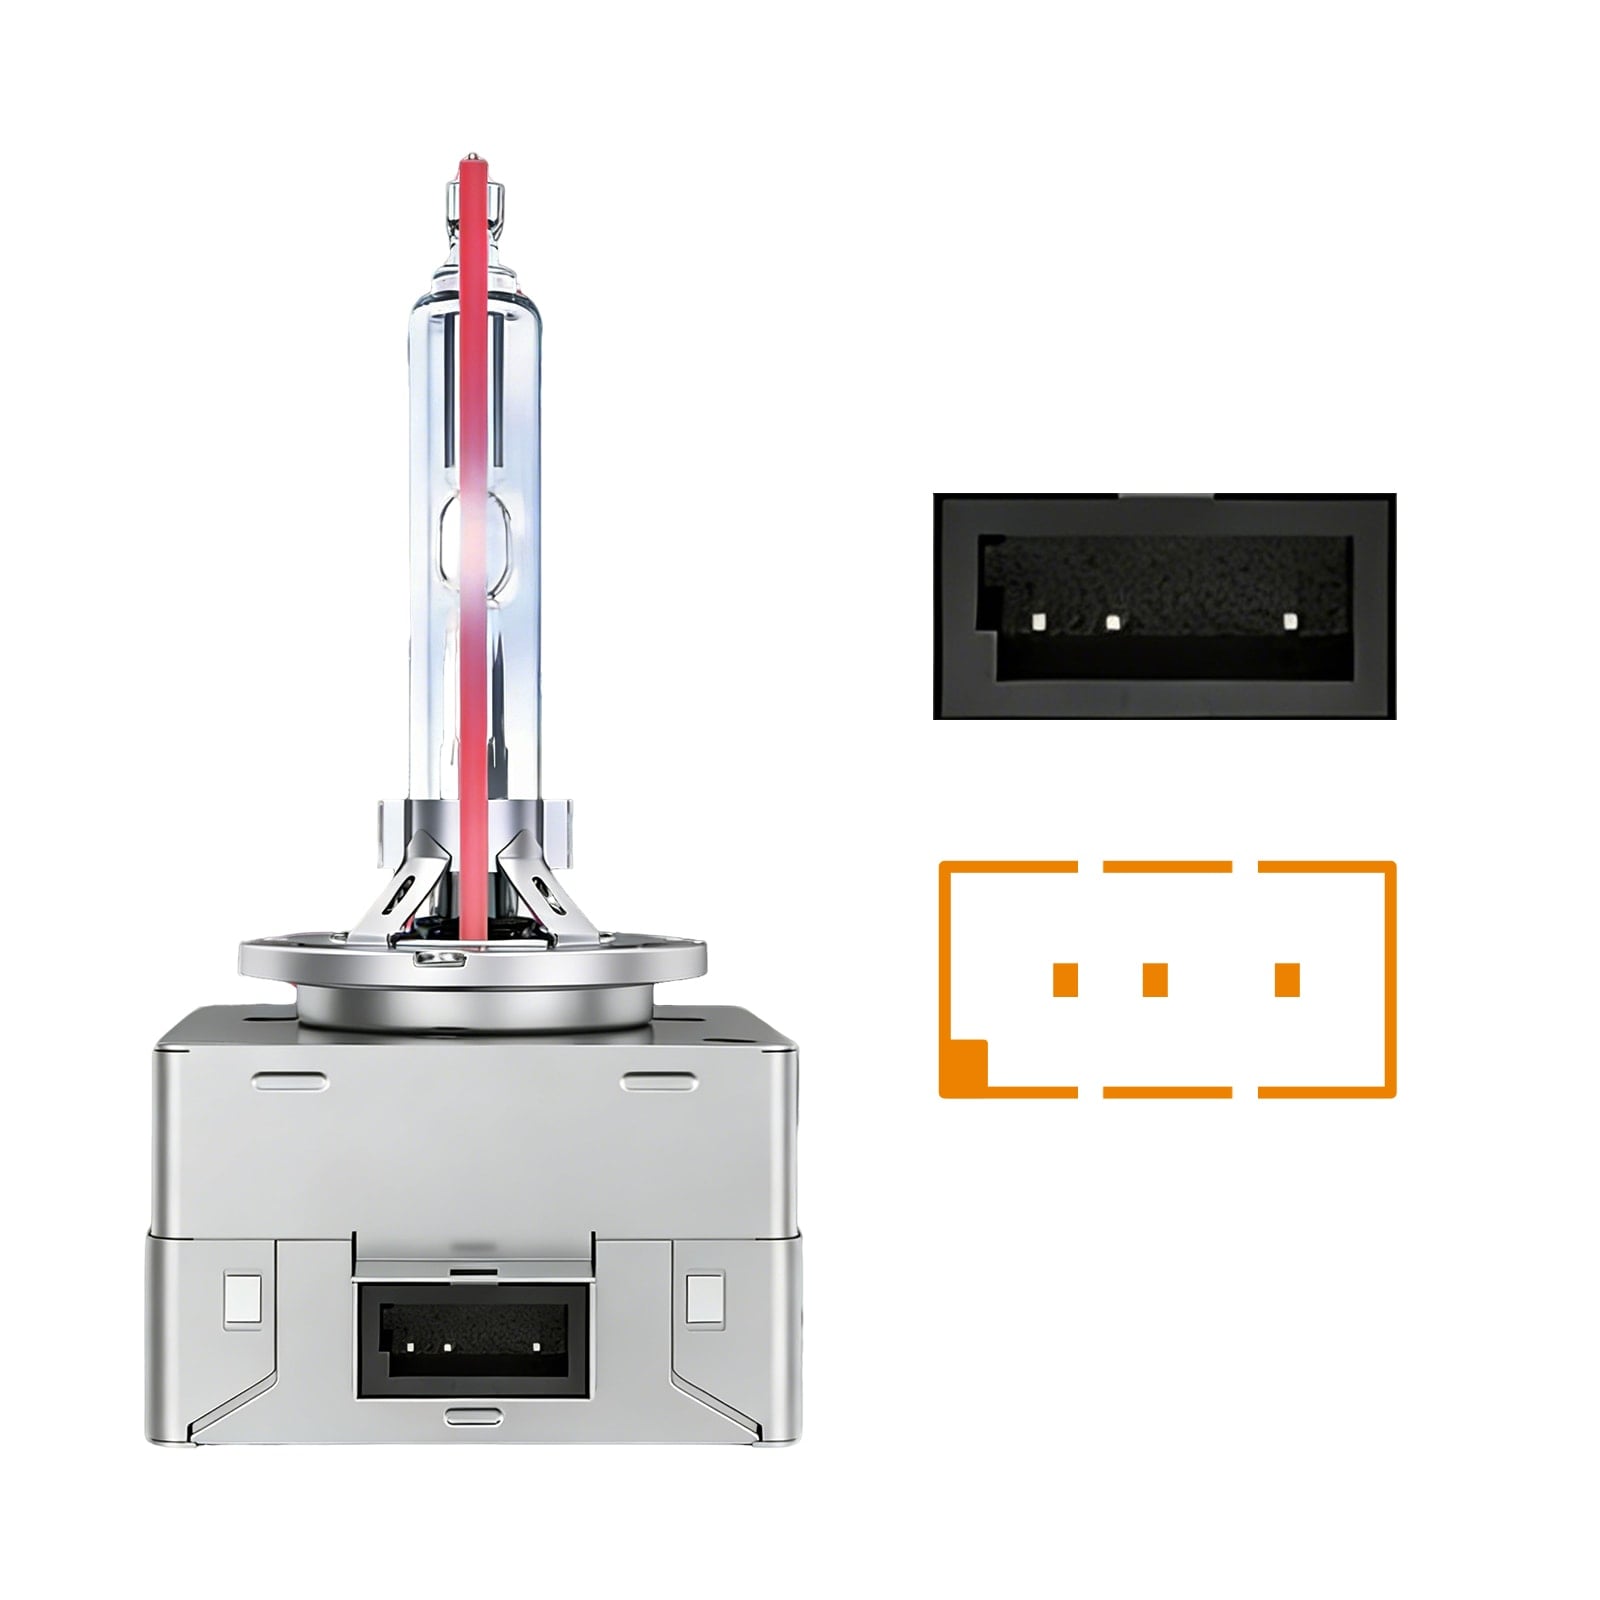
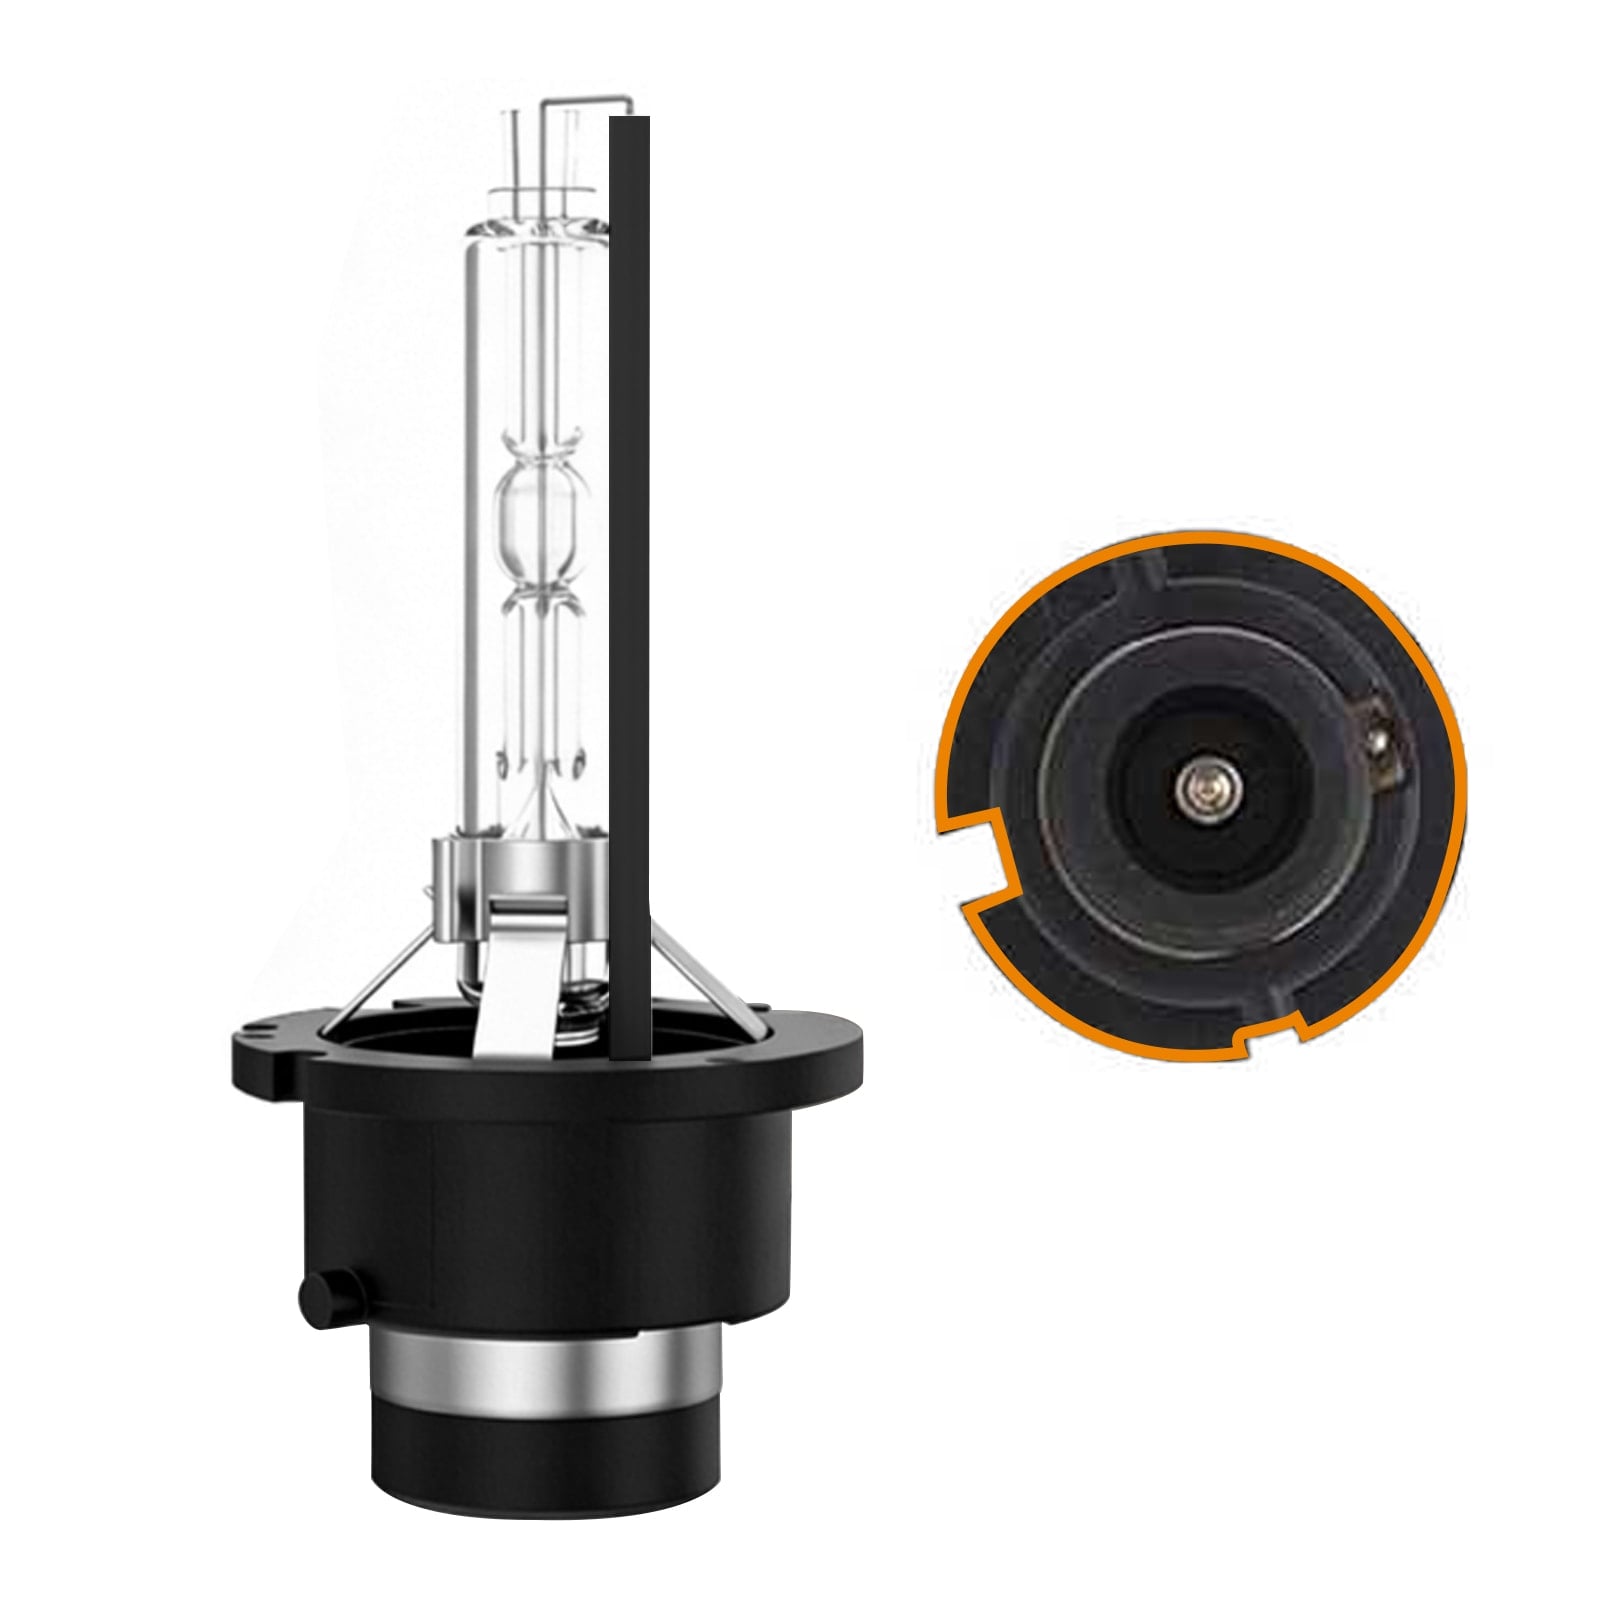
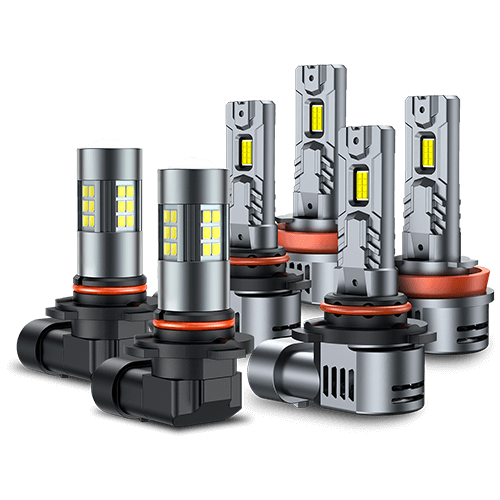


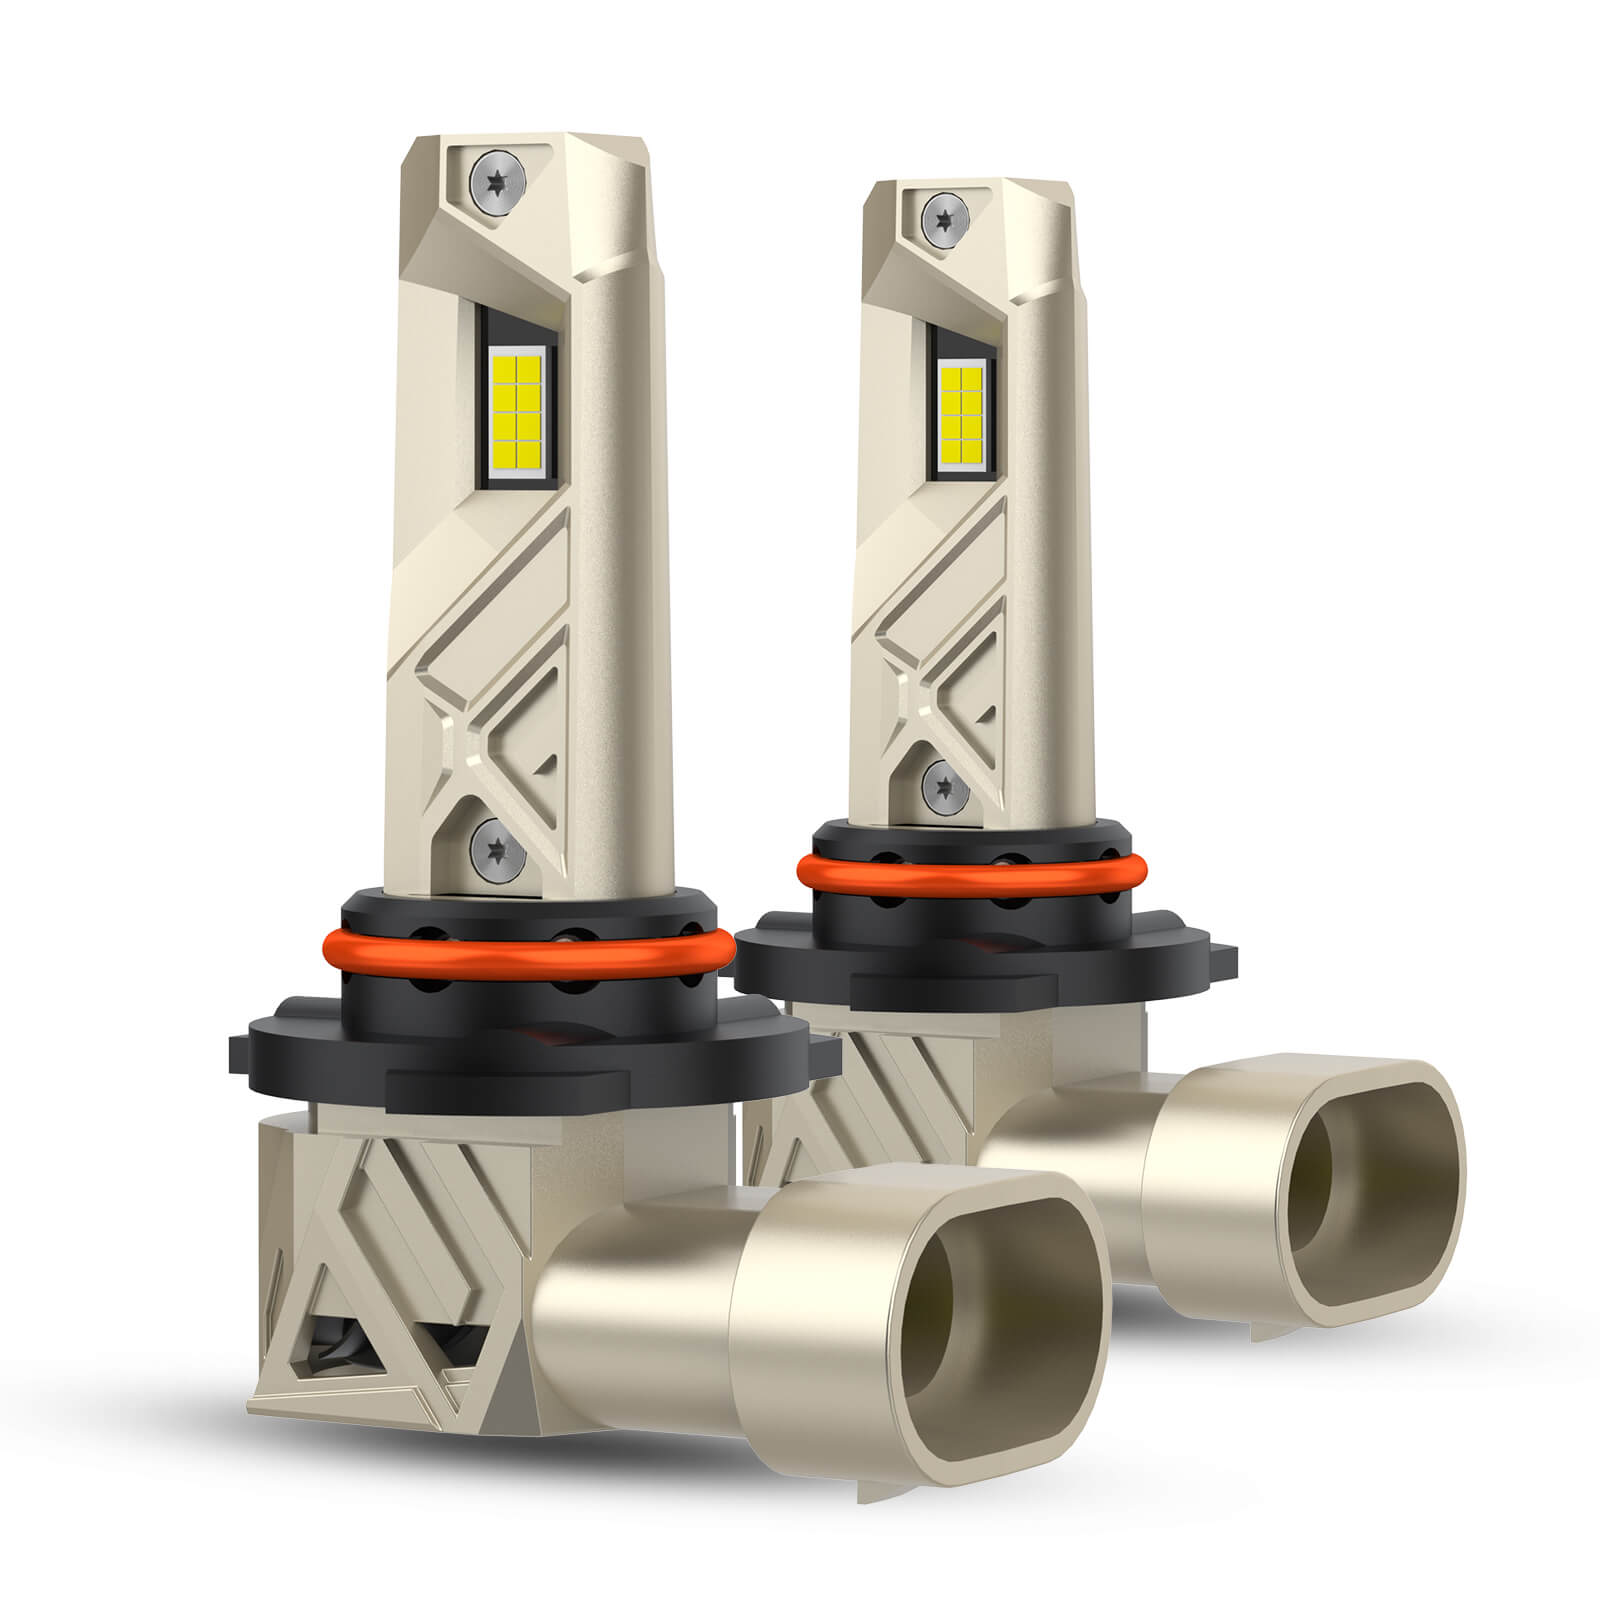


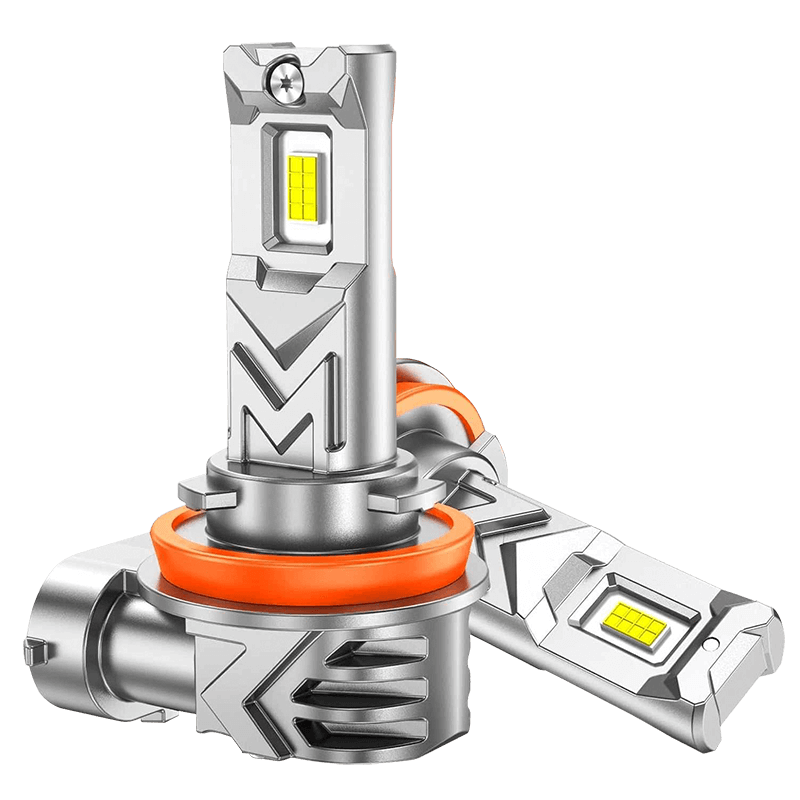
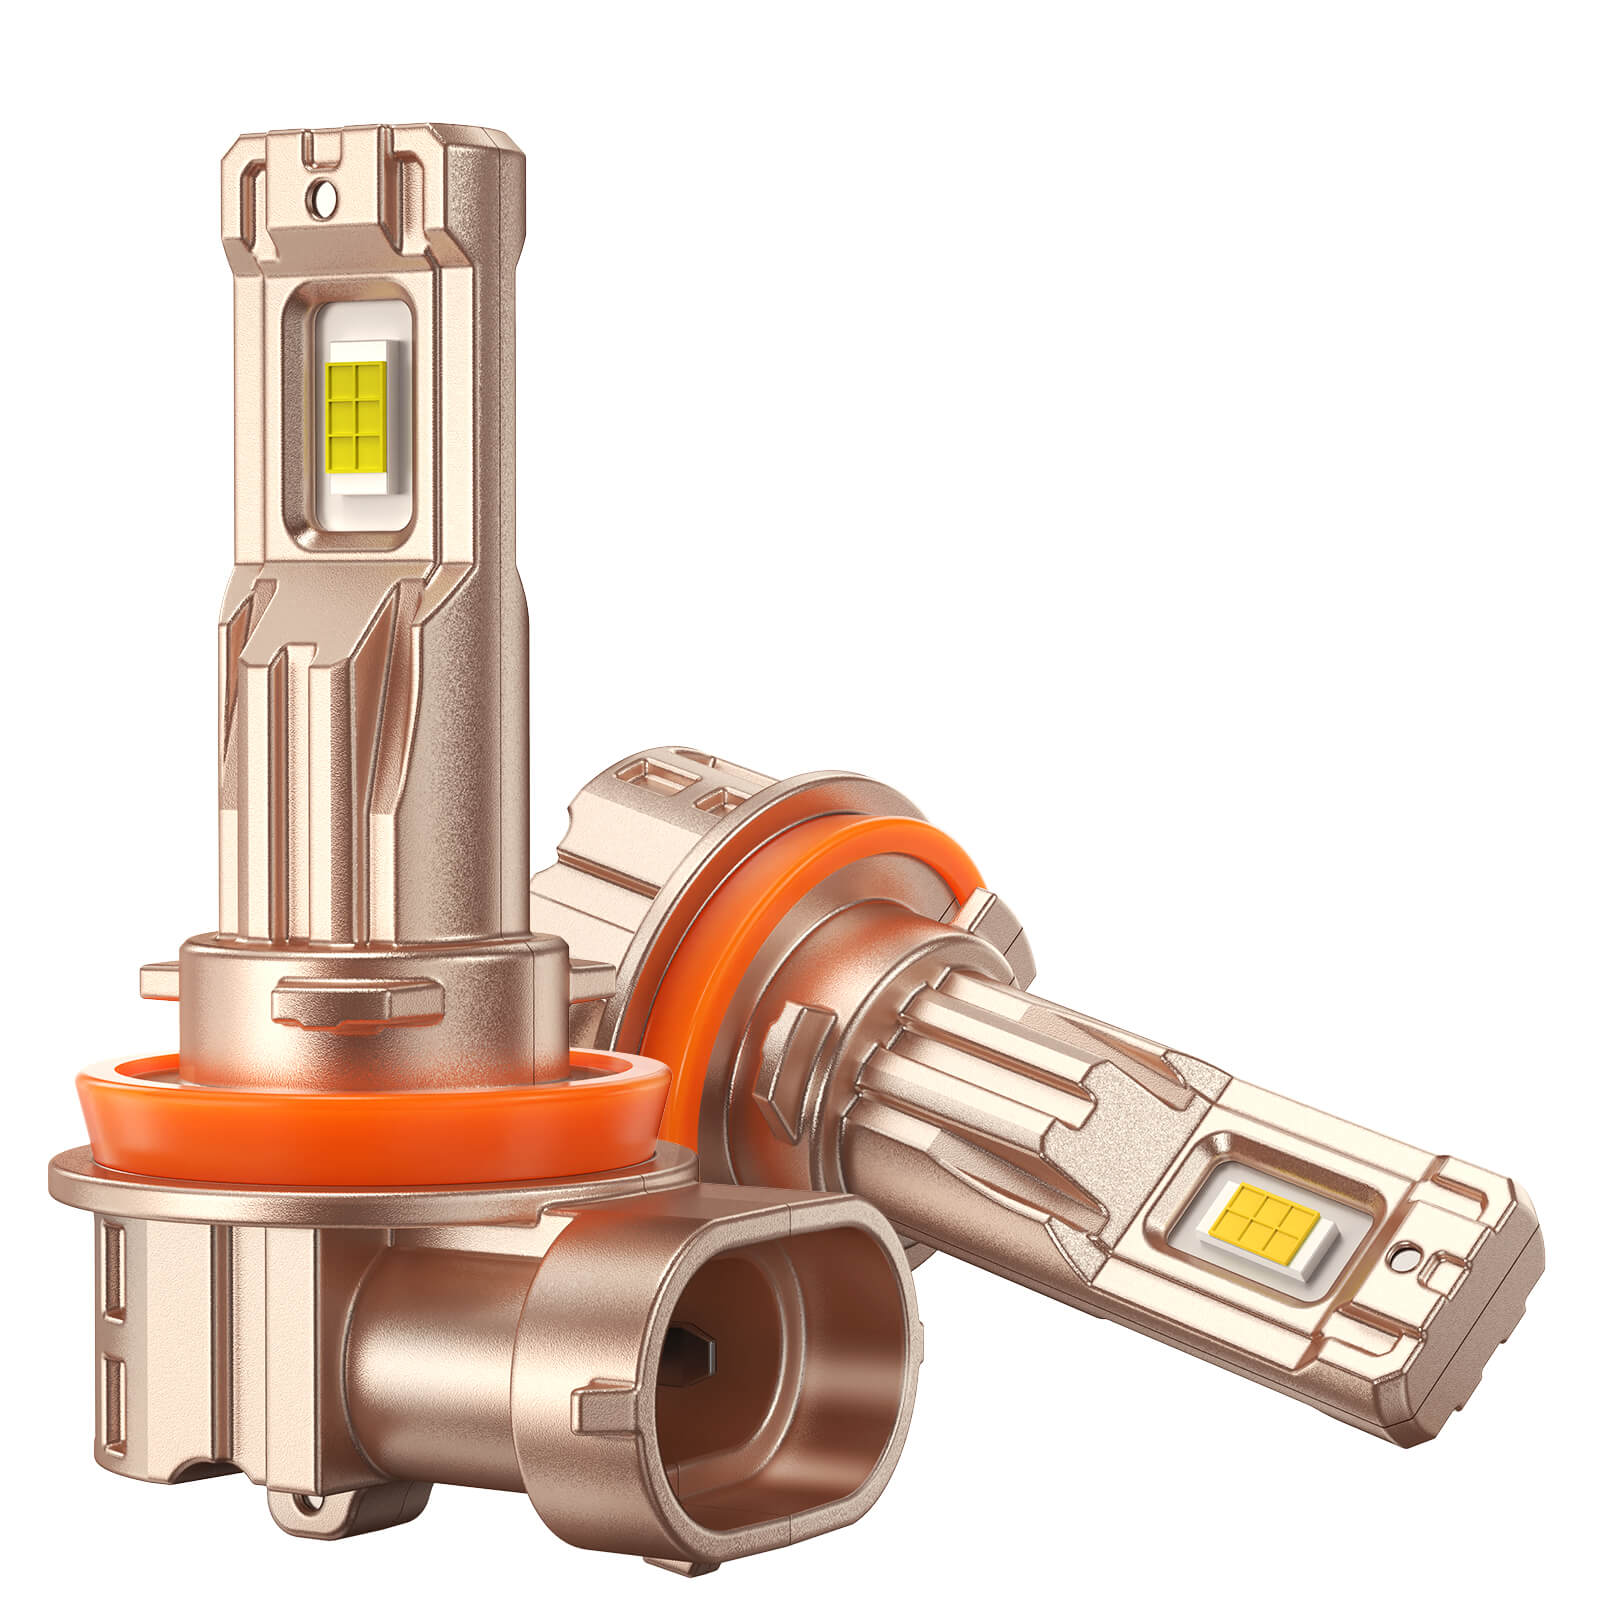


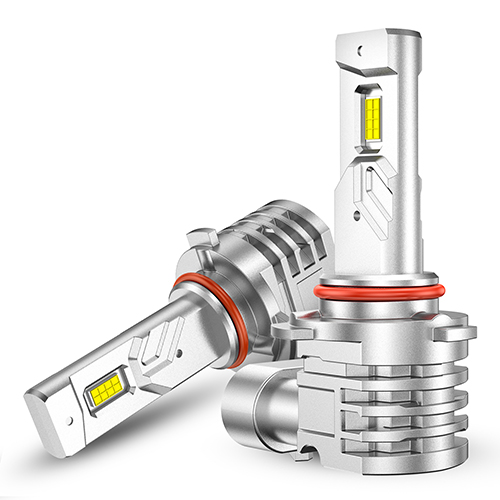
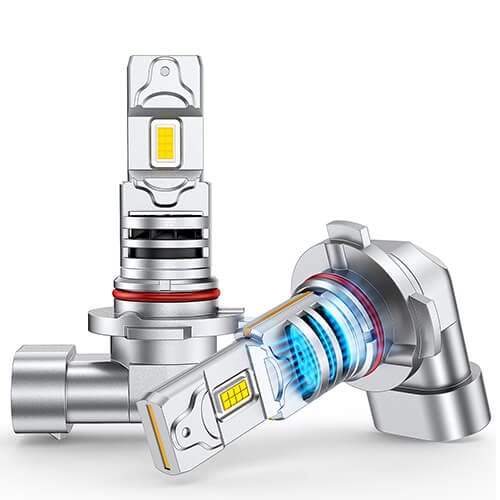



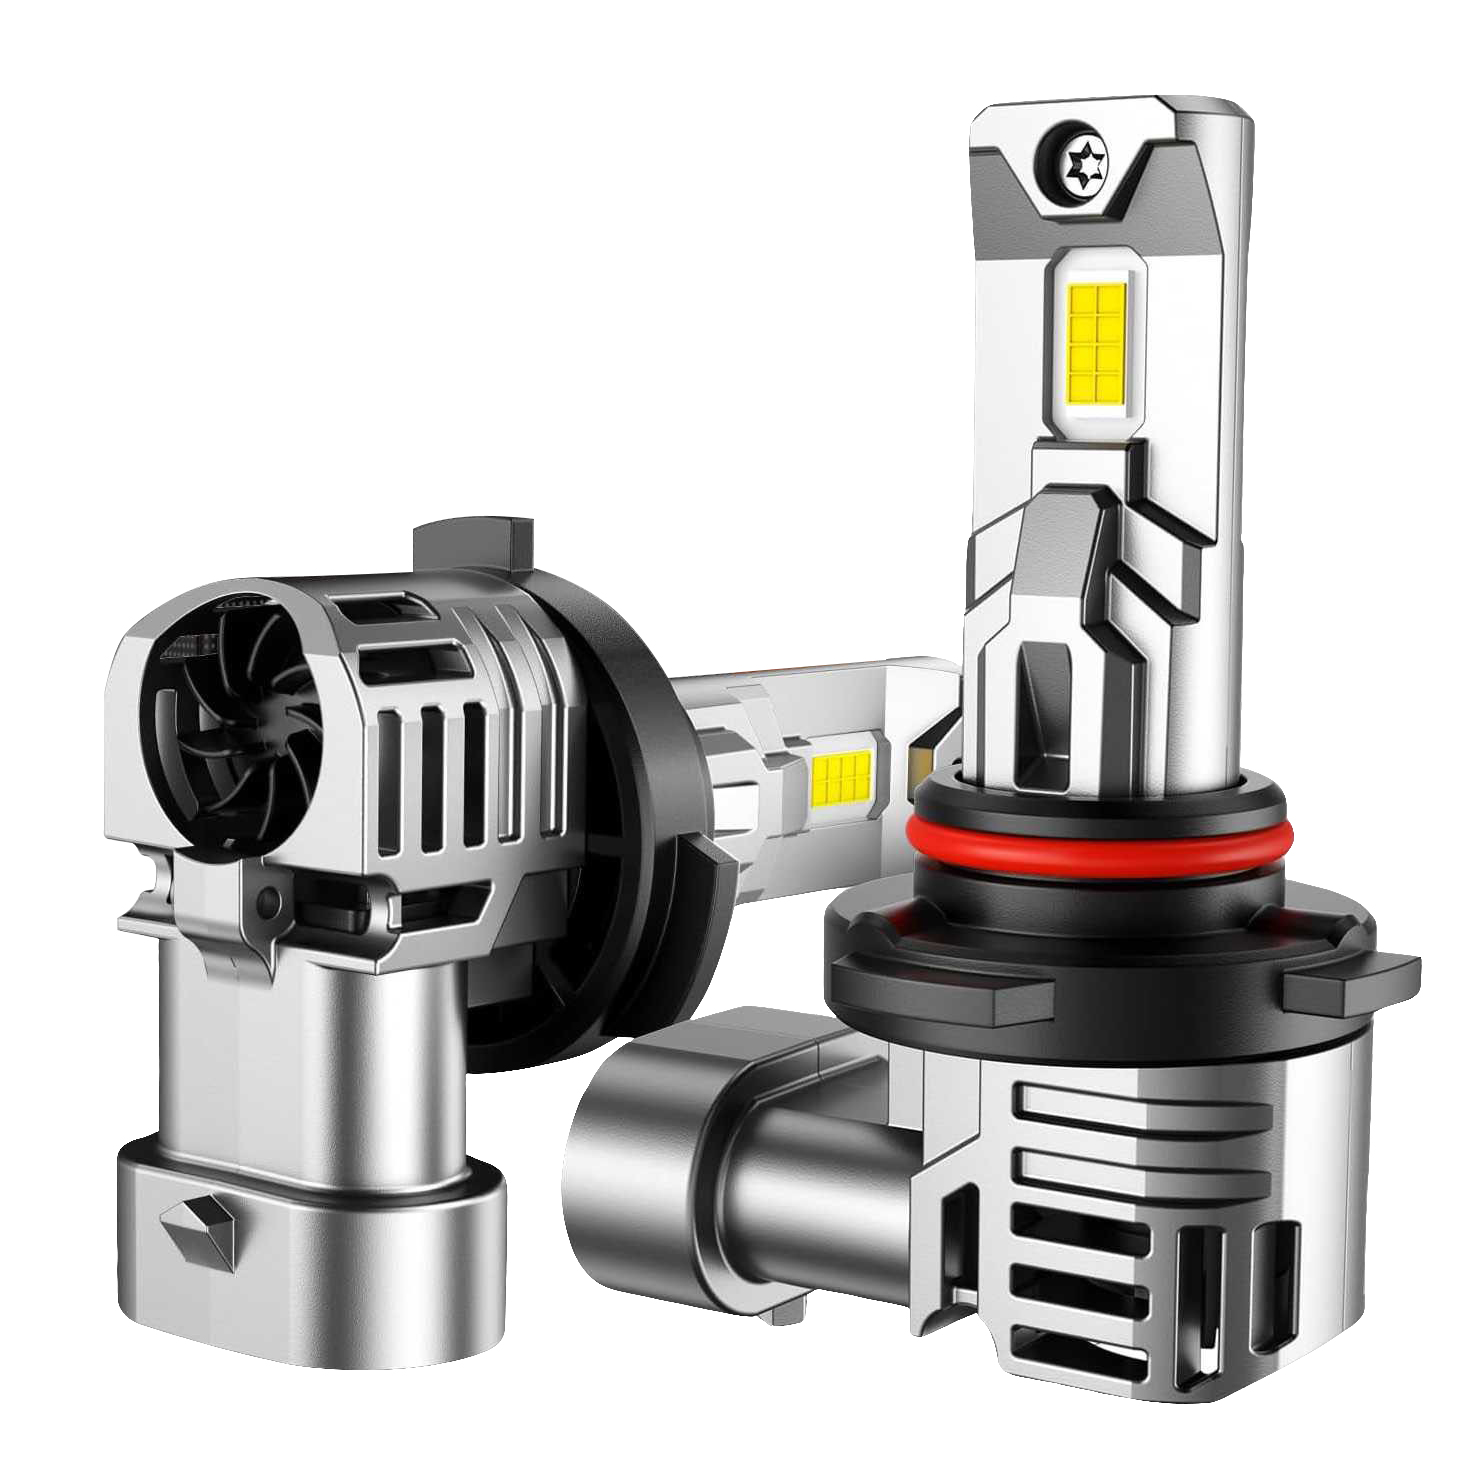


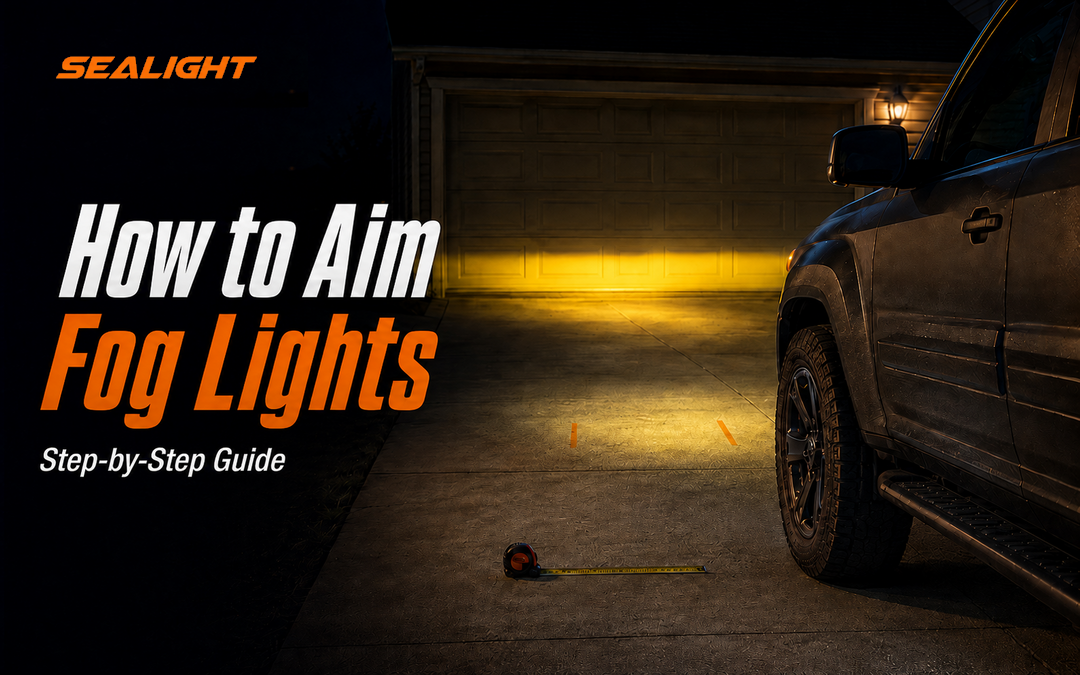
Fog lights should cast a low, wide beam across the road without shining into other drivers’ eyes. If they point too high, they can create glare. If they point too low, much of their light is wasted directly in front of the vehicle.
This guide explains how to aim fog lights using a level surface, a wall, and the adjustment screw on the fog light housing. The same basic process applies to many factory fog lights and adjustable LED fog lights.
What Should a Fog Light Aiming Pattern Look Like?
A correct fog light aiming pattern spreads light across the road close to the vehicle. It should illuminate the lane edges and nearby road surface rather than project far into the distance.
When the fog lights shine on a wall:
- The beams should appear low and wide.
- The top cutoff or gradient should sit below the center height of the fog lights.
- The left and right beams should be at about the same height.
- The light should not rise toward the eye level of oncoming drivers.
Projector-style fog lights often produce a sharp cutoff. Factory reflector fog lights may have a softer upper edge. In that case, use the most visible transition between the bright and dark areas as your aiming reference. Fog lights should also sit lower than the main headlight beam because they serve different lighting purposes.
Check the beam pattern after switching to LED fog light bulbs. Even if the housing has not moved, an incorrectly seated bulb or a changed light pattern may affect the final output.
What You Need to Adjust Fog Lights
Prepare the following items before starting:
- A level parking area
- A flat wall or garage door
- A tape measure
- Painter’s tape
- A Phillips, Torx, or other suitable screwdriver
- A dark or shaded testing area
Set the vehicle up as it is normally driven. Keep the usual cargo in place, make sure the tire pressures are even, and place a person of similar weight to the driver in the driver’s seat when practical. Uneven tire pressure or unusual cargo weight can change the vehicle’s height and affect the measurement.
How to Aim LED Fog Lights Step by Step
Fog light adjustment requires a level vehicle, an accurate wall mark, and access to the vertical adjustment screw. Complete the setup in normal driving condition, then adjust one light at a time so overlapping beams do not hide height differences.
1. Park the Vehicle 25 Feet From a Wall
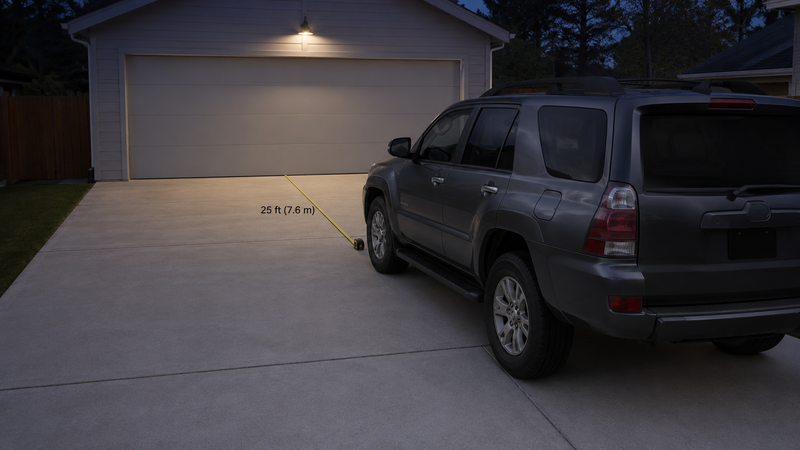
Park on level ground with the vehicle facing a flat wall or garage door. Measure 25 feet, or about 7.6 meters, from the front of the fog light lens to the wall.
Keep the vehicle square to the wall. An angled parking position can make one beam appear higher or farther outward than the other. If 25 feet of level space is unavailable, consult the vehicle or lamp instructions for an approved alternative distance.
2. Measure the Fog Light Height
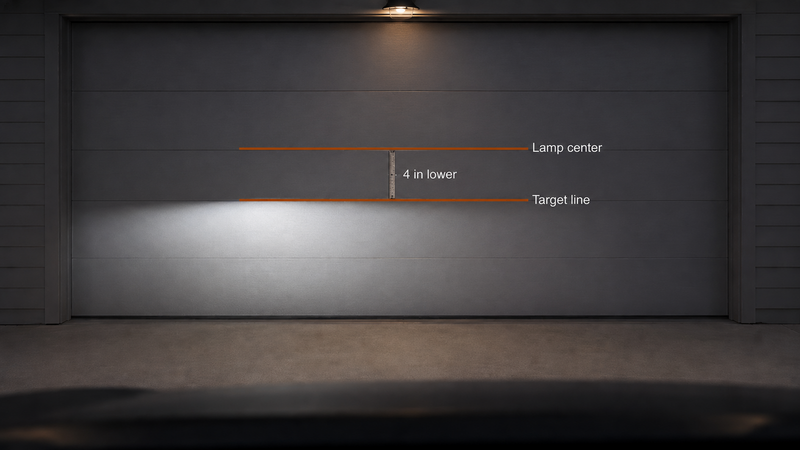
Measure from the ground to the center of the fog light lens or housing. Transfer this measurement to the wall and mark it with a horizontal strip of tape.
For example, if the center of the fog light is 32.5 inches above the ground, place the first tape line at 32.5 inches. This is the lamp-center reference, not the final target height.
3. Mark the Fog Light Aiming Height
Measure 4 inches down from the lamp-center reference and place a second horizontal strip of tape.
For example:
- Fog light center: 32.5 inches
- Target height at 25 feet: 28.5 inches
The top cutoff or upper gradient of the beam should meet this lower line. Use the vehicle or fog light manufacturer’s aiming specification instead if it provides a different target.
4. Check One Fog Light at a Time
Turn on the fog lights and cover or switch off one side. Isolating each beam makes the upper edge easier to see.
Compare the visible cutoff or upper gradient with the target line:
- Lower the beam if it sits above the line.
- Raise the beam if it sits below the line.
Check the first side before moving to the second.
5. Find the Fog Light Adjustment Screw
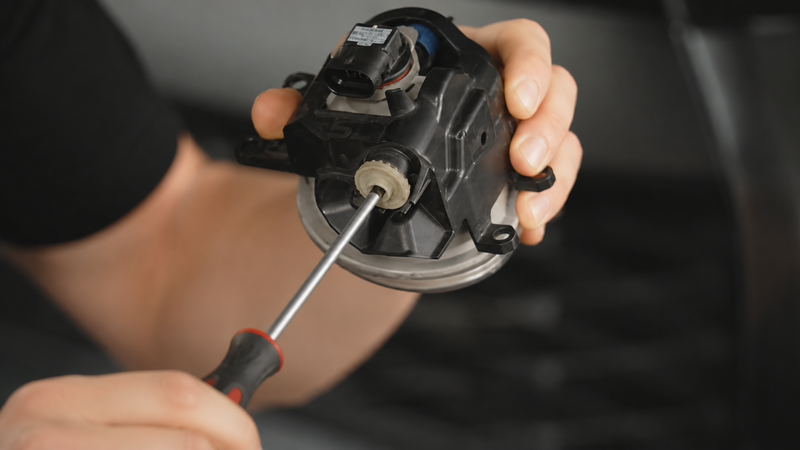
The fog light adjustment screw may be located on the bottom, back, or side of the housing. Some vehicles provide direct access below the bumper, while others require a wheel-well liner or access panel to be loosened.
Factory halogen and aftermarket LED fog light housings may both include an adjuster. Make sure you have found the adjustment screw rather than a mounting screw that holds the housing or bracket in place.
6. Raise or Lower the Beam
Use the correct screwdriver or tool to turn the adjustment screw in small increments. Watch the beam as you turn it to see which direction raises or lowers the pattern. The adjustment direction varies by lamp design.
Continue until the top cutoff or upper gradient meets the lower tape line. Then repeat the process on the other fog light.
7. Check Both Fog Lights
Uncover both fog lights and compare the finished patterns. Their upper edges should sit at approximately the same height, and neither beam should point sharply upward.
The combined fog light aiming pattern should remain low and wide rather than project as far ahead as the headlights. Reinstall any wheel-well liner, access panel, or underbody cover after completing the check.
Common Fog Light Adjustment Problems
Finding the adjustment screw and getting both beams even are often harder than taking the measurements. Use the checks below before assuming the fog lights are defective.
| Fog light problem | What to check |
|---|---|
| One fog light is higher than the other | Cover one side at a time and adjust each beam to the same target line |
| One fog light looks brighter | Compare each light separately and check the bulb, housing, connection, and power supply |
| The adjustment screw is hard to reach | Look behind, below, or beside the housing and check for a wheel-well access point |
| The beam will not adjust low enough | Check whether the adjuster has reached its limit and whether the housing or bracket is installed correctly |
| The fog light has no sharp cutoff | Use the upper gradient of the beam; some reflector housings produce a soft edge |
| The vehicle has been lifted or lowered | Measure the current fog light height and aim the lights again |
| The vehicle has limited ground clearance | Use the proper access point and safe lifting equipment if required; never work beneath an unsupported vehicle |
Replacing only an LED bulb cannot correct every poor beam pattern. A worn, damaged, or incompatible fog light housing may continue to scatter light even after its vertical aim has been adjusted.
Frequently Asked Questions
Do Fog Lights Need to Be Aimed Lower Than Headlights?
Yes. Fog lights use a lower beam to illuminate the road close to the vehicle. They should not be aligned at the same height as the main headlights. Headlights require a separate process, which is covered in our headlight alignment guide.
Do I Need Exactly 25 Feet to Aim Fog Lights?
The method in this guide requires 25 feet of level space between the fog light lenses and the wall. If that distance is unavailable, follow the aiming instructions supplied with the vehicle or fog light assembly instead of using the same 4-inch drop at a shorter distance.
How High Should Fog Lights Be Aimed?
With the vehicle 25 feet from the wall, mark a target line 4 inches below the measured center height of the fog lights. Align the top cutoff or upper beam gradient with that line unless the manufacturer specifies another target.
Where Are Fog Lights Supposed to Point?
Fog lights should project a low beam onto the road ahead. On the wall, the top of the beam should remain below the measured center height of the lamps rather than point upward toward other drivers.
Can I Aim Fog Lights After Lifting or Lowering My Vehicle?
Yes. Set the vehicle at its current ride height, measure the fog light centers again, and create new wall marks before adjusting the beams. Do not reuse measurements taken before the suspension change.
How Should I Use Fog Lights Correctly?
Use fog lights to support close-range visibility in fog, heavy rain, snow, or other low-visibility conditions. They do not replace correctly aimed headlights and should not be used to create extra long-range light.
What Are the Rules for Fog Lights?
Fog light rules vary by state and may cover lamp color, mounting position, quantity, and when the lights can be used. Federal vehicle-lighting requirements are published in FMVSS No. 108, but drivers should also check their state DMV rules.
Conclusion
Learning how to aim fog lights comes down to four main actions: park 25 feet from a wall, measure the center height of the lamps, mark a target 4 inches lower, and adjust each beam separately.
A proper fog light adjustment produces a low, wide pattern with both sides at a similar height. The goal is useful light on the road—not the longest or highest beam possible. Always follow a vehicle- or product-specific aiming specification when one is available.