


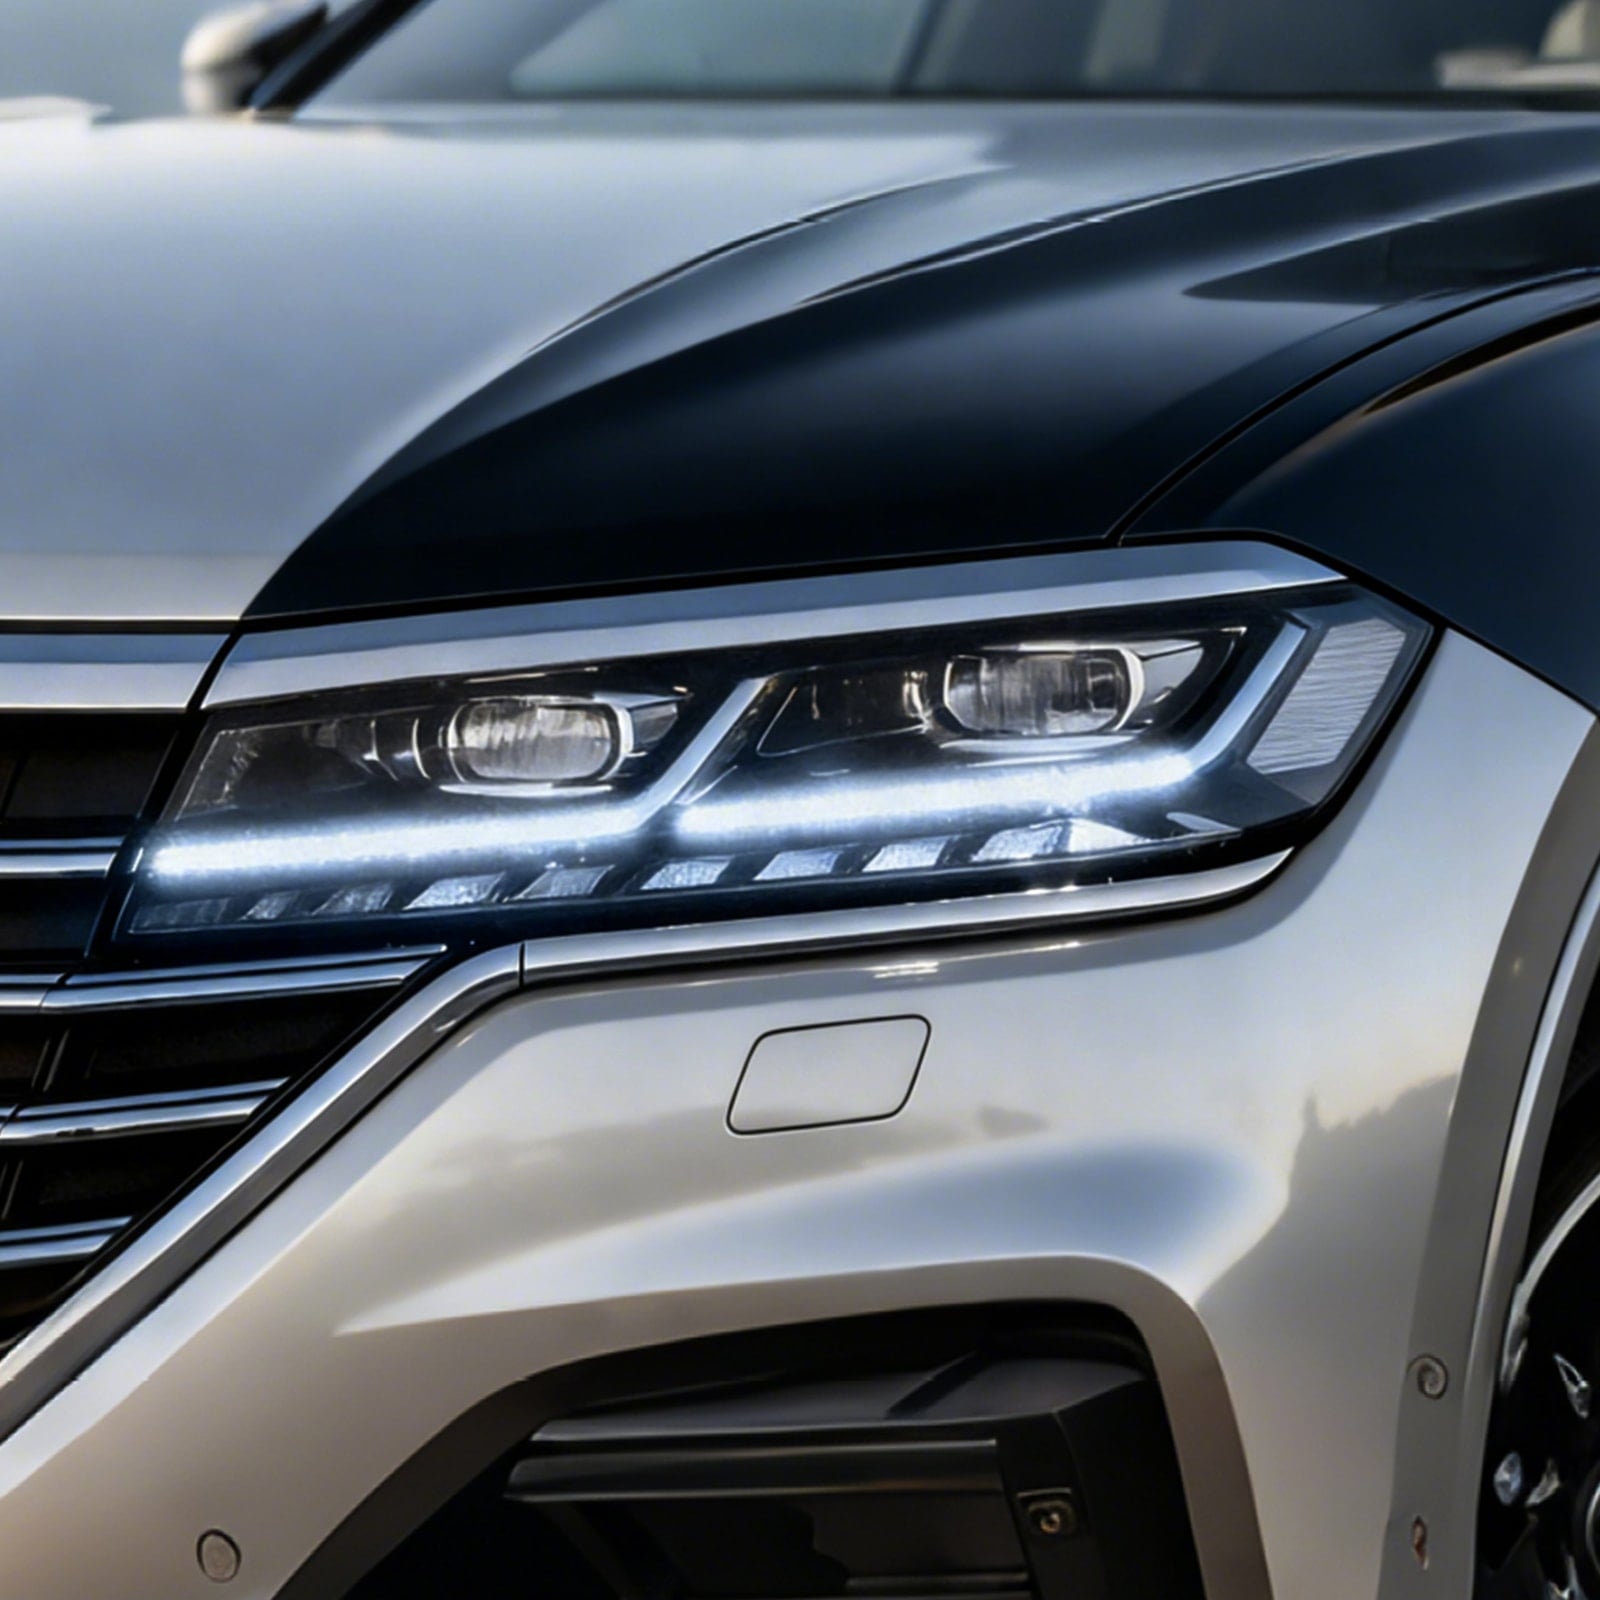
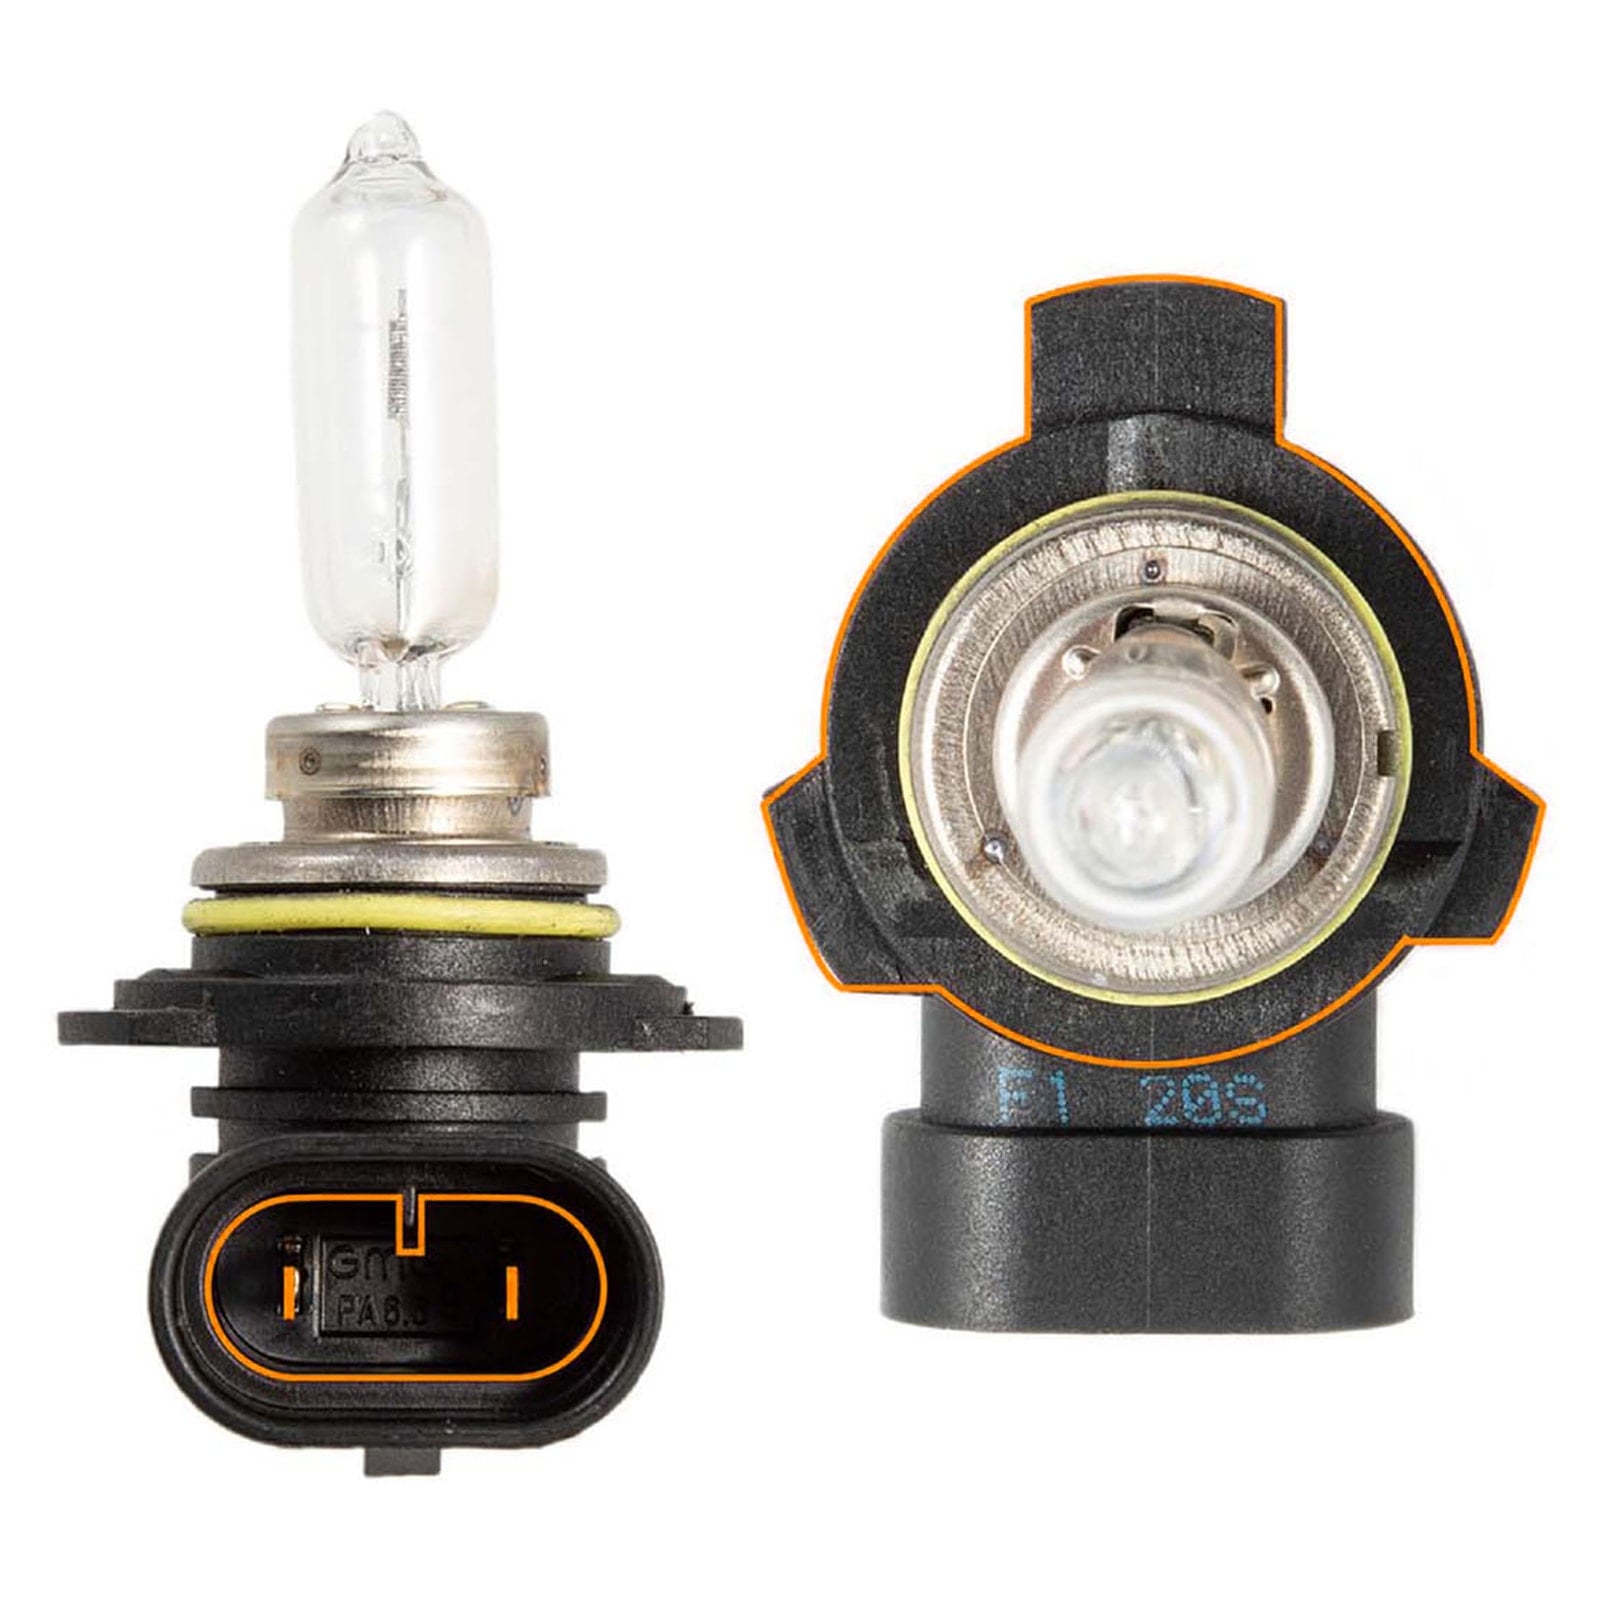

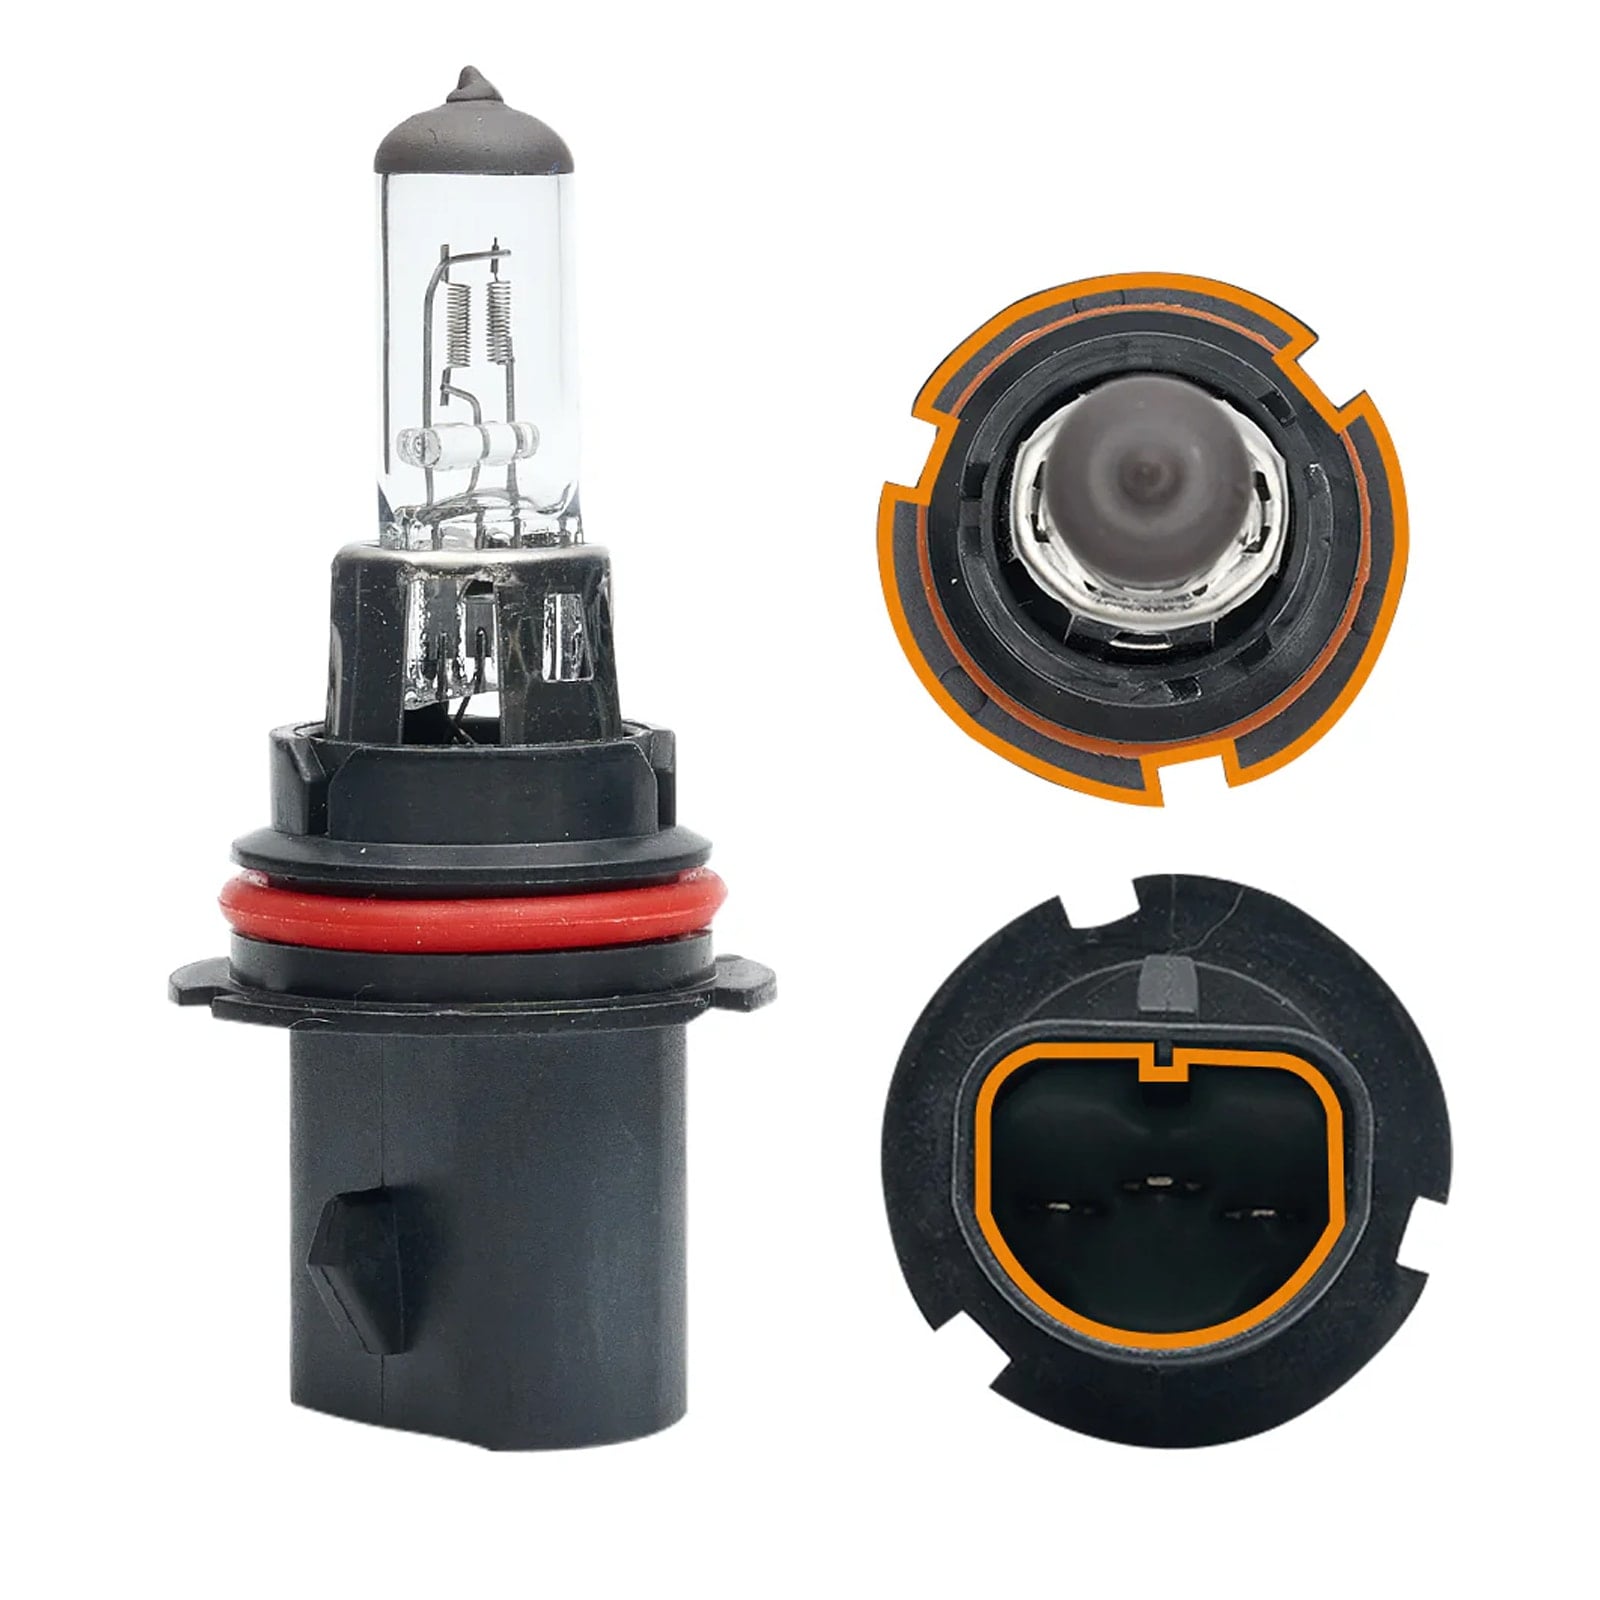
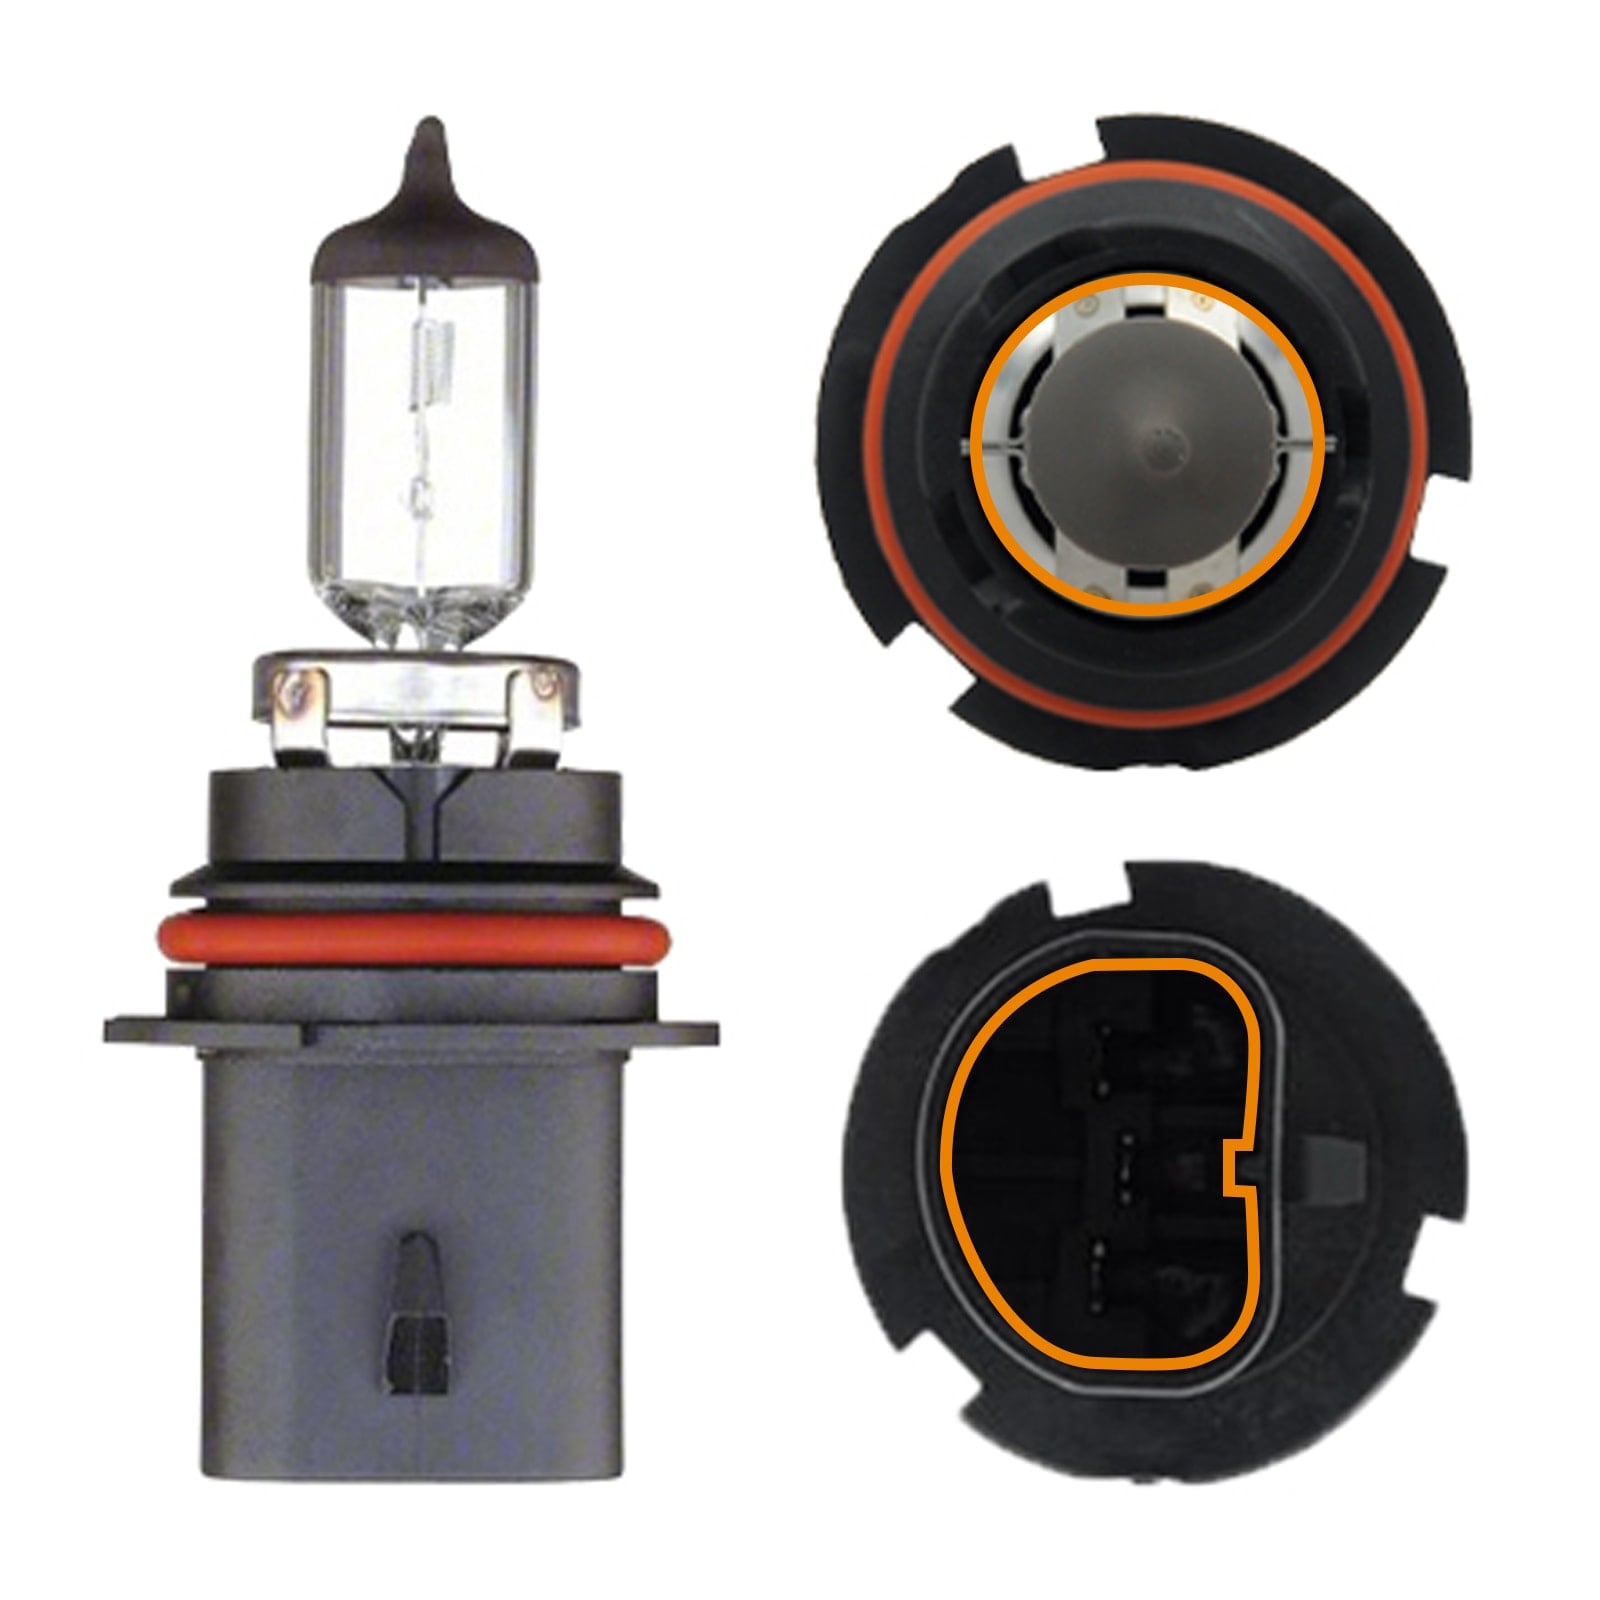
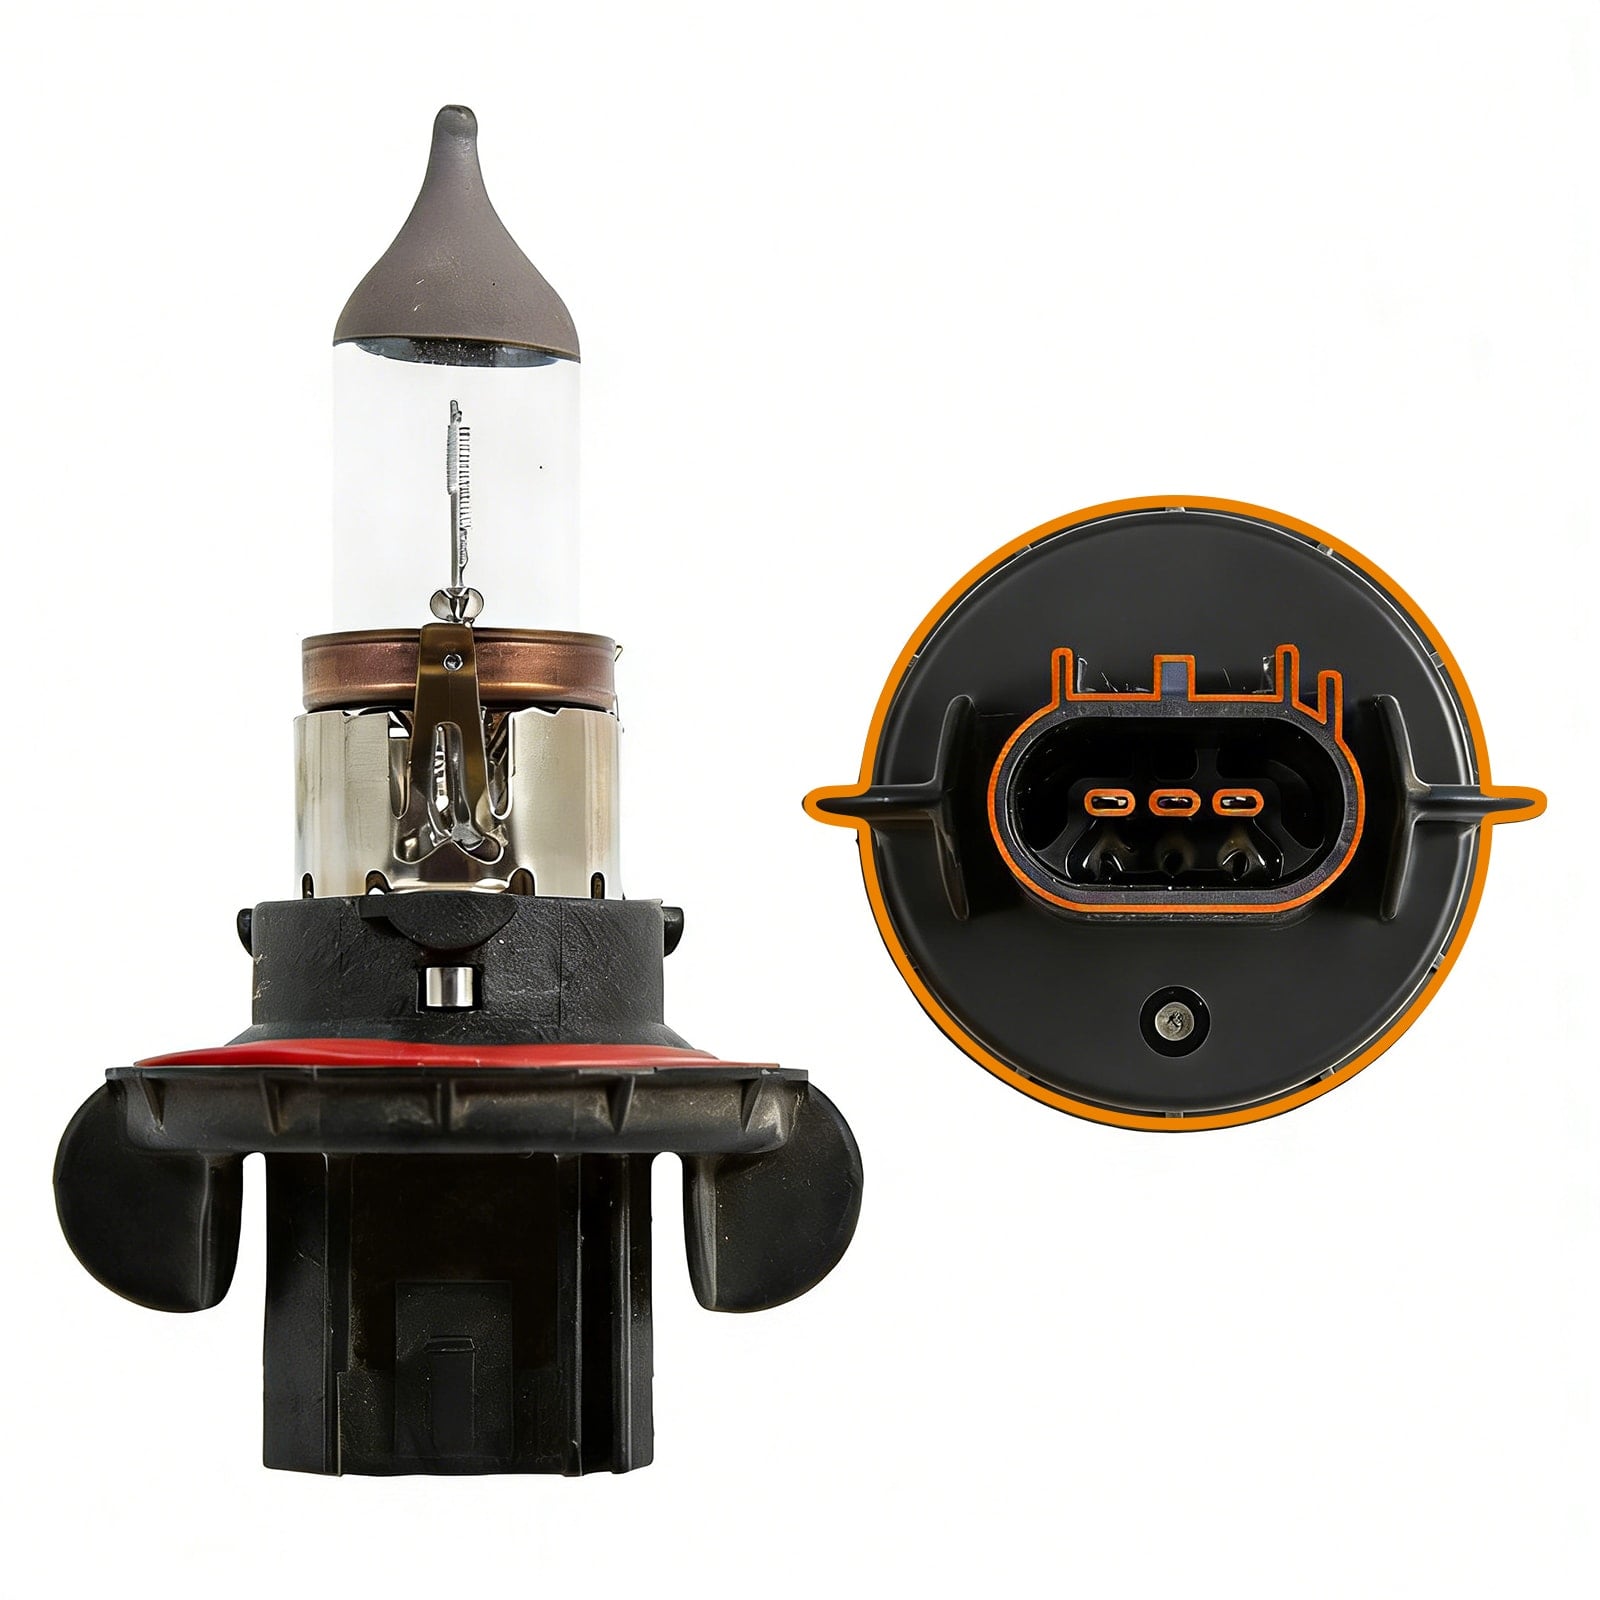


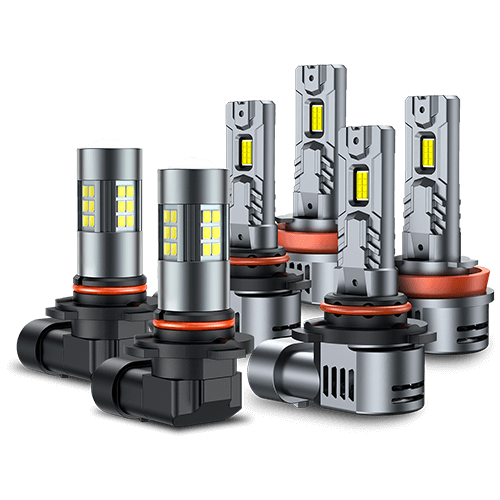


The 9008 H13 halogen headlight bulb is one of the most widely used types in vehicles. Upgrading your vehicle’s headlights from traditional halogen bulbs to 9008 (H13) LED headlight bulbs is an effective way to improve visibility. It also enhances energy efficiency and gives a modern touch to your vehicle’s lighting system.
This guide focuses specifically on the removal of 9003 halogen bulbs and the installation of new LED replacements.
You can refer to this guide for a more comprehensive overview of headlight bulb replacement, including additional tips and troubleshooting advice.
Tools and Materials Needed
Before starting, gather all necessary tools and materials to ensure a smooth installation process. Here’s a checklist:
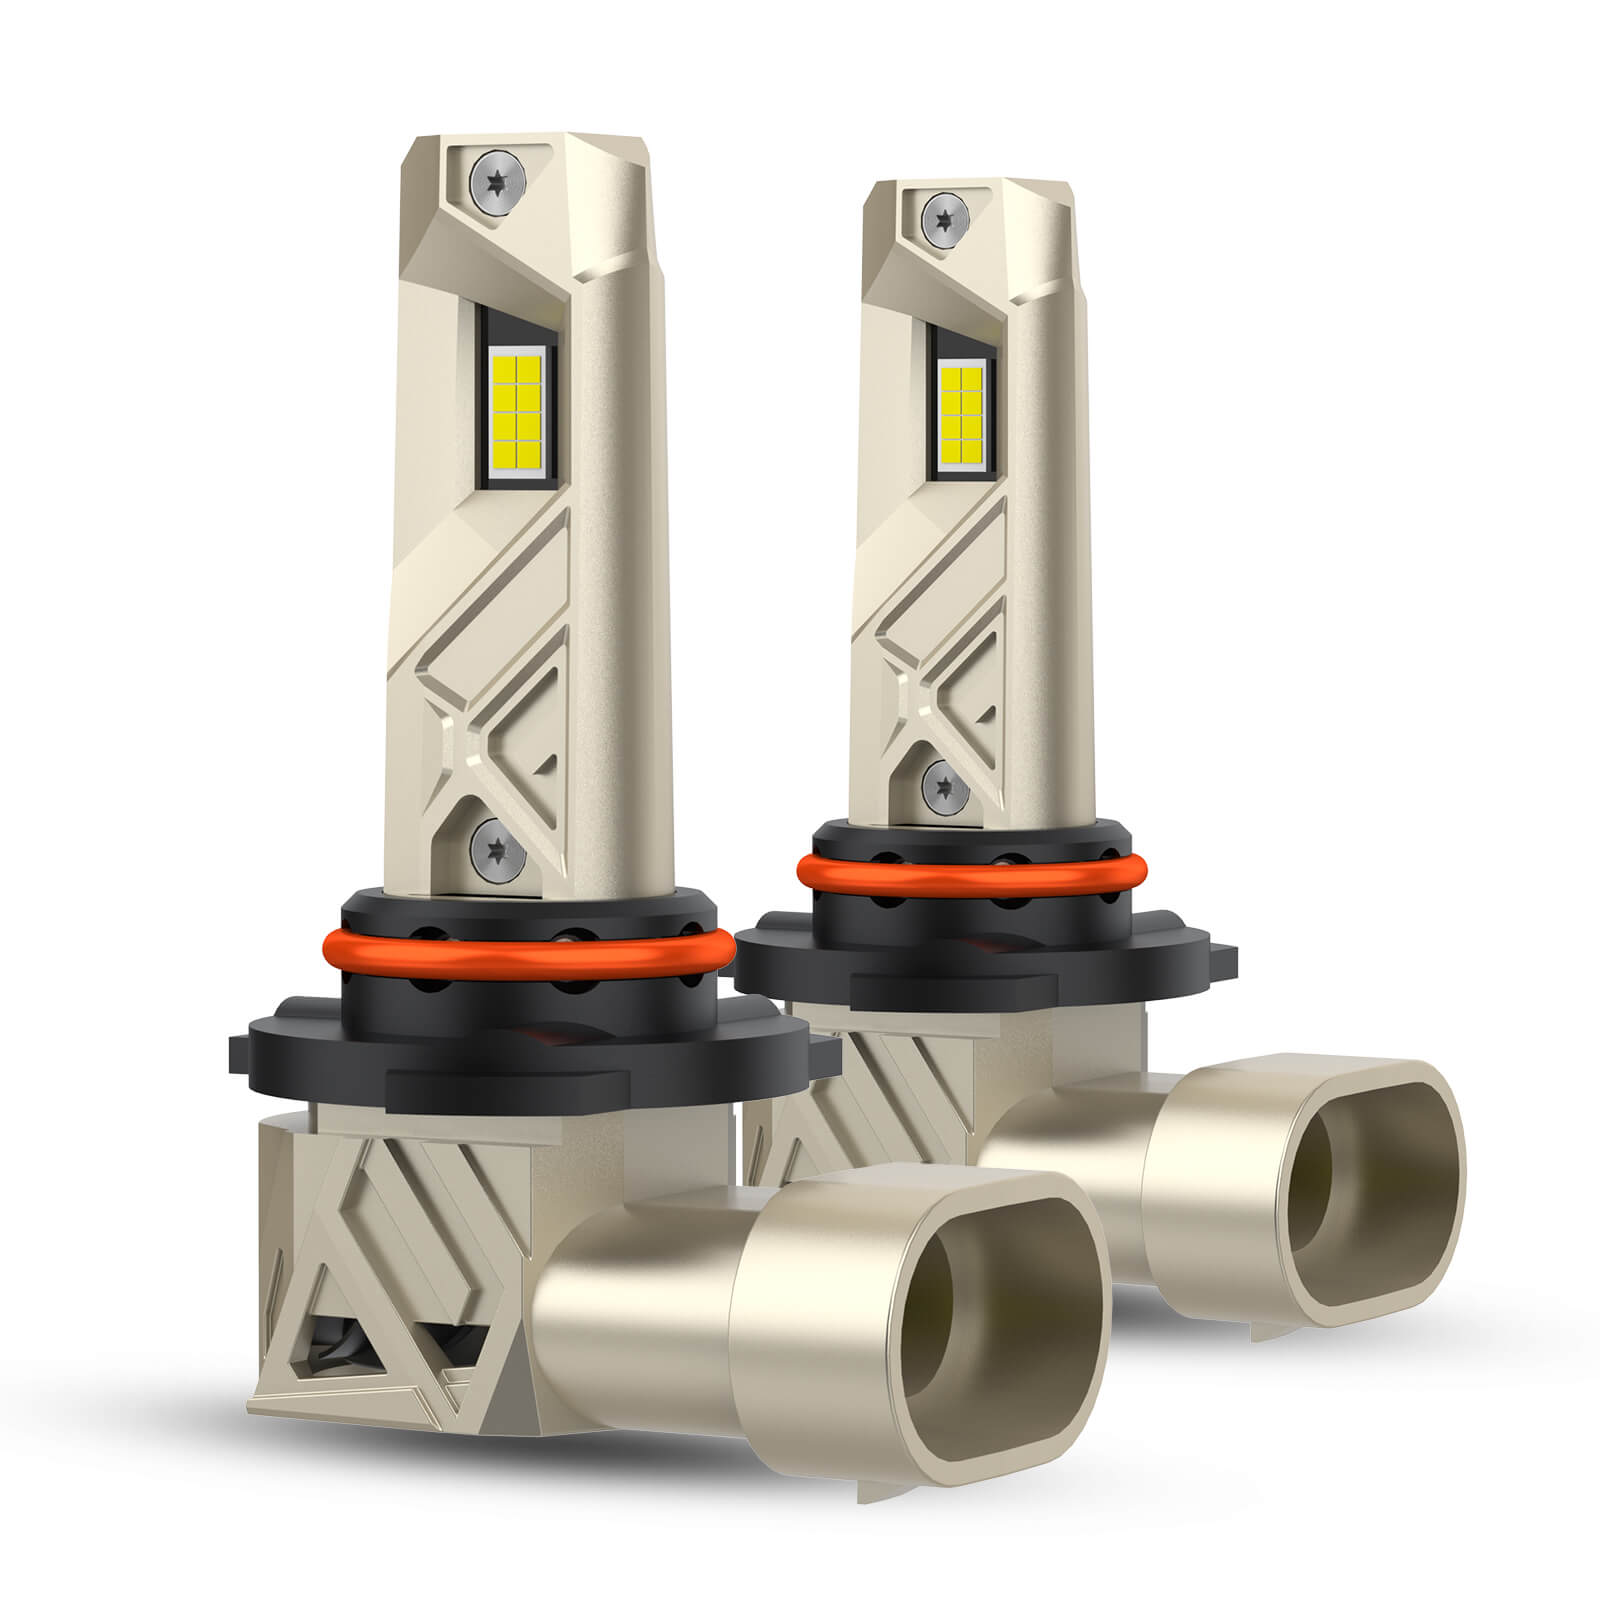
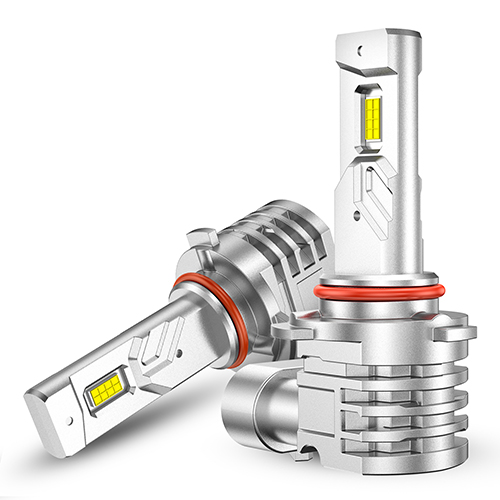
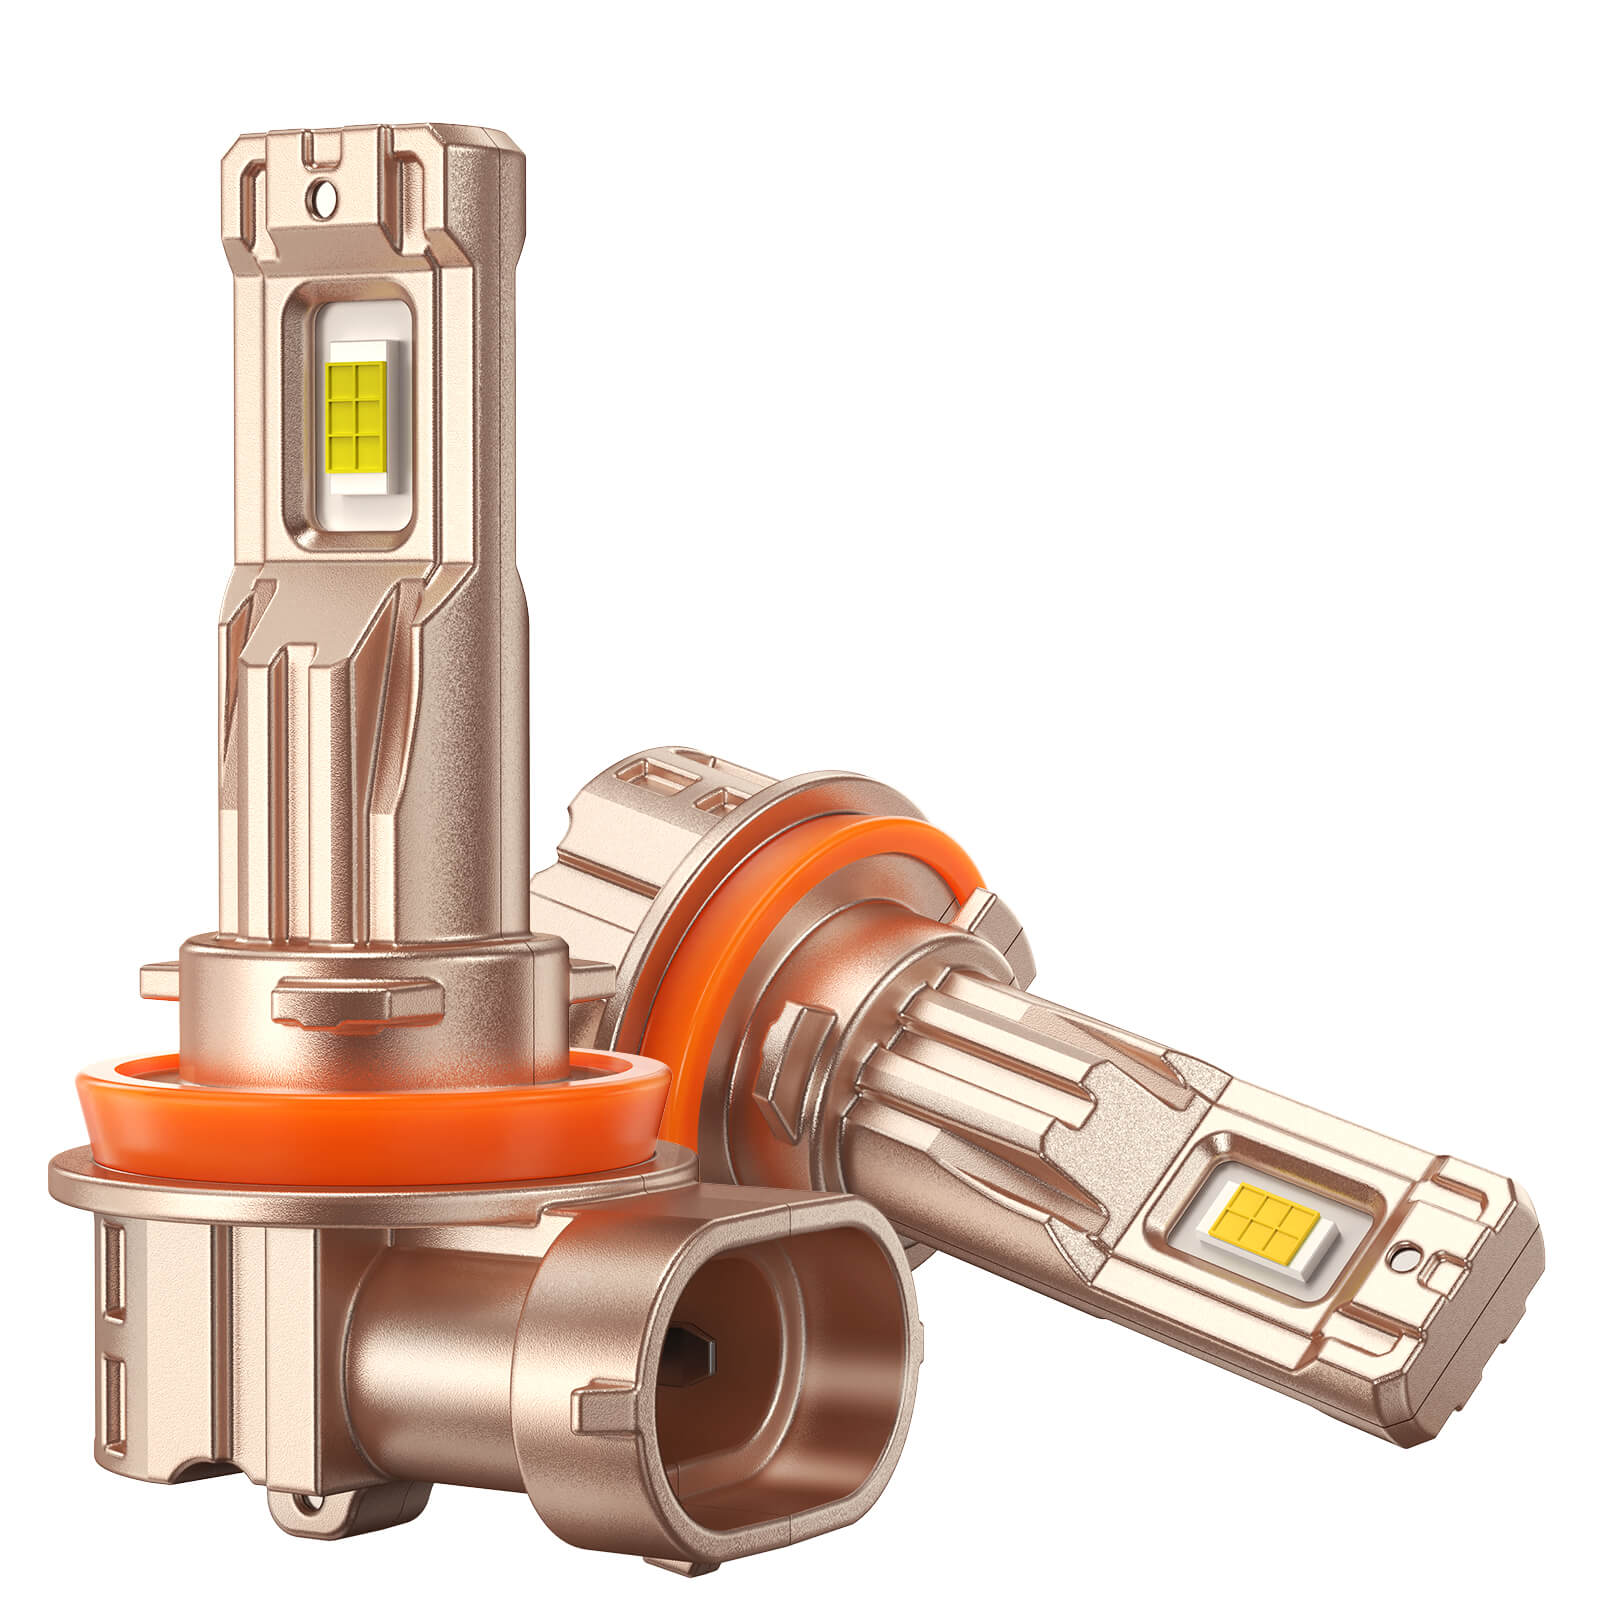
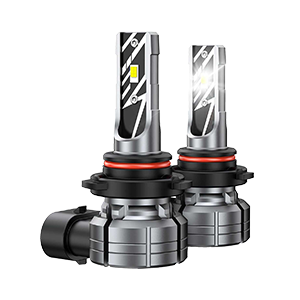
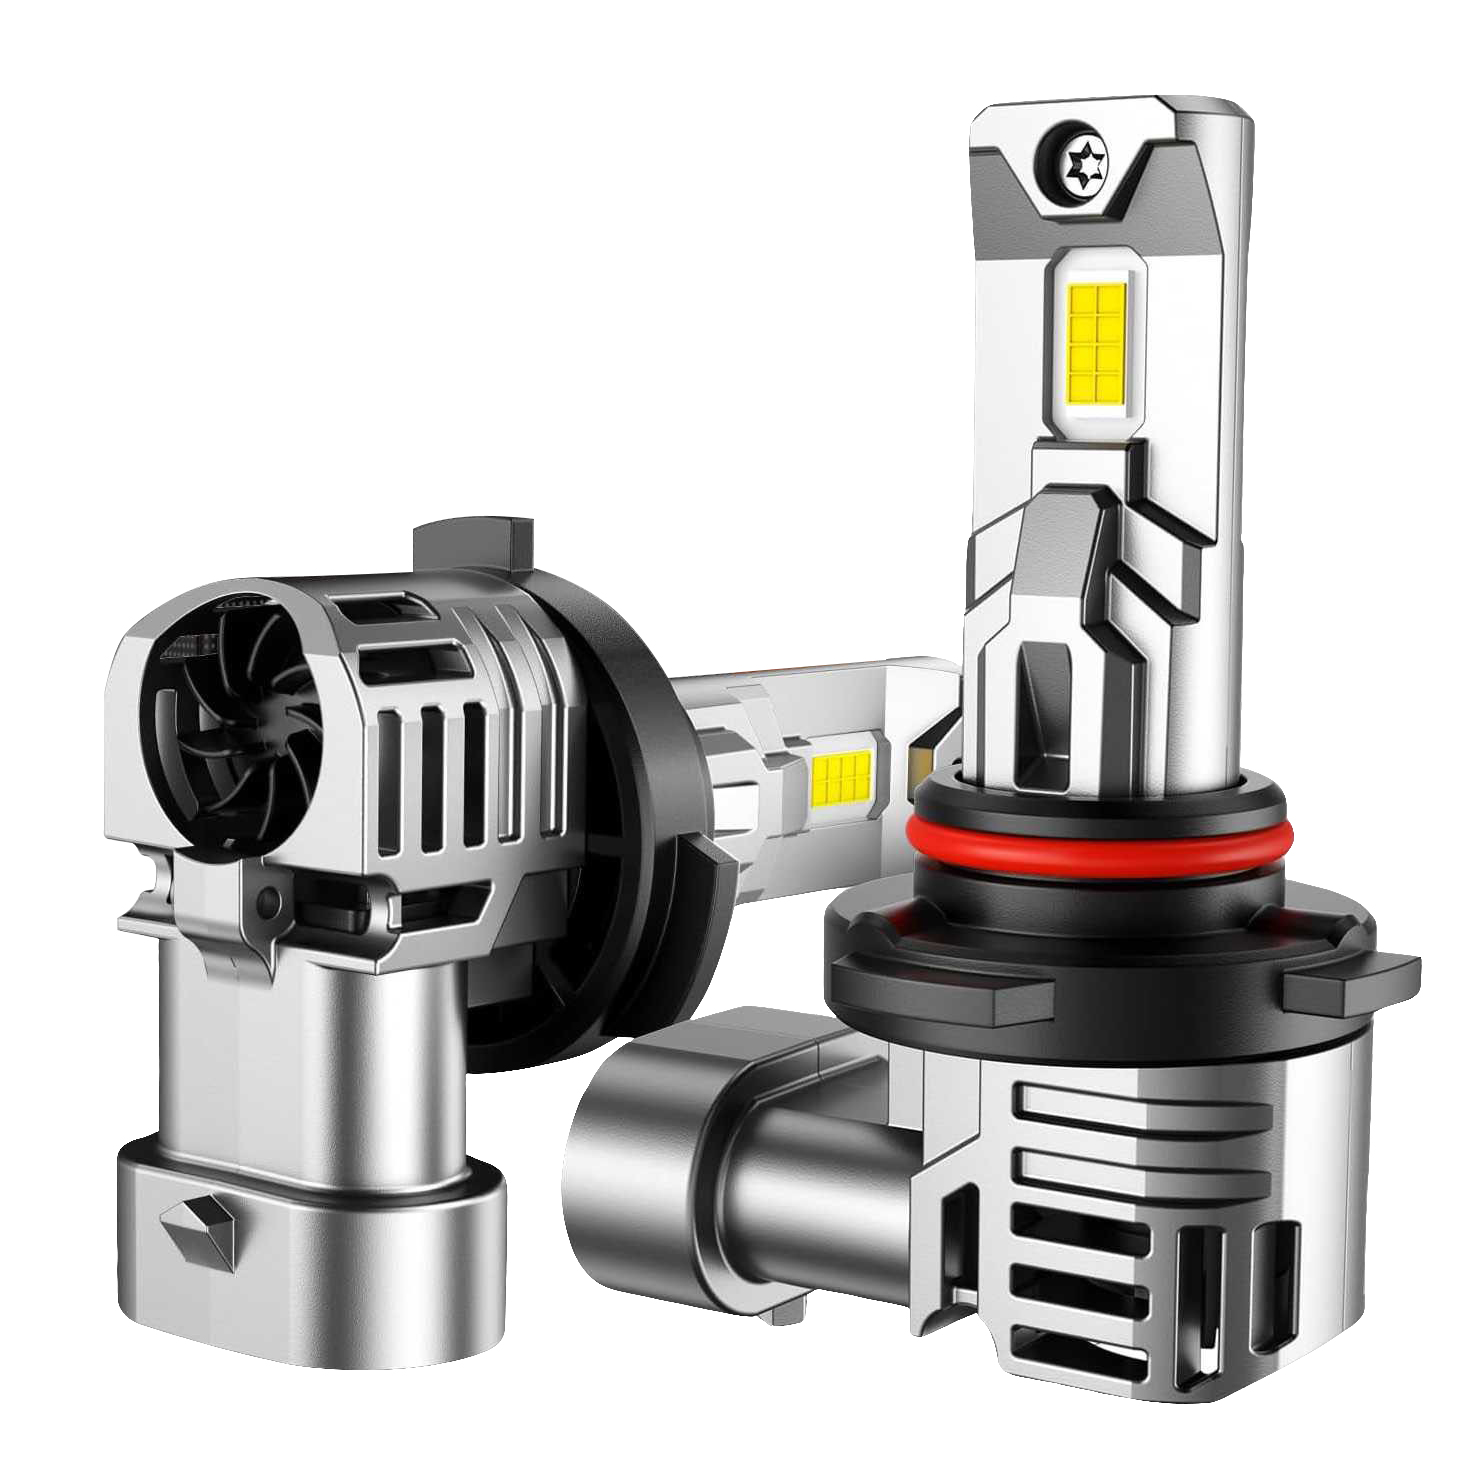
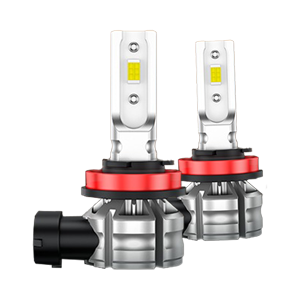
A pair of 9008 H13 LED Headlight Bulbs: Choose high-quality bulbs from reputable brands like SEALIGHT for reliable performance and durability.
Protective gloves: These prevent oils or dirt from your hands from contaminating the bulbs, which could reduce their lifespan.
Zip ties (optional): Useful for neatly securing the wires after installation.
Flathead screwdriver (optional): May be needed for loosening or adjusting components.
Safety glasses (optional): For added protection during the process.
Read the User Manual: Refer to the manufacturer’s instructions for specific details about changing headlight bulbs.
Pre-Installation Preparations
Turn Off the Vehicle: Make sure the vehicle is completely off, and remove the key from the ignition to prevent electrical hazards.
Cool Down the Headlights: If the headlights were recently in use, allow them to cool down to avoid burns.
Wear Gloves: Always handle the bulbs with gloves to prevent contamination from oils or dirt, which can shorten the lifespan of the bulbs.
Inspect the LED Bulbs: Check for any visible defects or damage before installation.
How to Replace 9008 H13 LED Headlight Bulbs
Now that you’re prepared, follow these steps to install your new 9008 (H13) LED headlight bulbs:
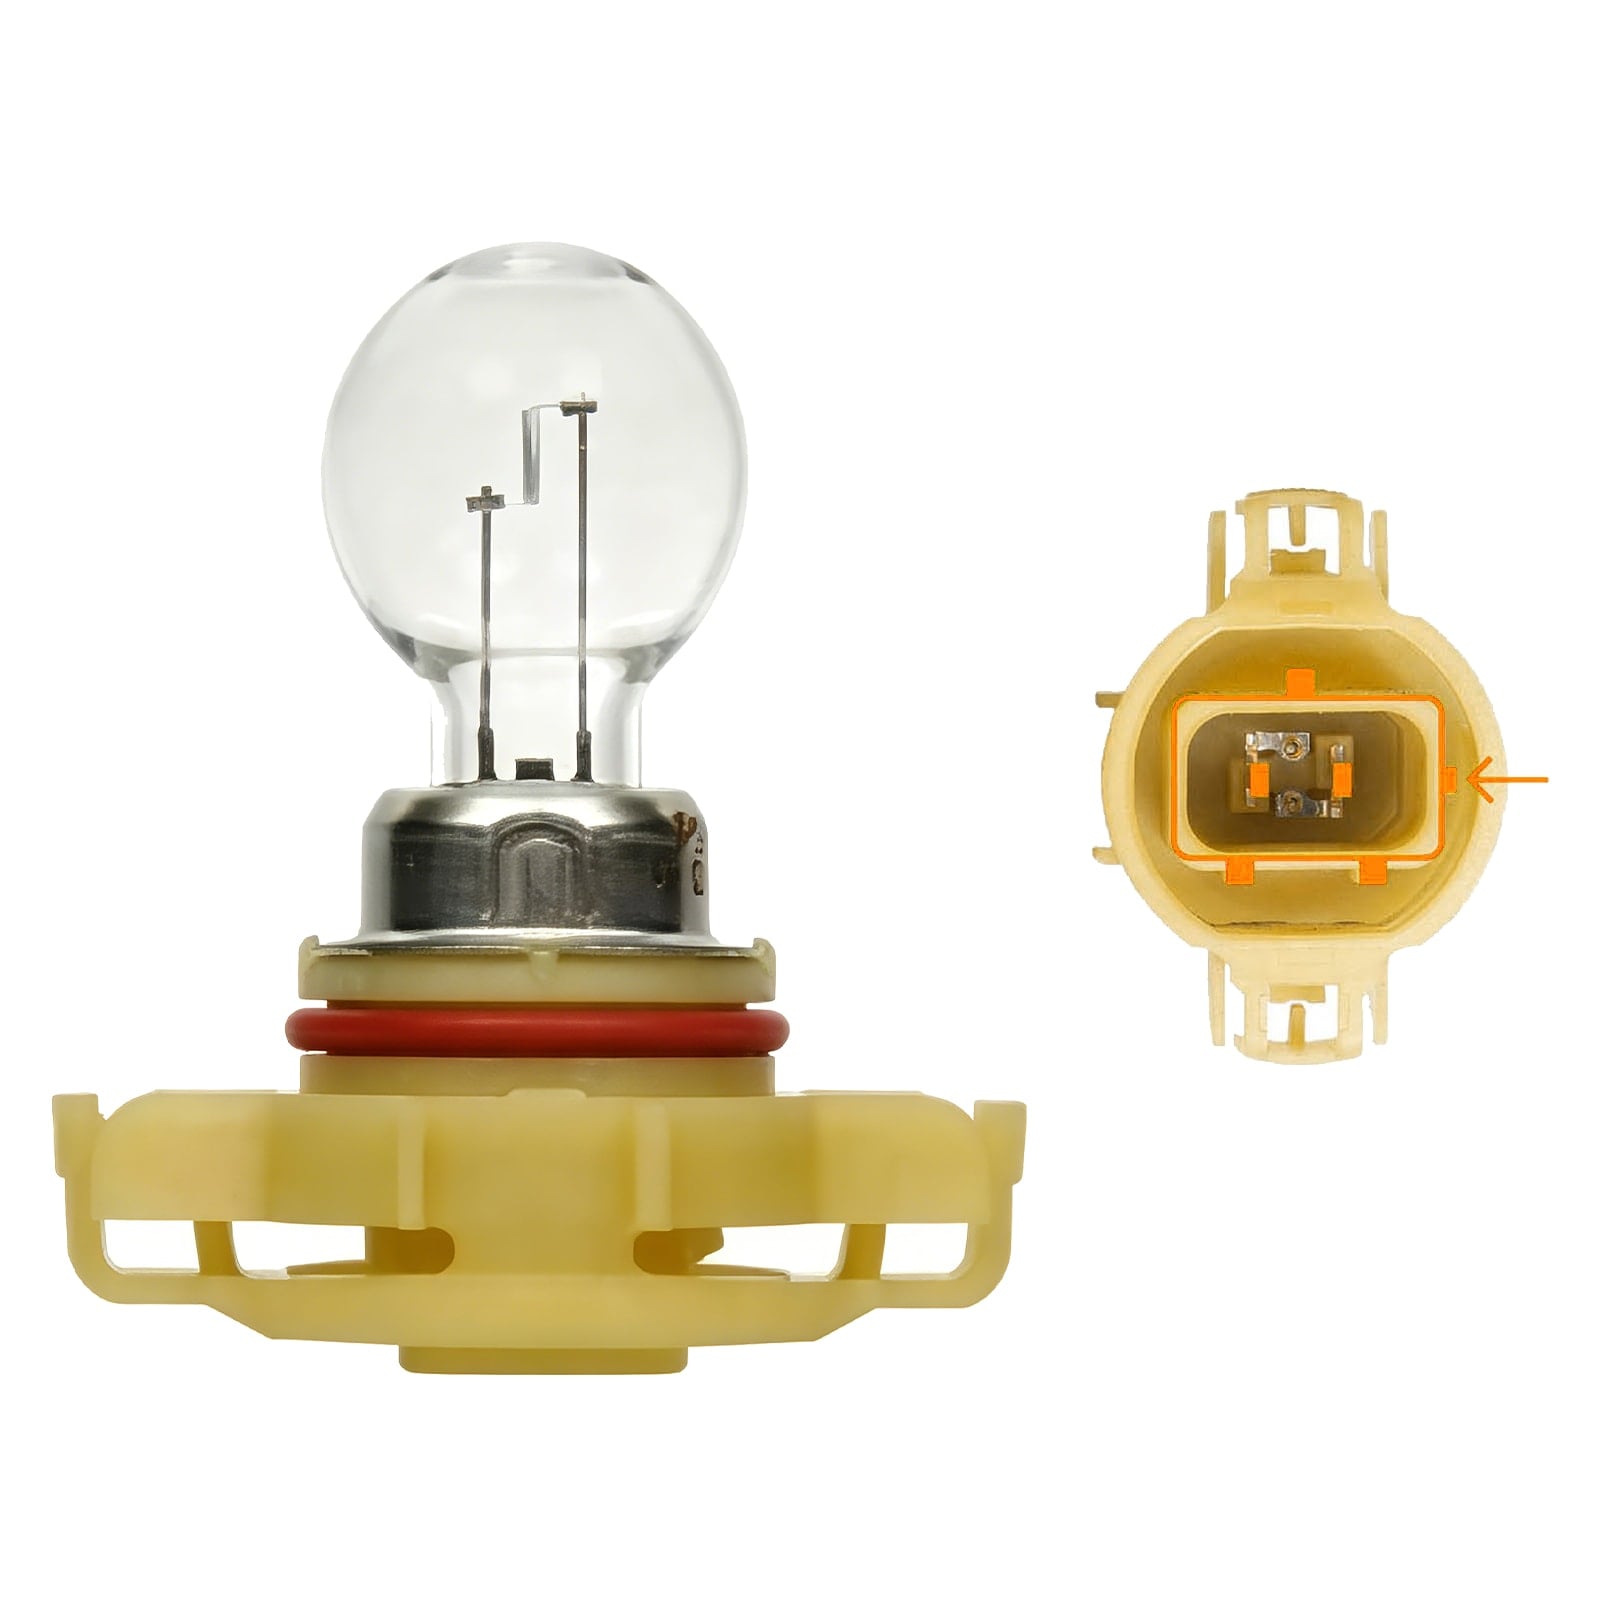
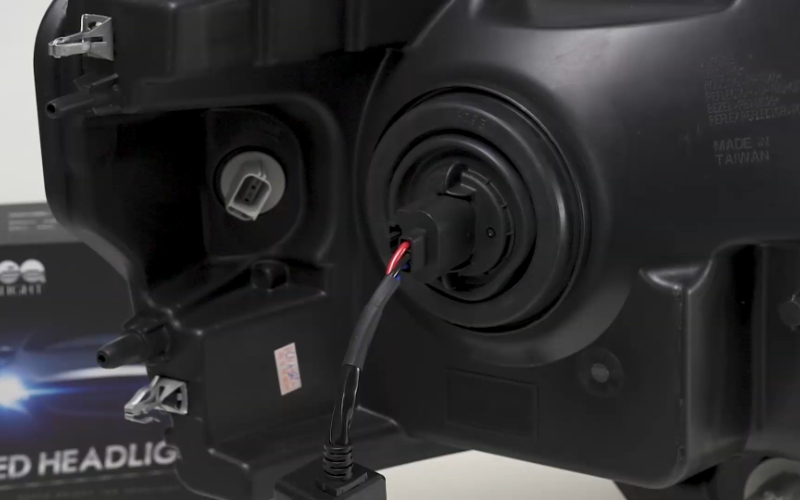
Step 1: Remove the Plug
Locate the back of the headlight assembly and gently remove the power plug connected to the halogen bulb. This step may require a bit of force but handle it carefully to avoid damaging the wires or connectors.
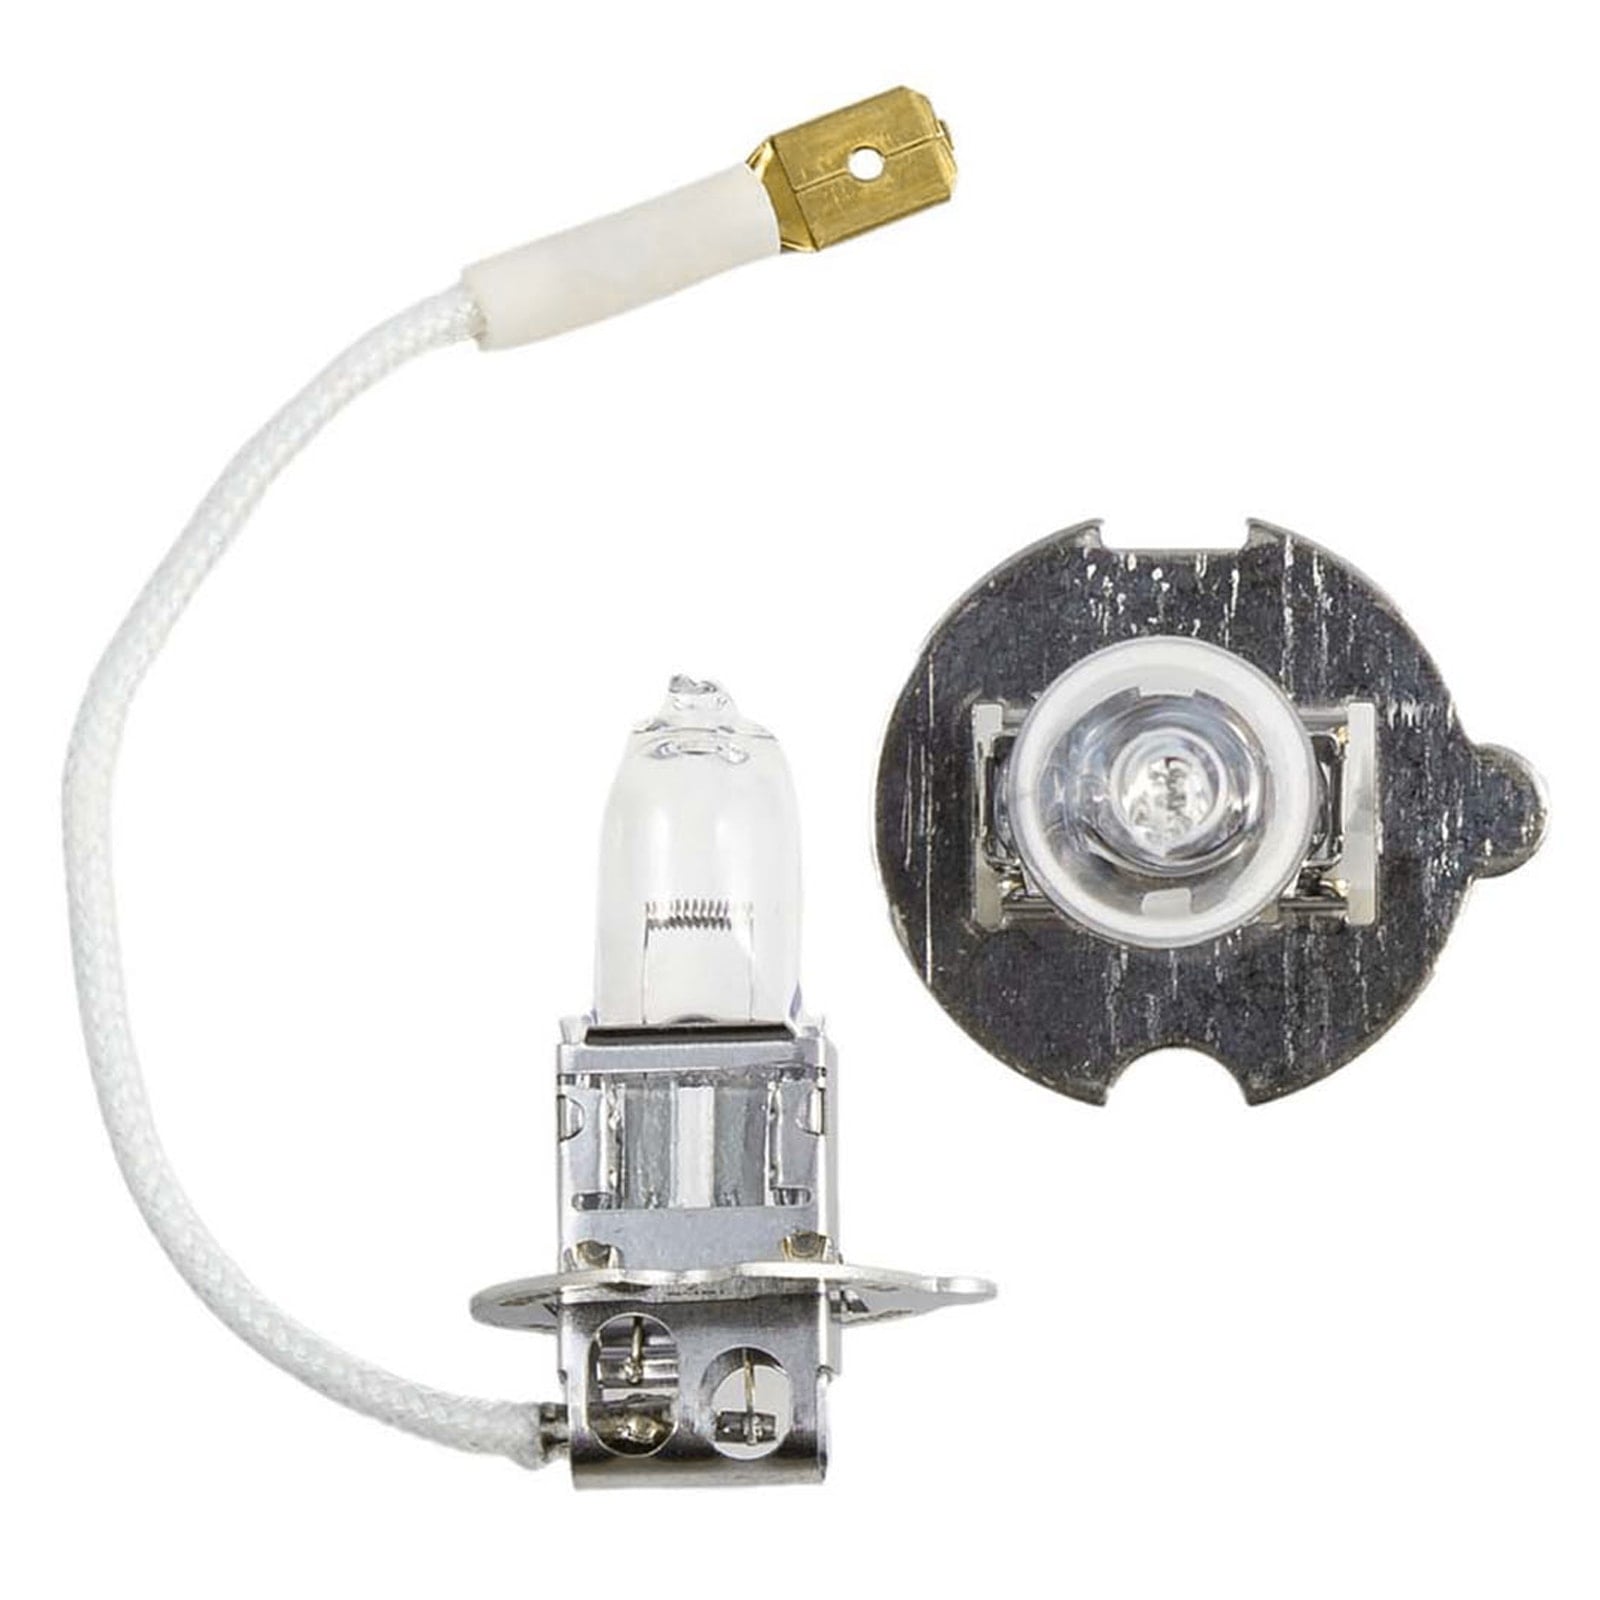
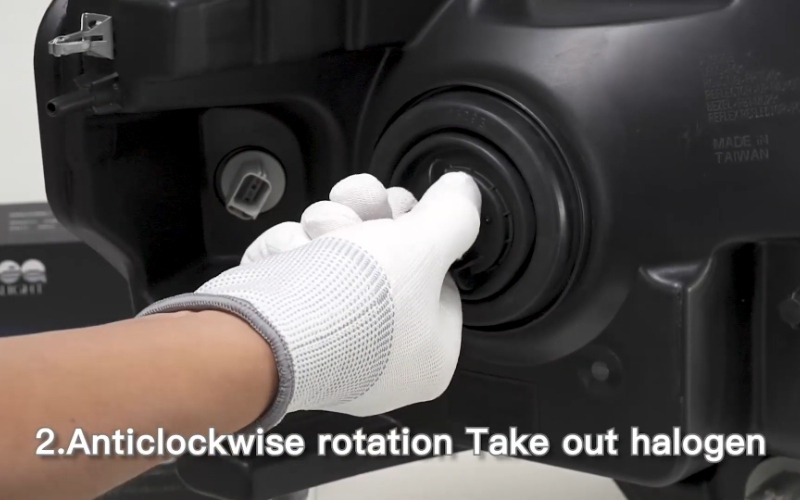
Step 2: Remove the Halogen Bulb
Turn the halogen bulb counterclockwise to unlock it from the headlight housing. Carefully pull it out of the assembly and set it aside.
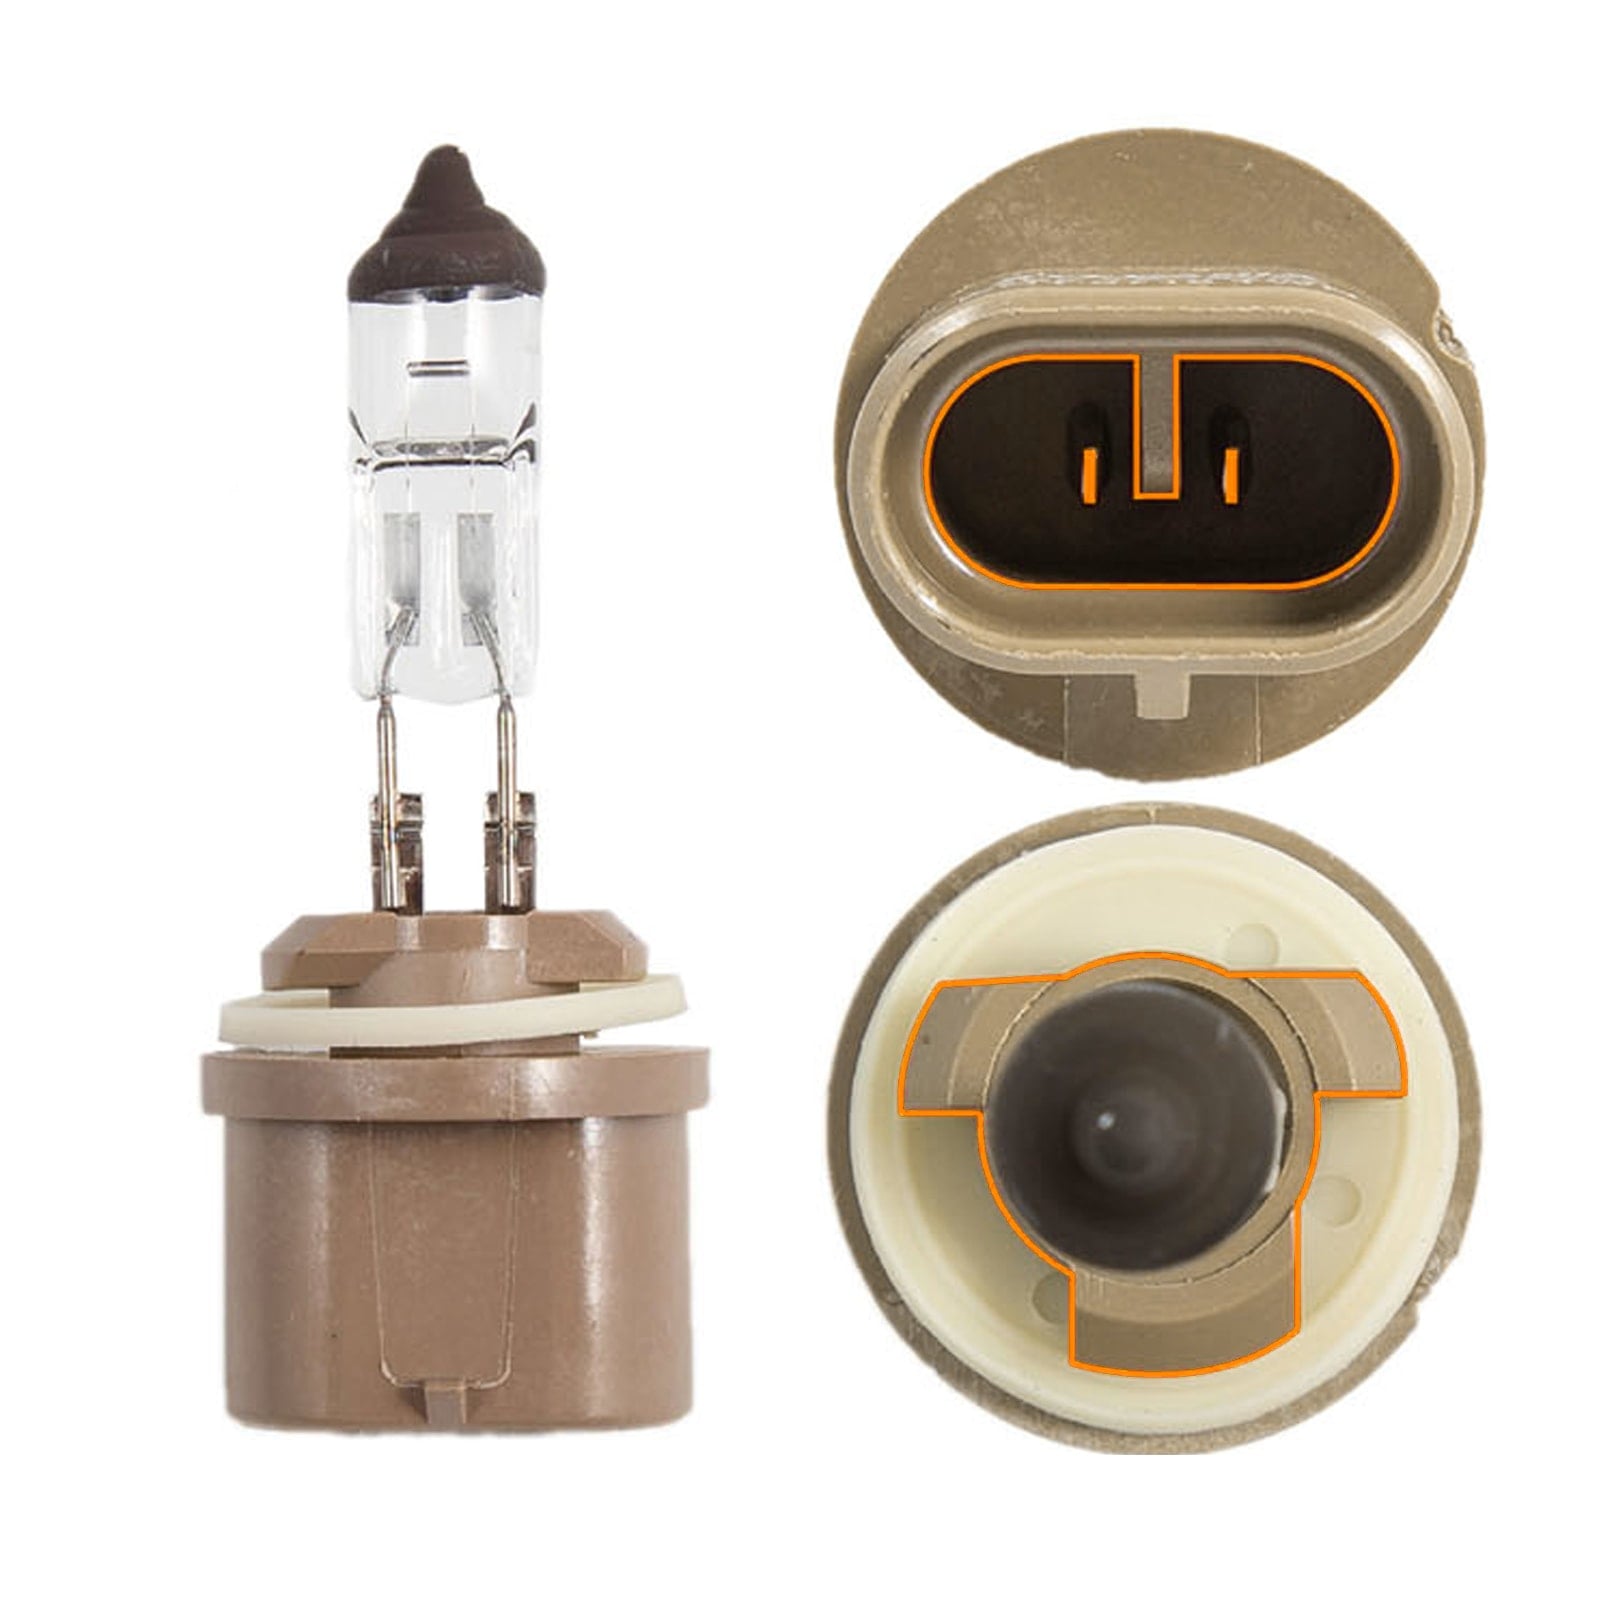
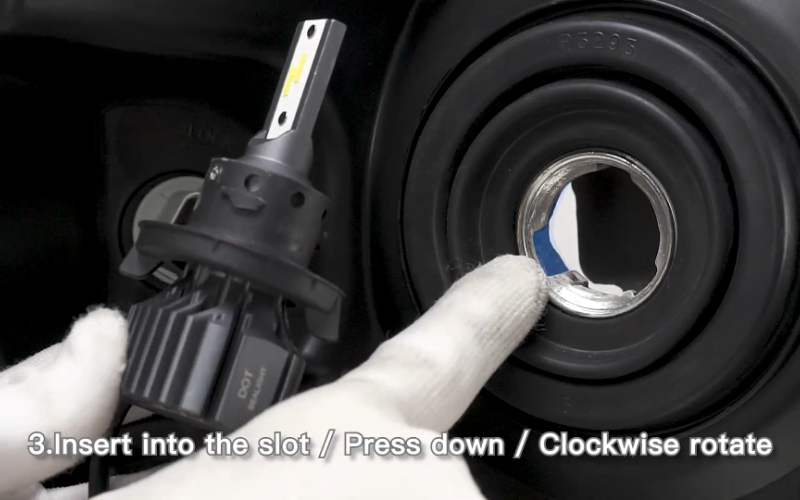
Step 3: Insert the New LED Bulb
Take your 9008 LED bulb and align it with the corresponding slots in the headlight housing. Insert the bulb gently into the assembly, ensuring a snug fit. Then rotate it clockwise to lock it into place securely.
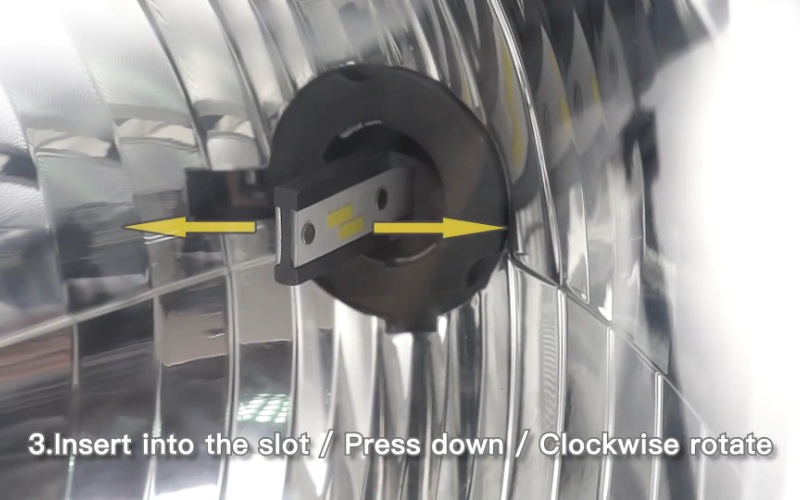
Step 4: Position the LED Chip Correctly
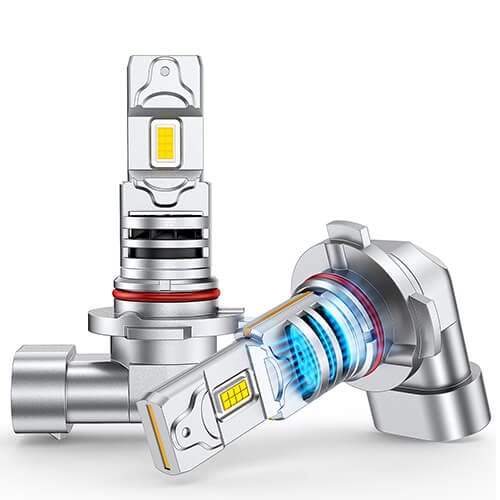
Proper alignment of the LED chips is crucial for optimal light output. The chips should face outward at the 3 o’clock and 9 o’clock positions.
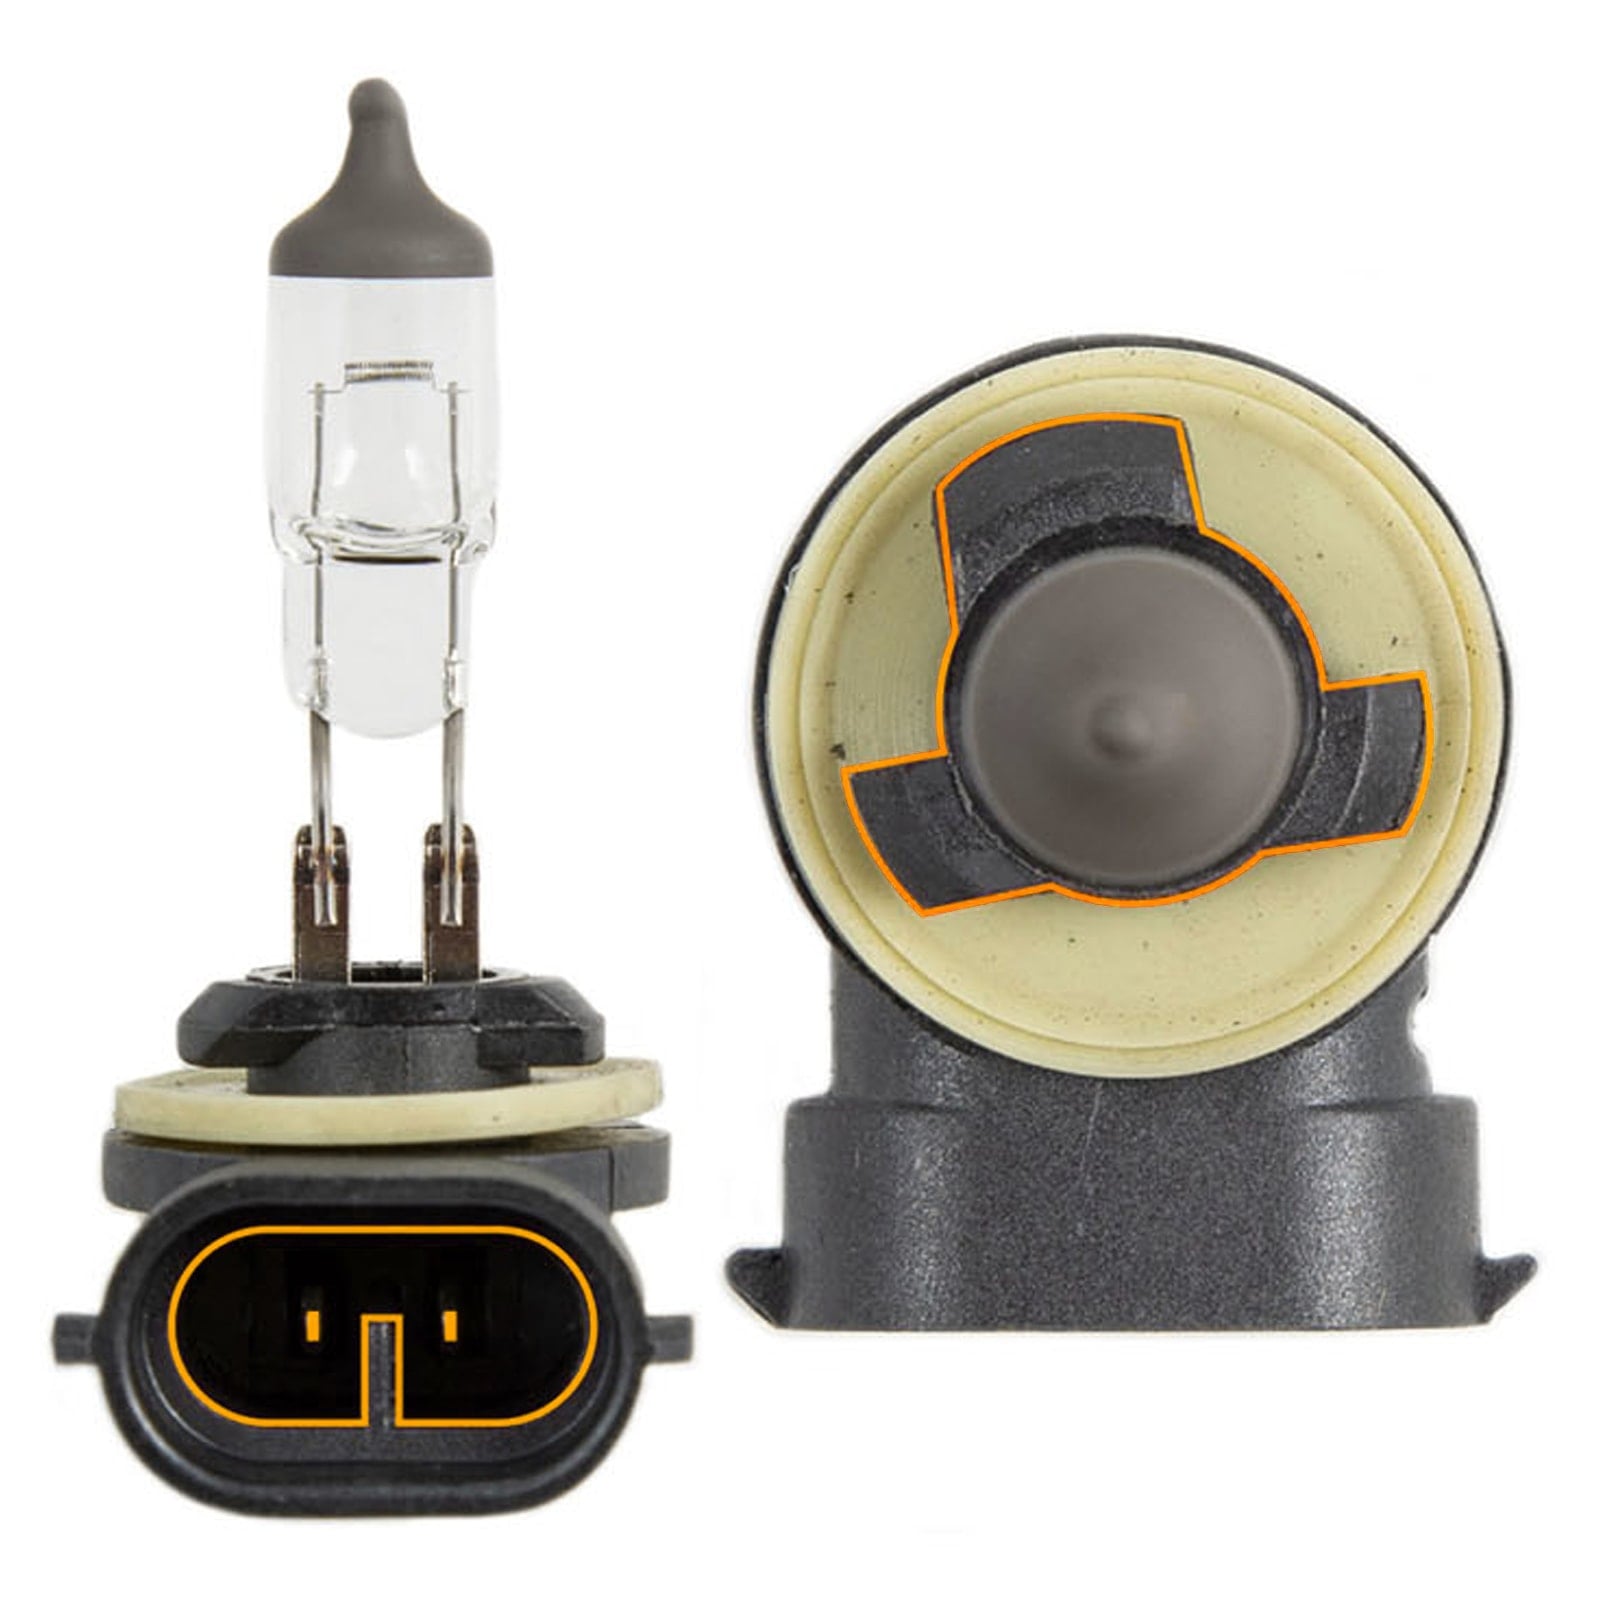
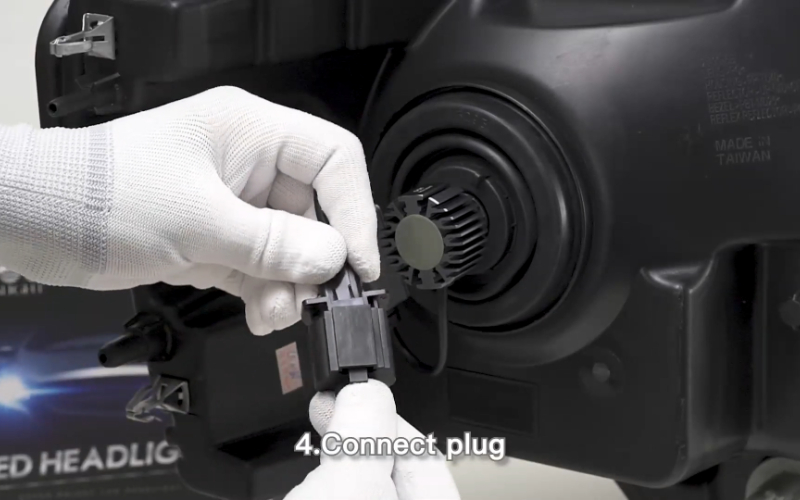
Step 5: Connect the Plug
Reconnect the power plug to the new LED bulb. Ensure the connection is tight and secure to avoid any issues with power delivery.
Step 6: Test the Light Output
Once the installation is complete, turn on your headlights to test the new bulbs. Check for proper alignment and beam pattern.

Final Thoughts
Installing 9008 H13 LED headlight bulbs is an excellent upgrade for your vehicle, providing enhanced visibility, improved energy efficiency, and a longer lifespan compared to traditional halogen bulbs. By following this step-by-step guide, you can safely and effectively complete the installation process, ensuring optimal performance and road safety.
When choosing LED bulbs, prioritize quality and reliability. Products like the SEALIGHT S1 Series 9008 LED bulbs are known for their durability, consistent performance, and broad compatibility with most vehicles. With your new LED headlights installed, you’ll enjoy brighter, more efficient lighting for a safer and more comfortable driving experience.