
 Headlight Bulbs


 Track Order
 My Vehicles
 Contact Us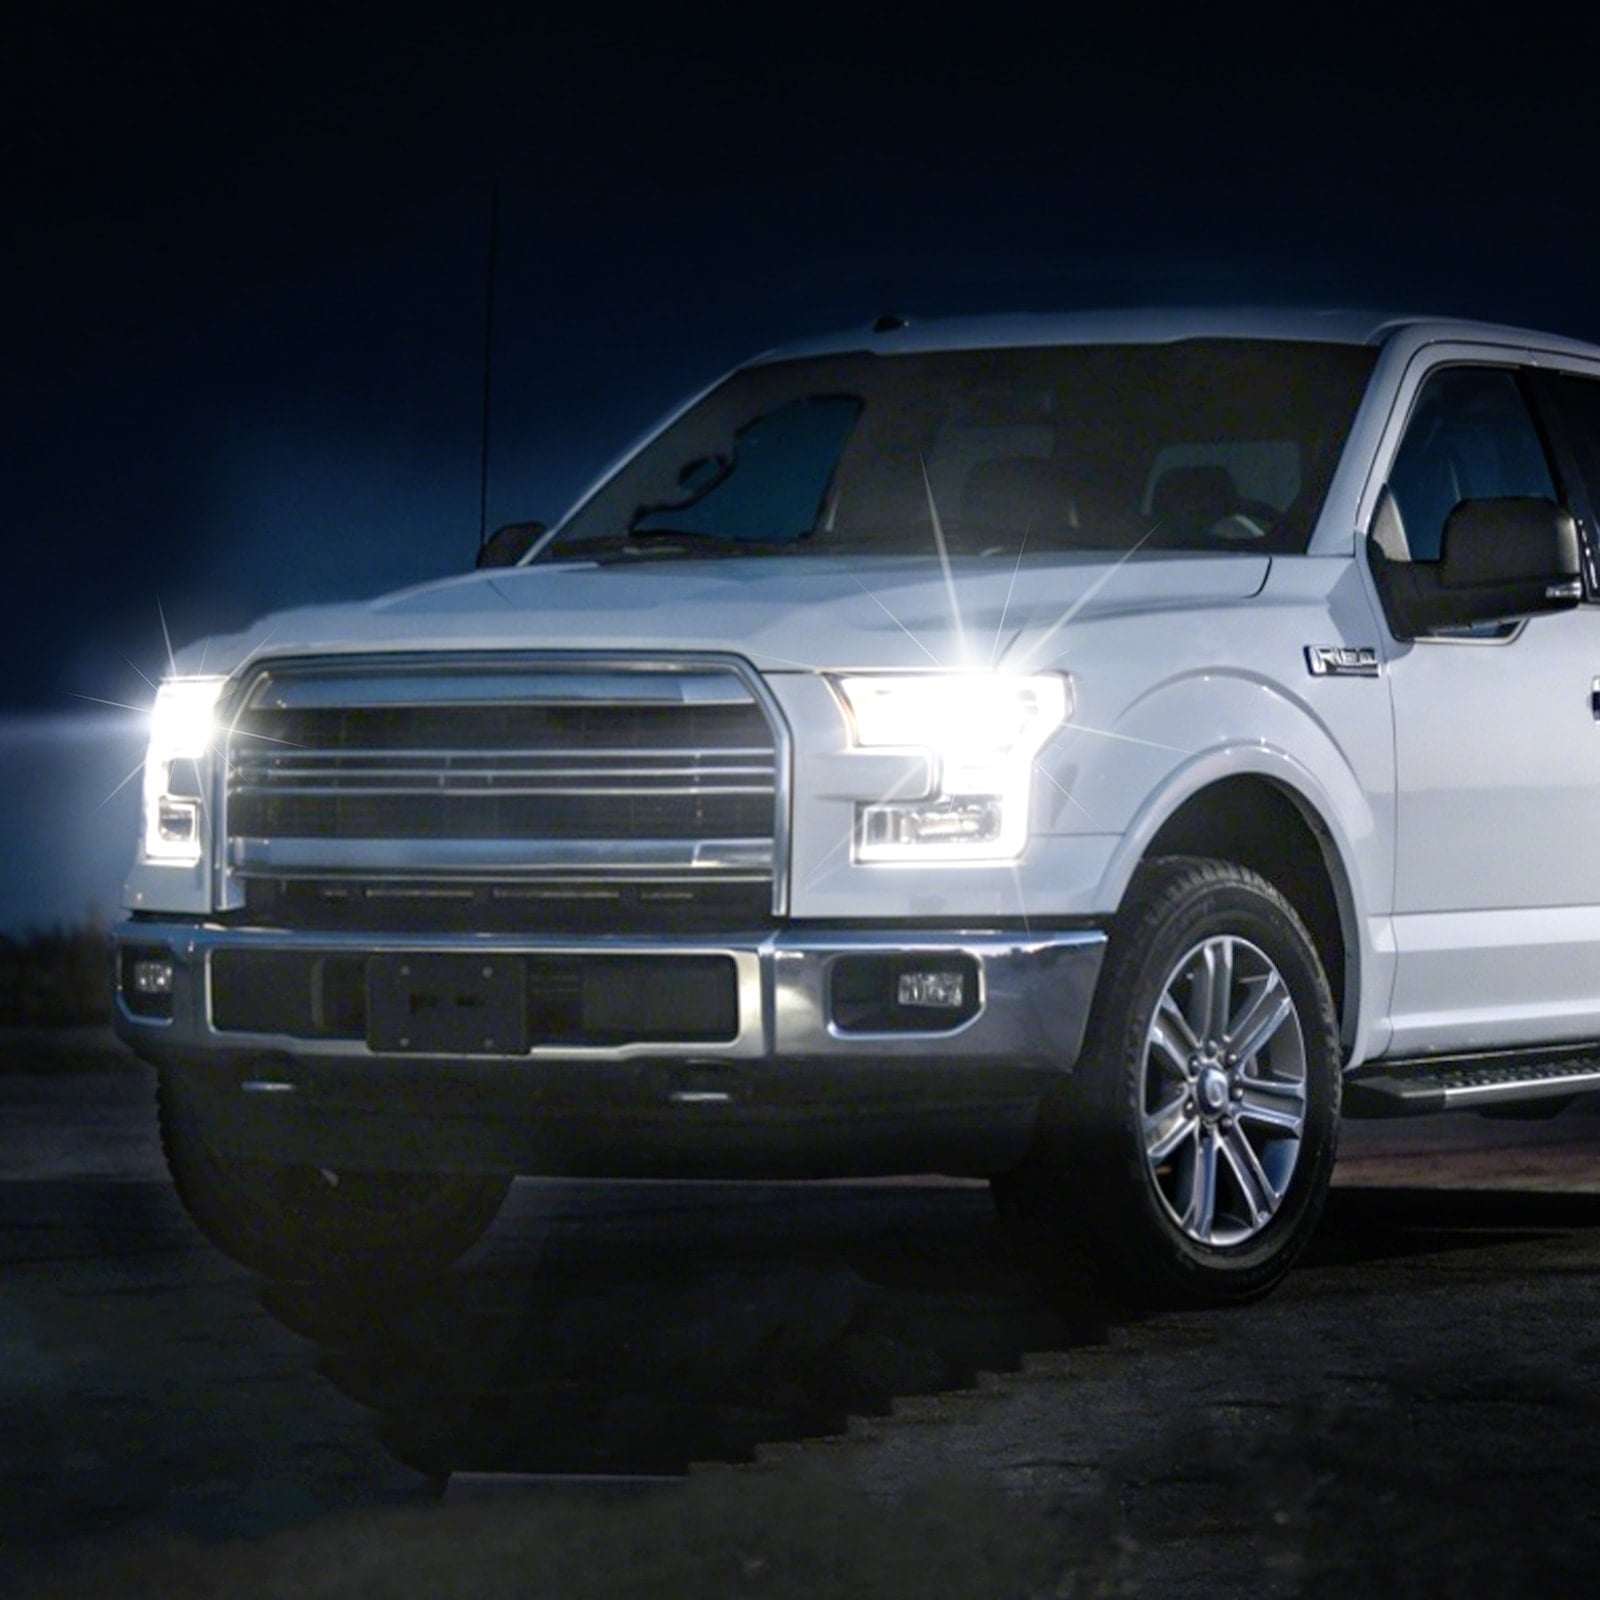
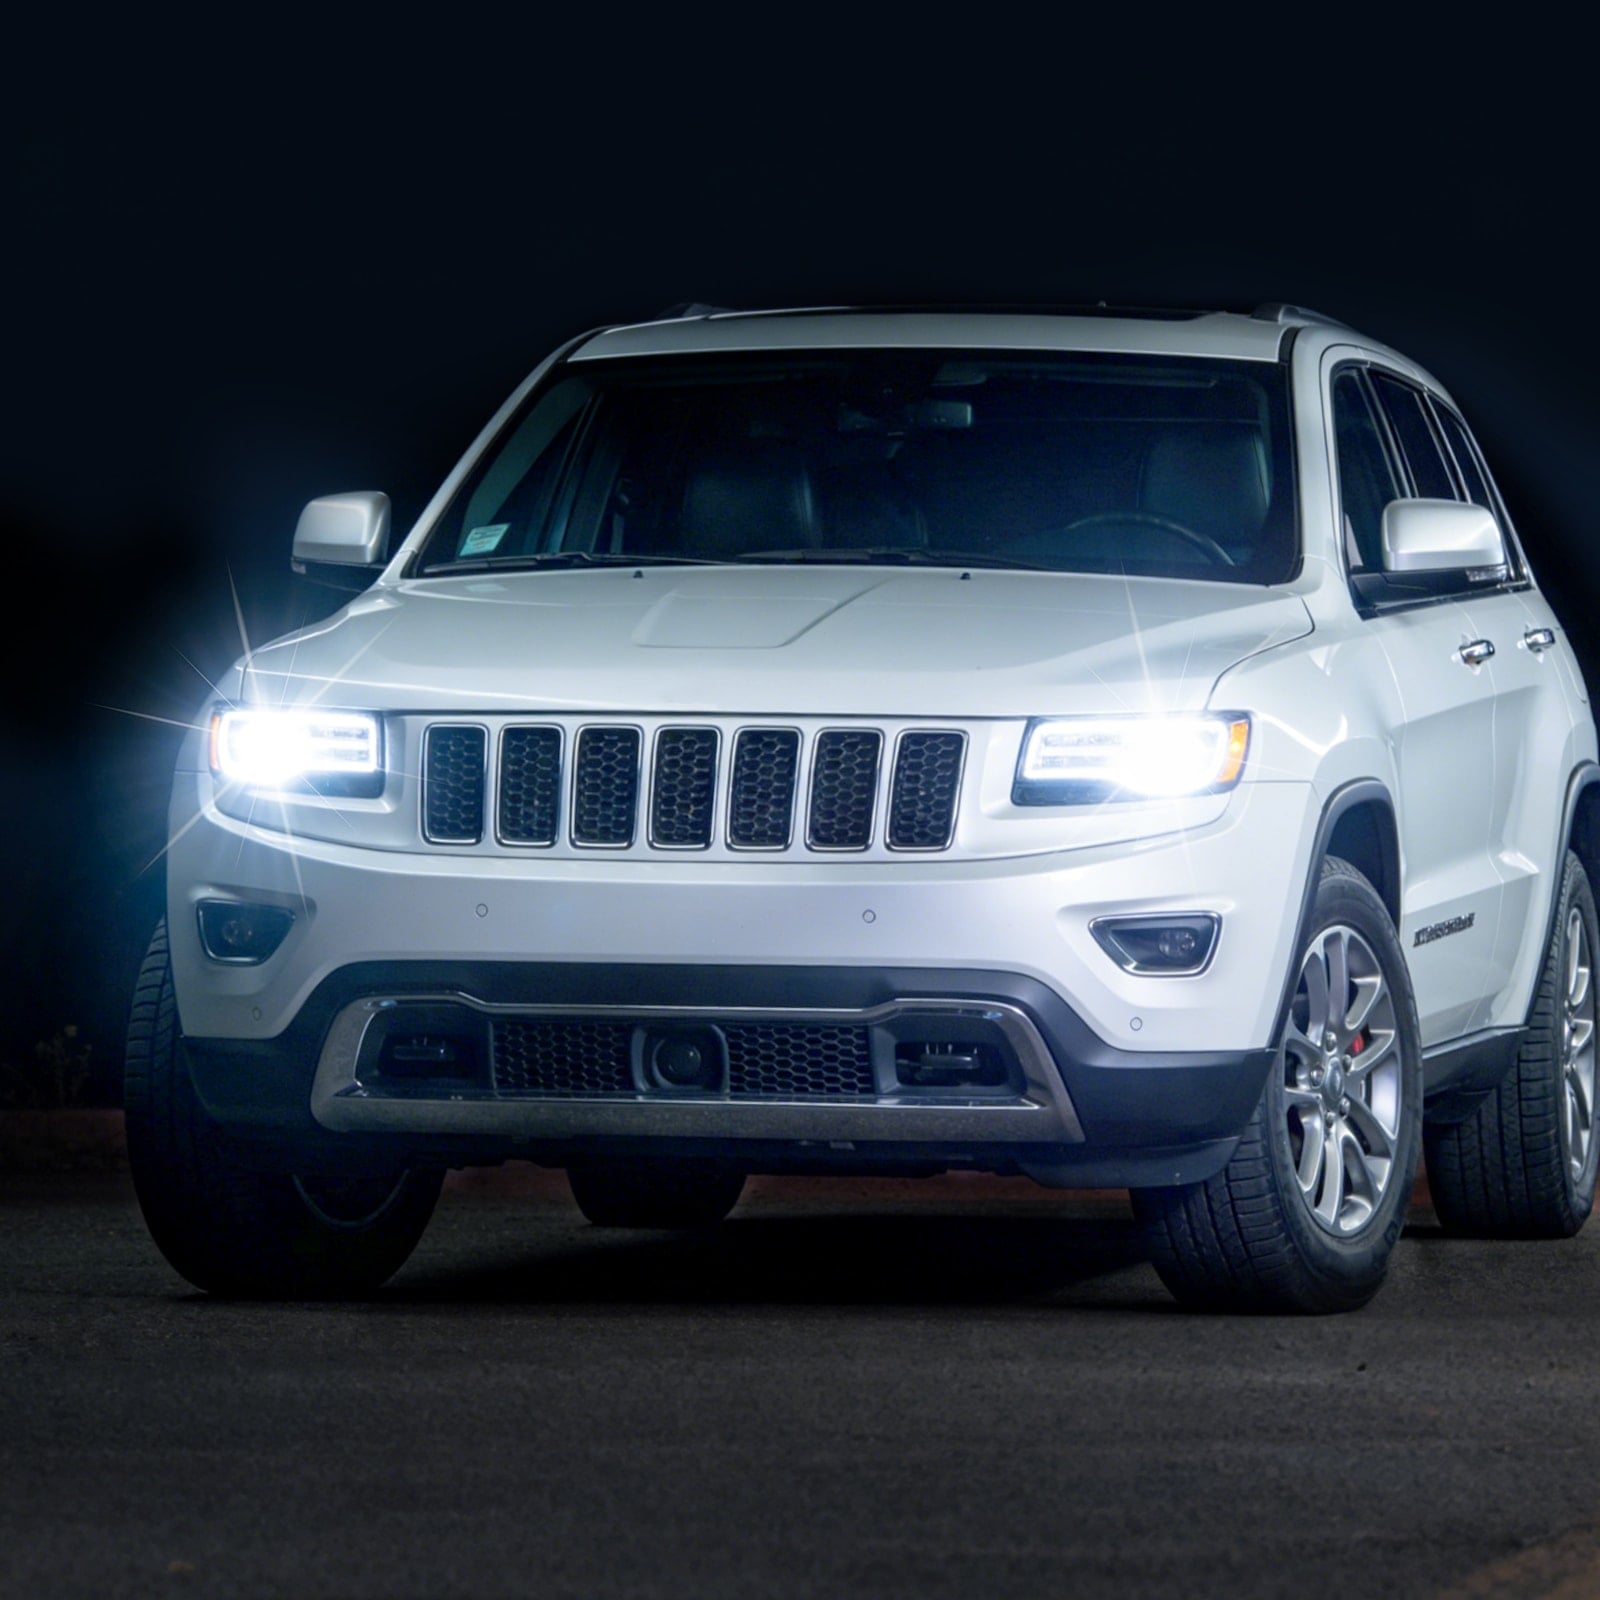
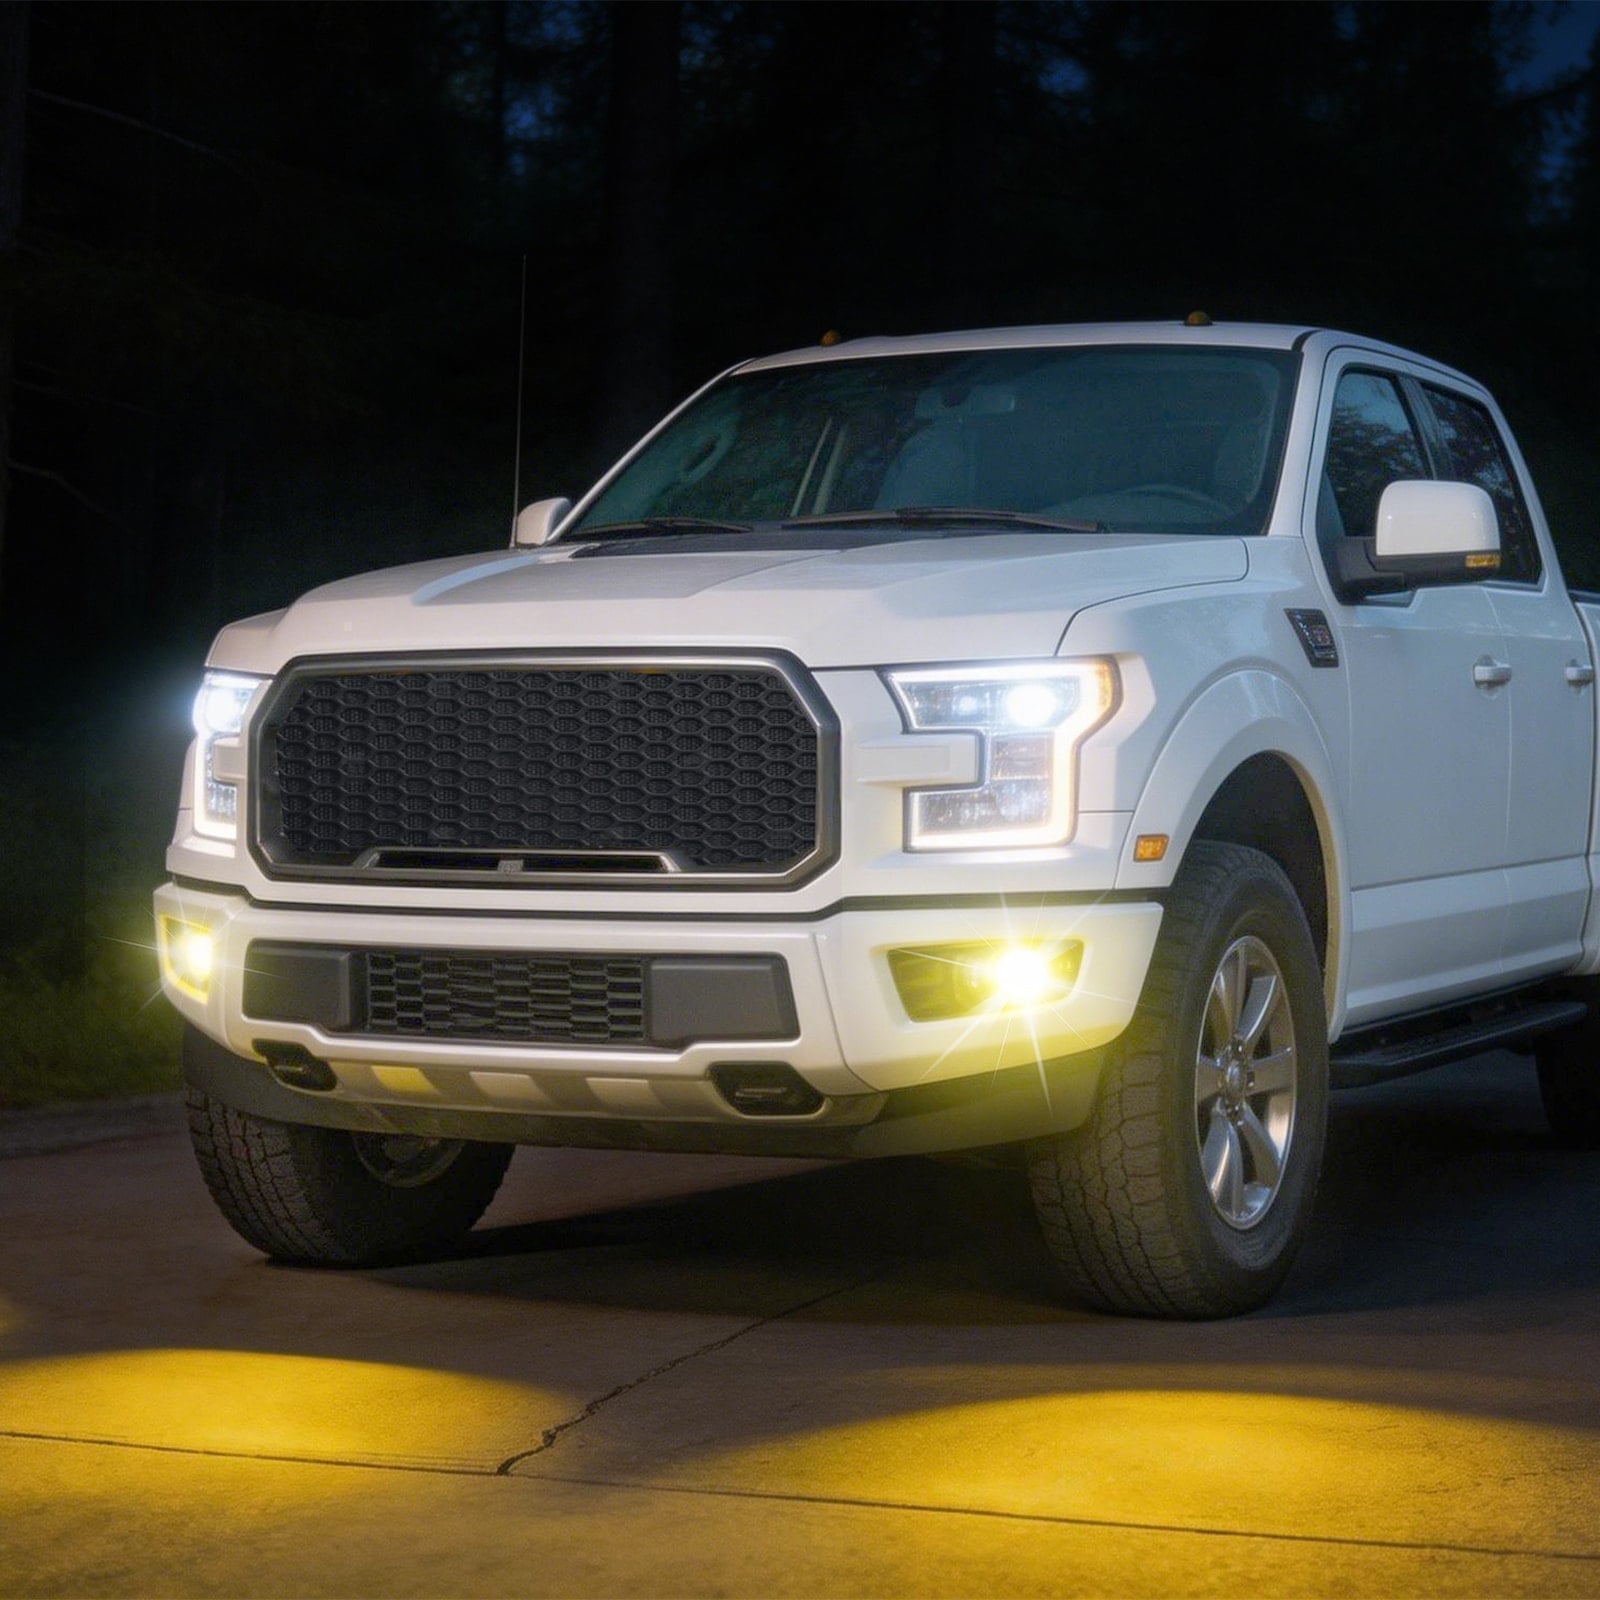
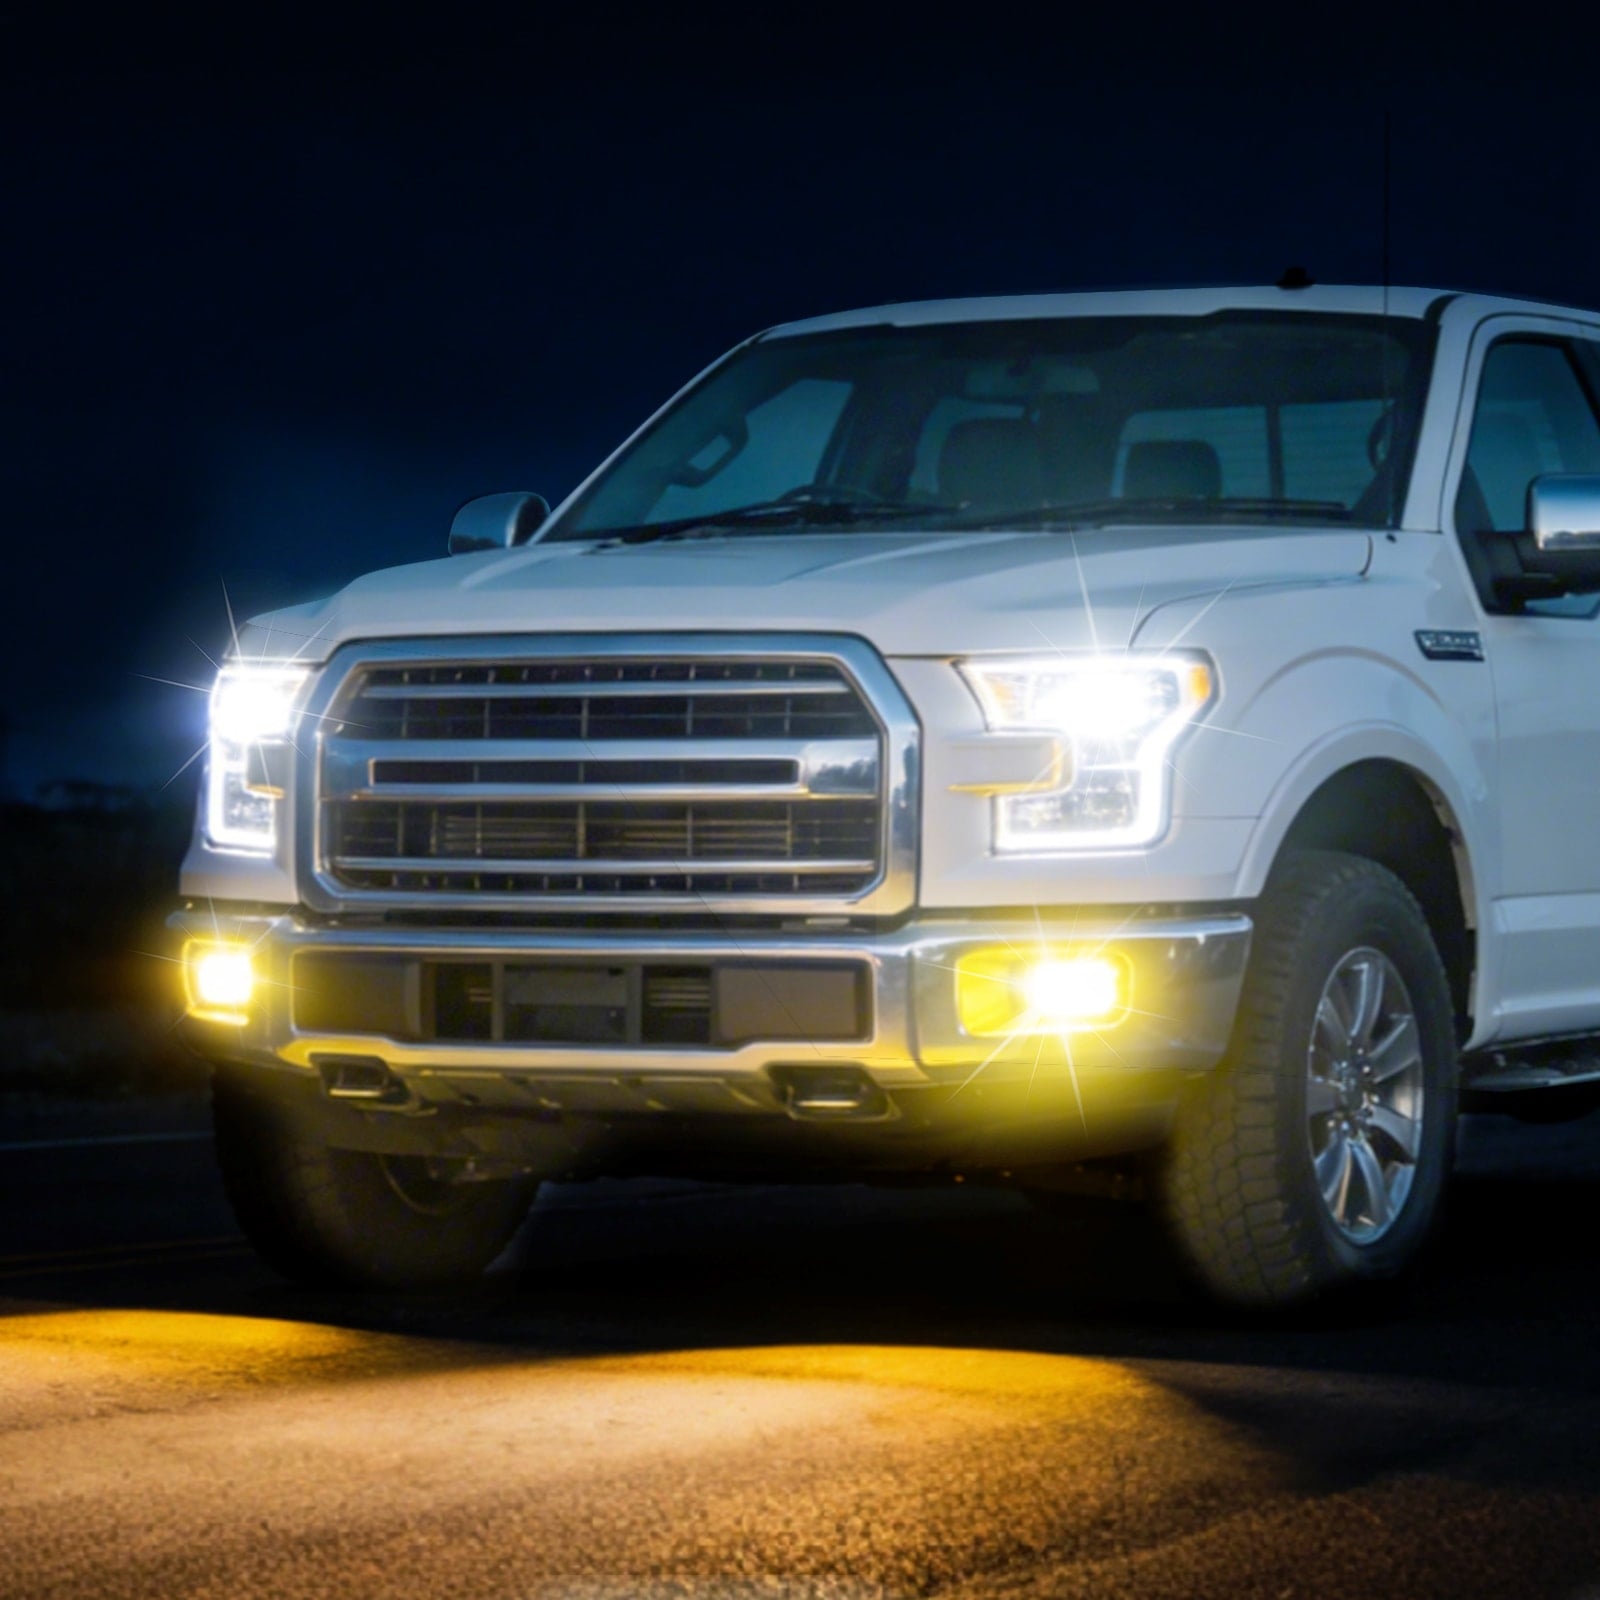
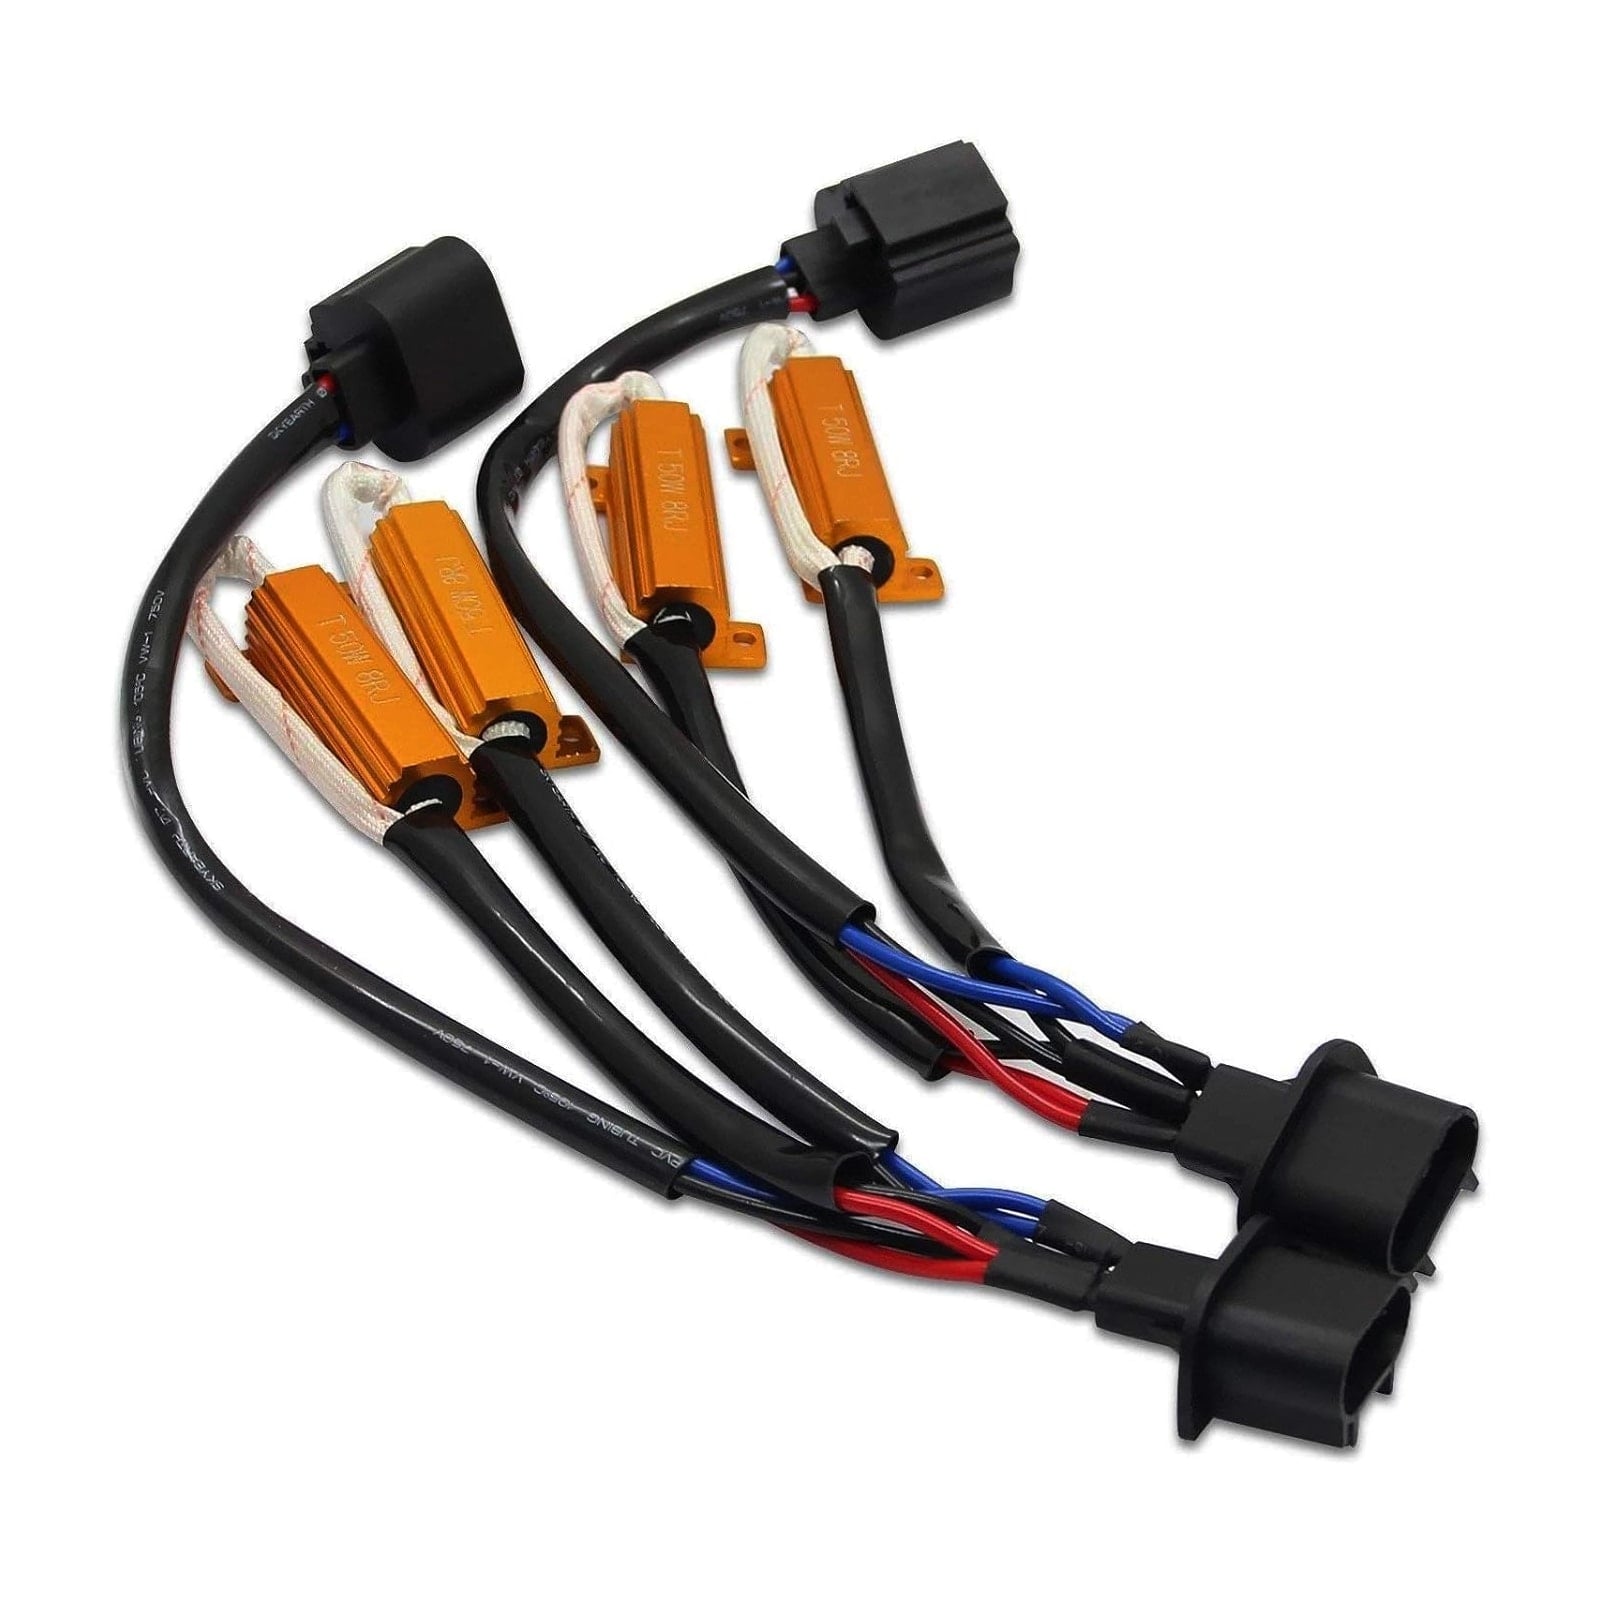
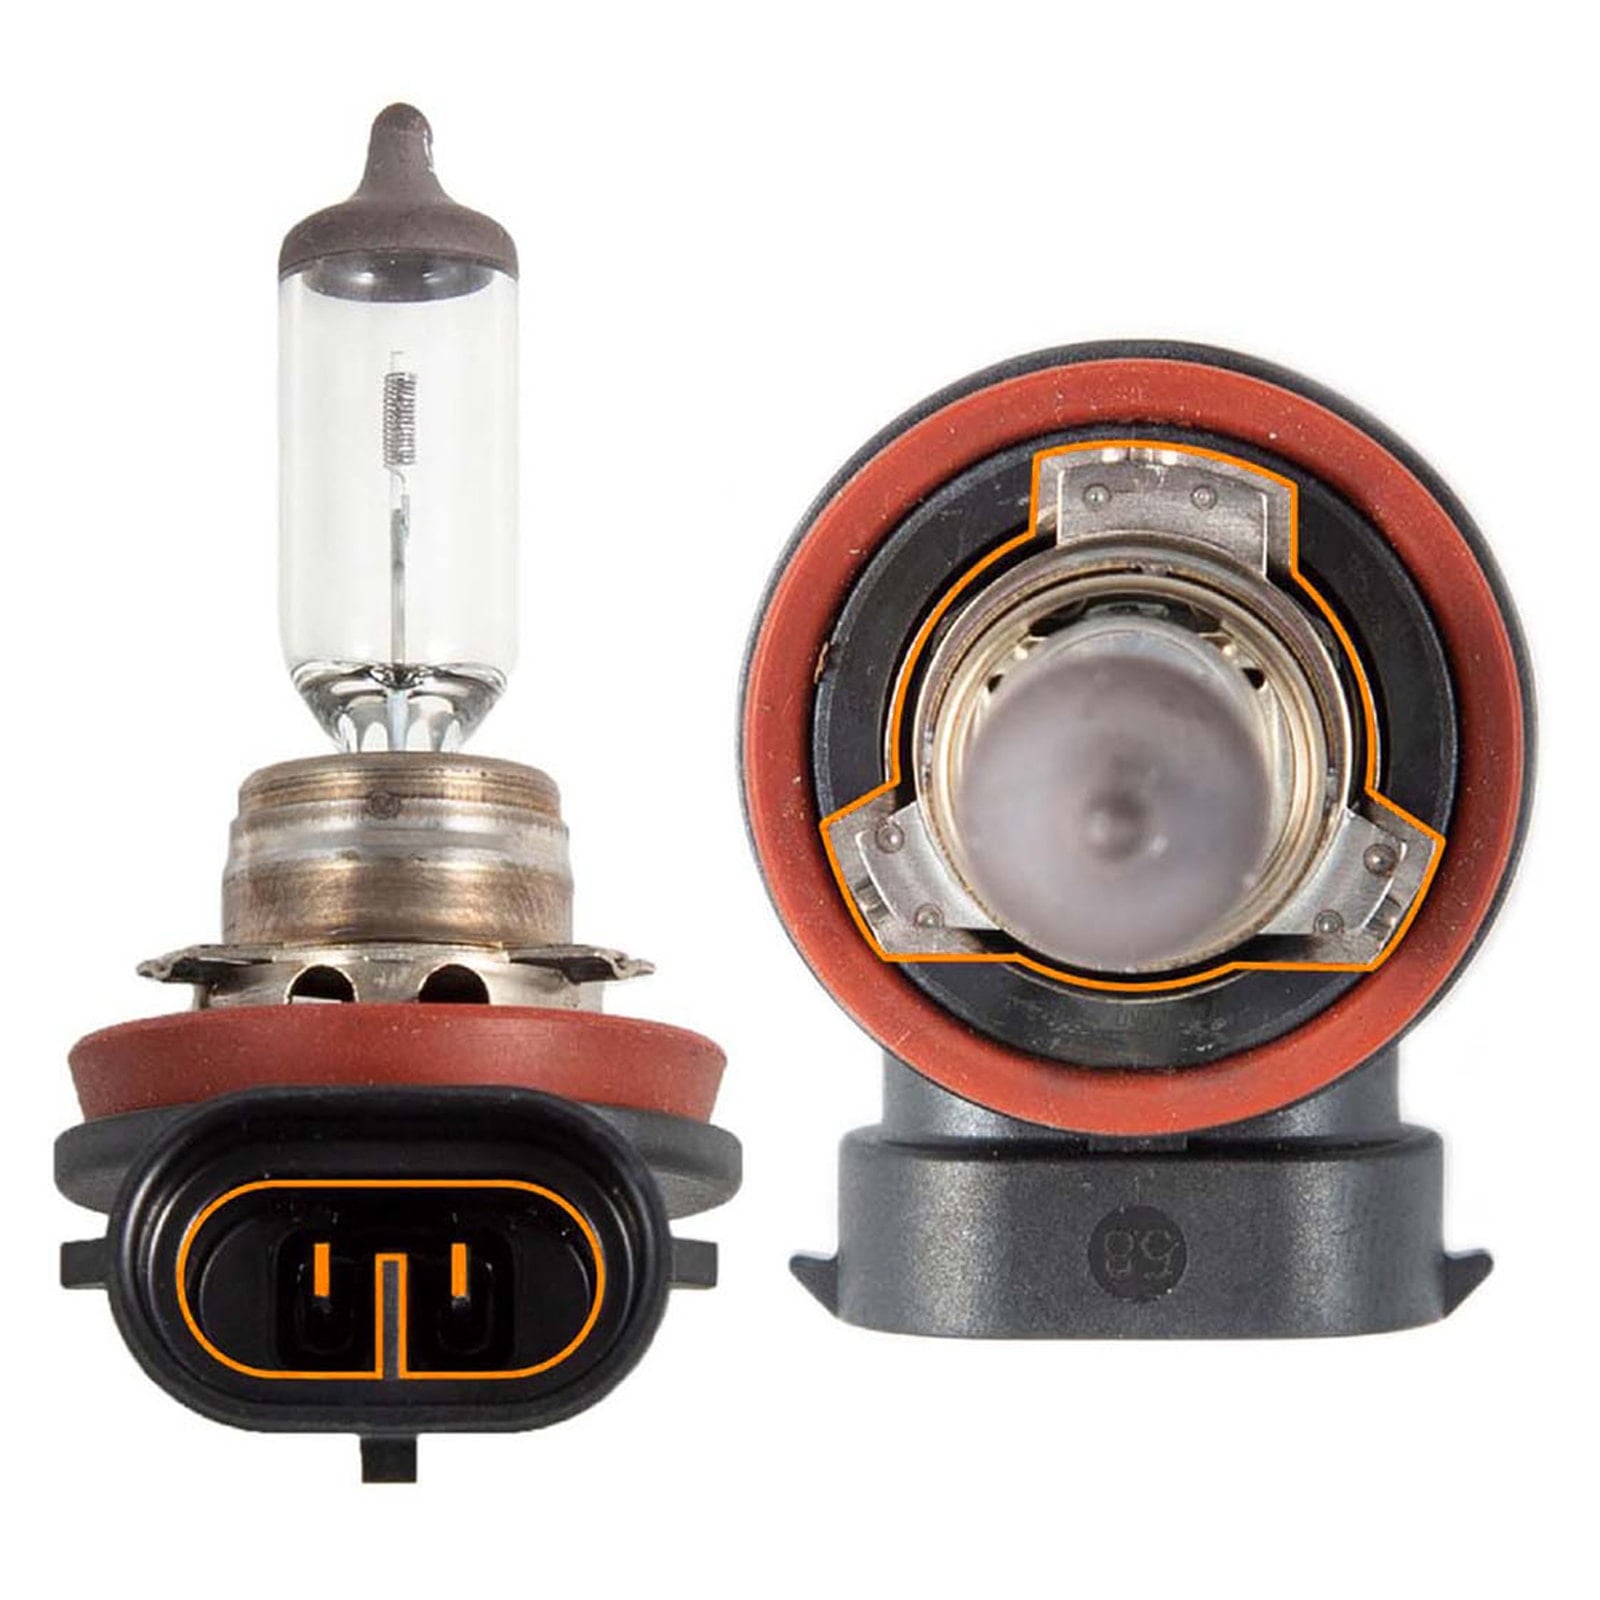
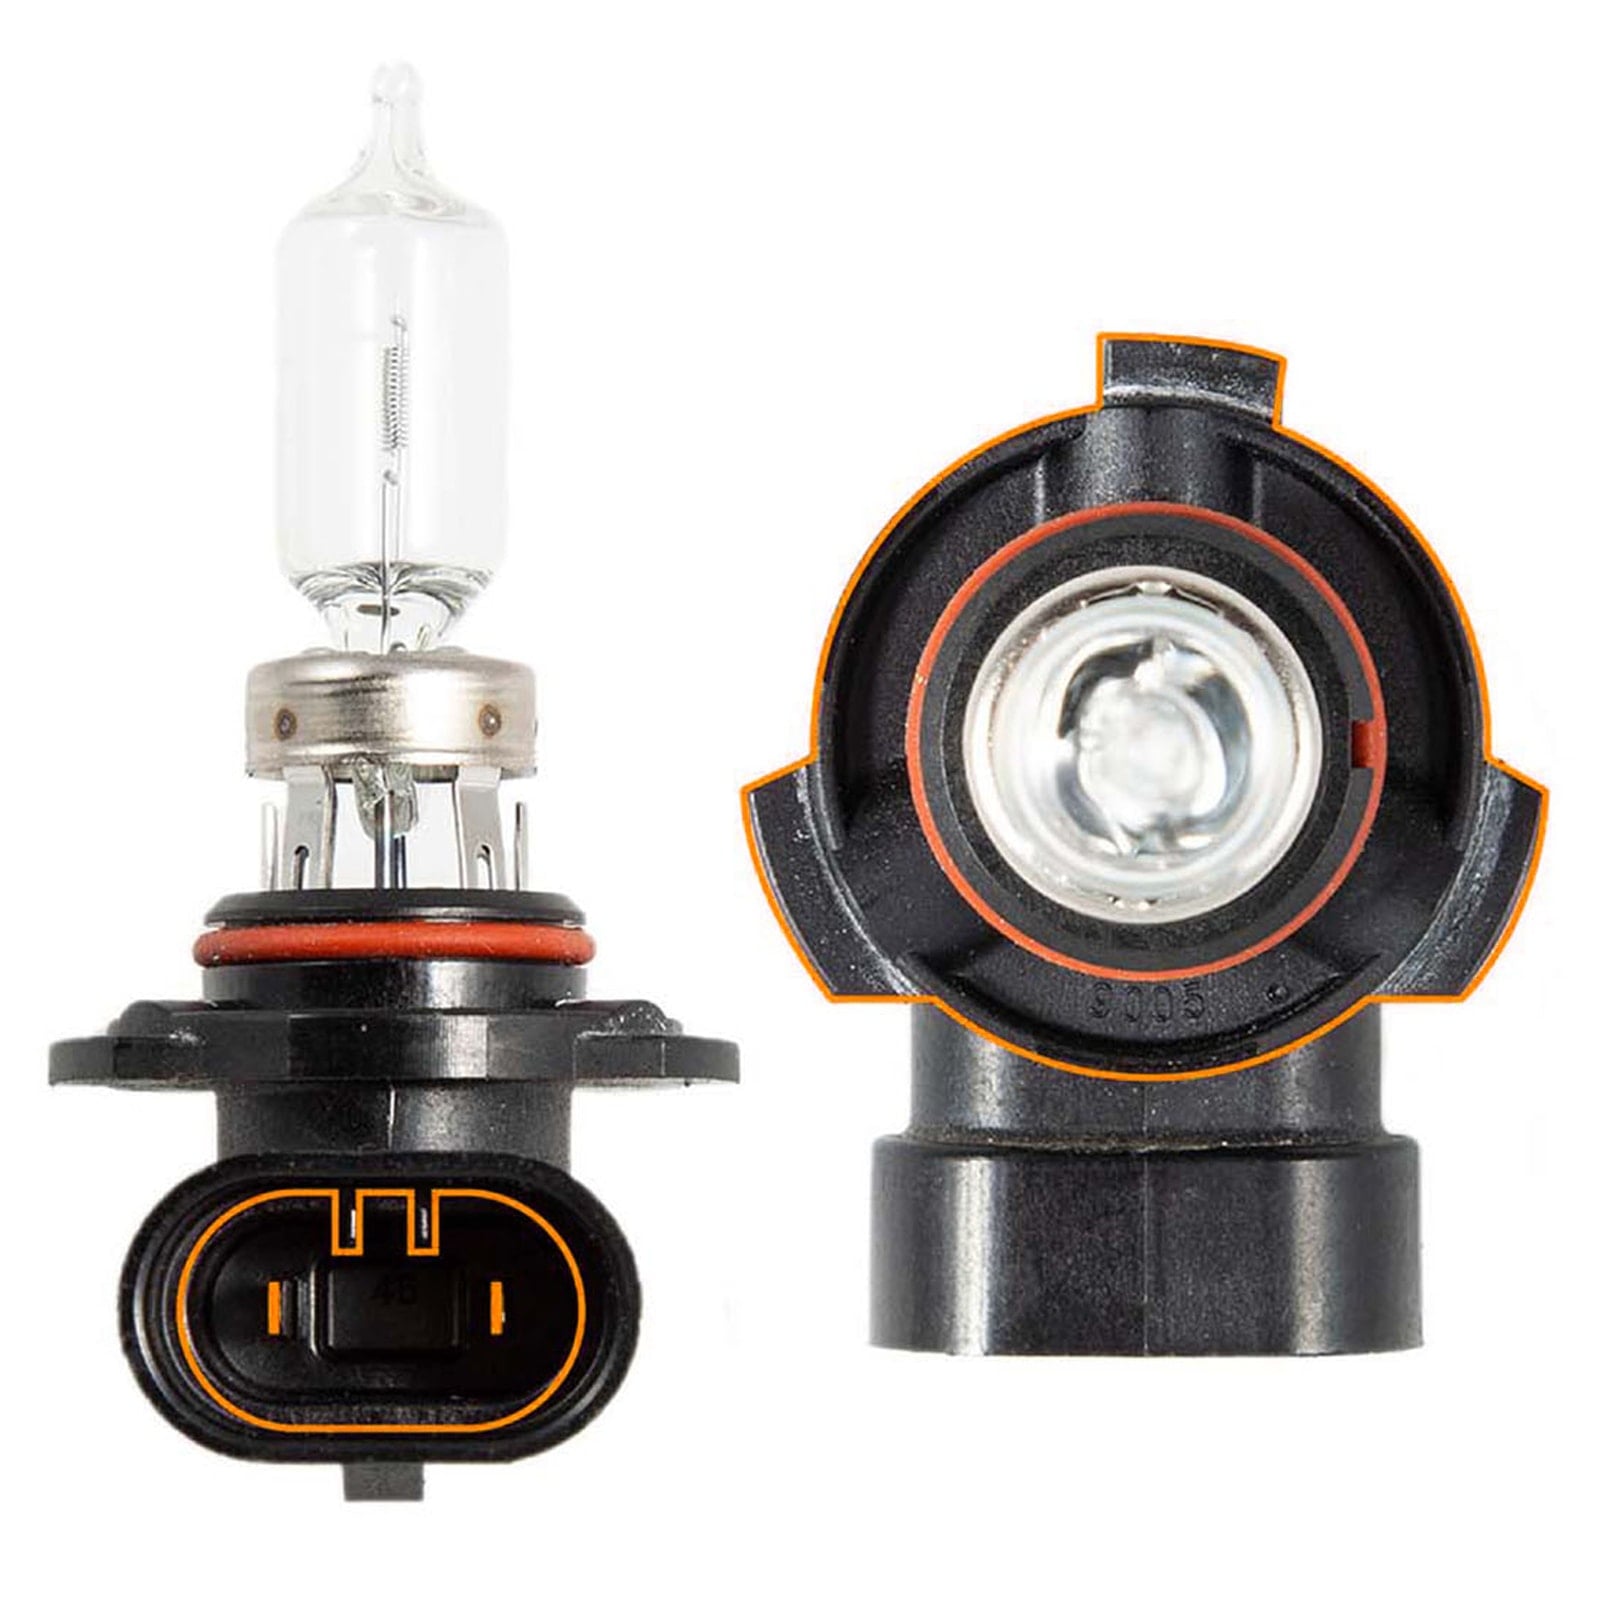
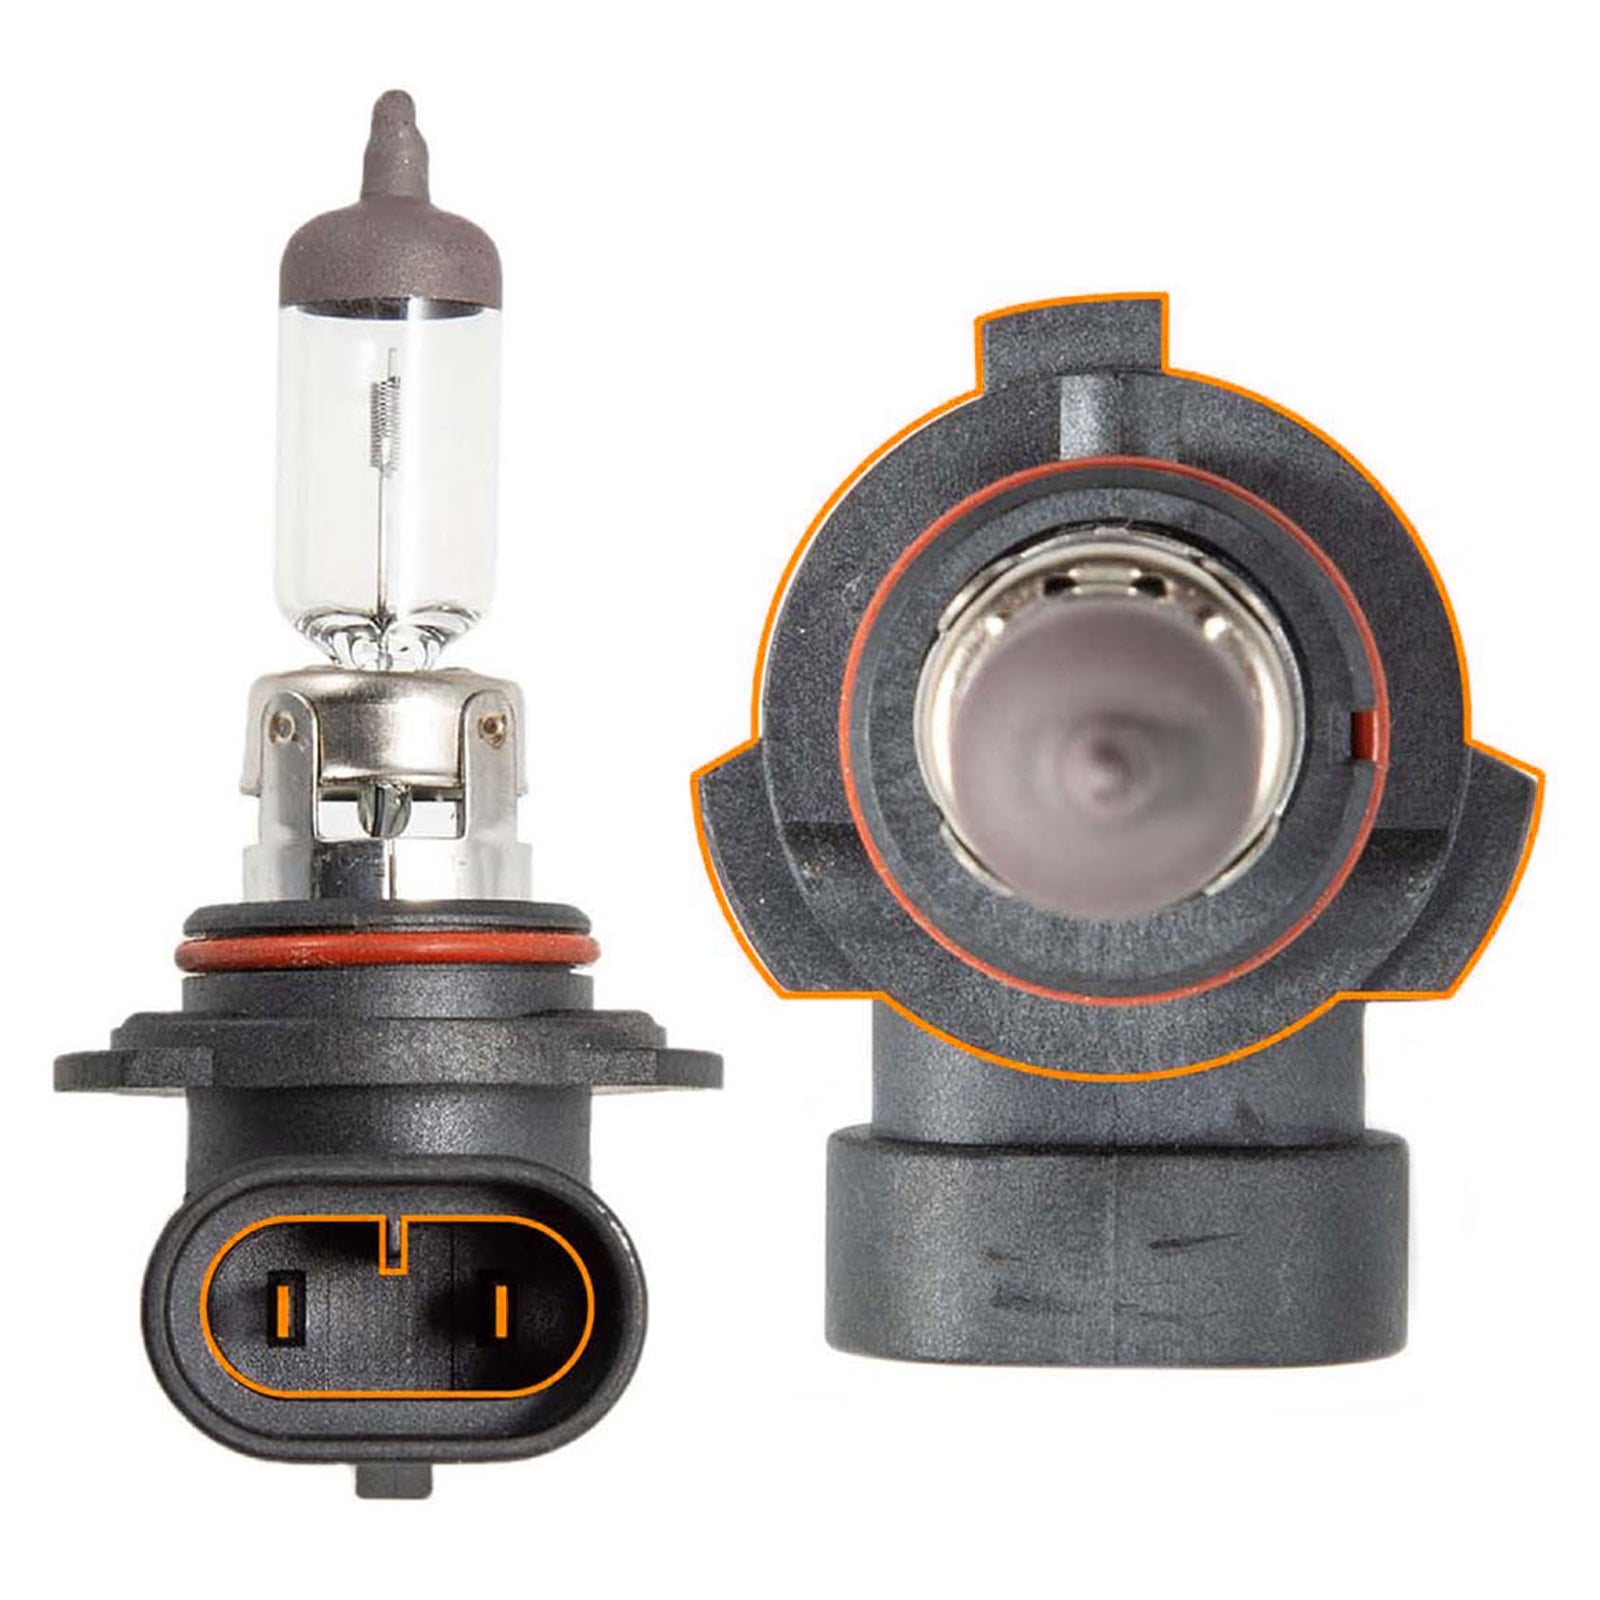
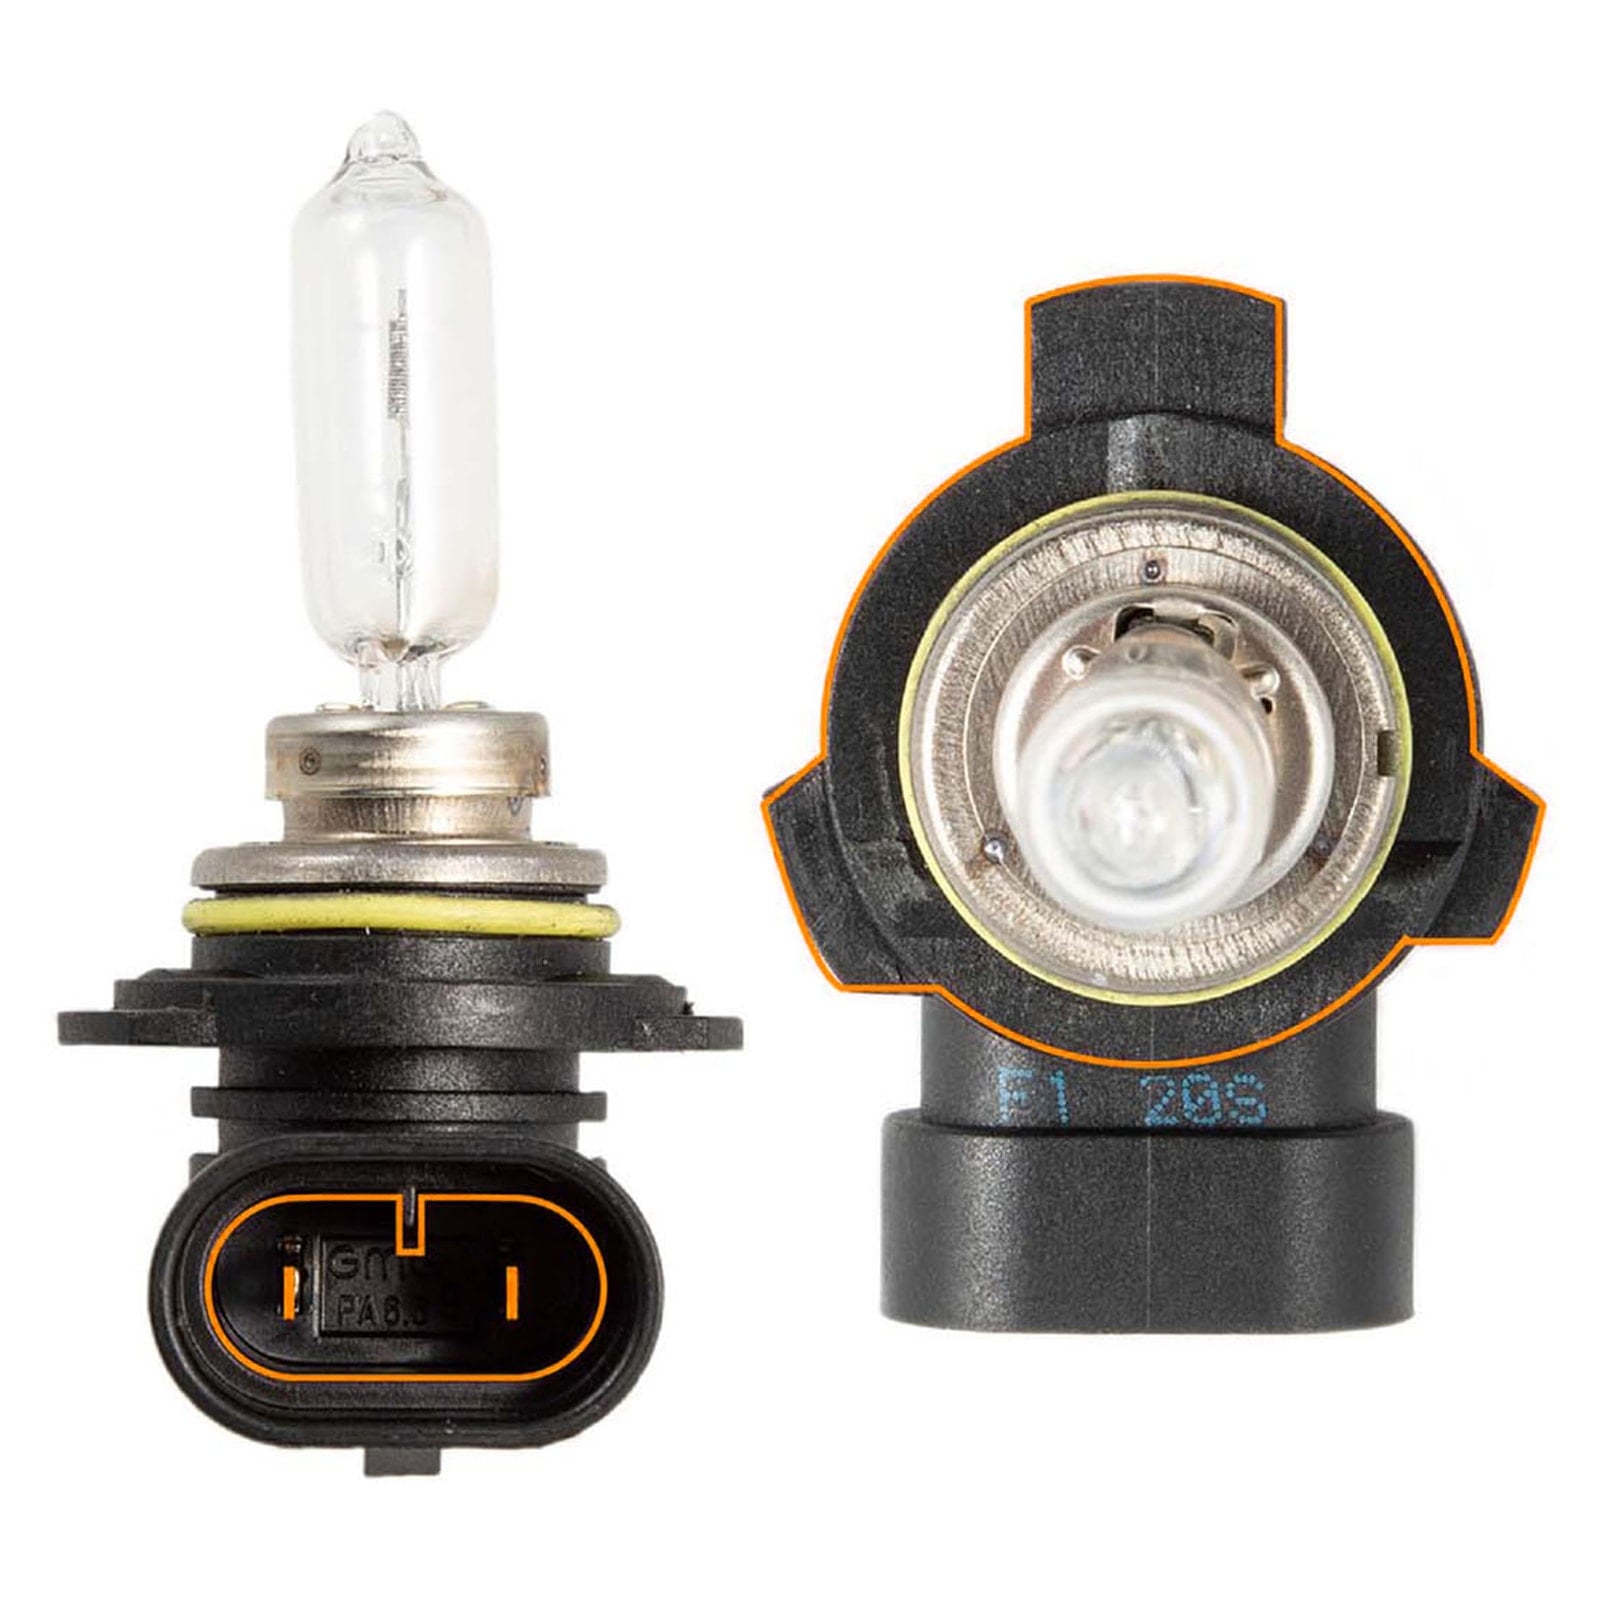
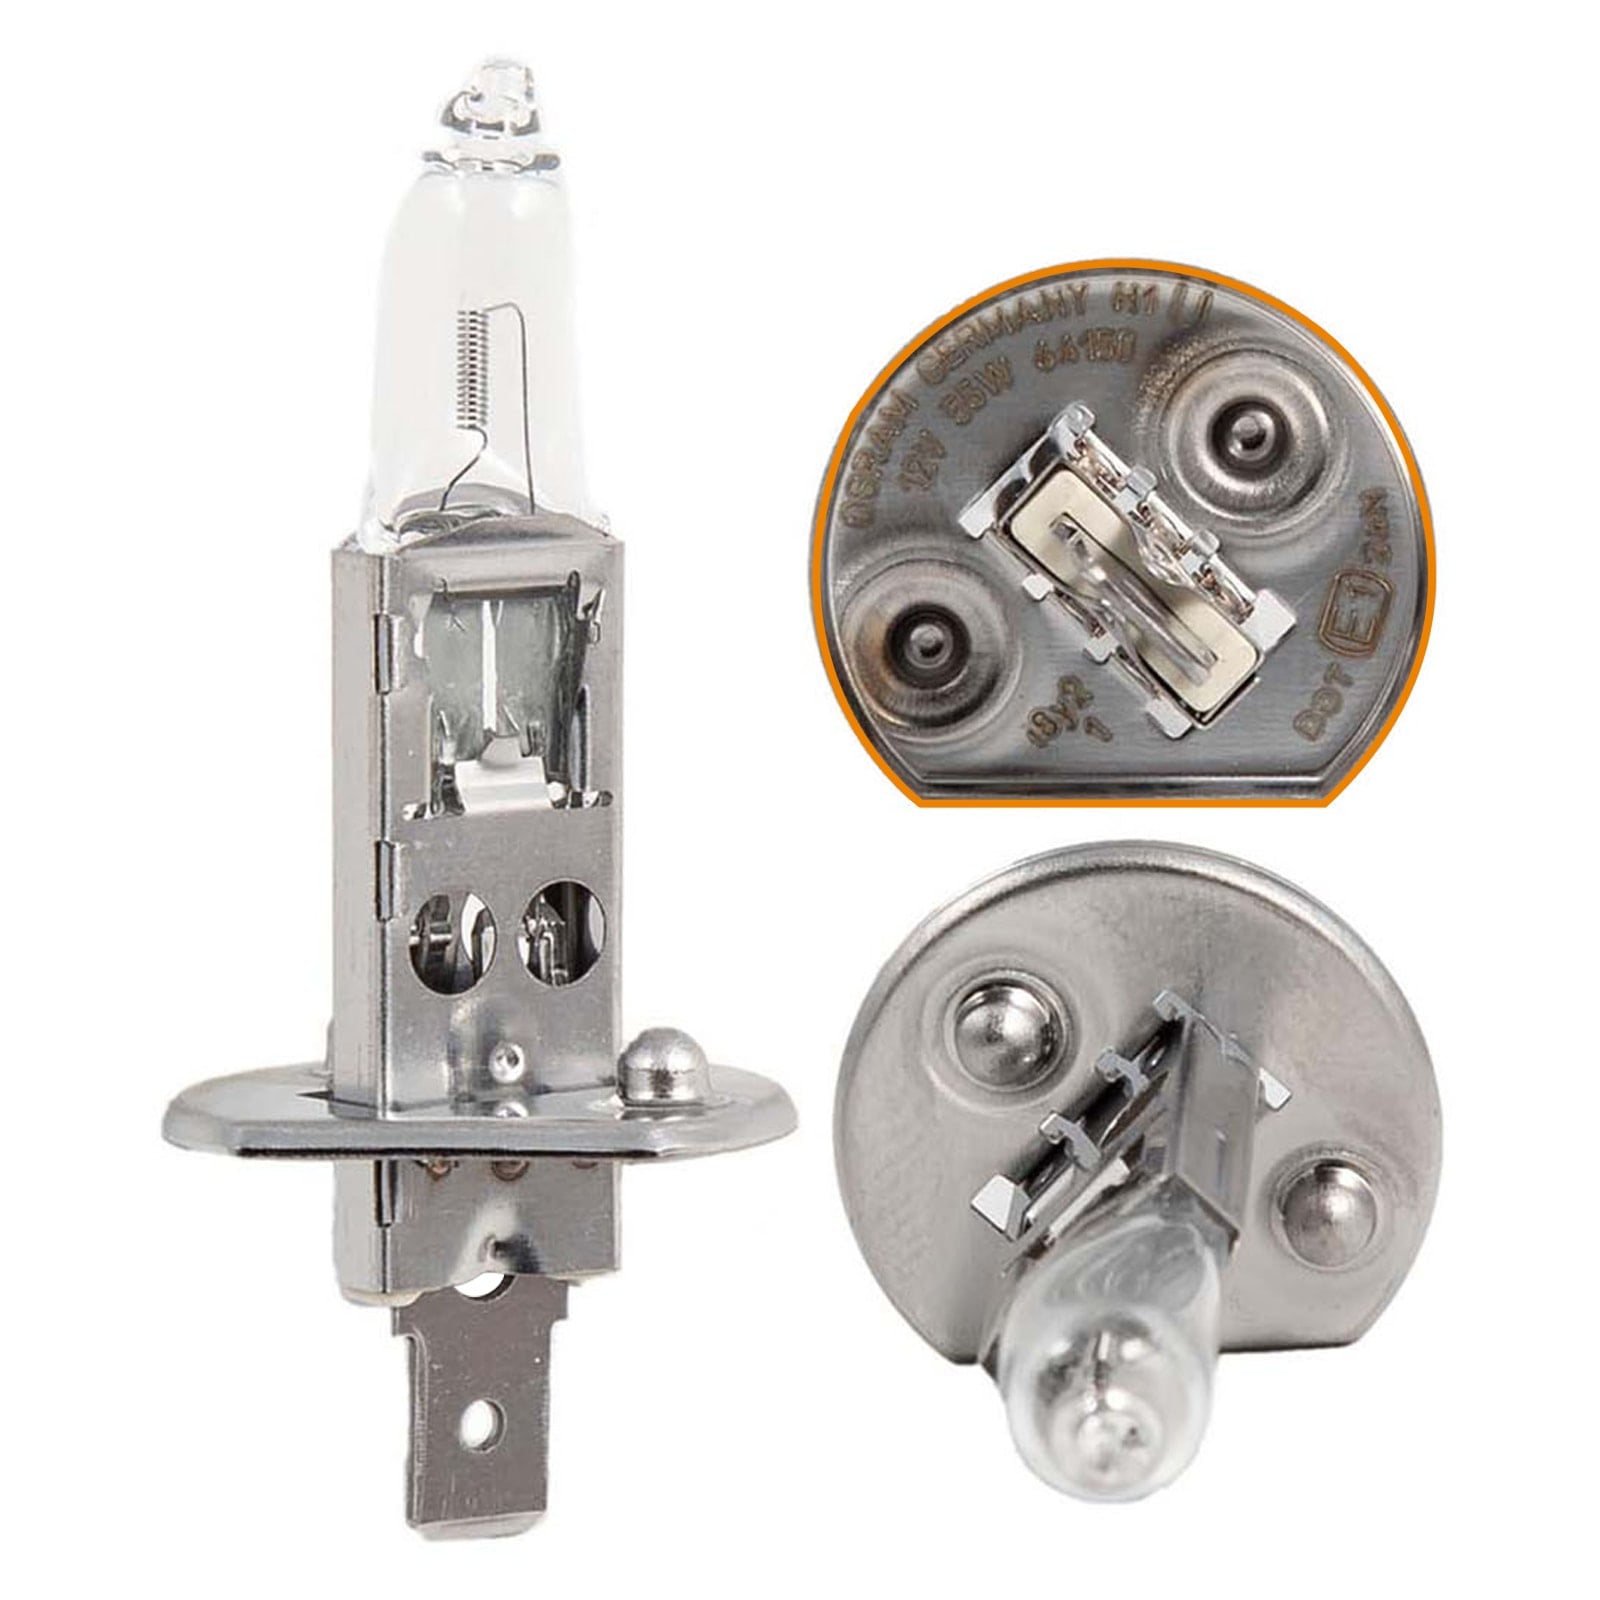

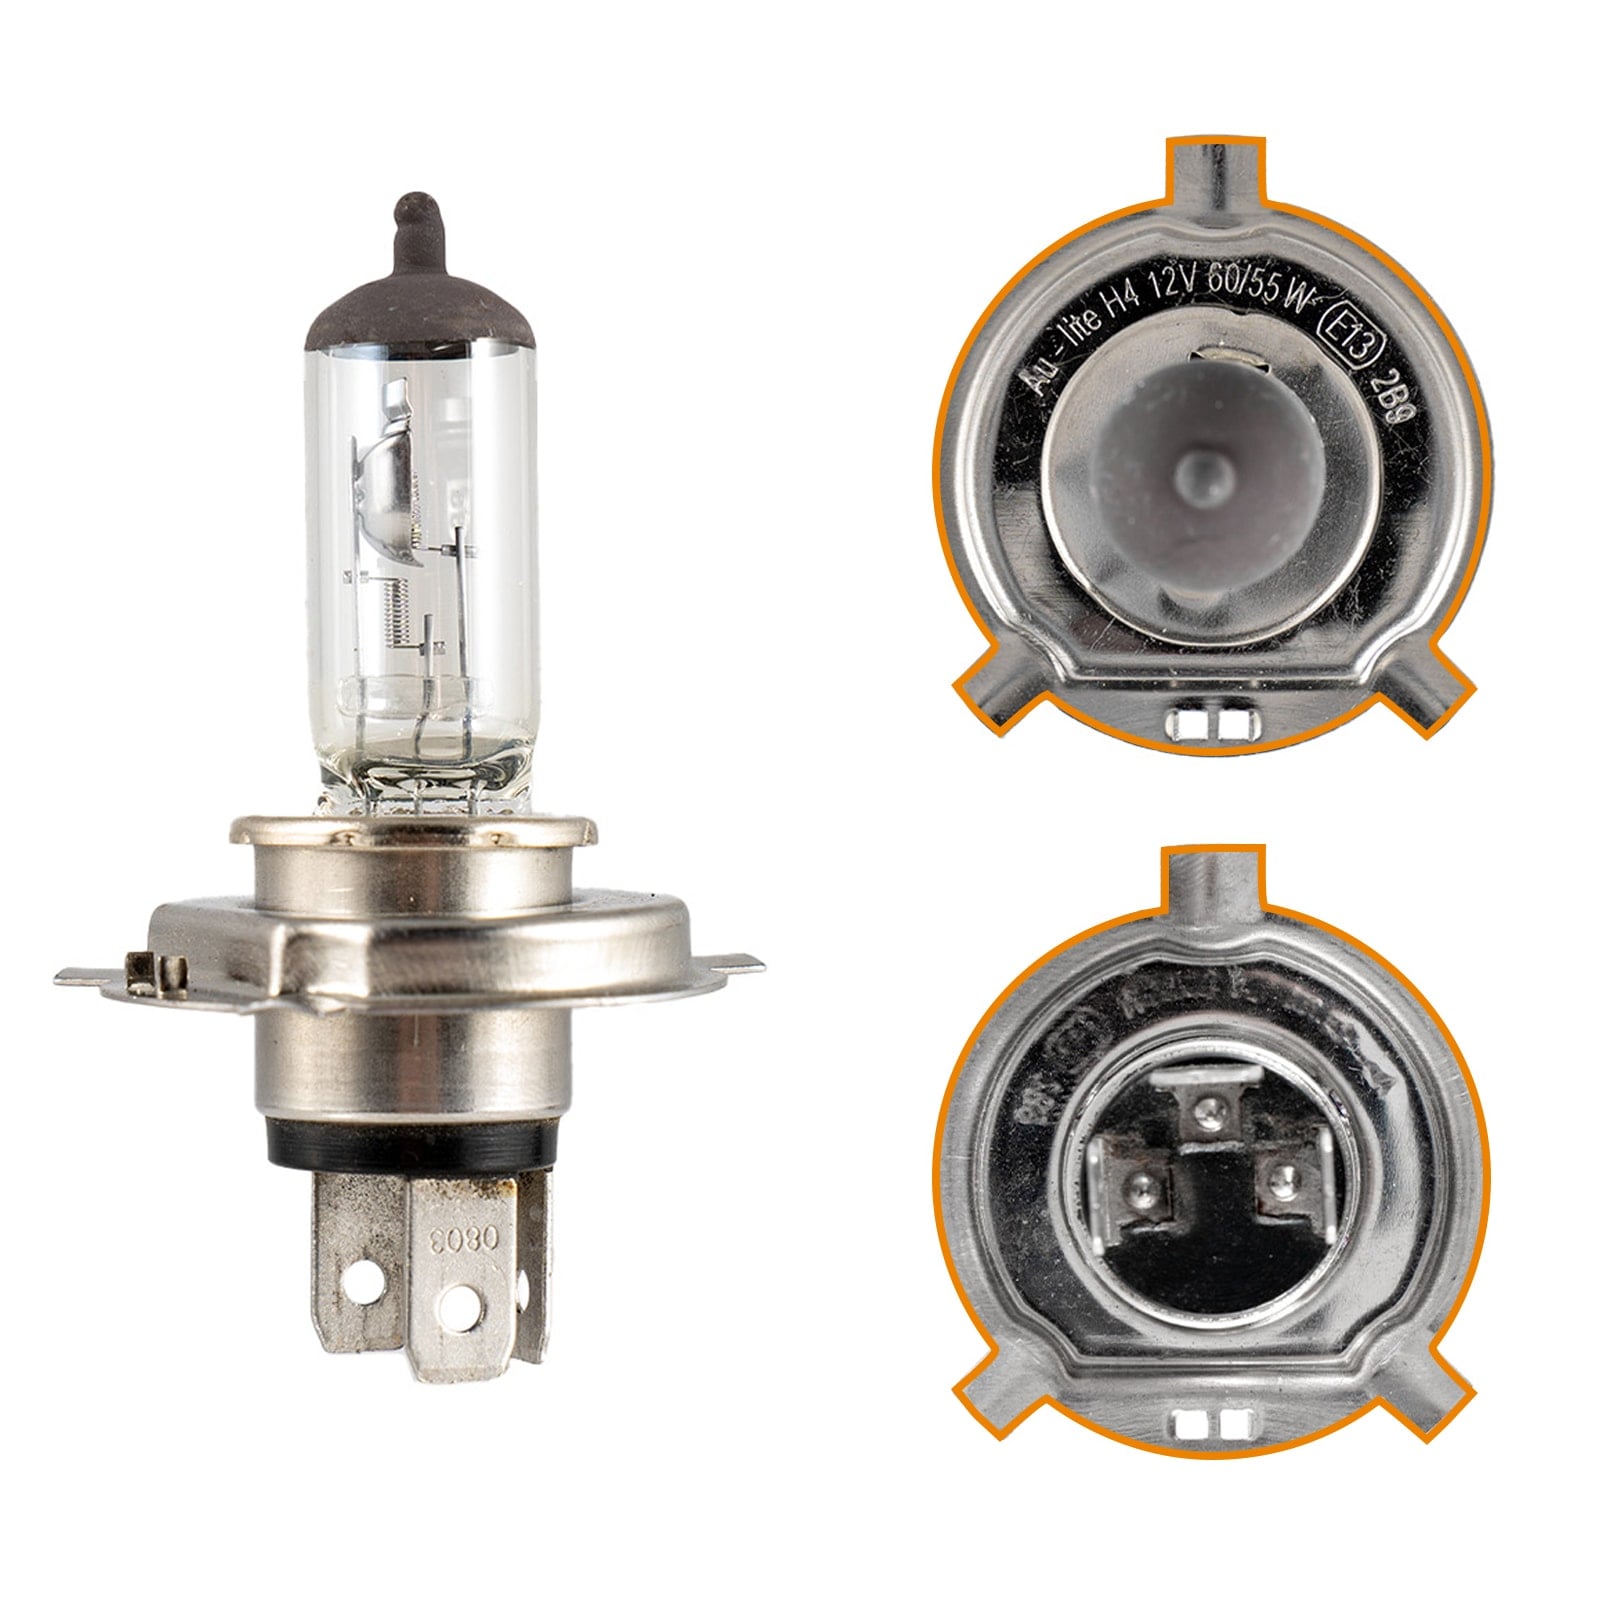
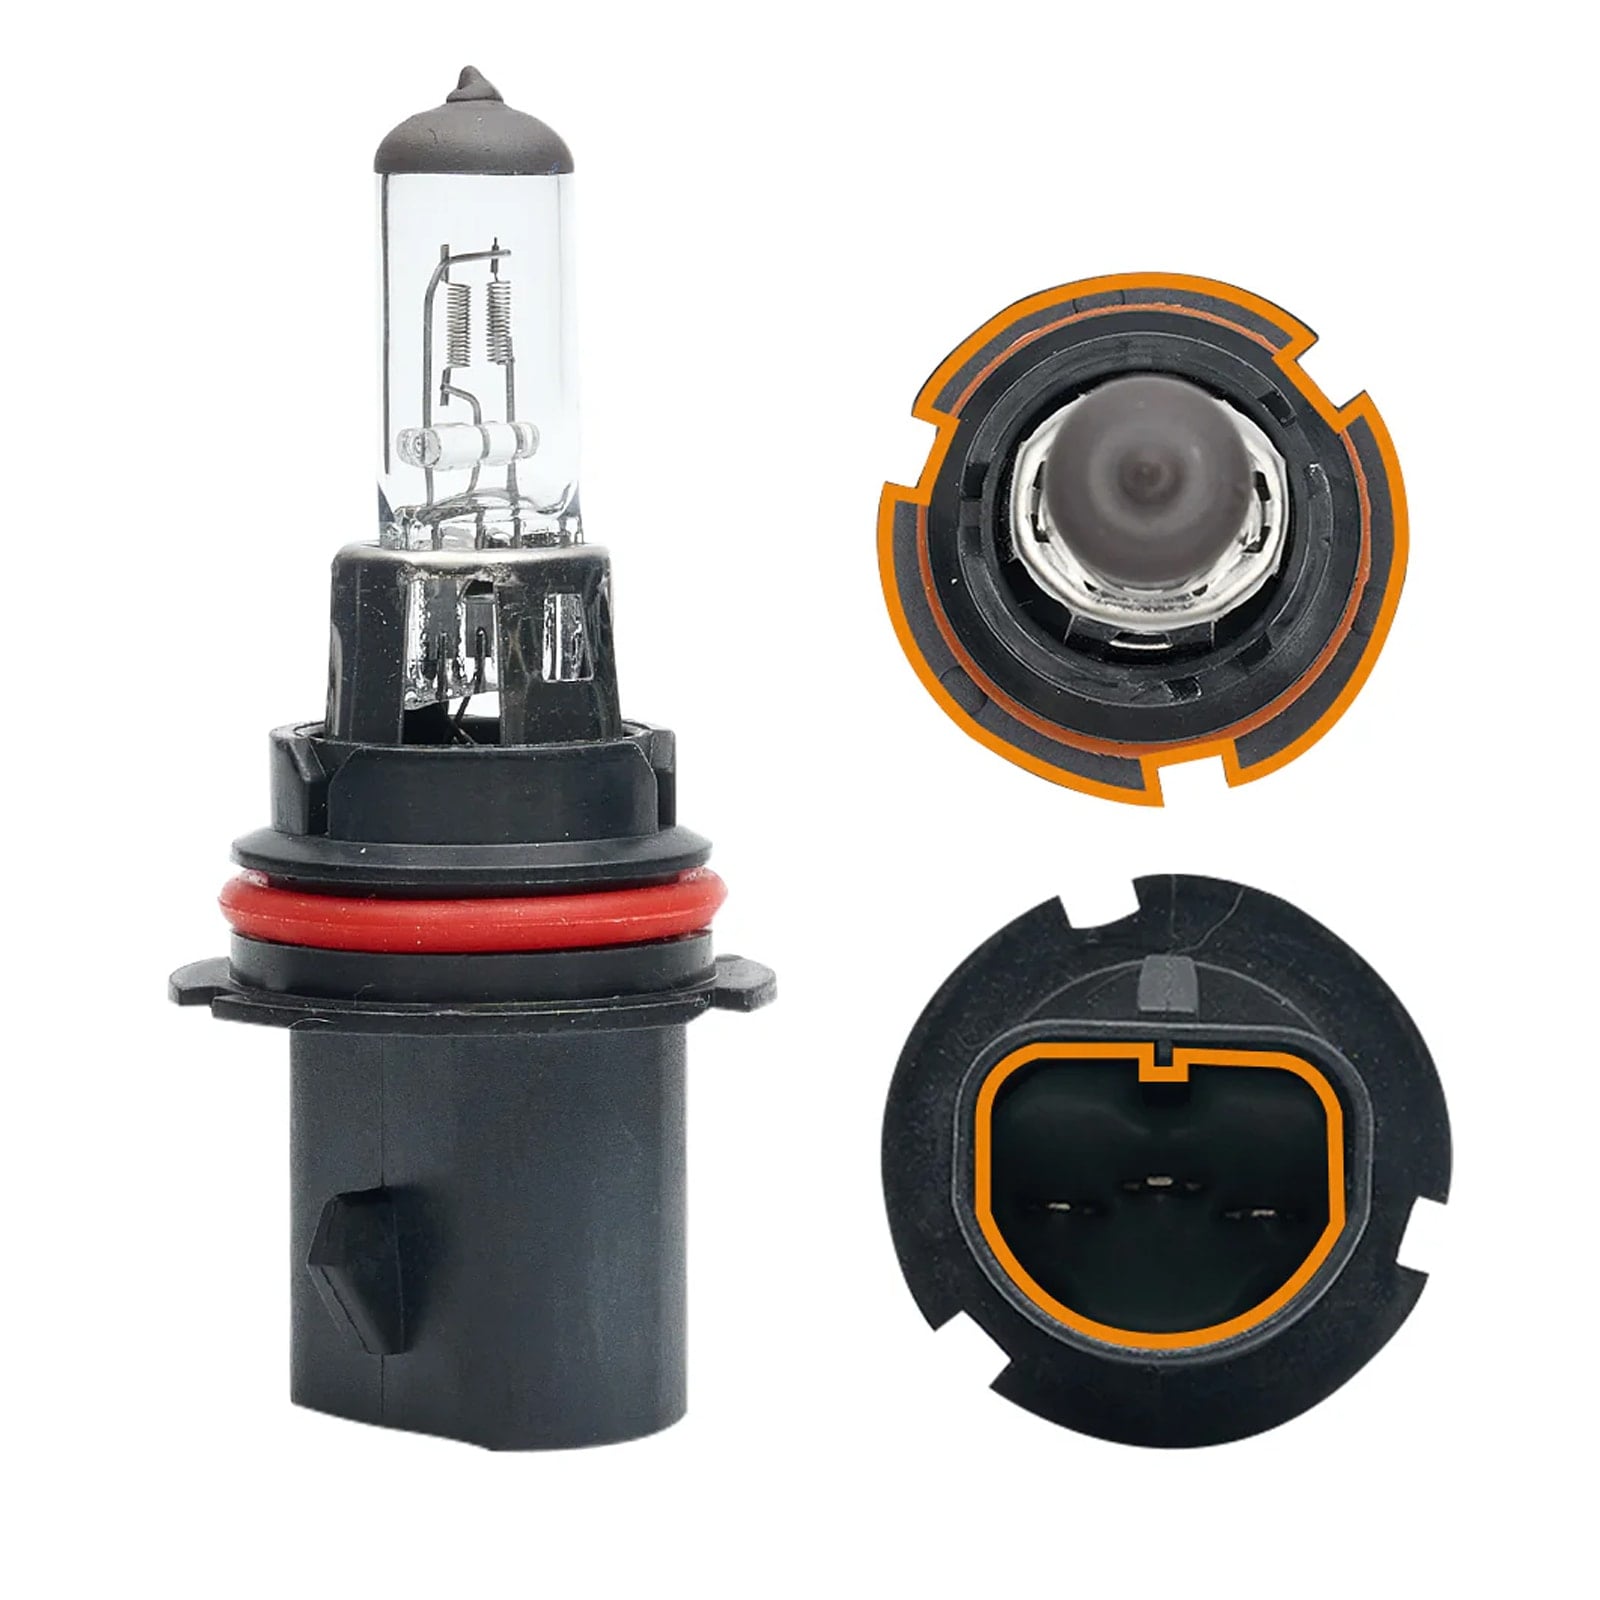
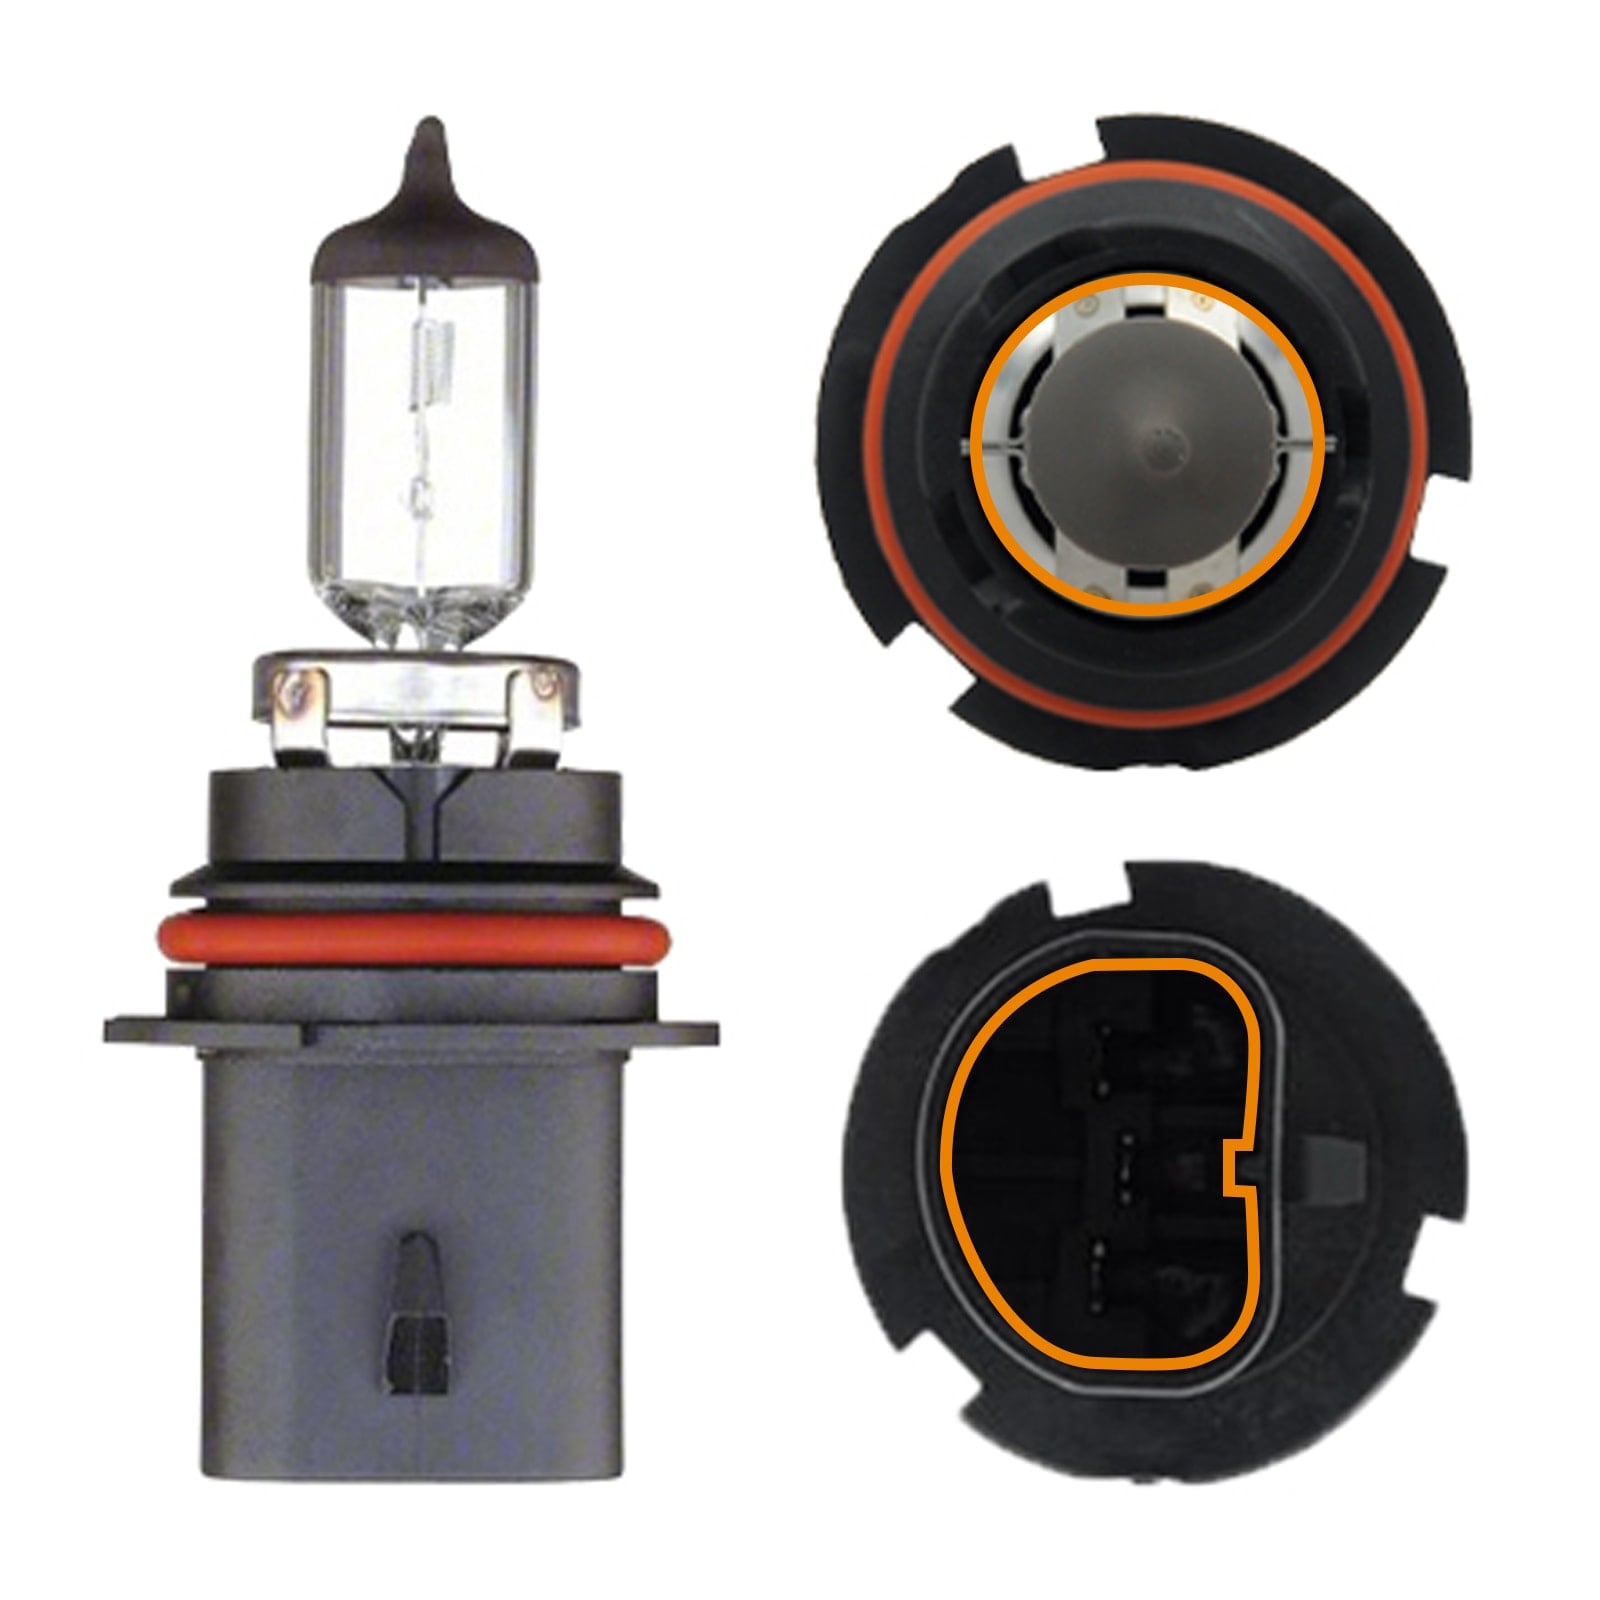
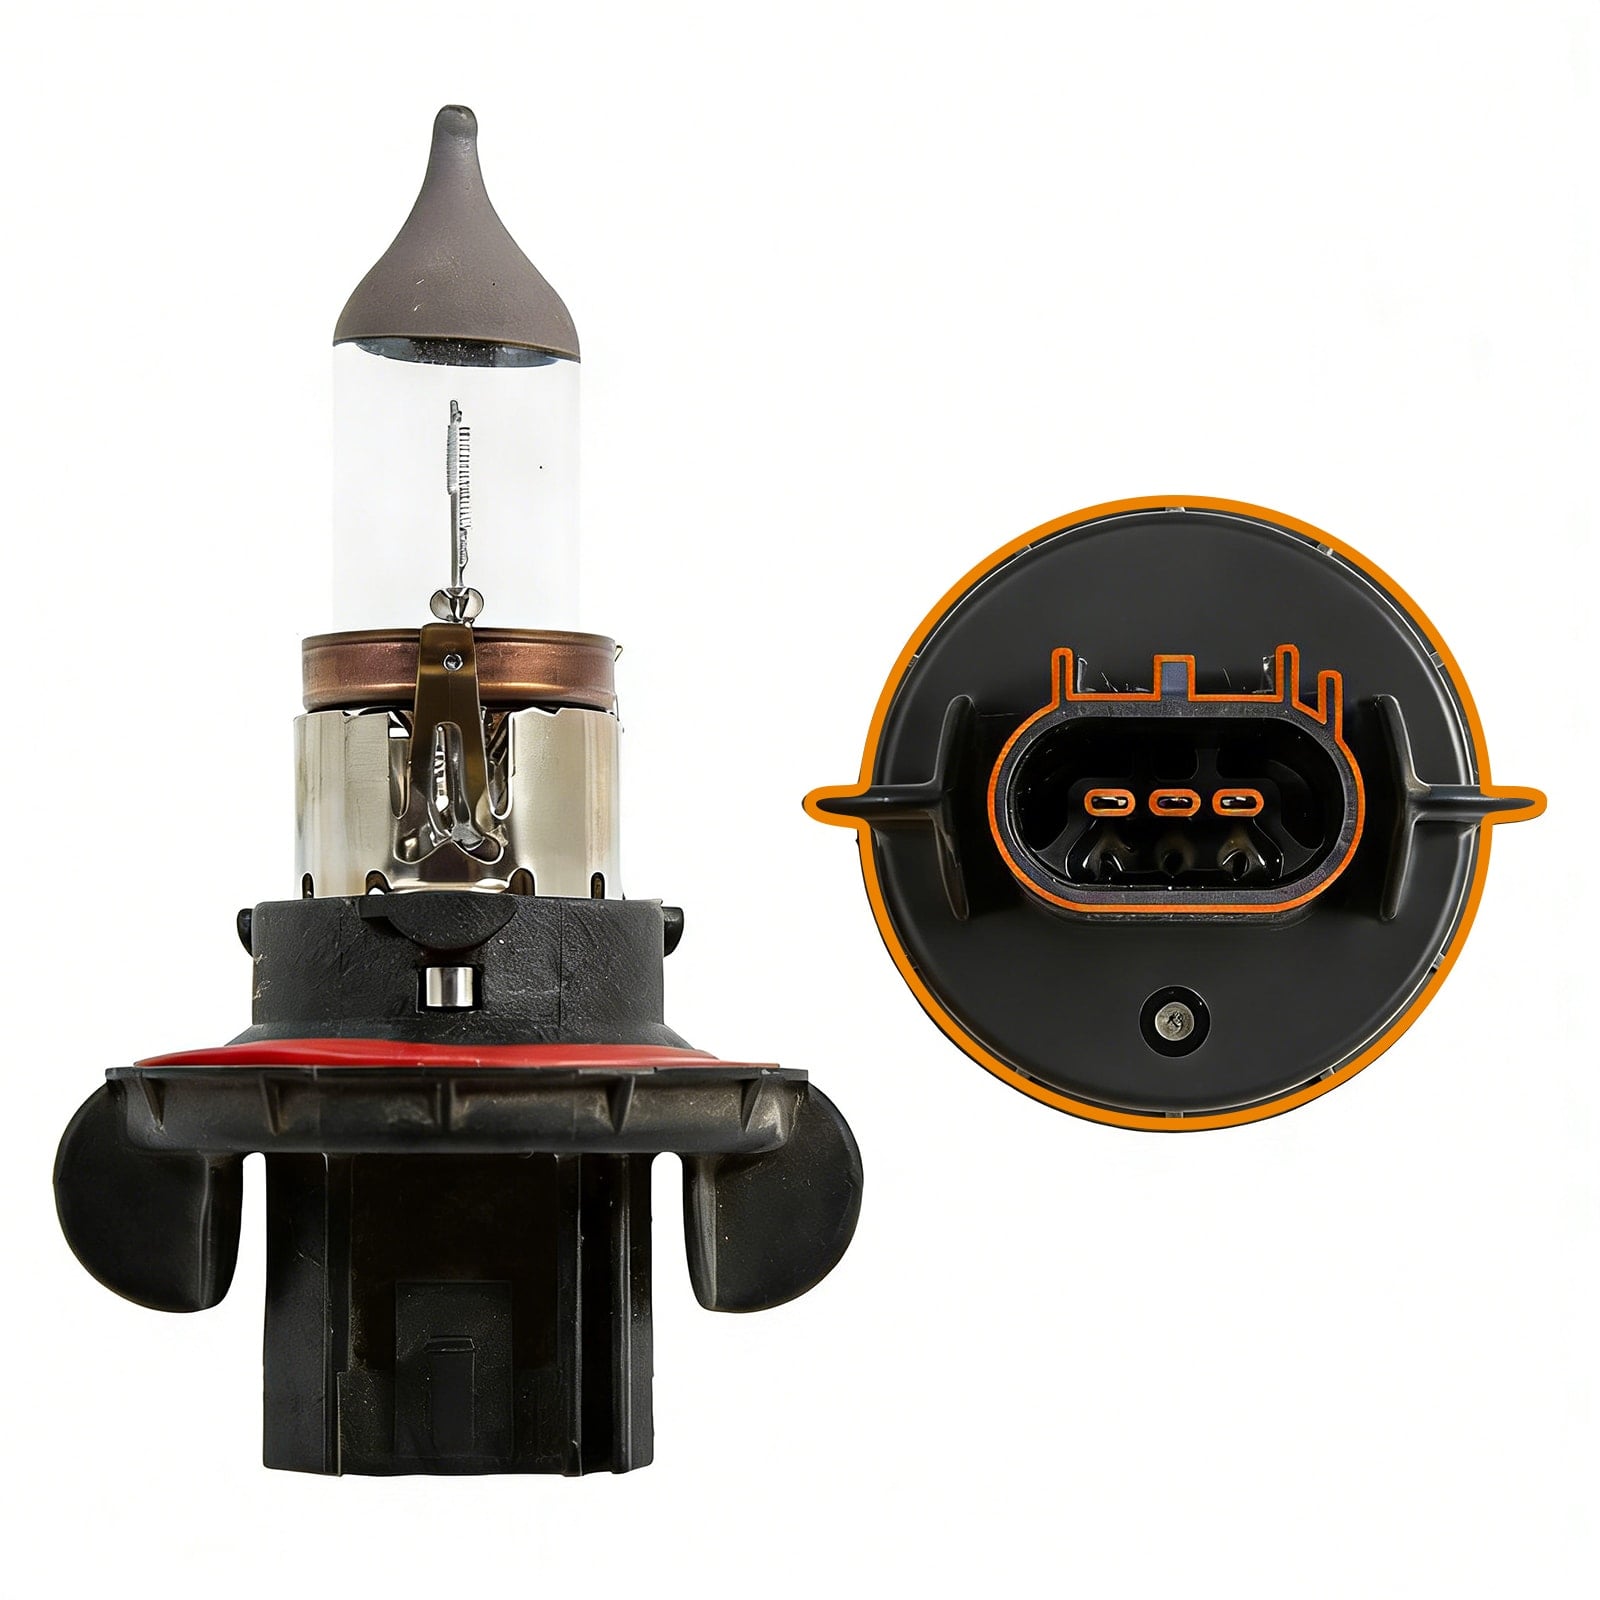
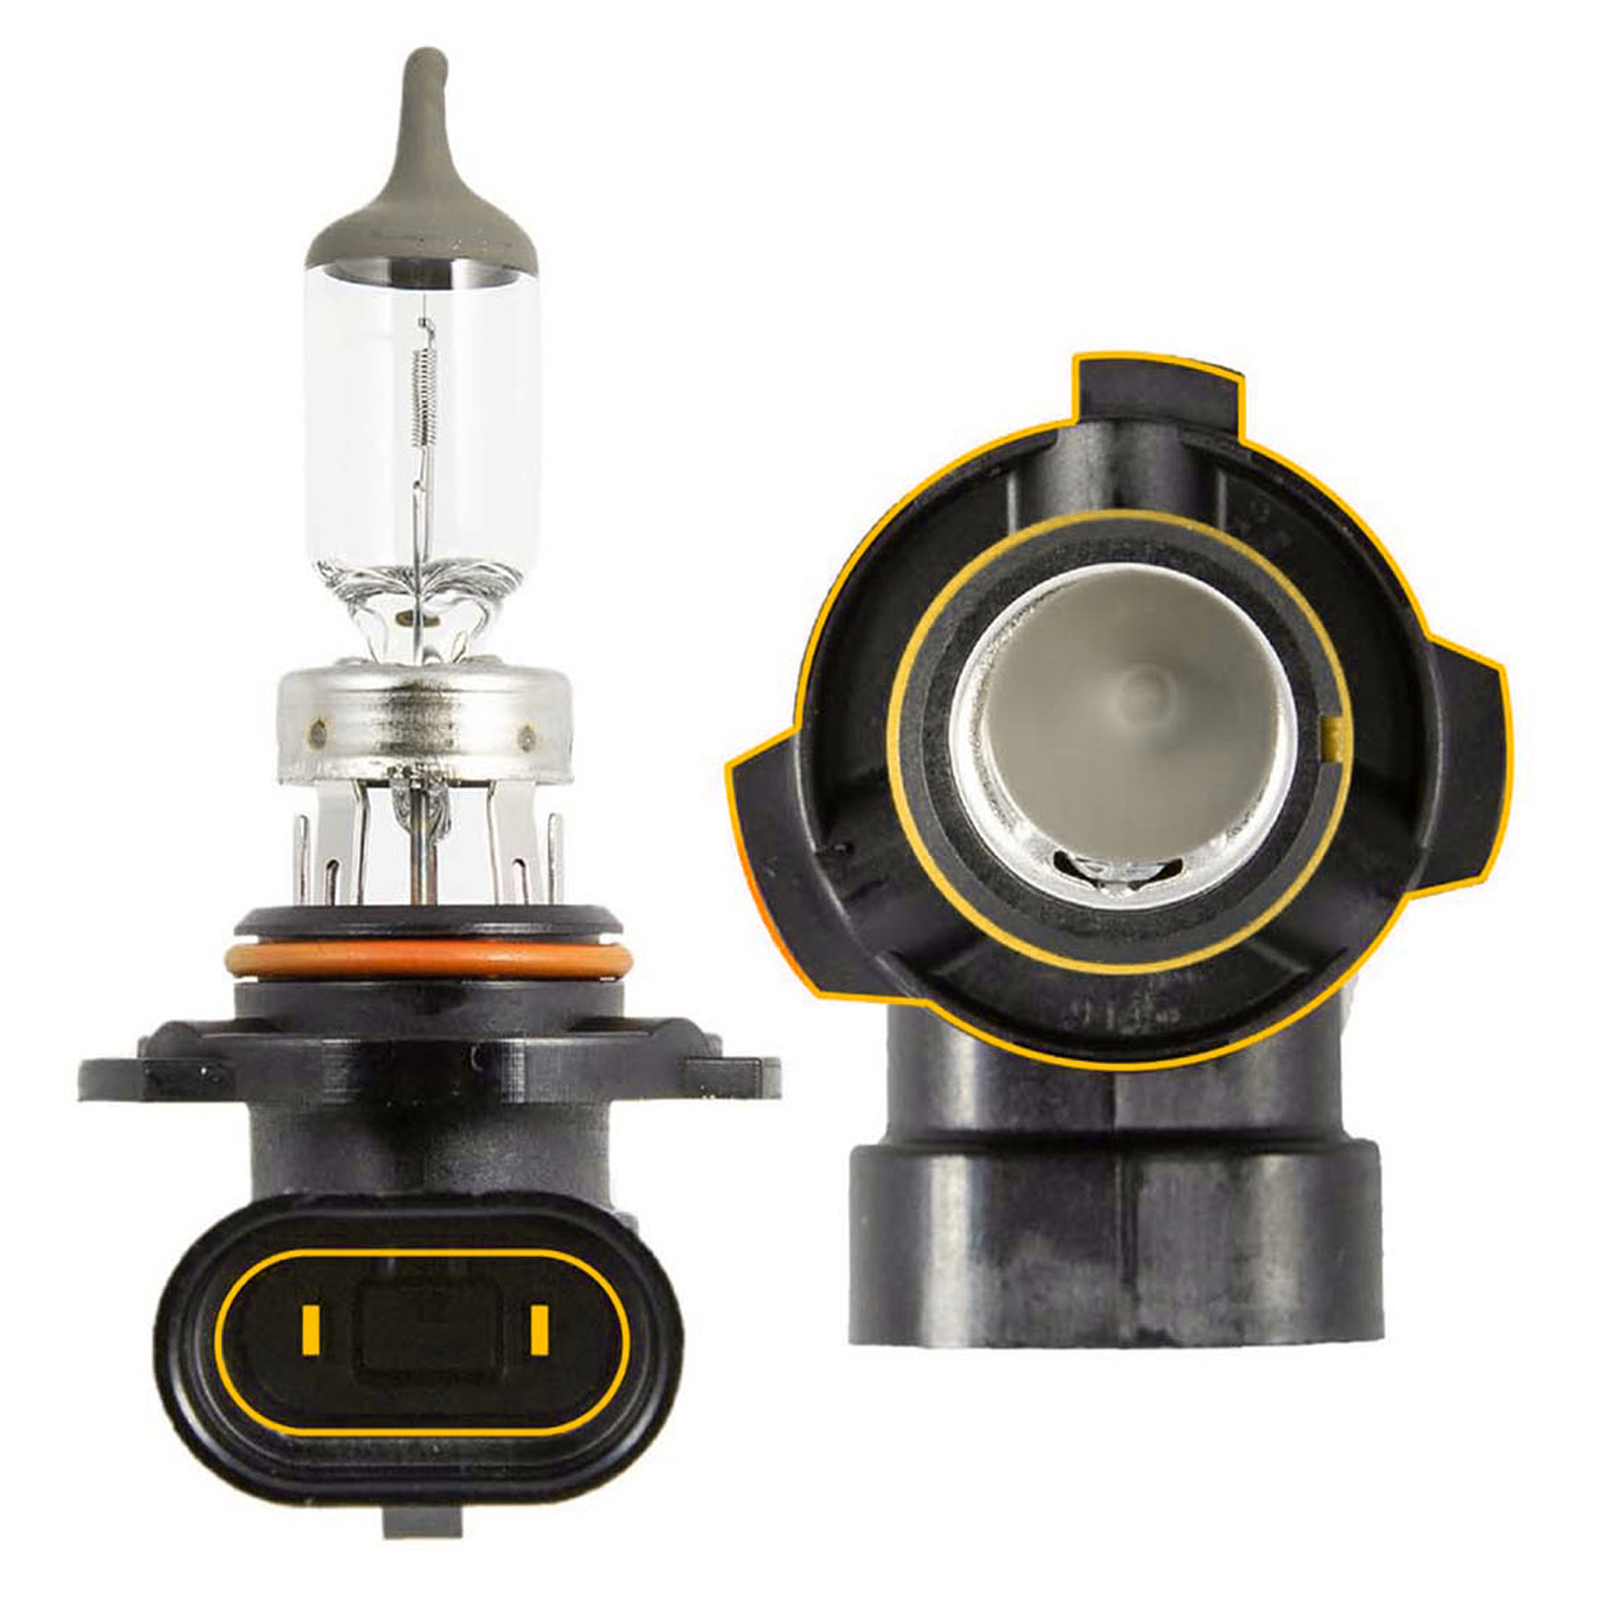
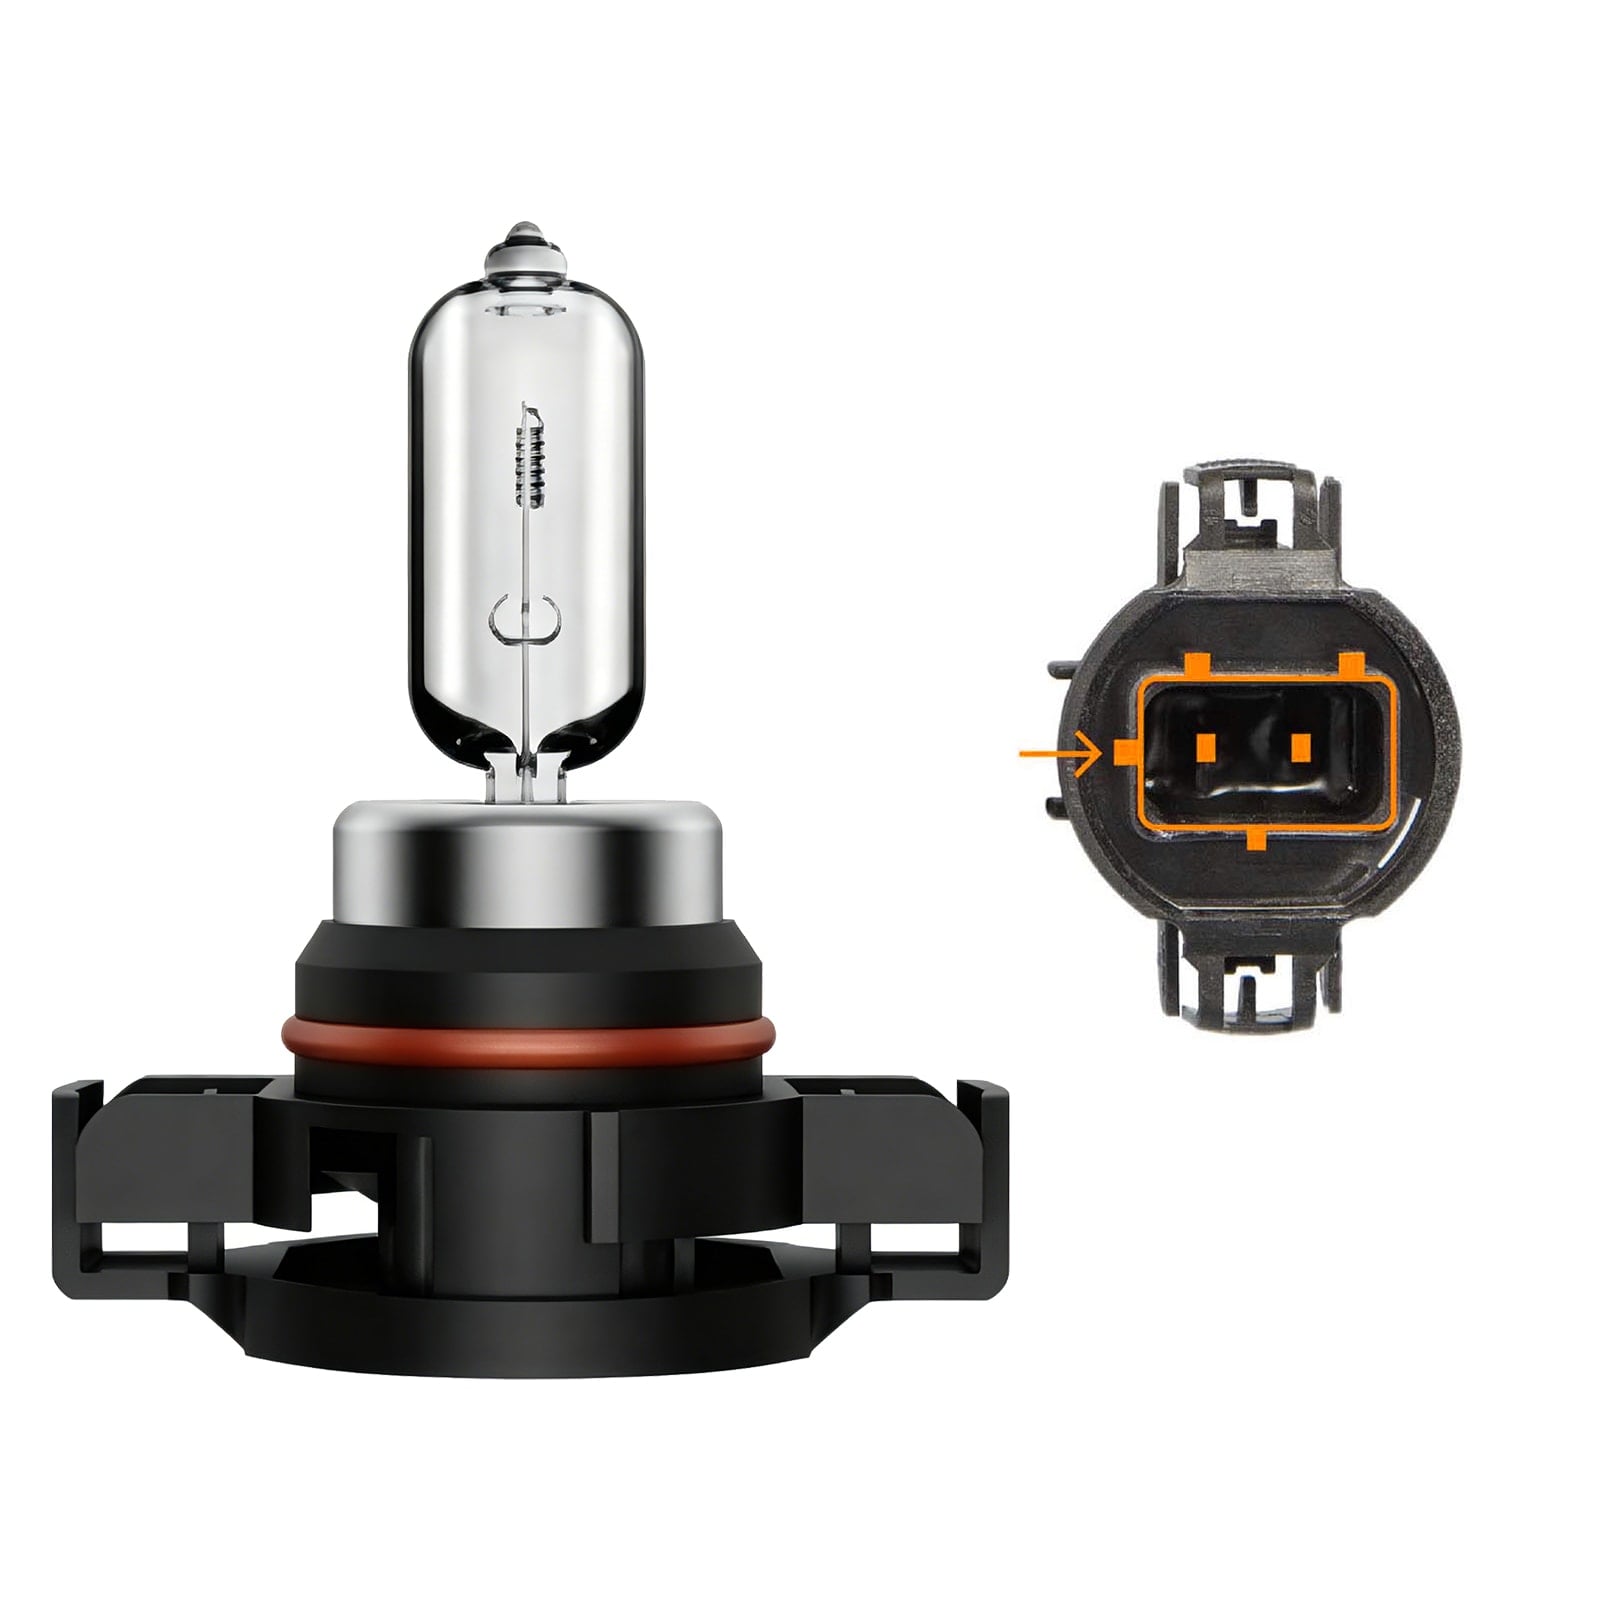
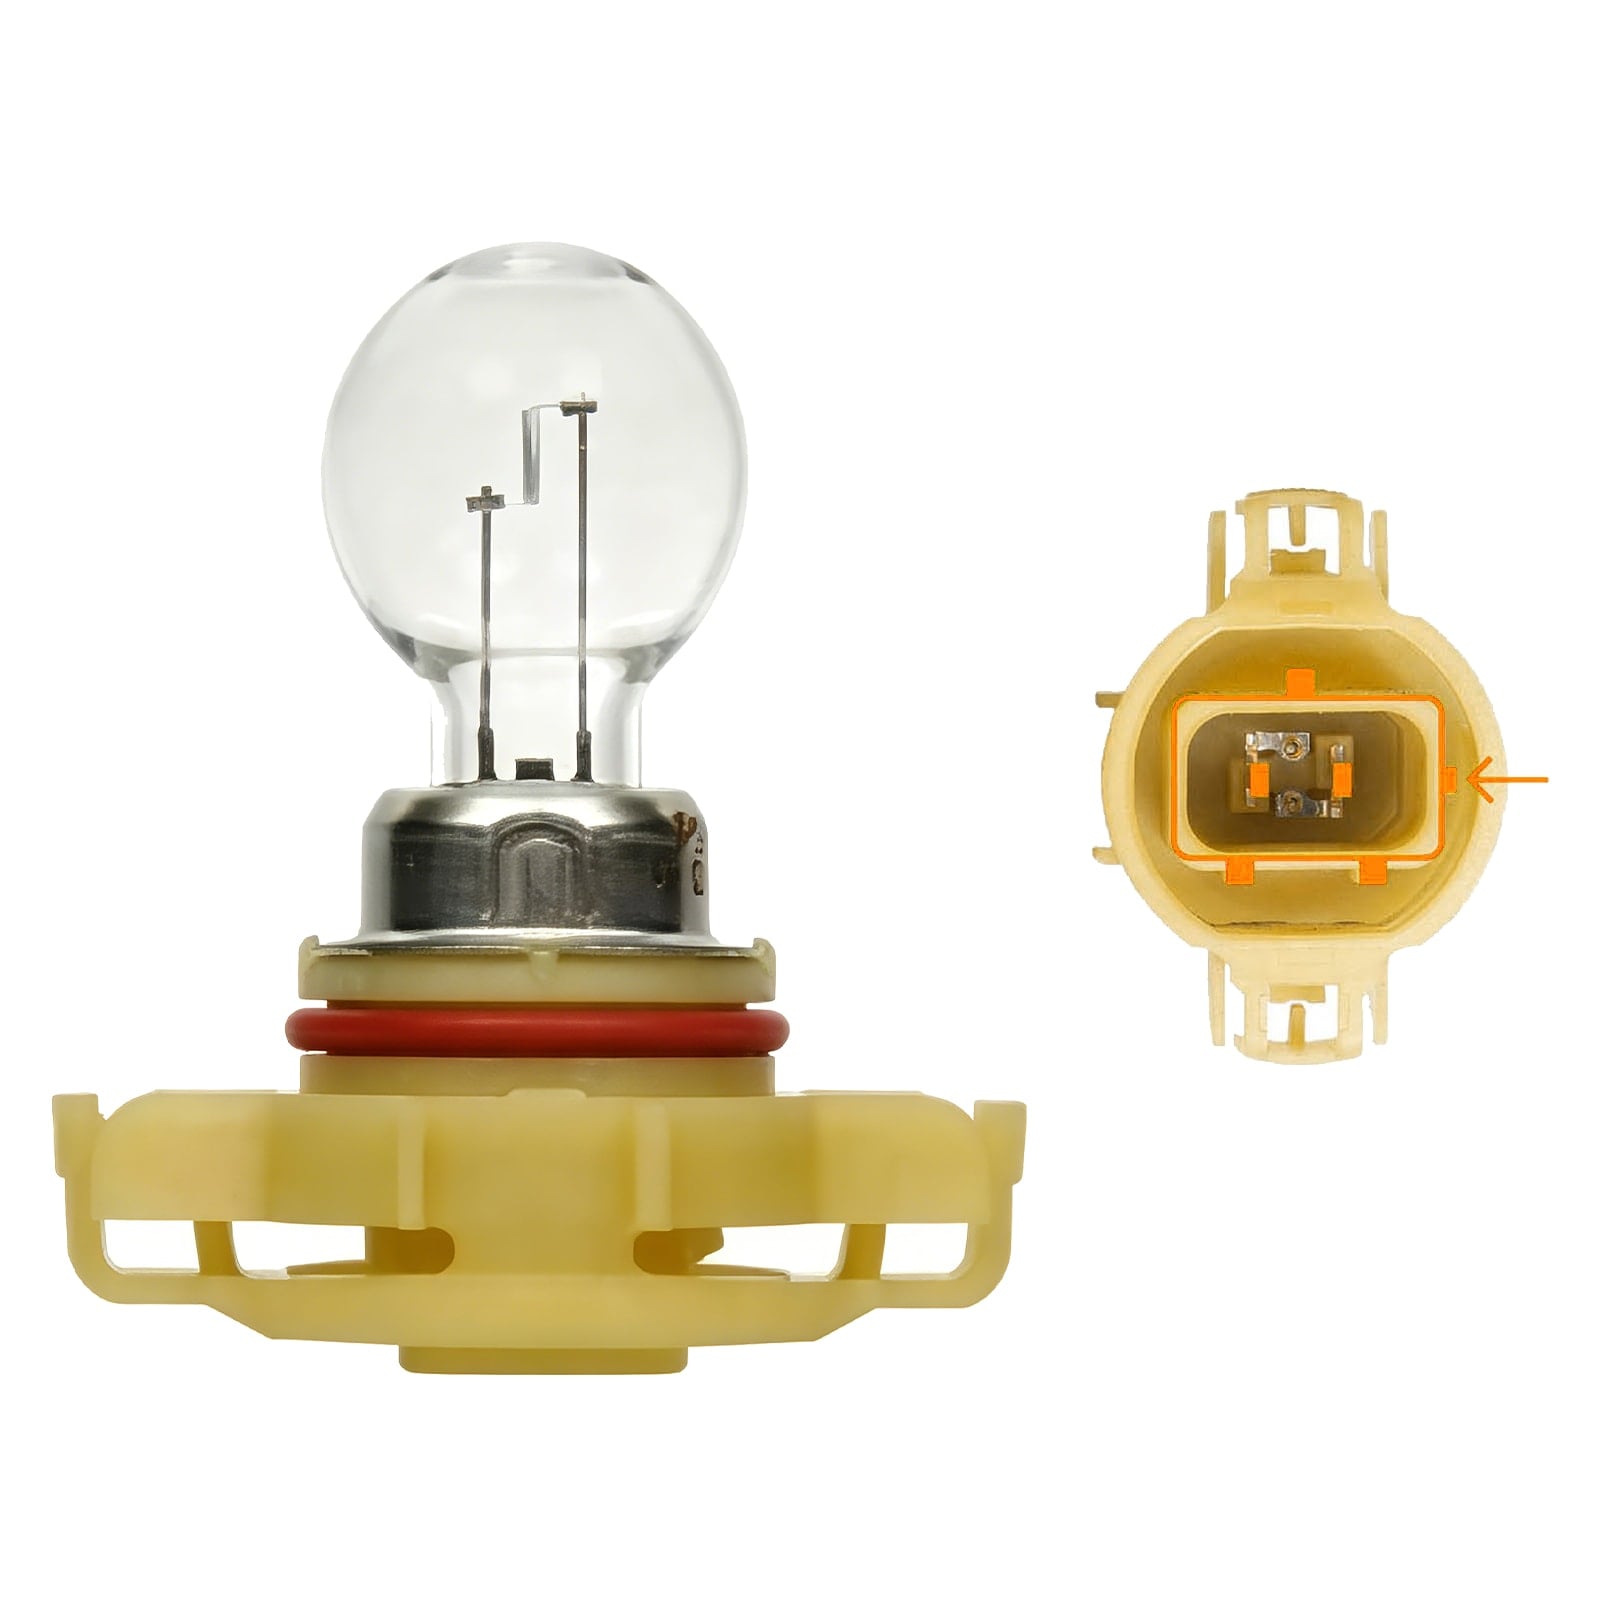
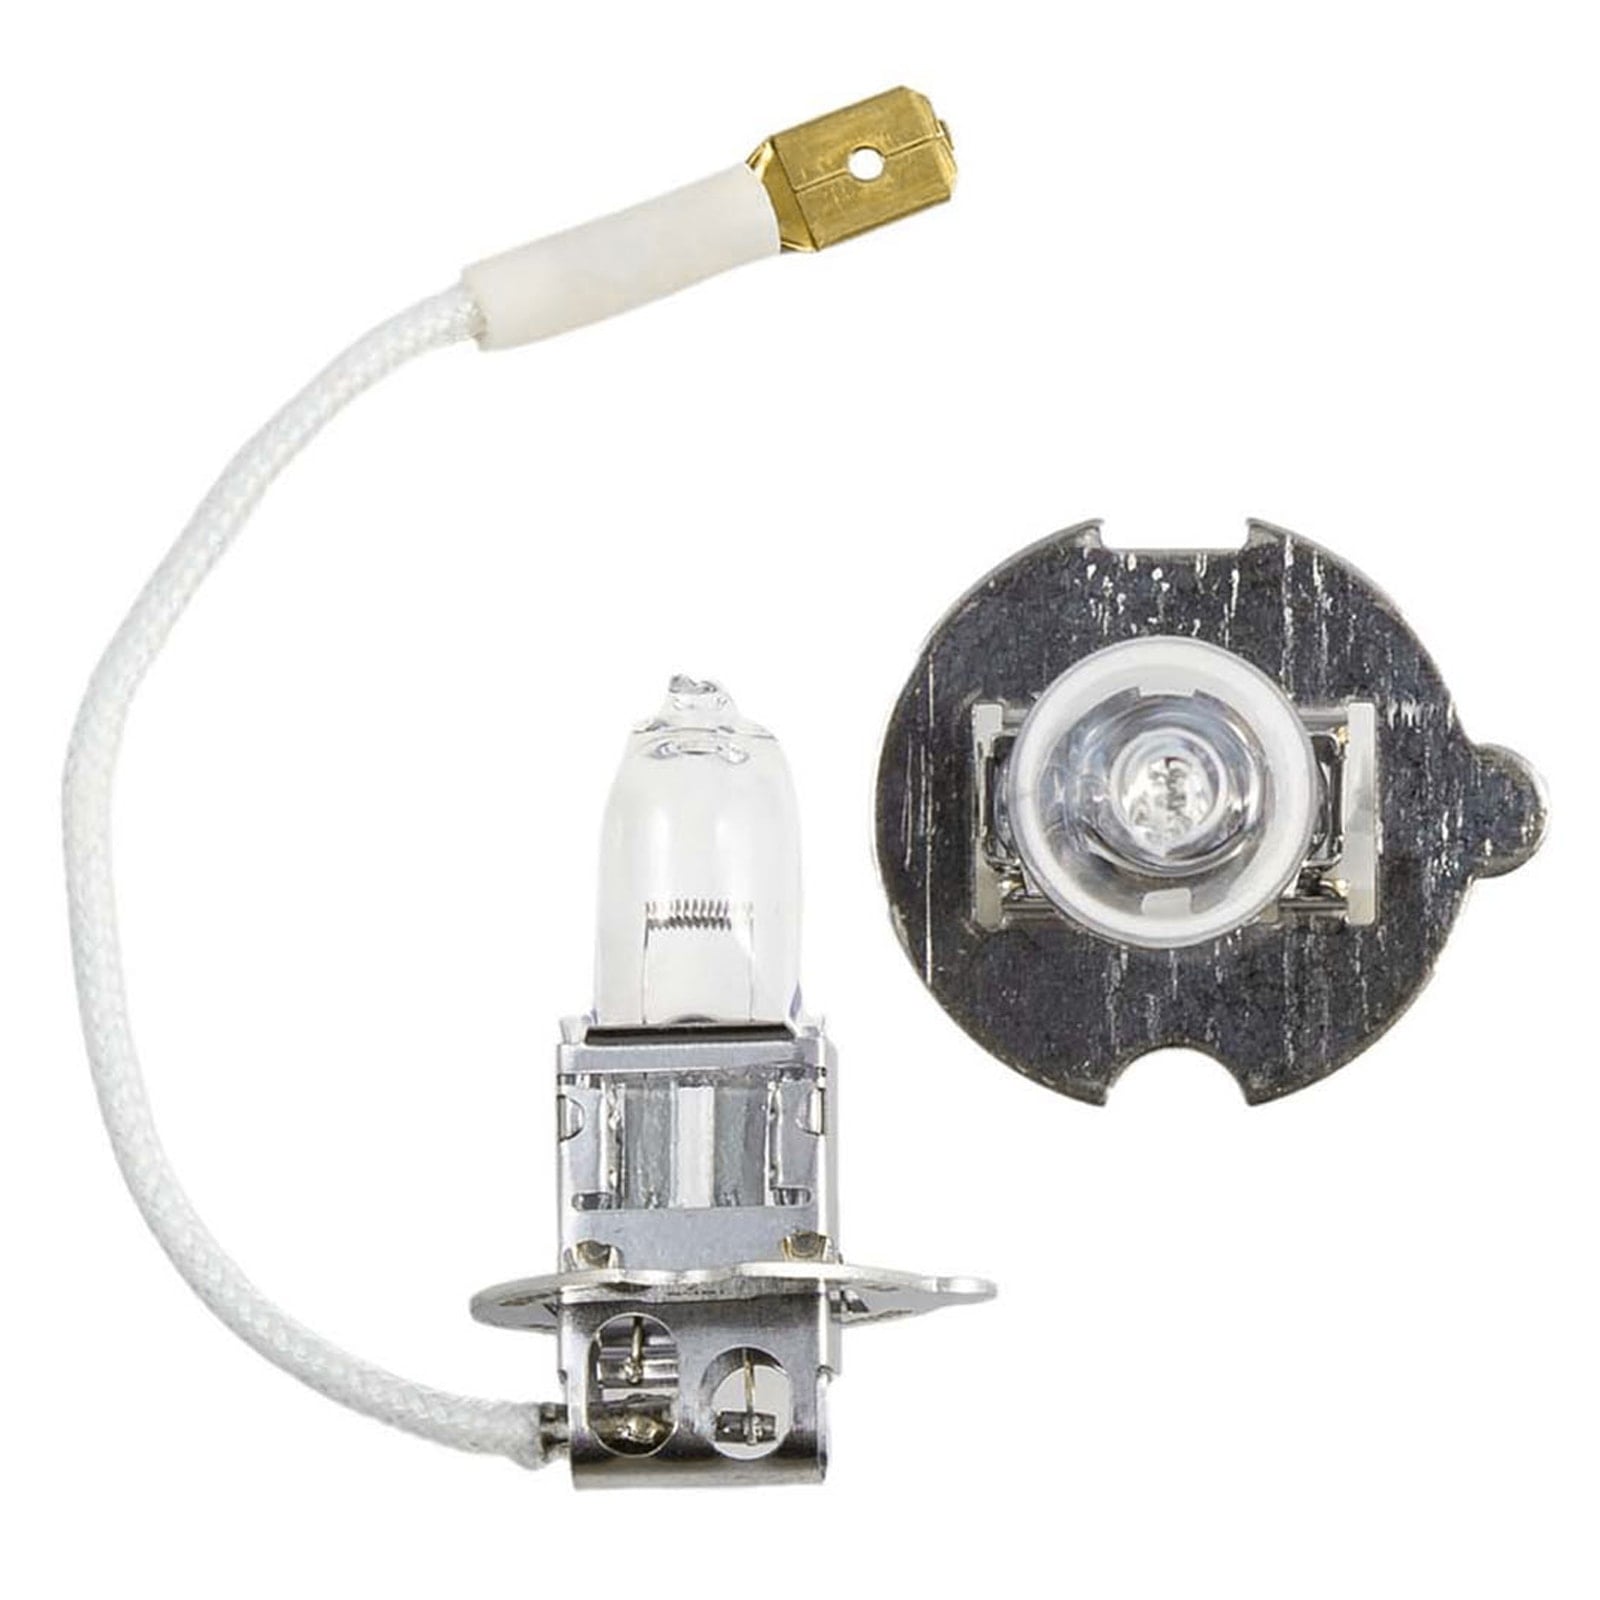
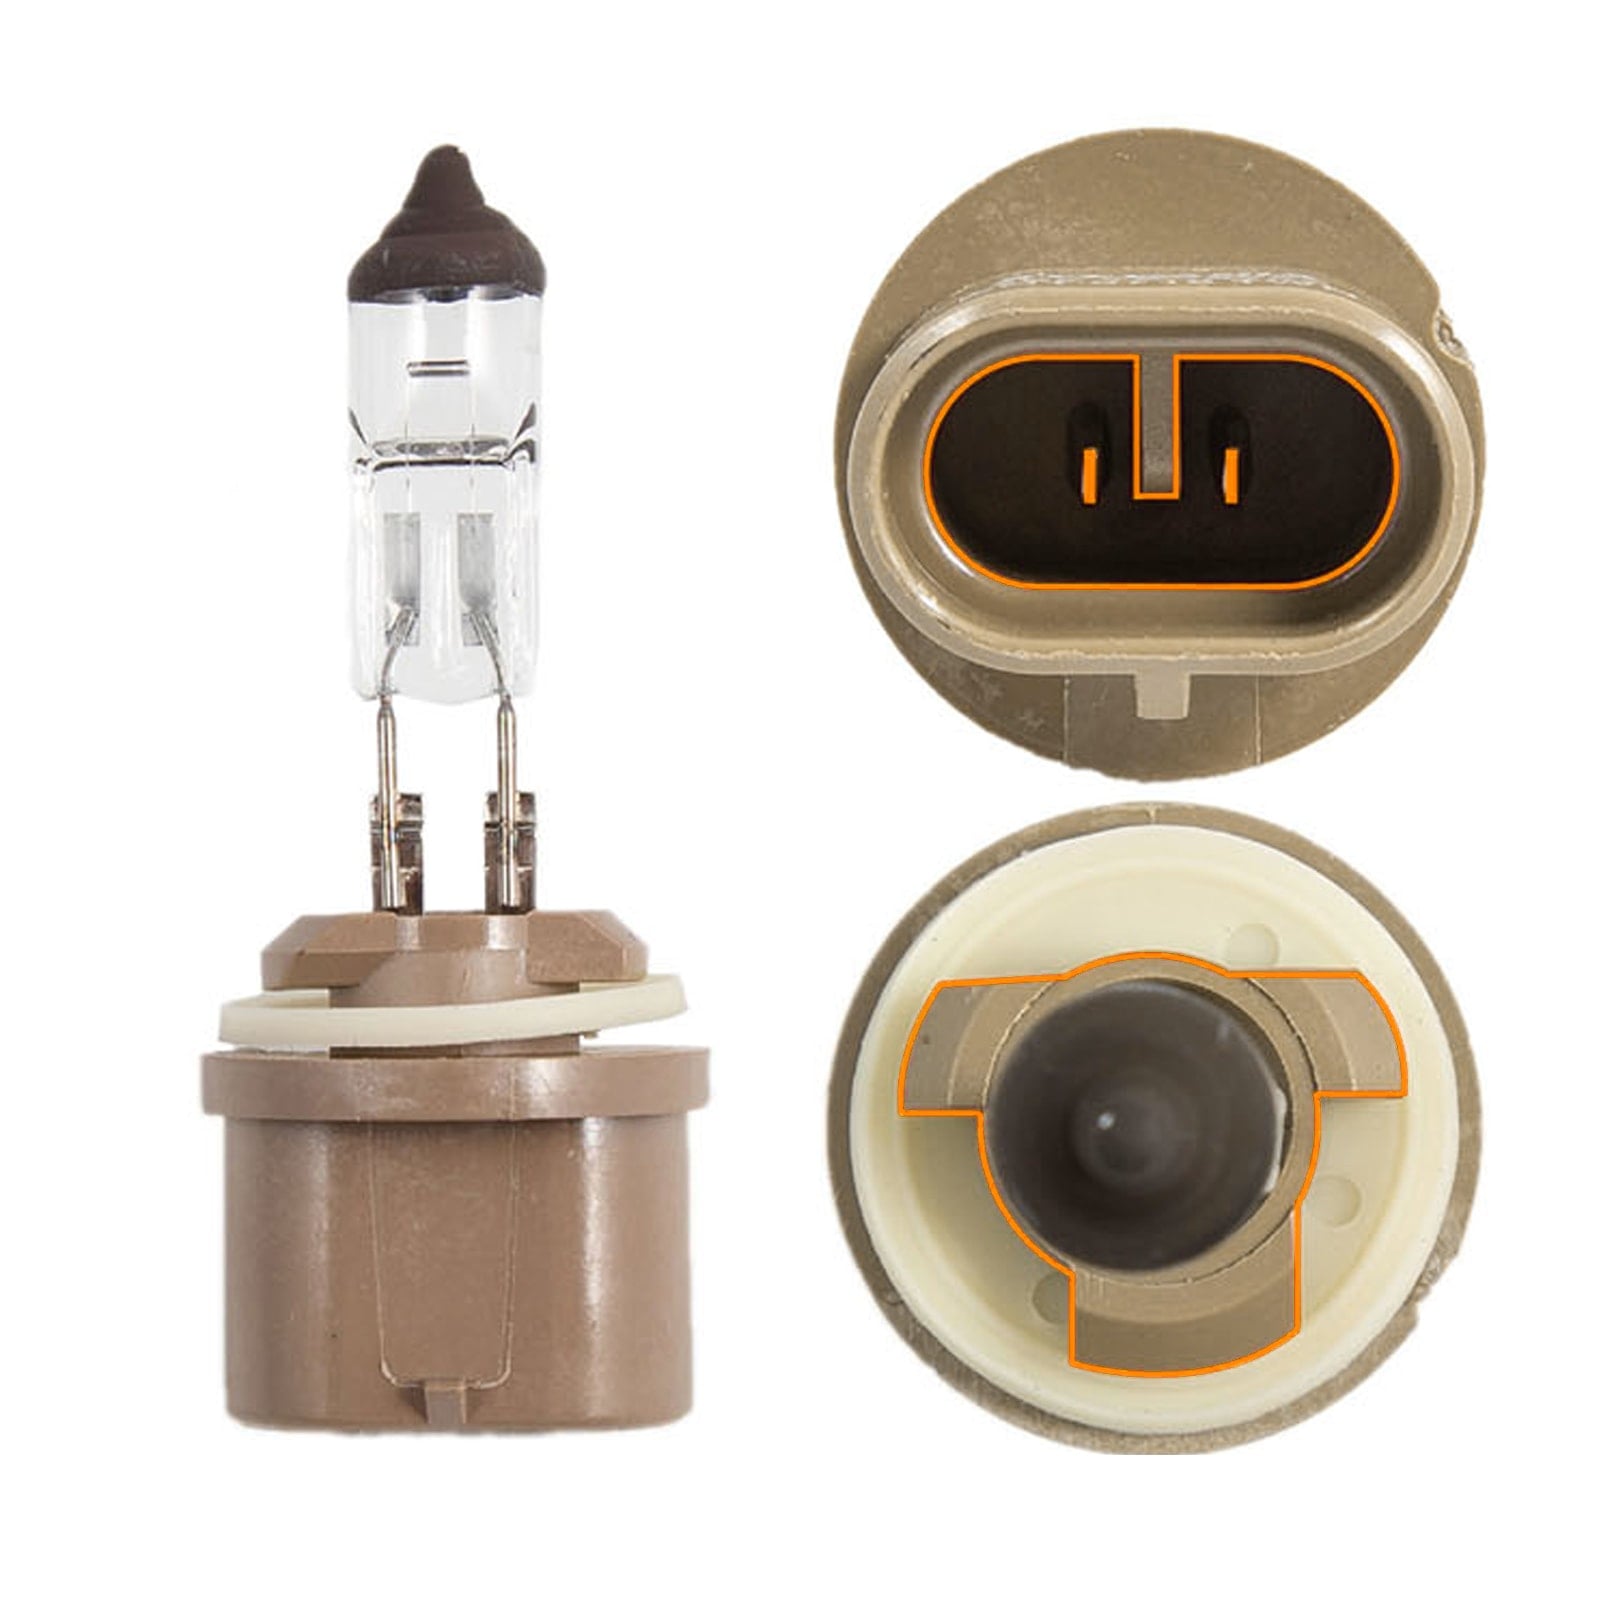
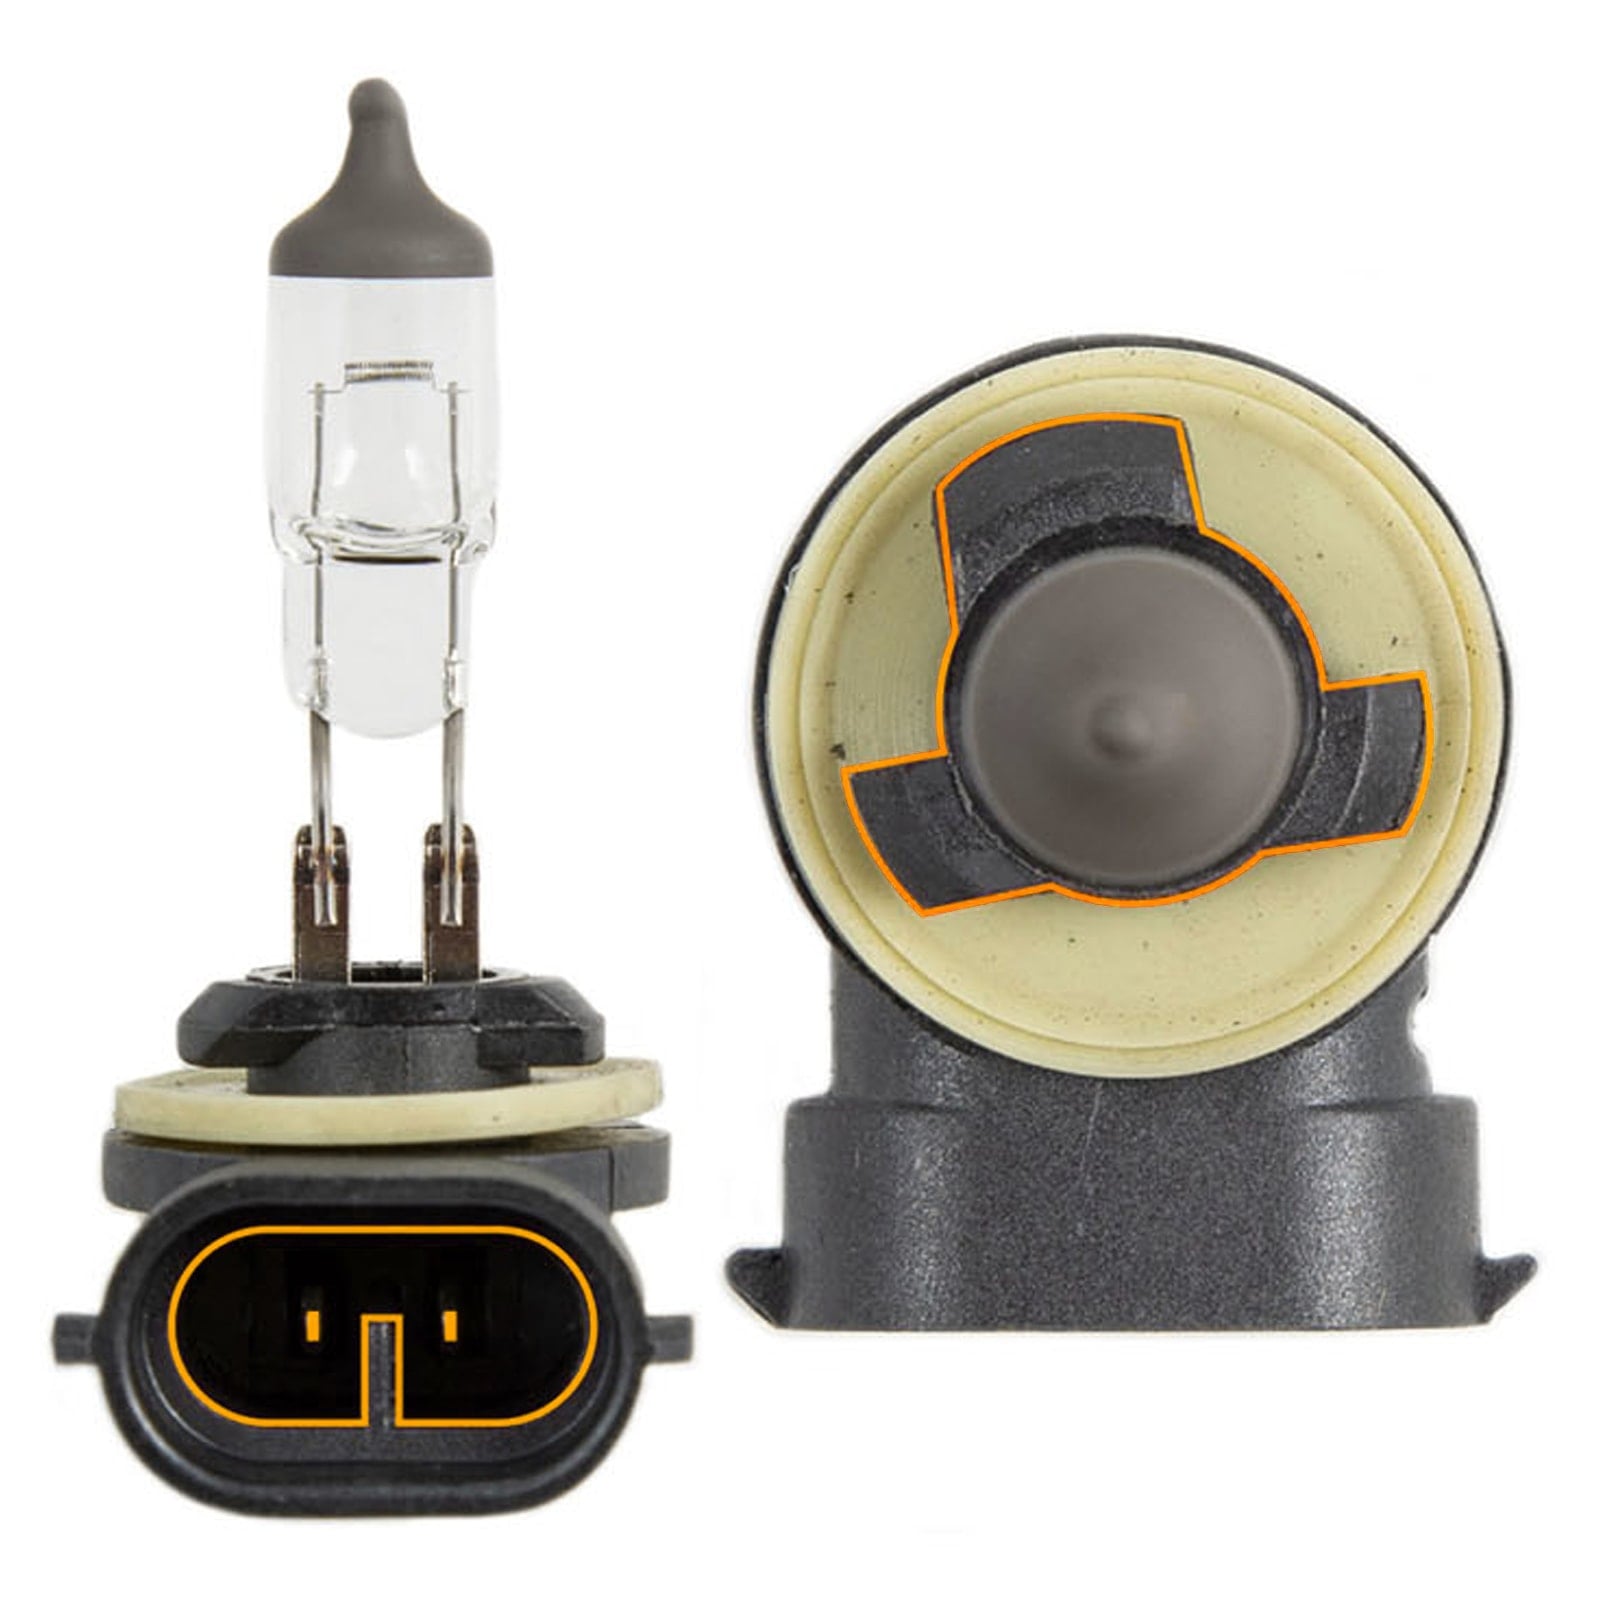
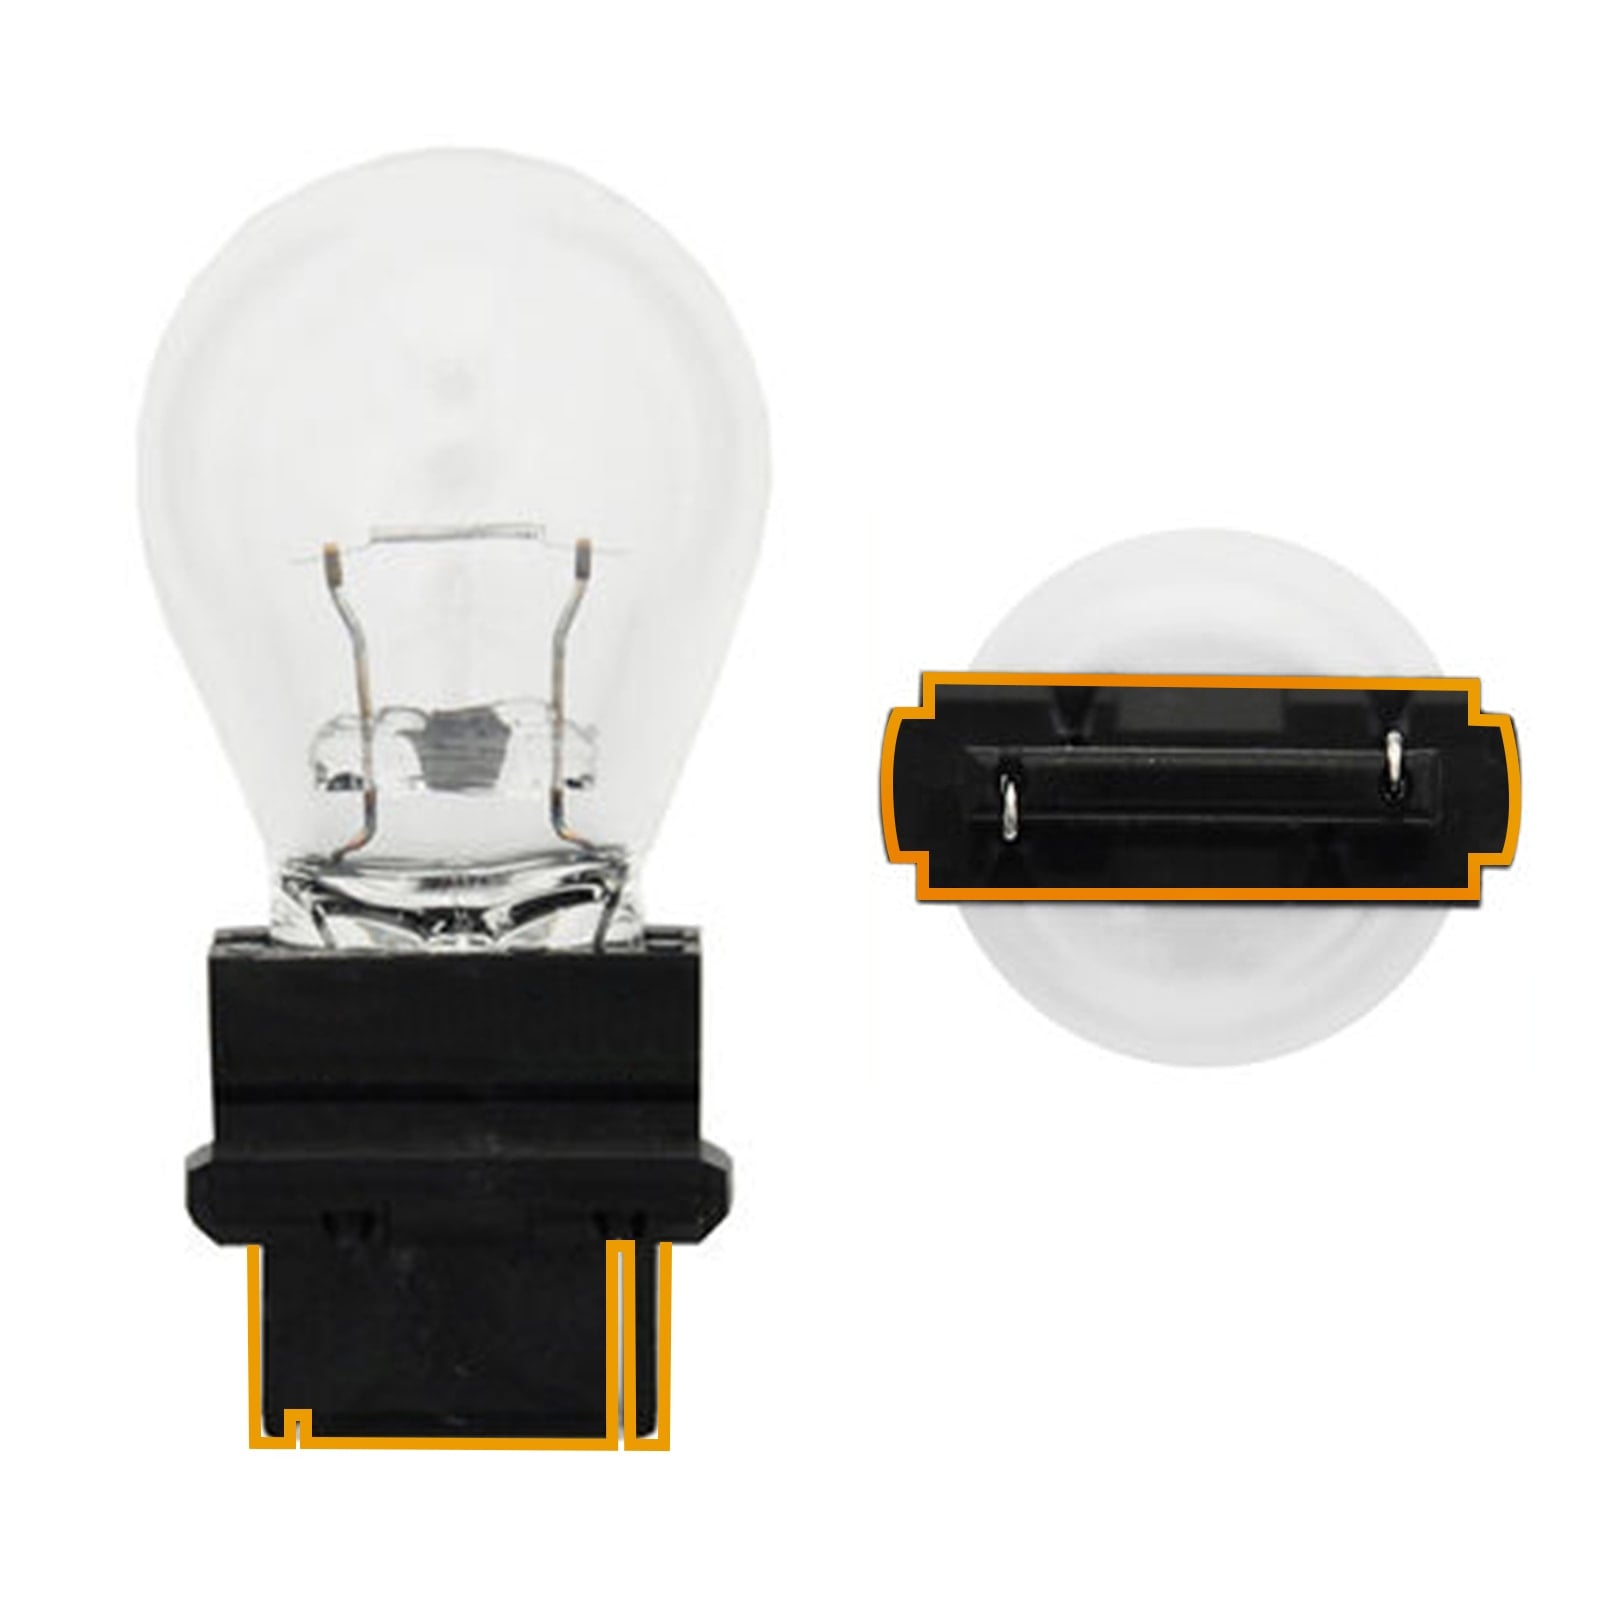
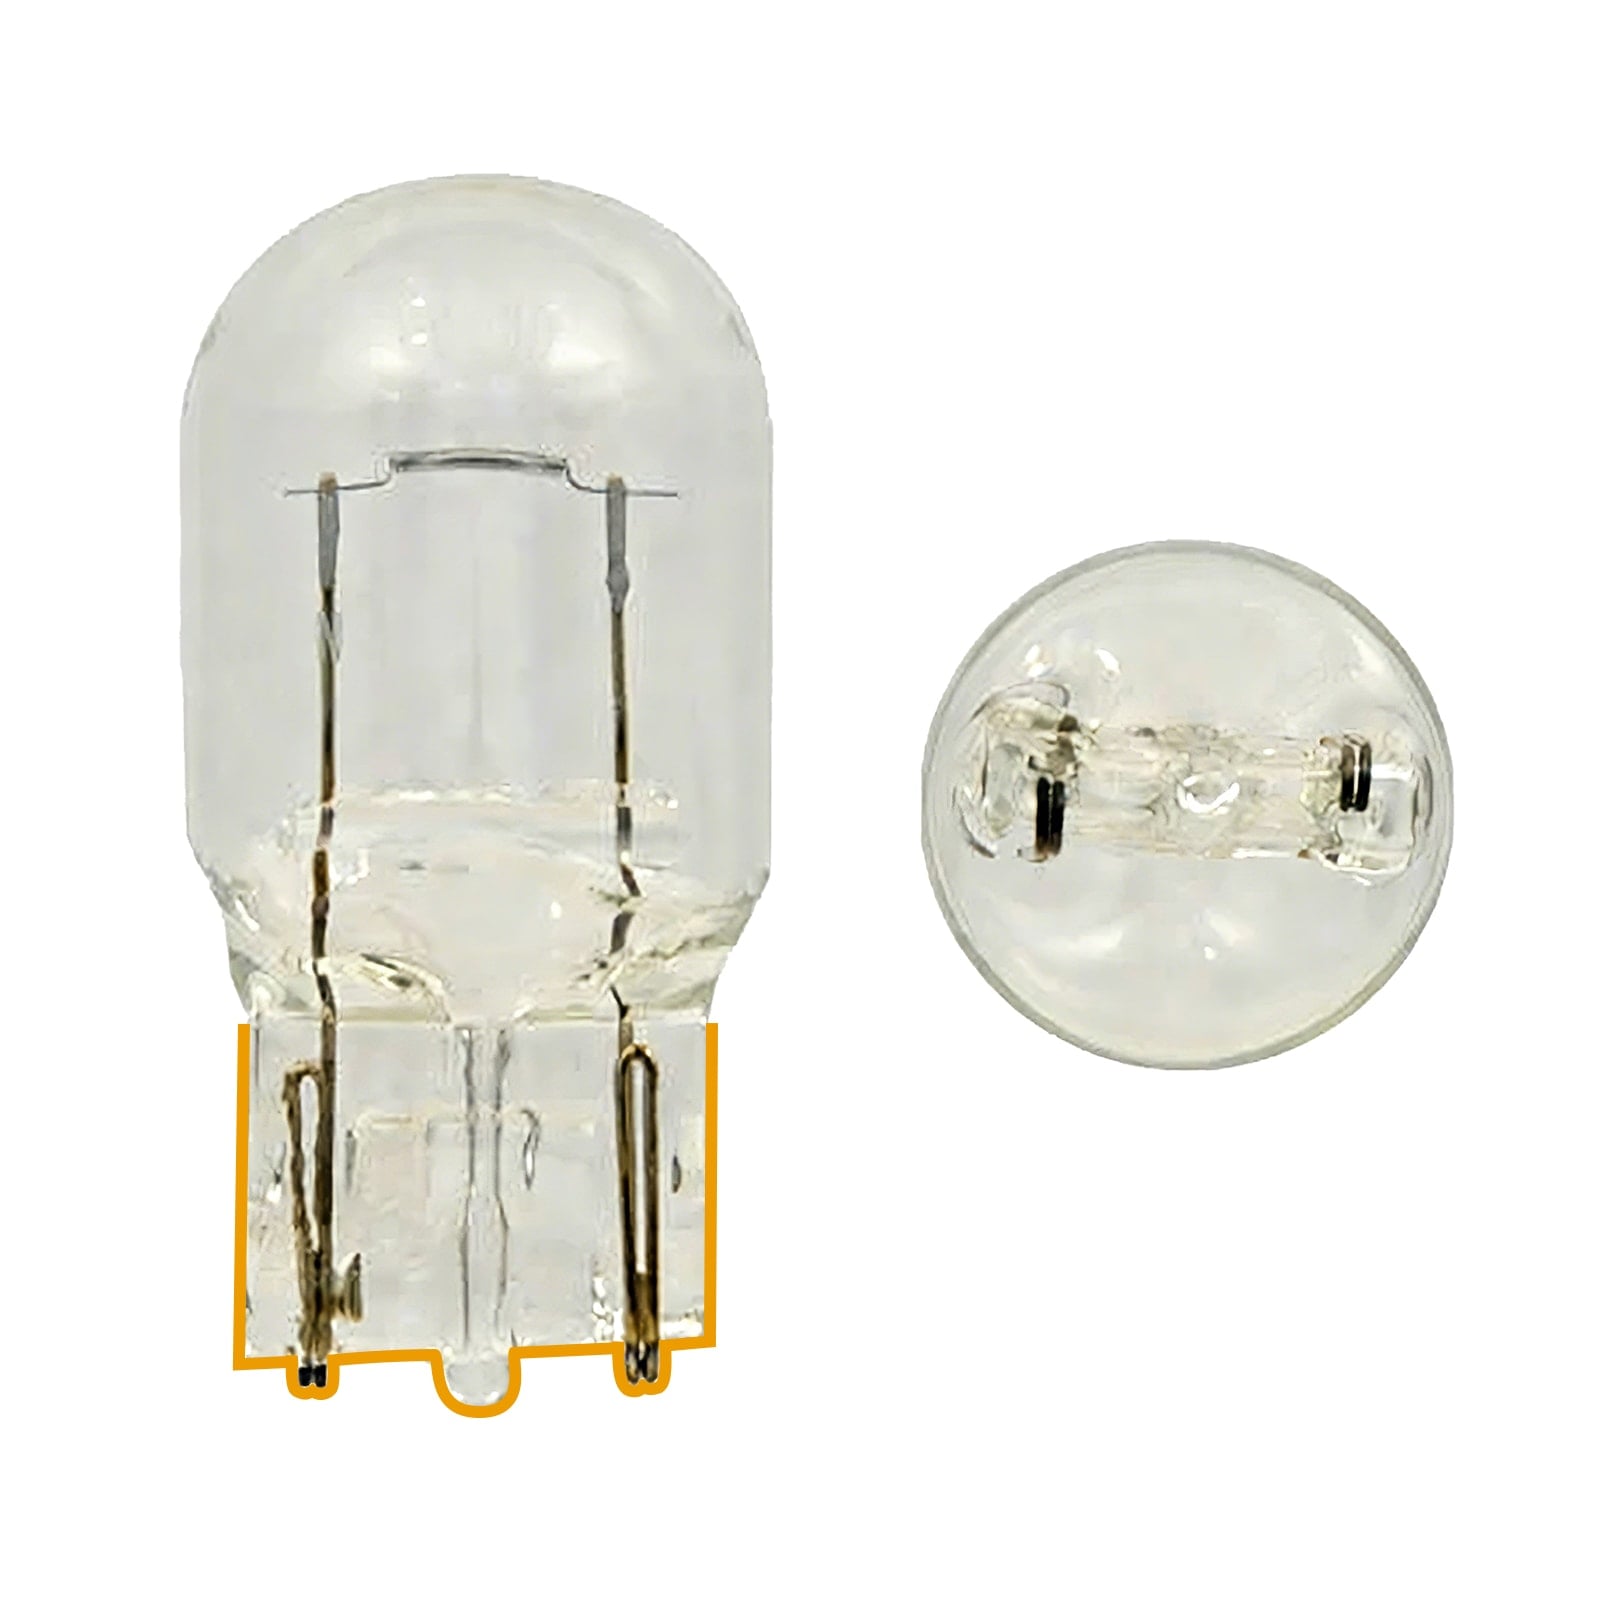
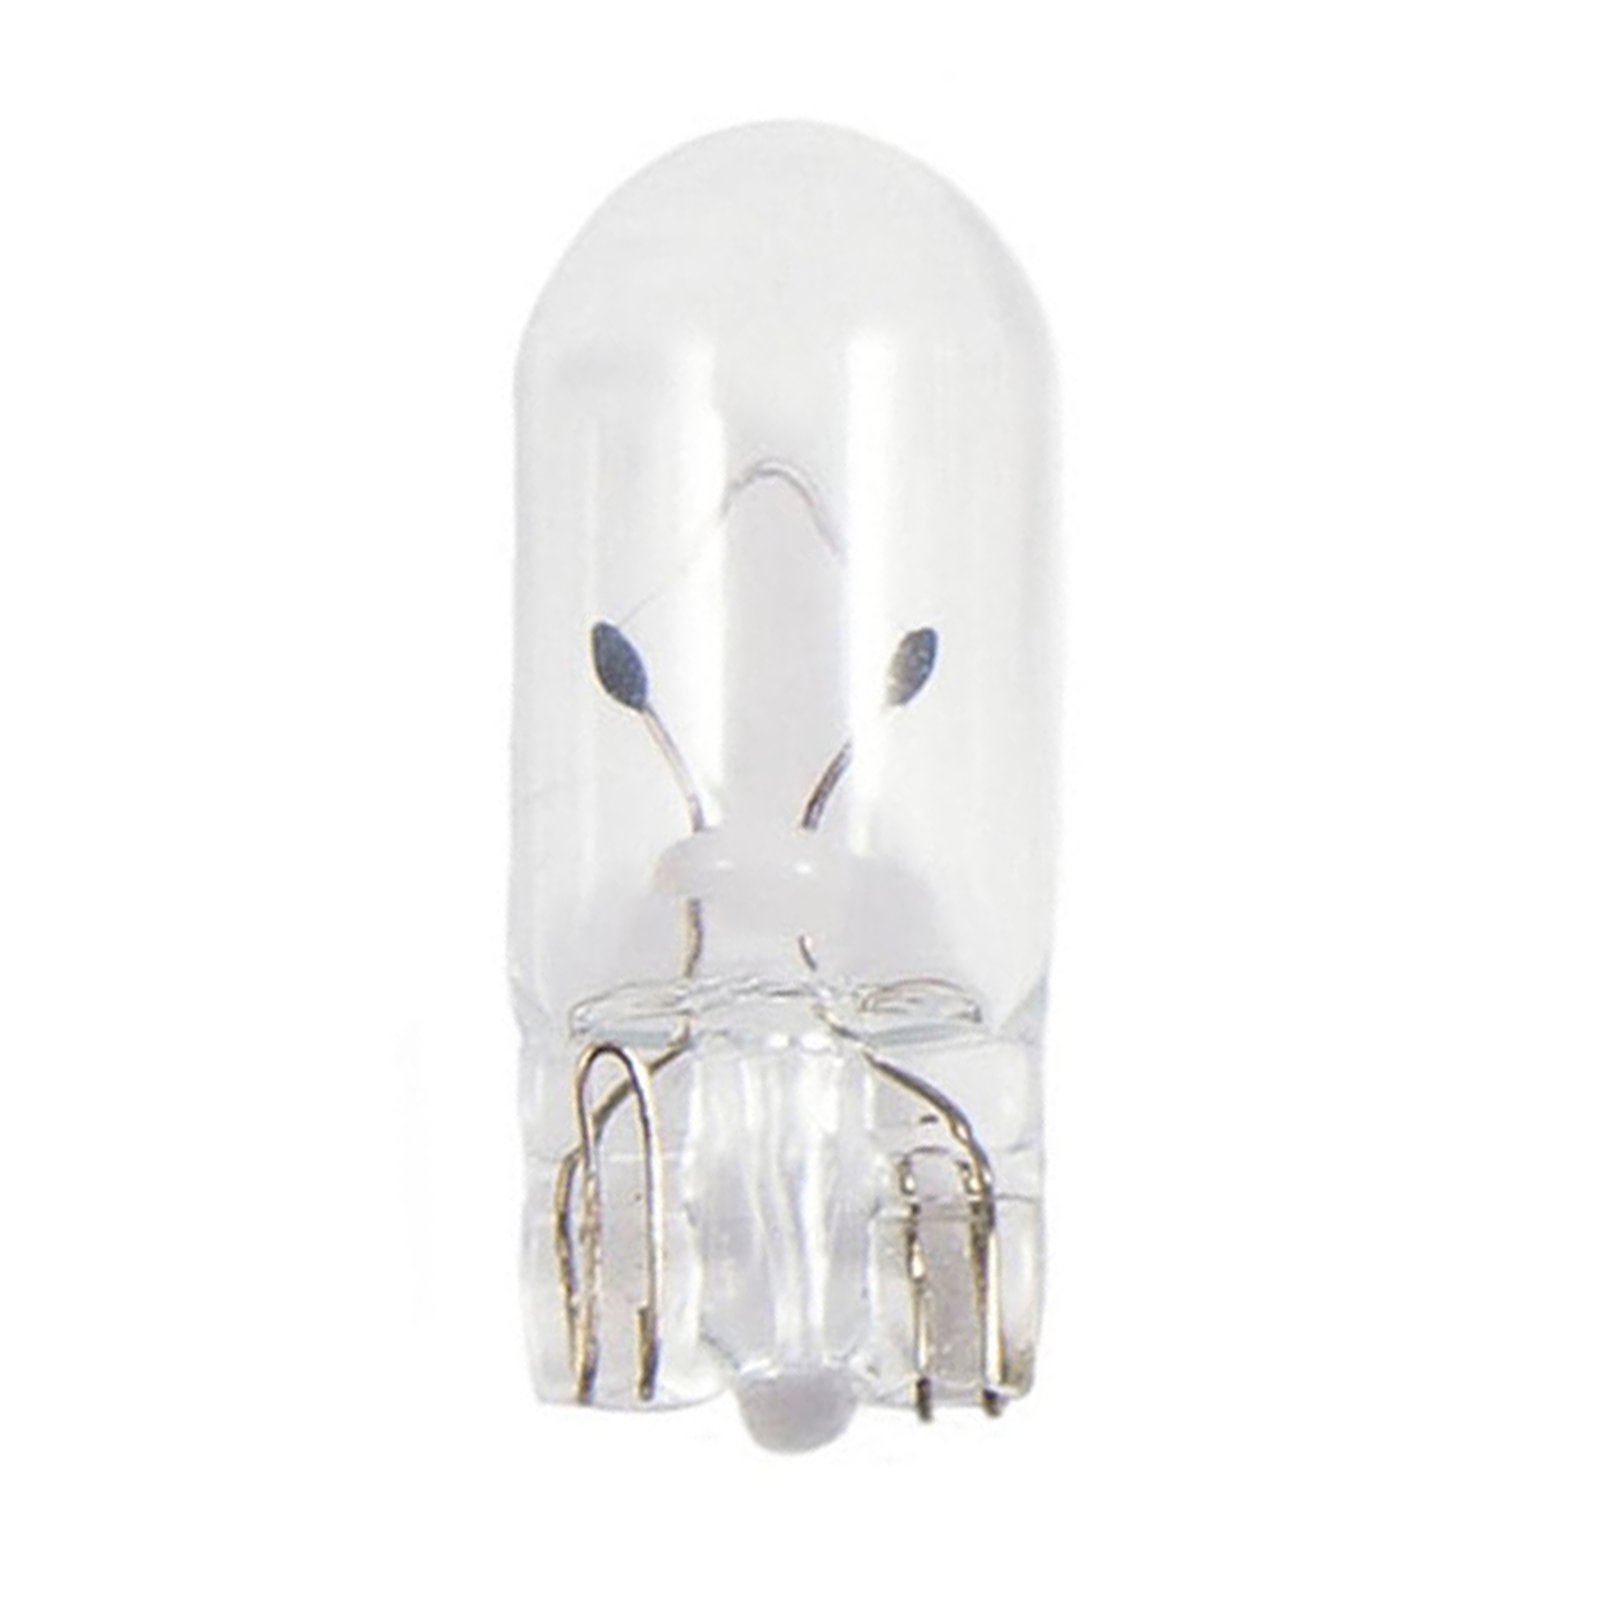
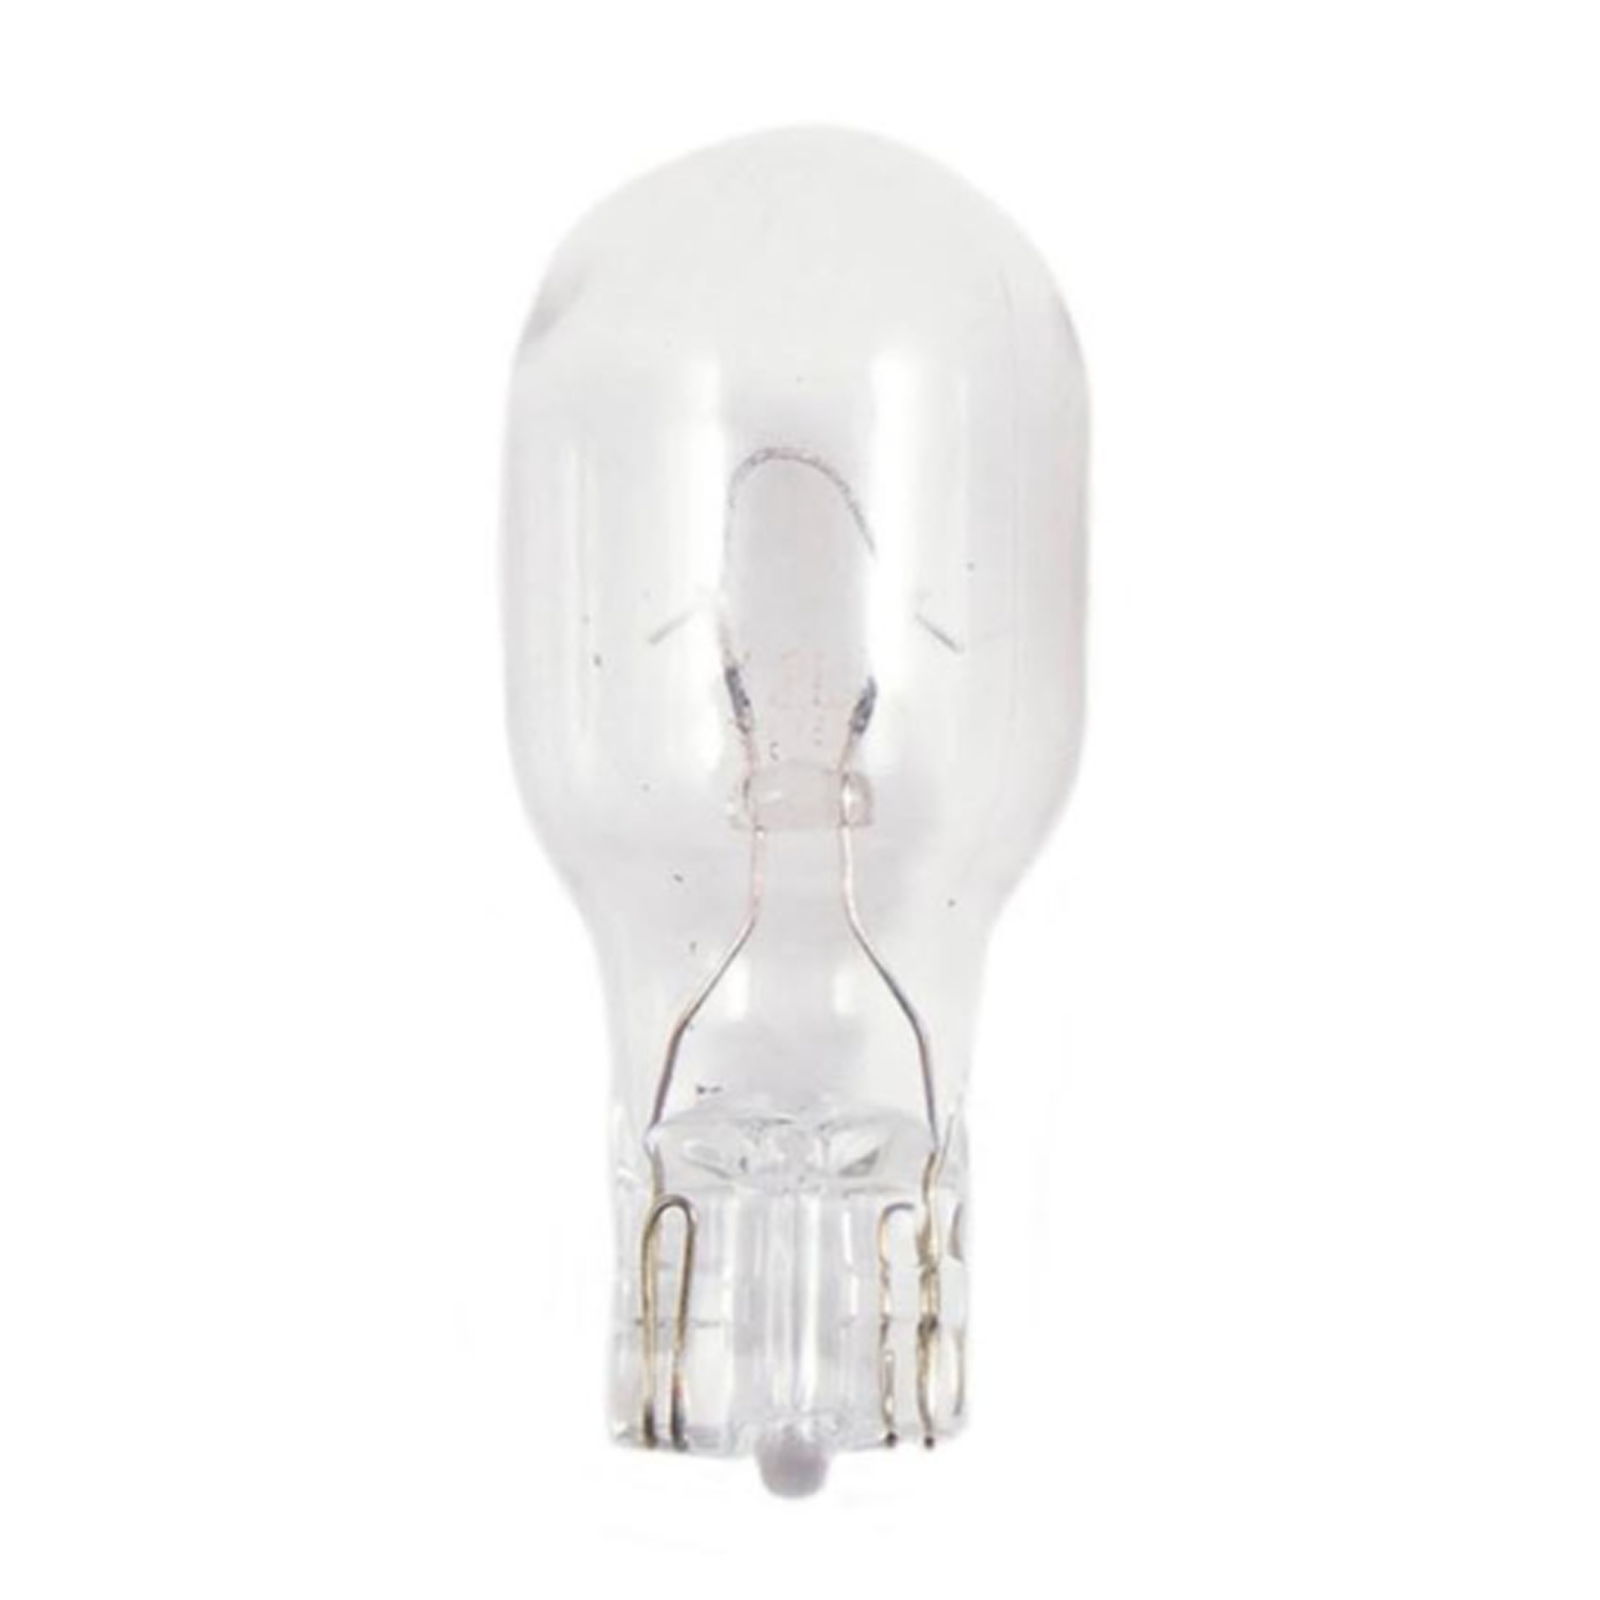
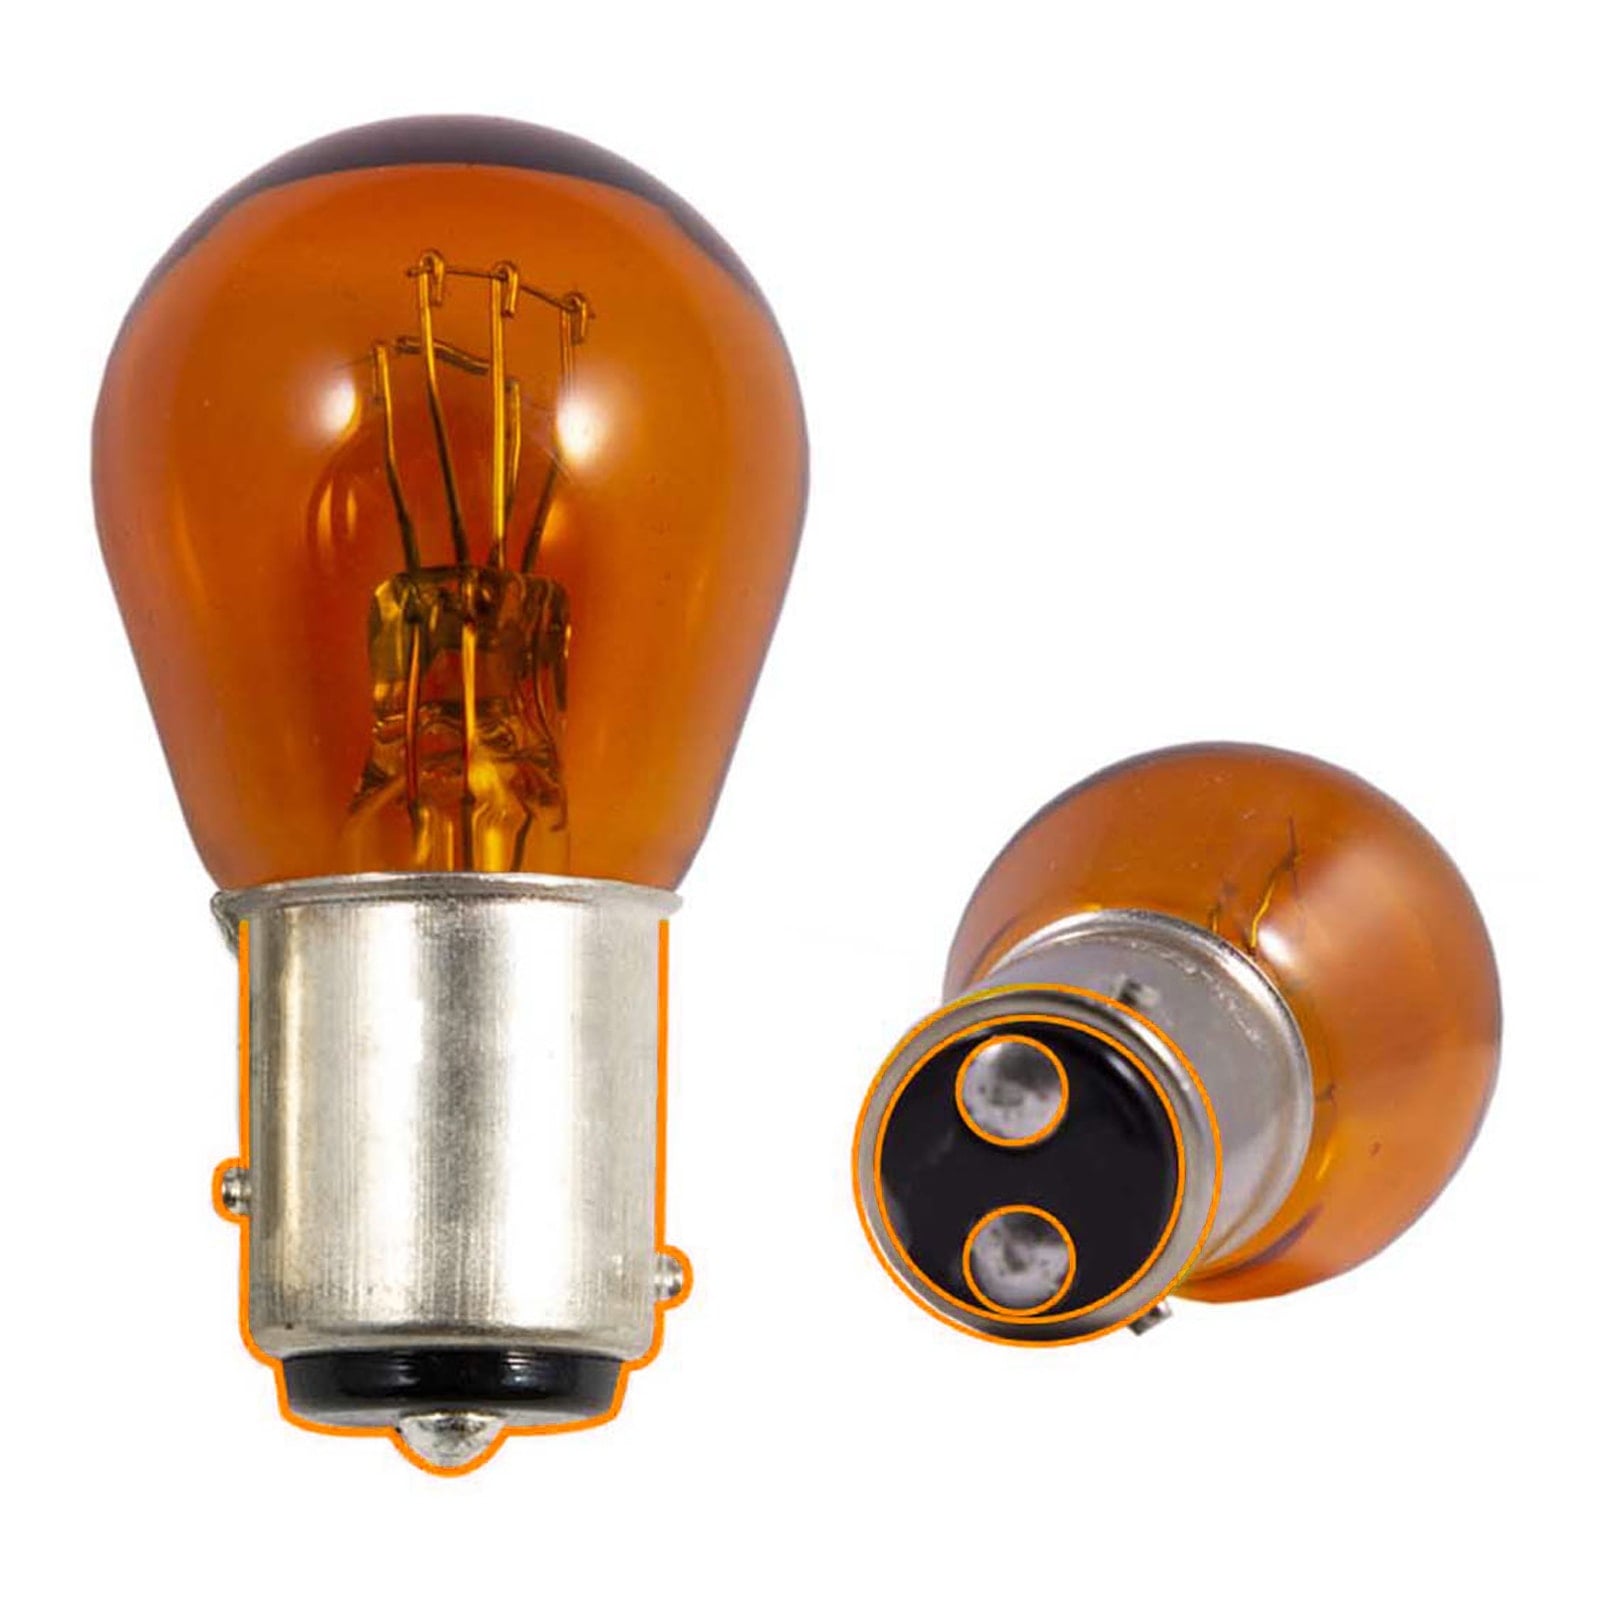
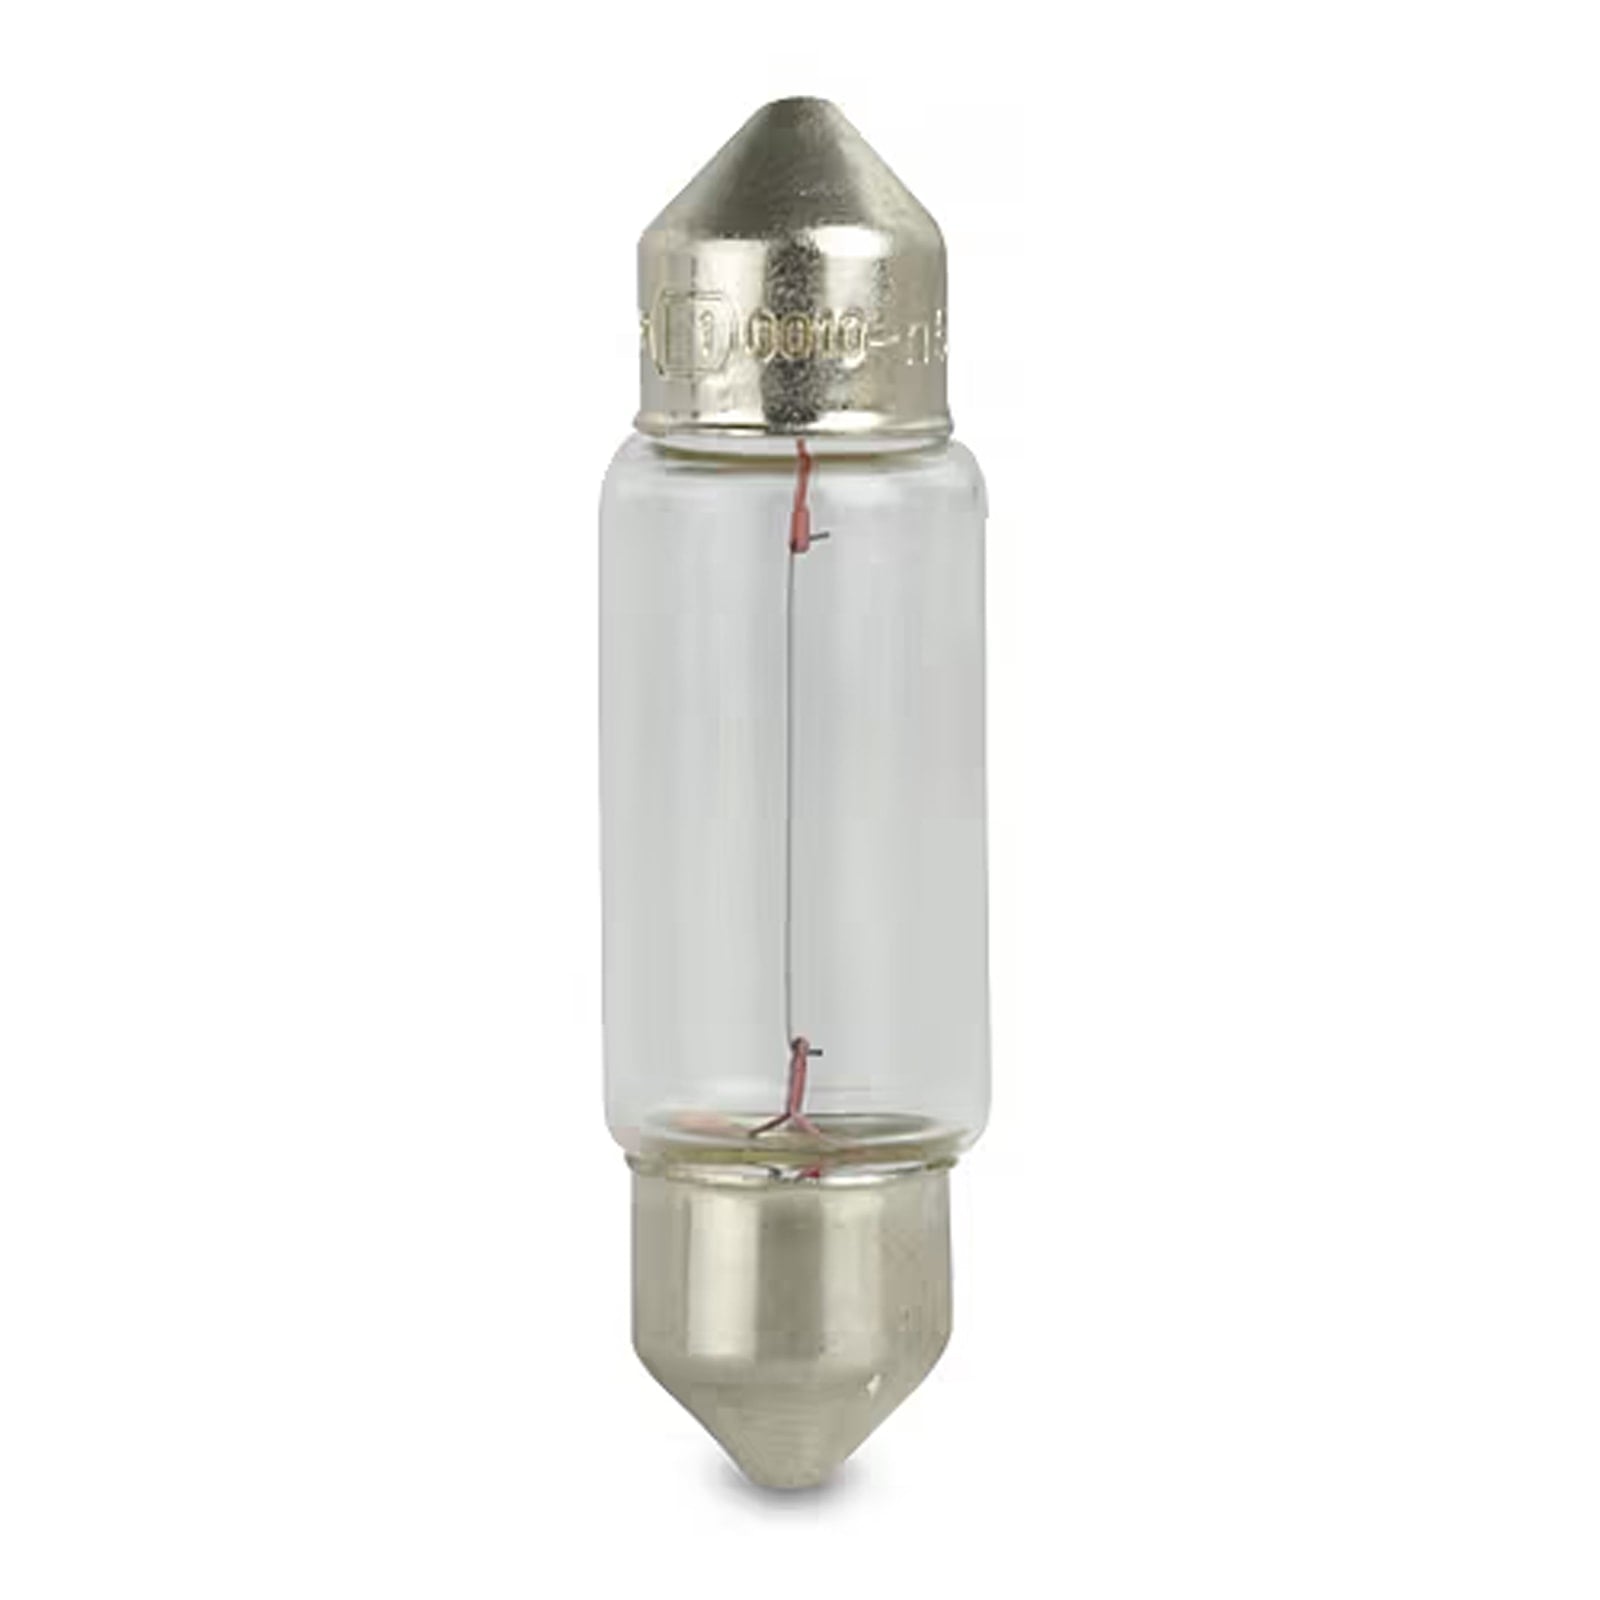
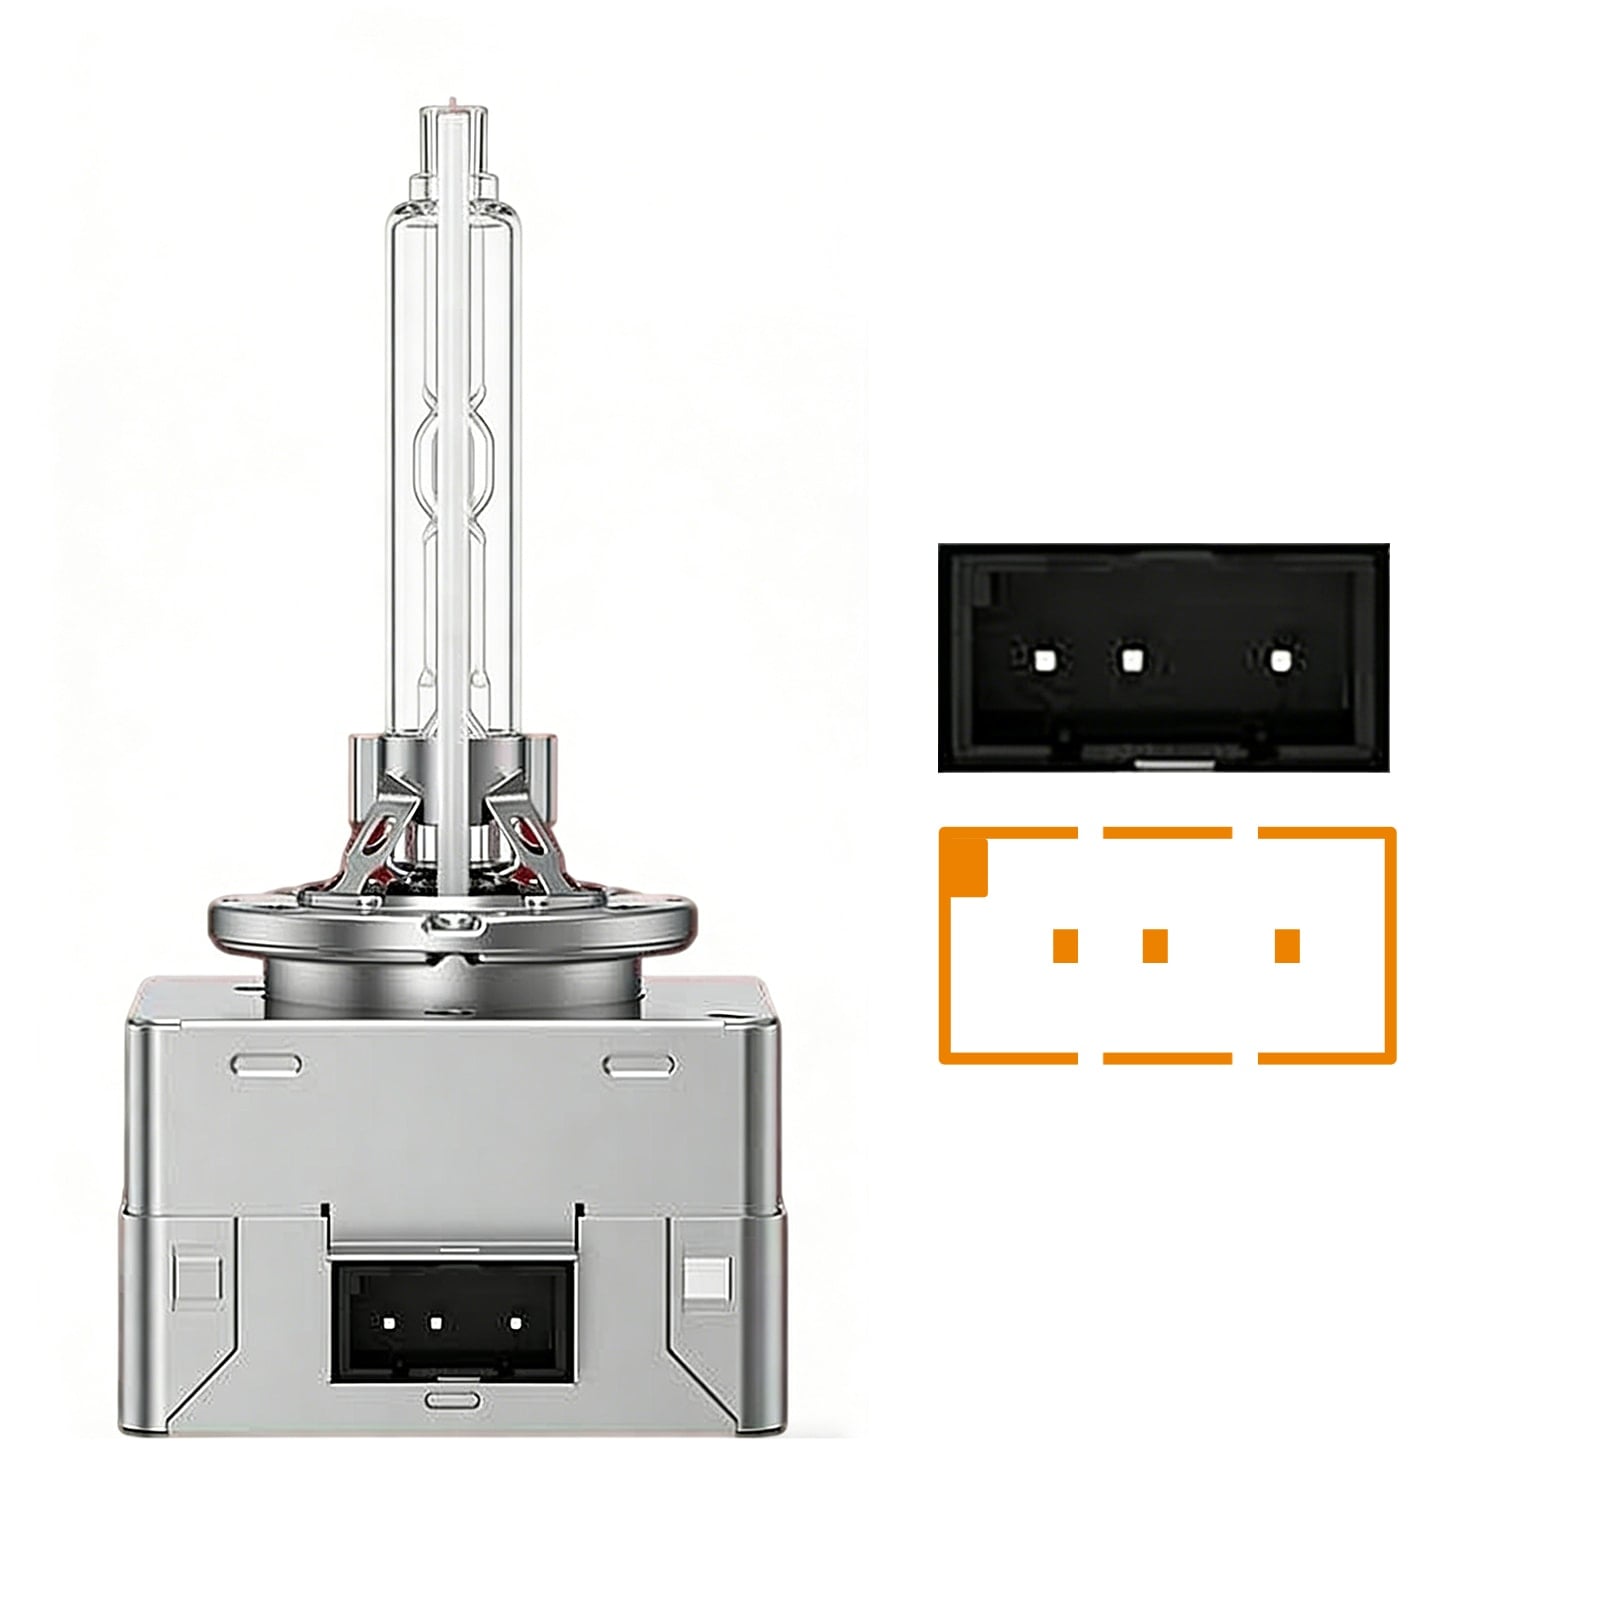
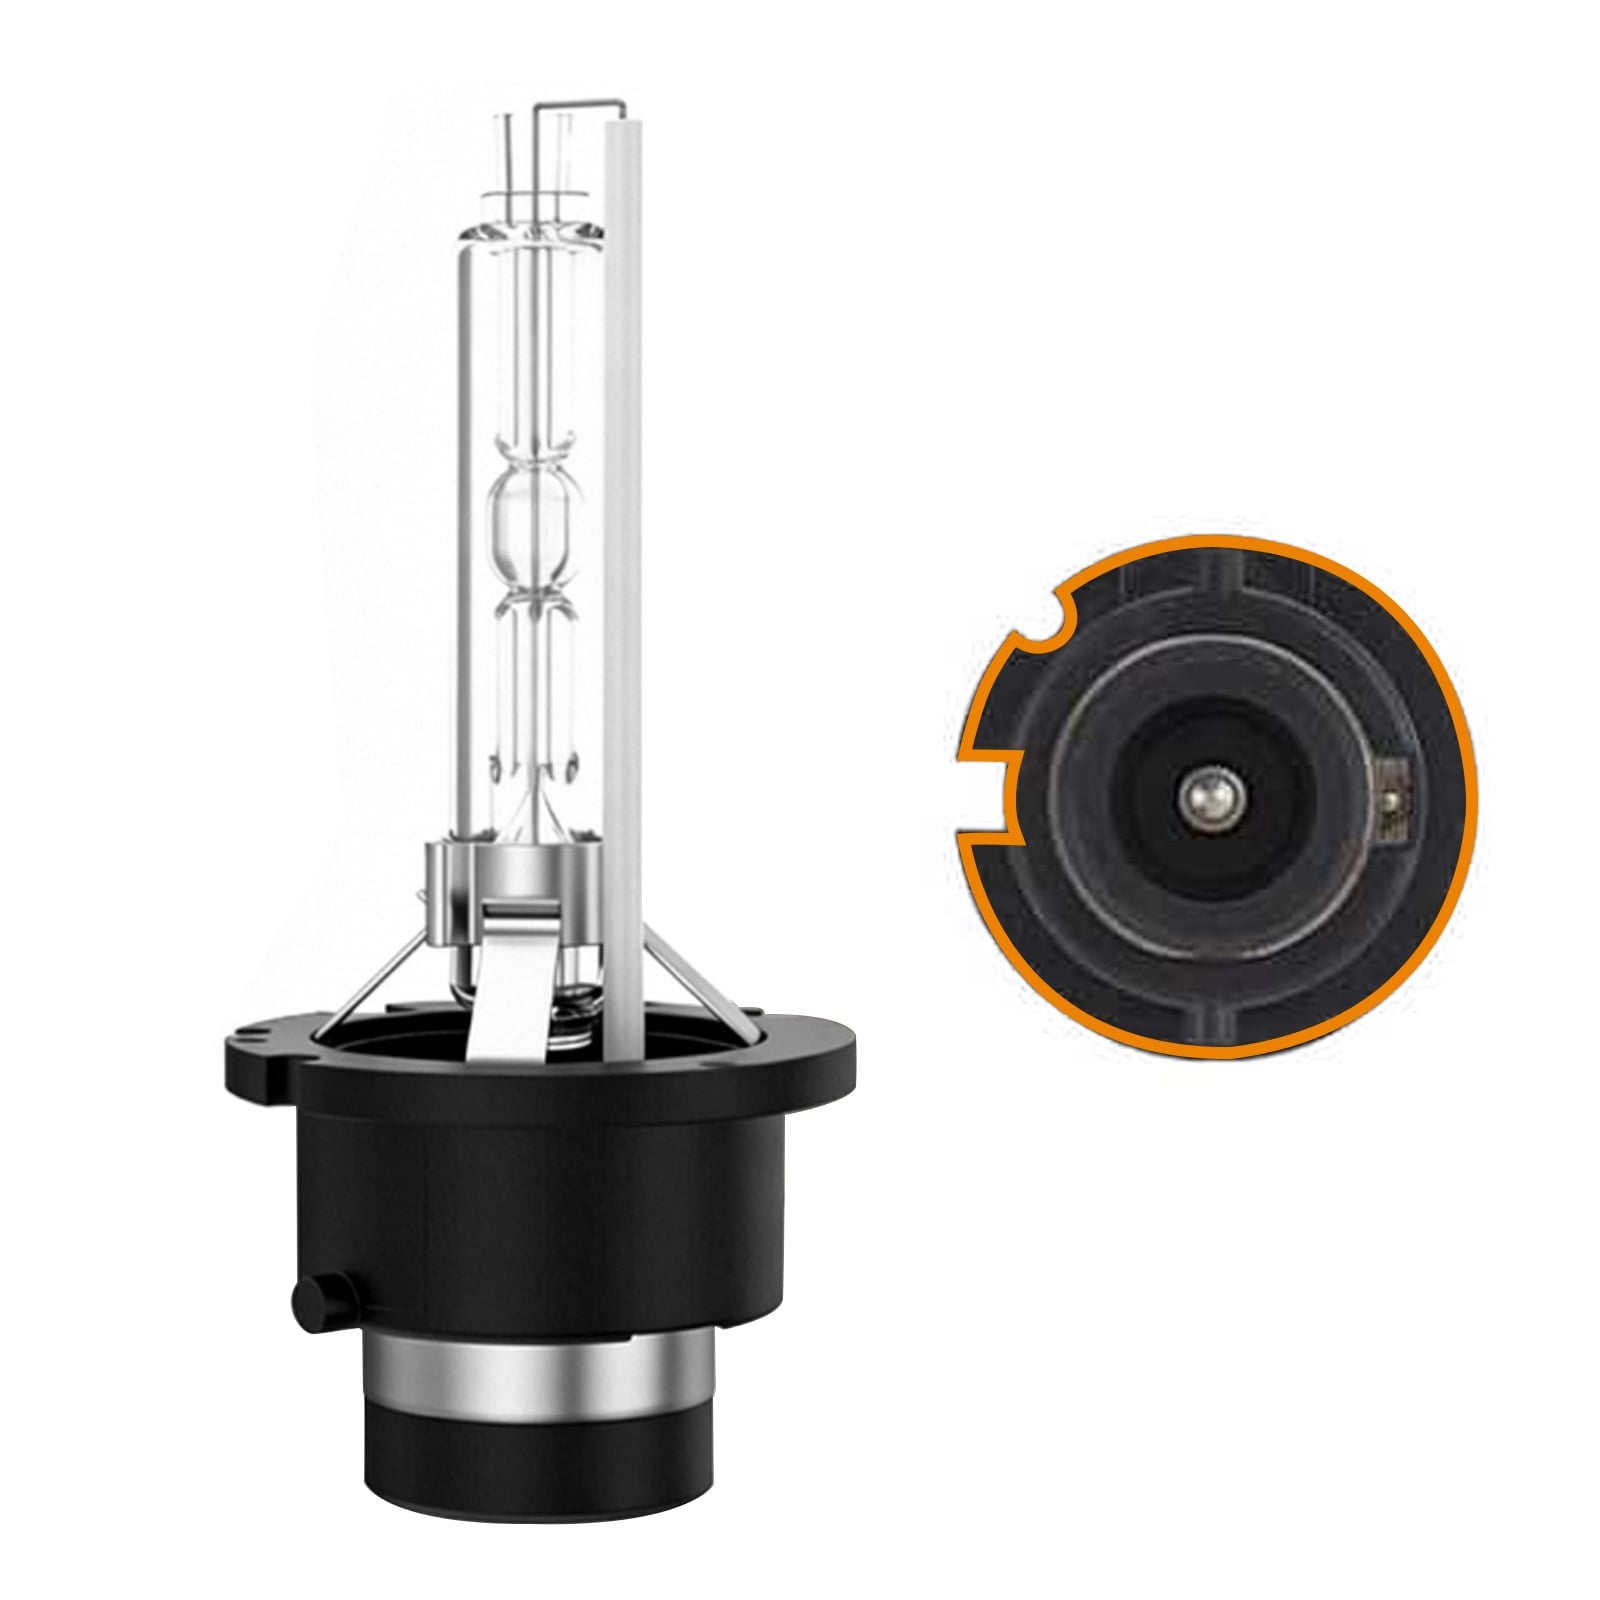
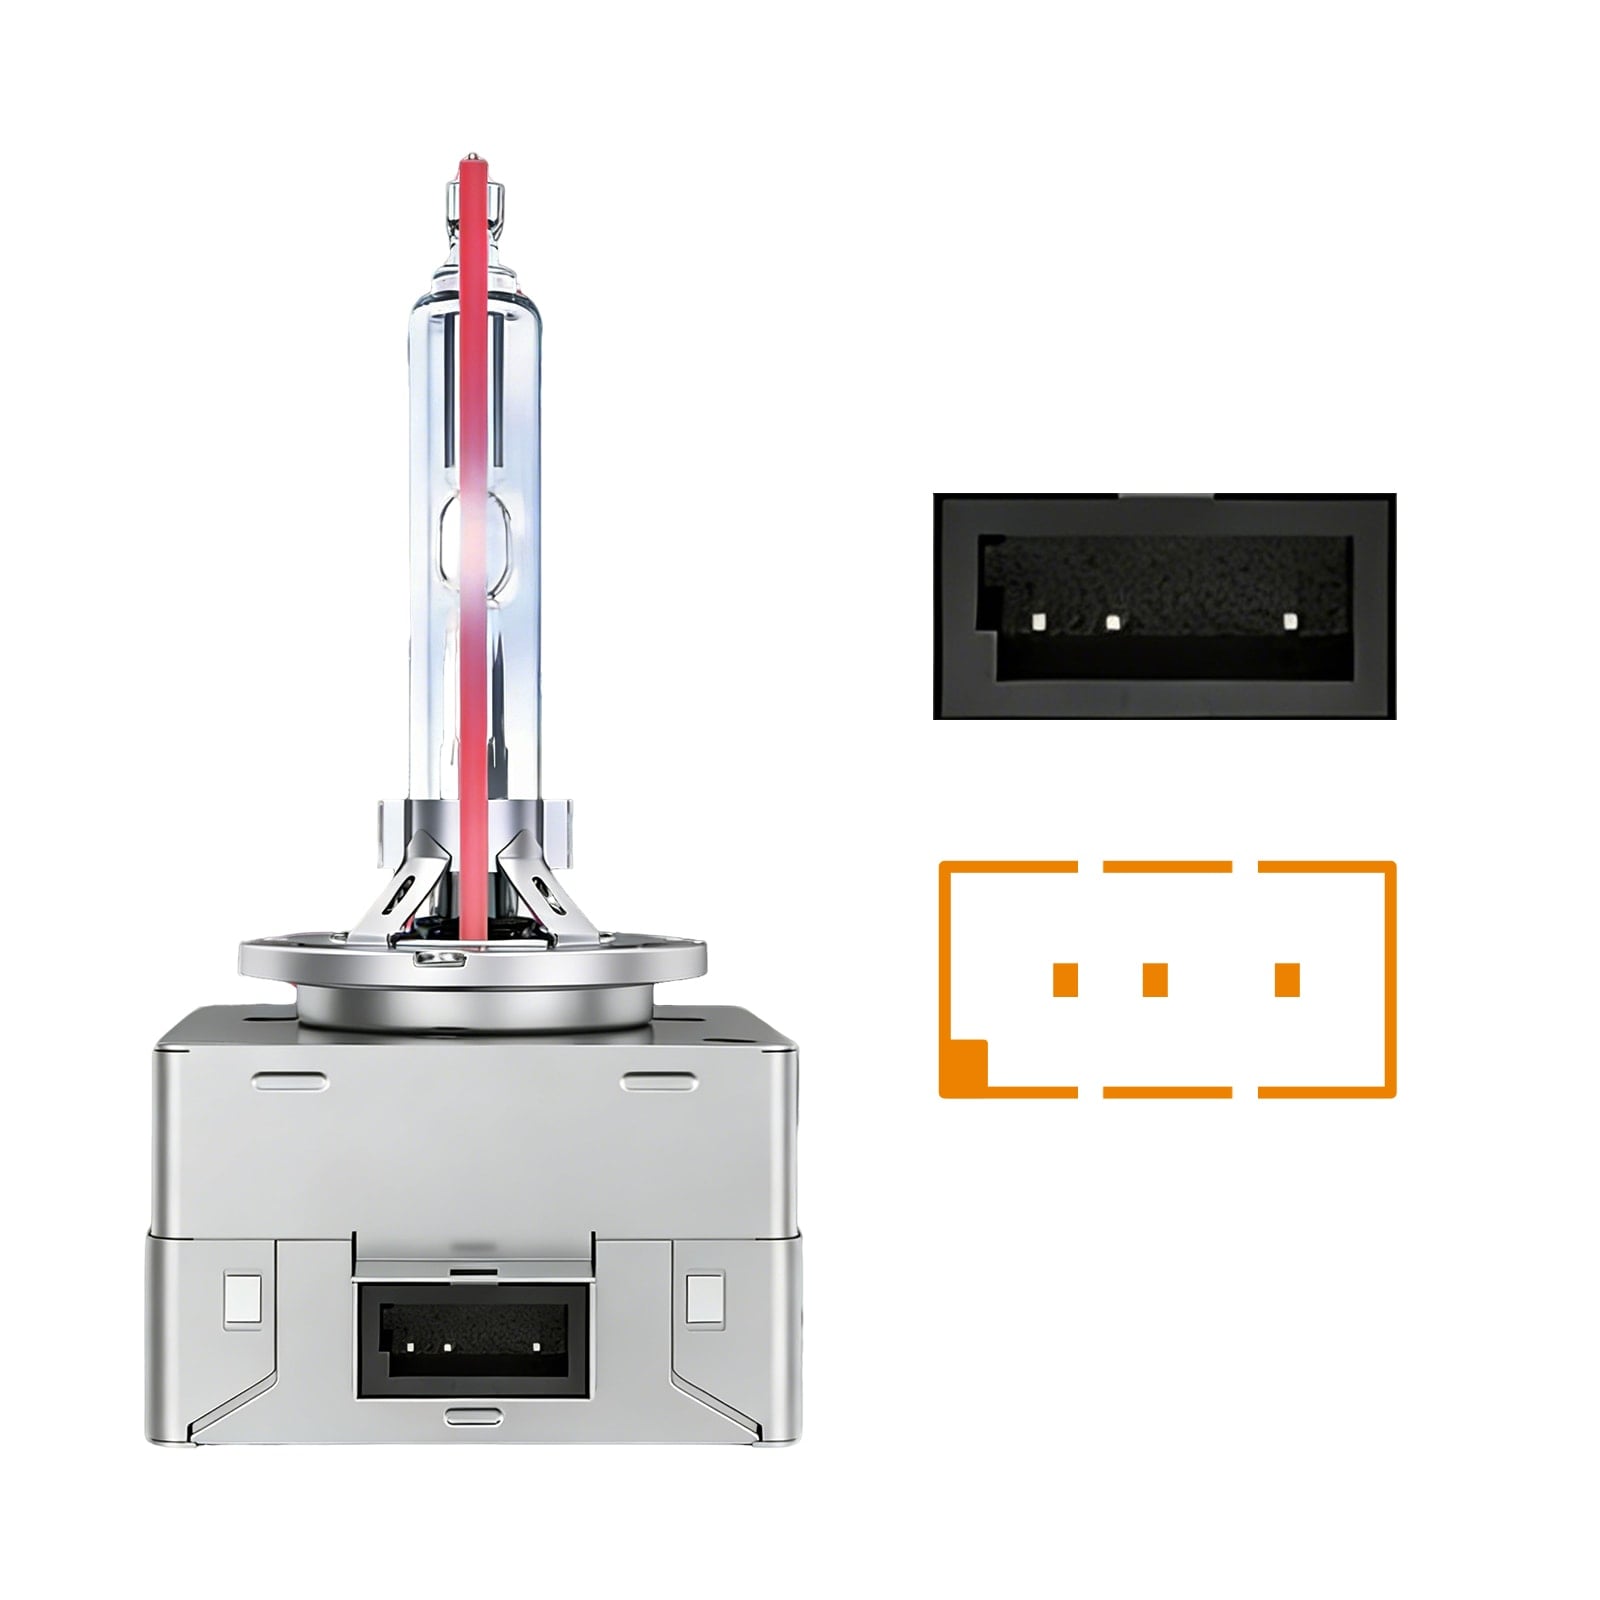
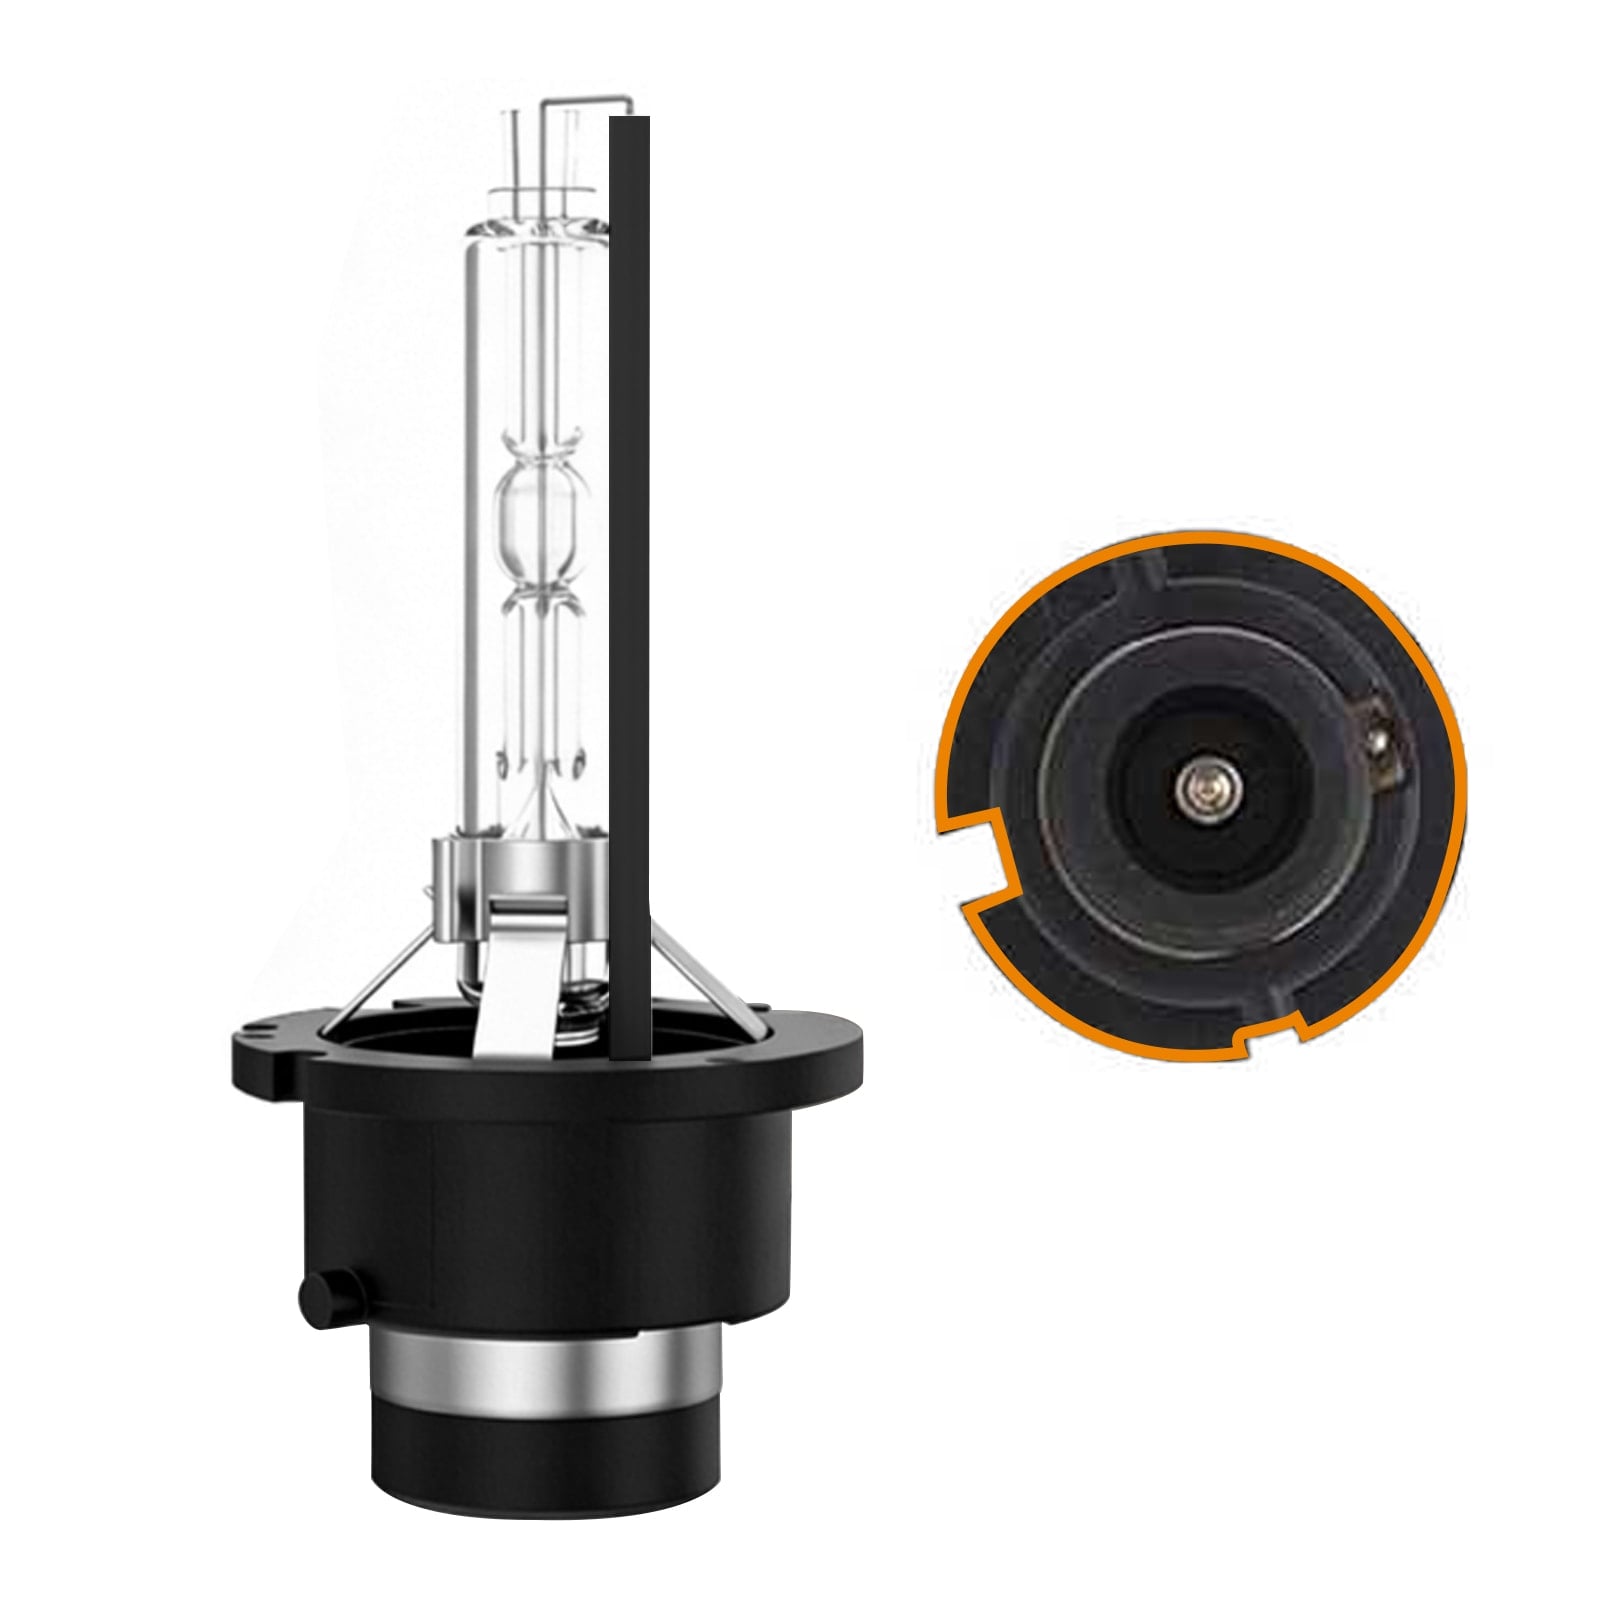
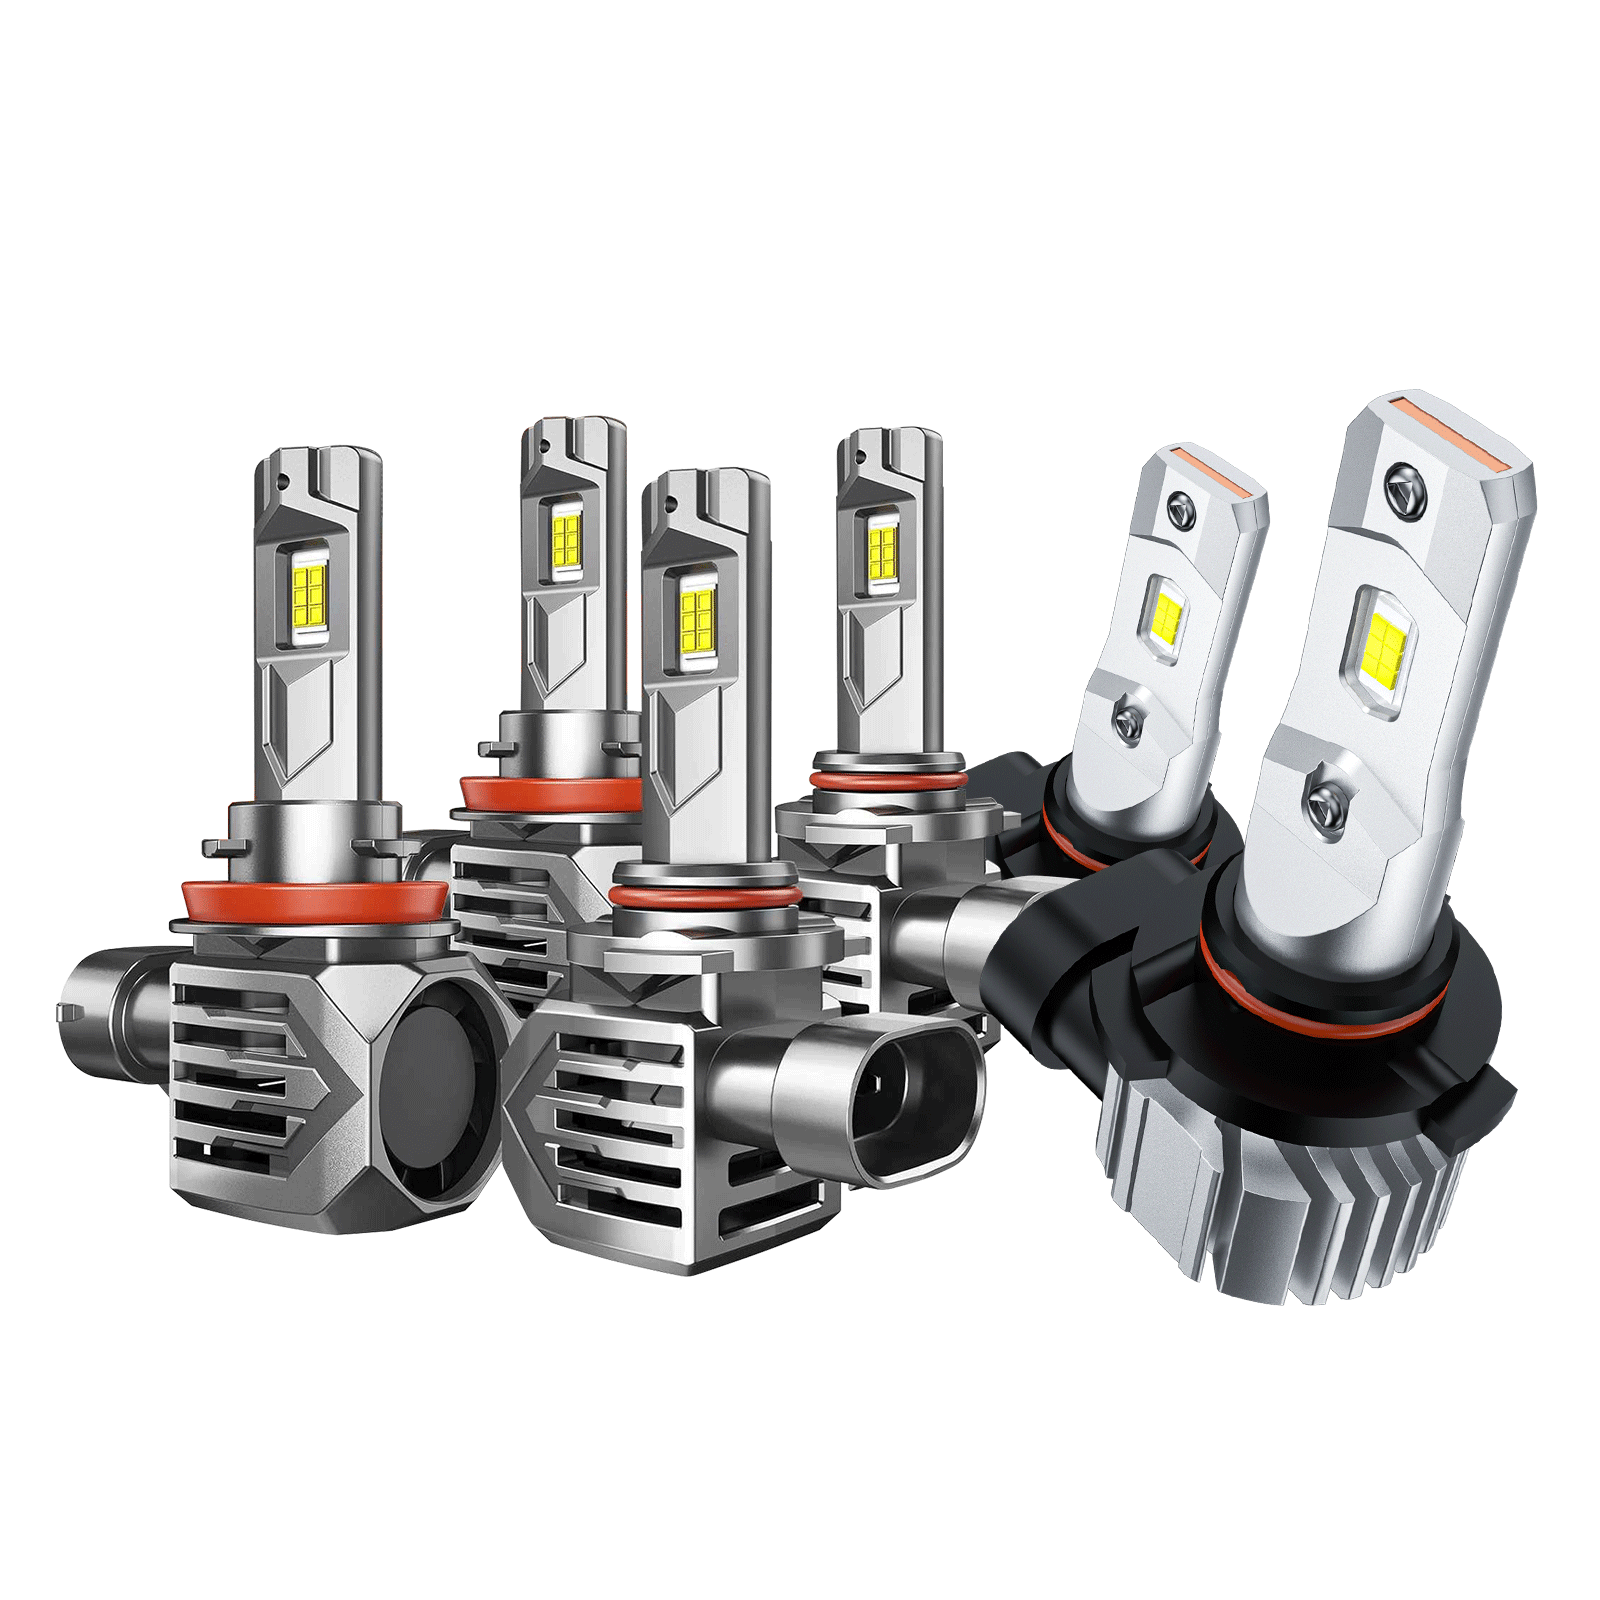


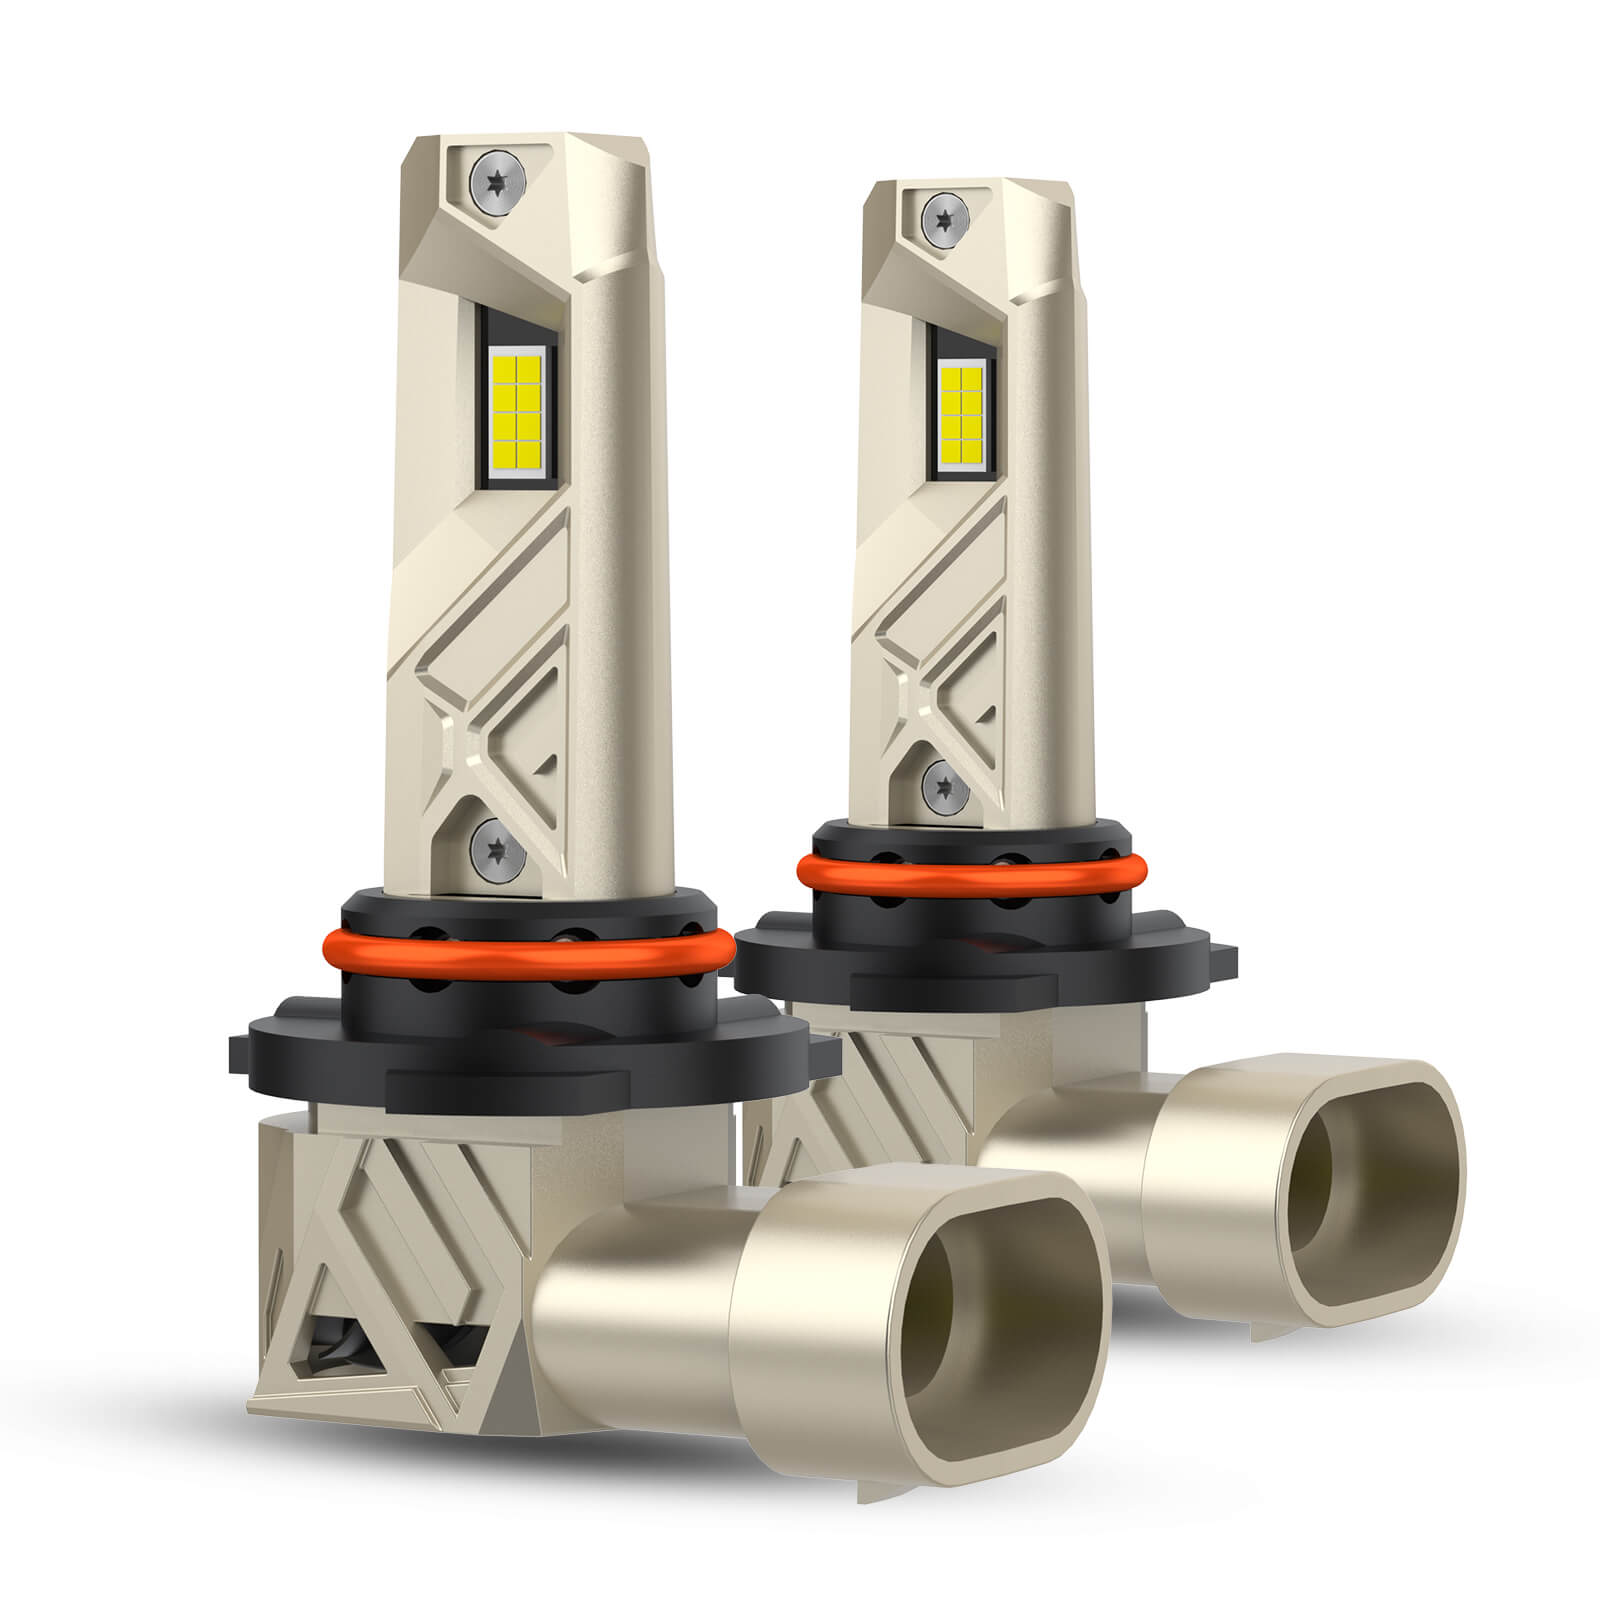


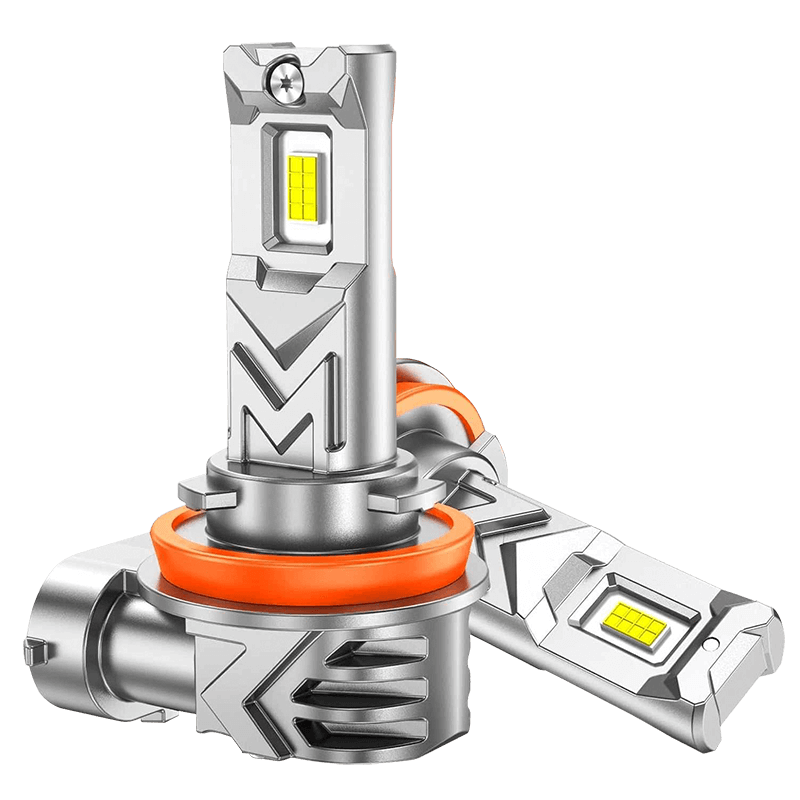
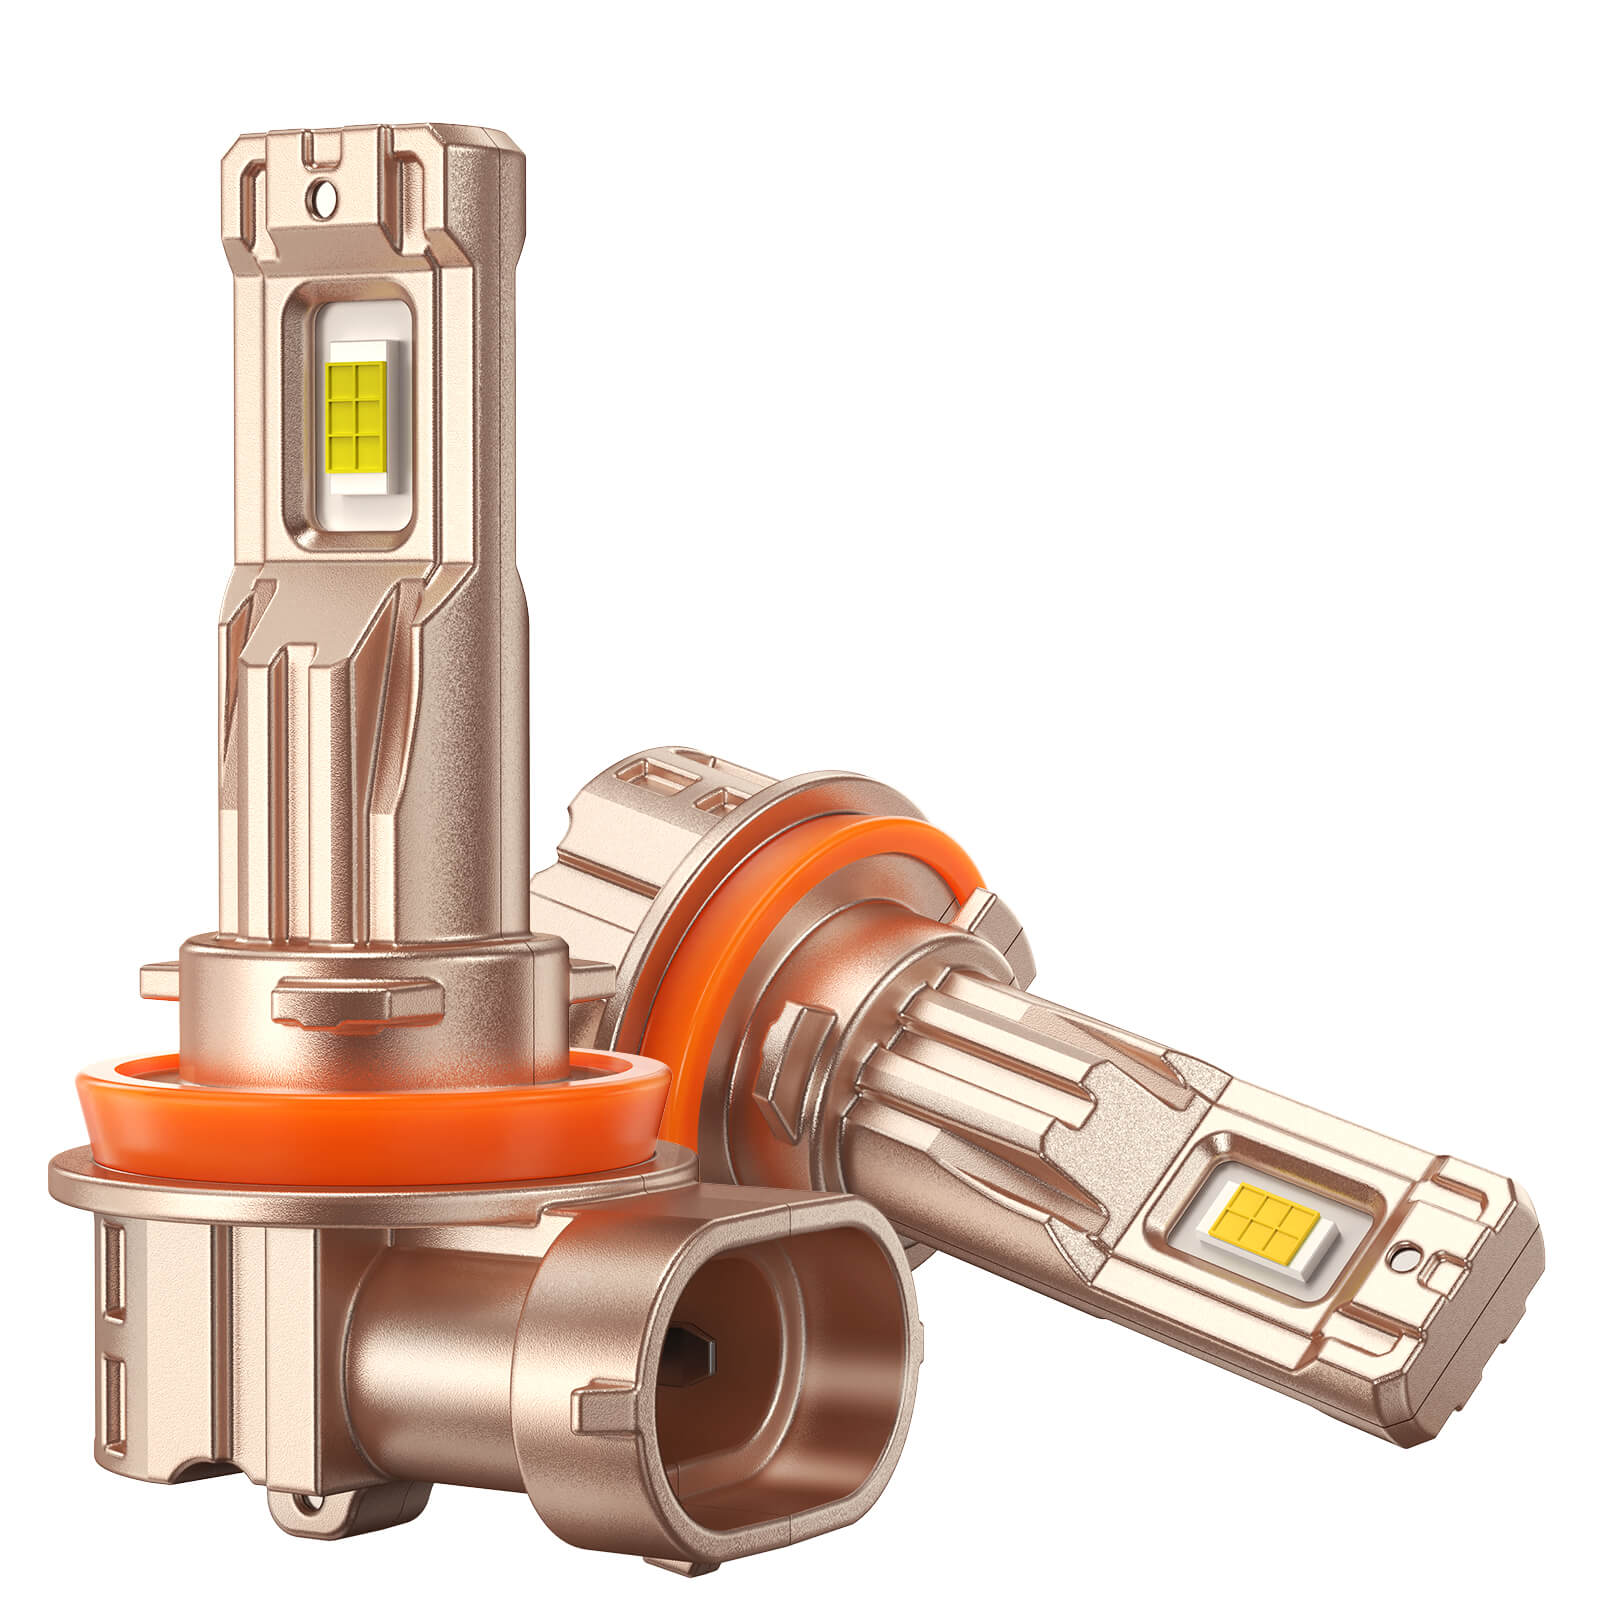


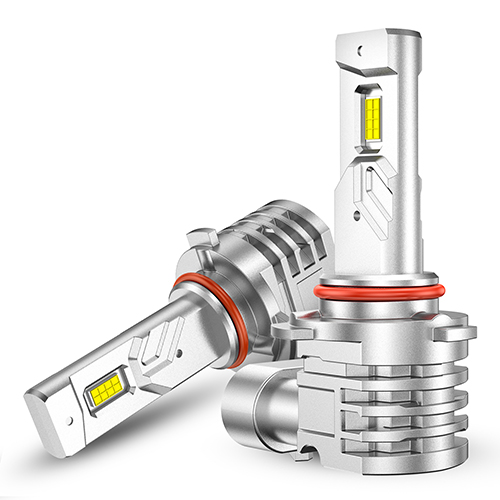
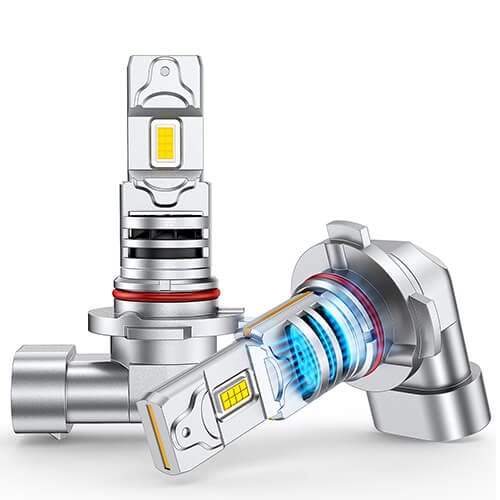



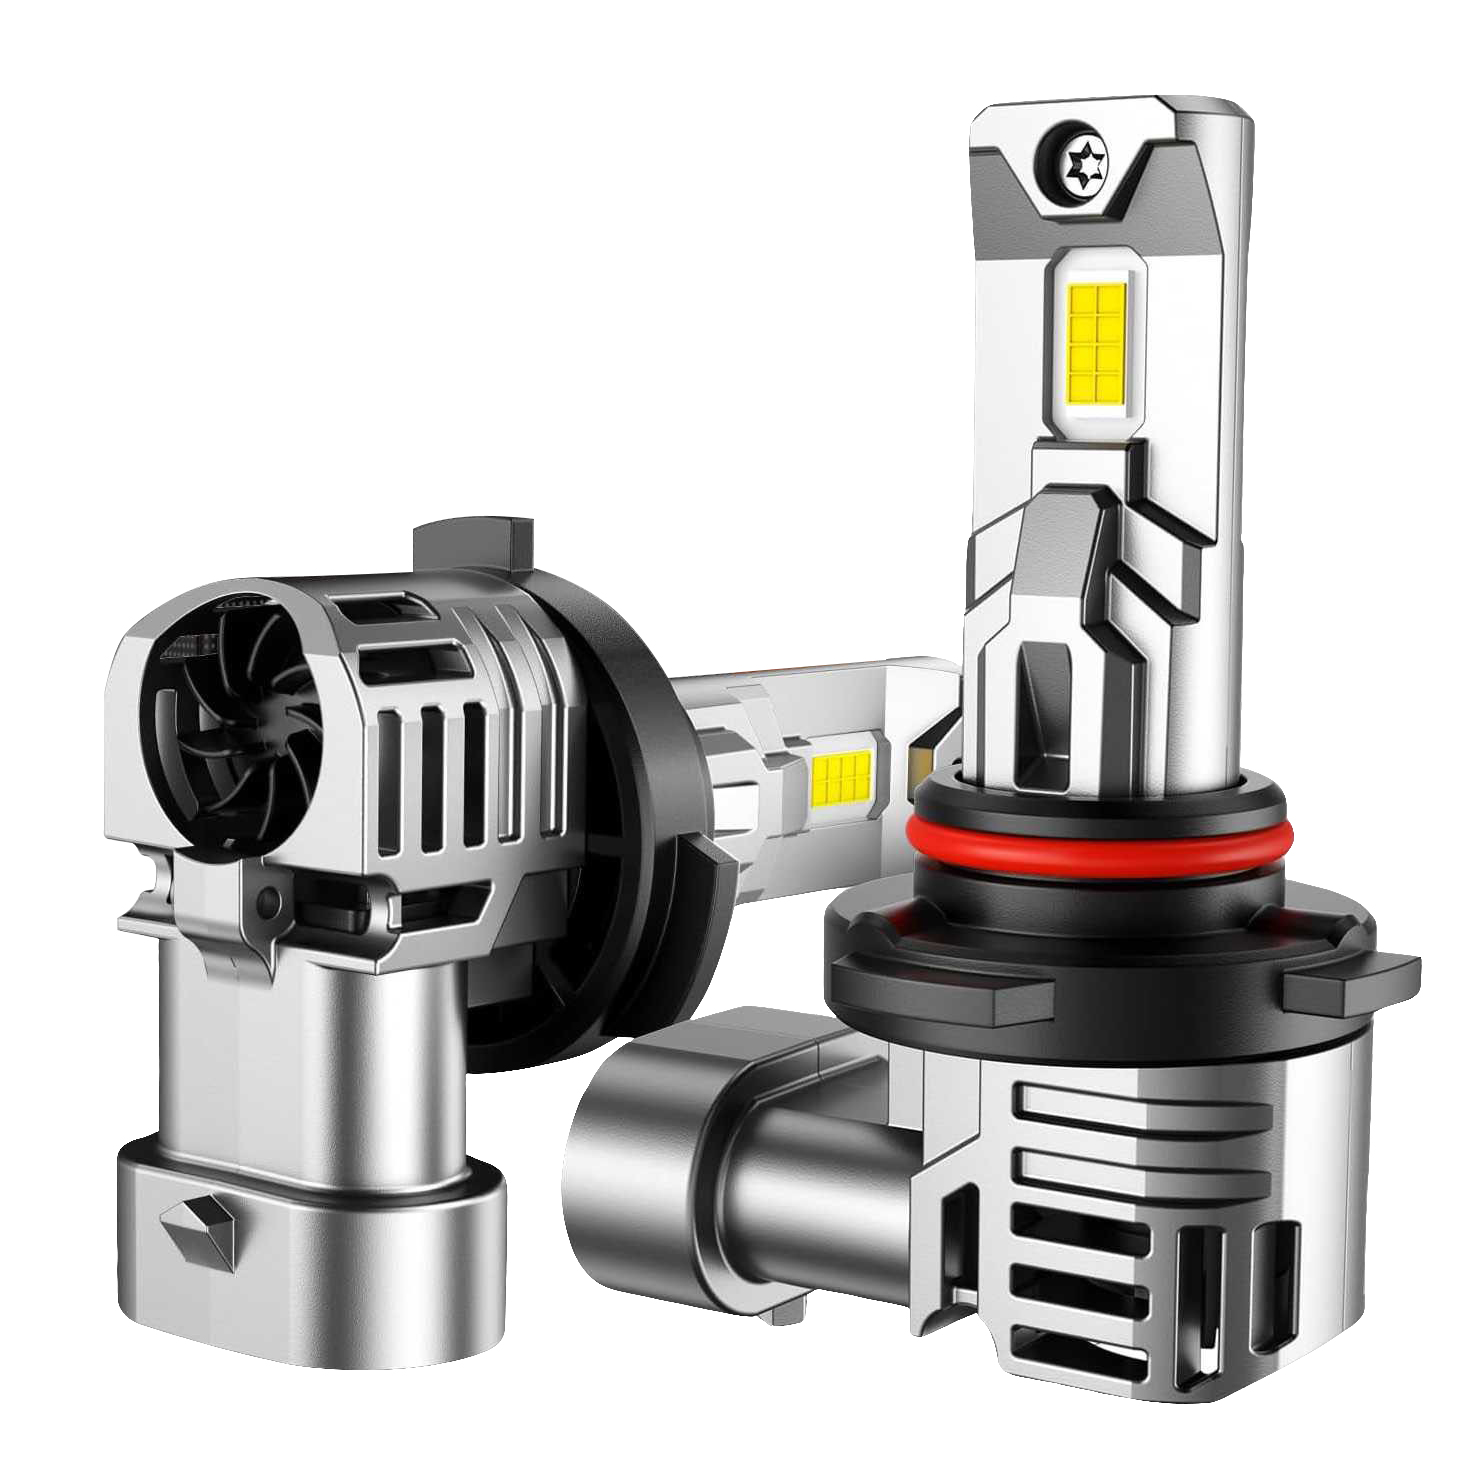


Correct headlight adjustment helps you see farther down the road without creating glare for other drivers. Headlights may move out of alignment after bulb replacement, suspension work, towing, rough-road driving or a collision.
This guide explains how to check and adjust headlights using a wall and approximately 25 feet of level space. It works as a practical visual check for many cars, trucks, reflector headlights, projector headlights and replaceable LED bulbs.
Always follow the aiming specifications in your vehicle owner’s manual or service manual when available.
Do You Need to Adjust Headlights After Replacing LED Bulbs?
We strongly recommend checking your headlight alignment after switching to LED headlight bulbs. Even if a high-quality bulb closely matches the original beam profile, a quick check ensures optimal light output and prevents dangerous glare for oncoming traffic.
If you have changed halogen to LED headlight bulbs, you can perform this brief check before adjusting the headlights:
- Make sure the base is fully locked into the socket.
- Check that the retaining clip or adapter is secure.
- Follow the bulb manufacturer's orientation instructions.
For detailed information about LED chip position, halogen filament replication, cutoff shape, see our guide to LED headlight bulb beam patterns.
What You'll Need
- Painter's tape or masking tape
- A tape measure
- A Phillips screwdriver, socket, or hex tool (check your owner's manual for your specific adjuster type)
- An opaque board or piece of cardboard
- A flat wall or garage door with about 25 feet of level ground in front of it
Prepare the Vehicle
Set up the vehicle as it is normally driven:
- Inflate all tires to the recommended pressure.
- Remove unusually heavy temporary cargo.
- Keep regularly carried tools or equipment in the vehicle.
- Include the normal driver weight if required by the vehicle procedure.
- Point the front wheels straight ahead.
- Allow the suspension to settle.
- Clean the headlight lenses.
Step-by-Step: How to Aim Your Headlights
1. Set Up the Vehicle as You'd Normally Drive It
Inflate all four tires to the recommended pressure, remove any unusually heavy cargo you're not normally carrying, but leave your regular gear in the vehicle. Point the wheels straight ahead and let the suspension settle for a minute before you start measuring. A loaded truck bed or low tire pressure will throw your numbers off.
2. Park Close to a Flat Wall
Pull up to a flat wall or garage door, stopping about 3 feet away, with the vehicle perpendicular to the wall. Check that both front corners sit roughly the same distance from the wall.
The ground between the wall and where you'll eventually park needs to stay level the whole way, since a slope can make your headlights look higher or lower than they really are.
3. Find the Center of Each Low Beam
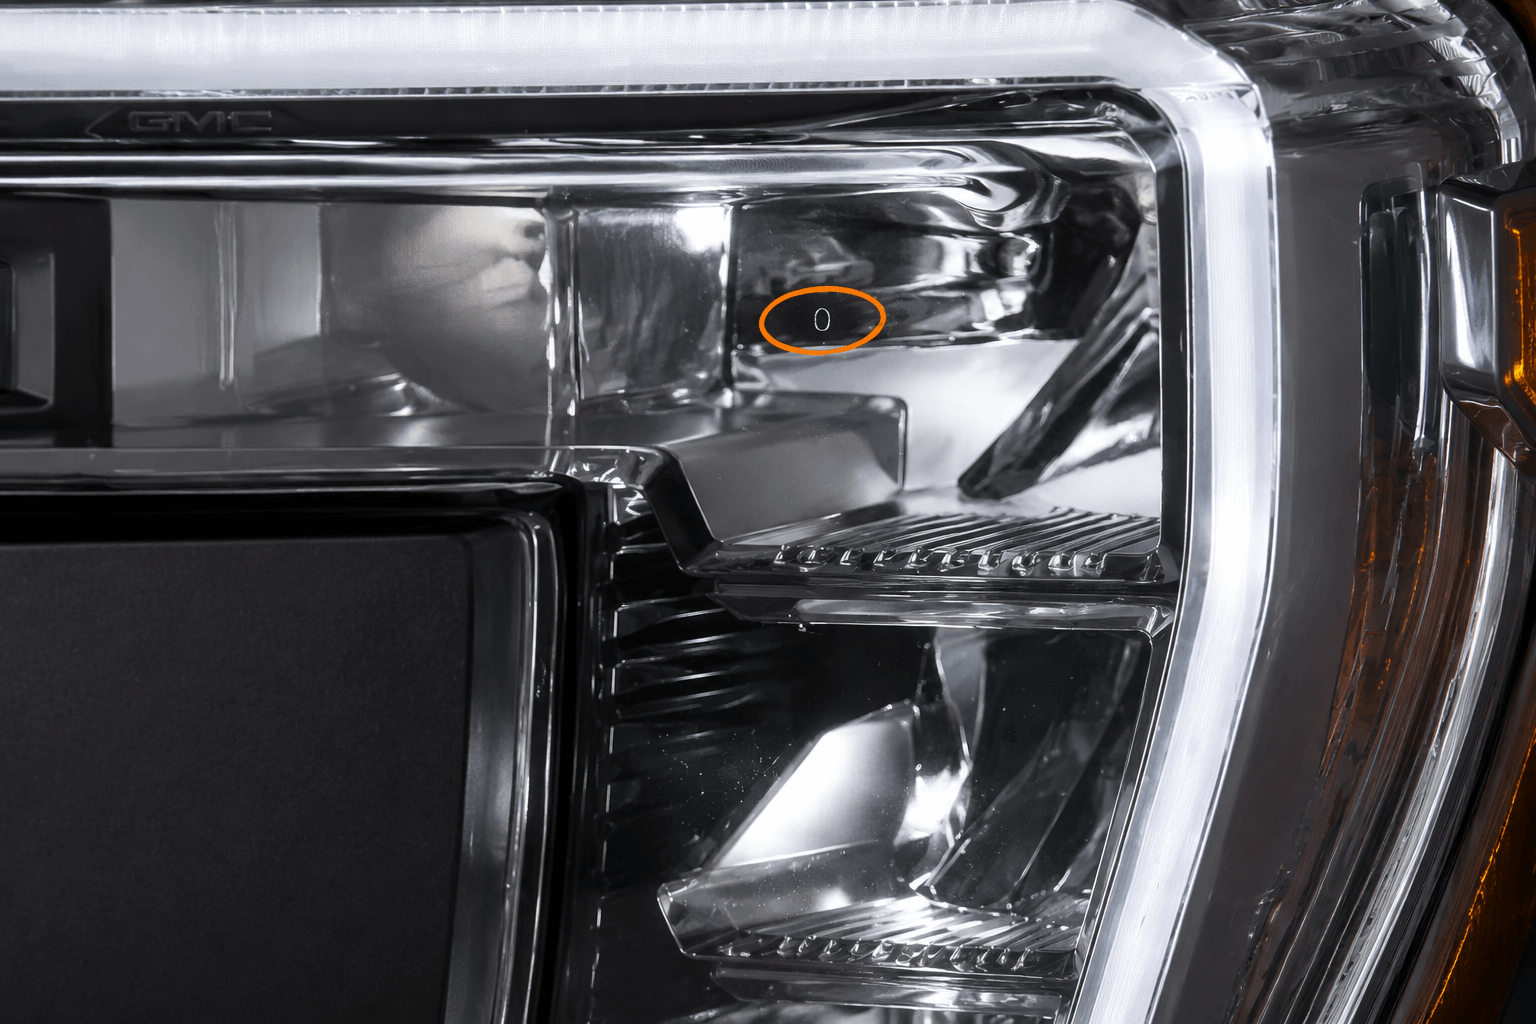
Look for a small dimple, circle, or cross on the headlight lens — this usually marks the optical center. If you don't see one, use the approximate center of the low-beam projector lens or reflector bowl instead. Be careful not to use the center of the whole headlight assembly if it also houses your high beams or turn signals.
4. Measure and Mark the Wall
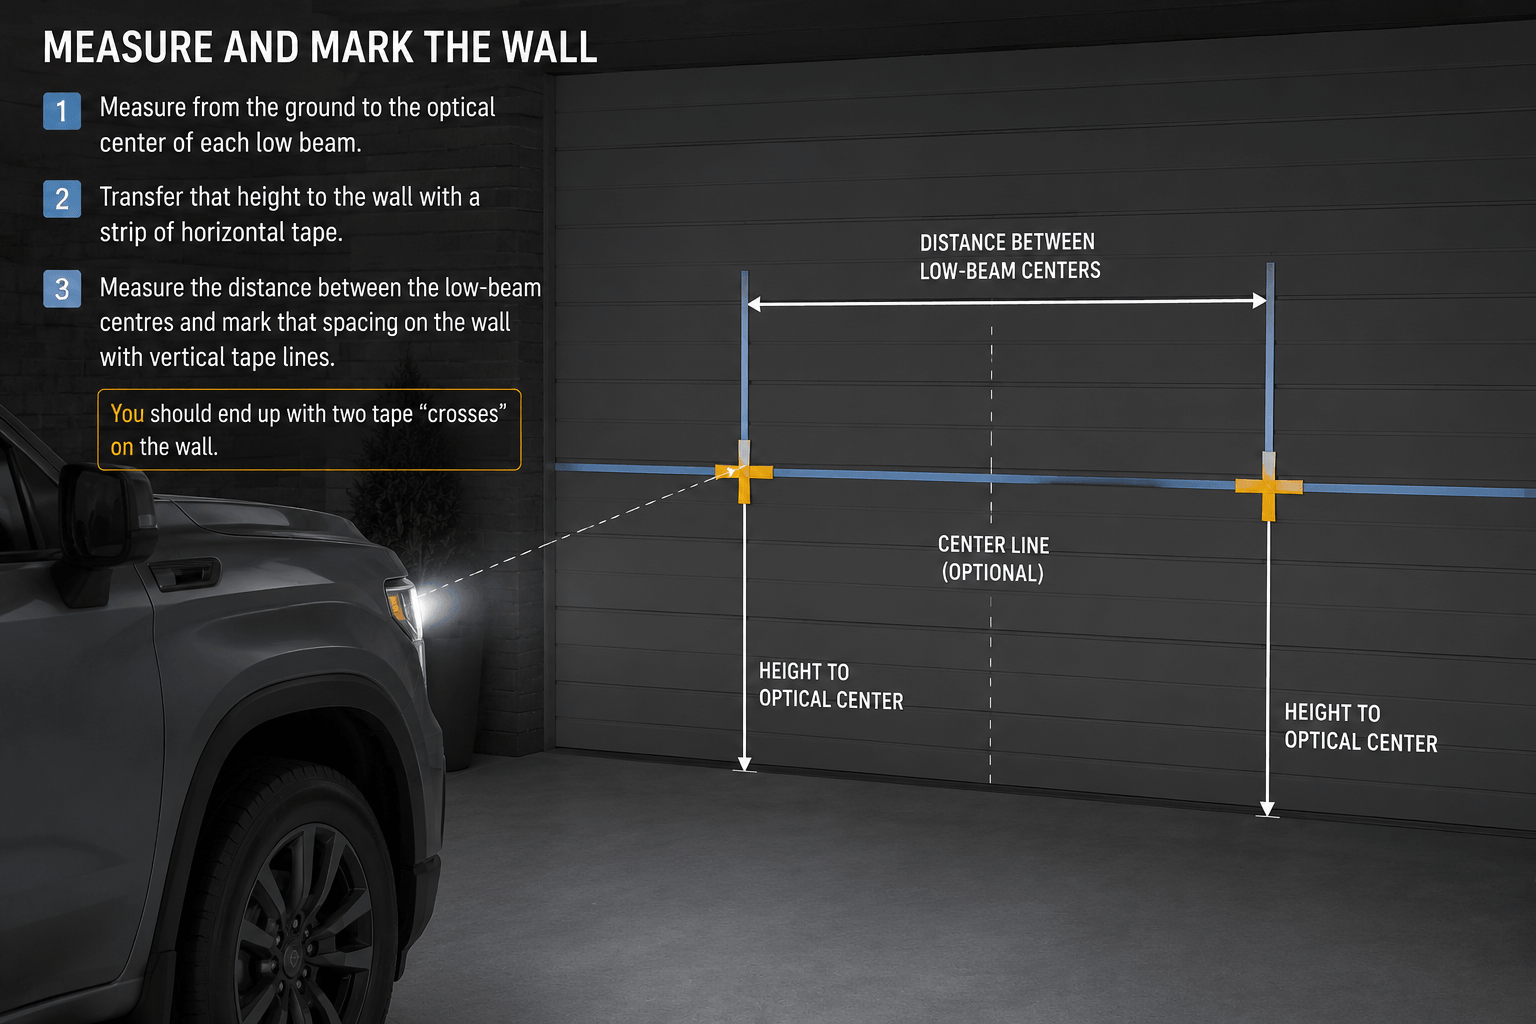
Measure from the ground to the optical center of each low beam, then transfer that height to the wall with a strip of horizontal tape. Next, measure the distance between your left and right low-beam centers and mark that spacing on the wall with vertical tape lines — one for each headlight, plus an optional center line. You should end up with two tape "crosses" on the wall.
5. Set Your Target Cutoff Height
This is the step people most often get wrong, because the correct target depends on how high your headlights sit — not a single number that applies to every vehicle.
If your headlight's optical center sits under 36 inches off the ground, aim the top of the beam (or the brightest part of the pattern) right at the height line you already marked, following whatever your vehicle's original spec calls for.
If the optical center sits above 36 inches — common on trucks, SUVs, or any vehicle with a lift — drop your target line 2 inches below that height mark instead. A simple trick makes this easy: use 2-inch-wide painter's tape, with the top edge lined up on your headlight-center mark. The bottom edge of the tape is then automatically 2 inches lower, giving you the exact target line to aim your beam's cutoff or hotspot against.
This extra drop keeps the beam angled down enough to avoid sending glare into other drivers' mirrors, even on taller vehicles where the headlights sit well above the norm.
6. Back the Vehicle Up 25 Feet
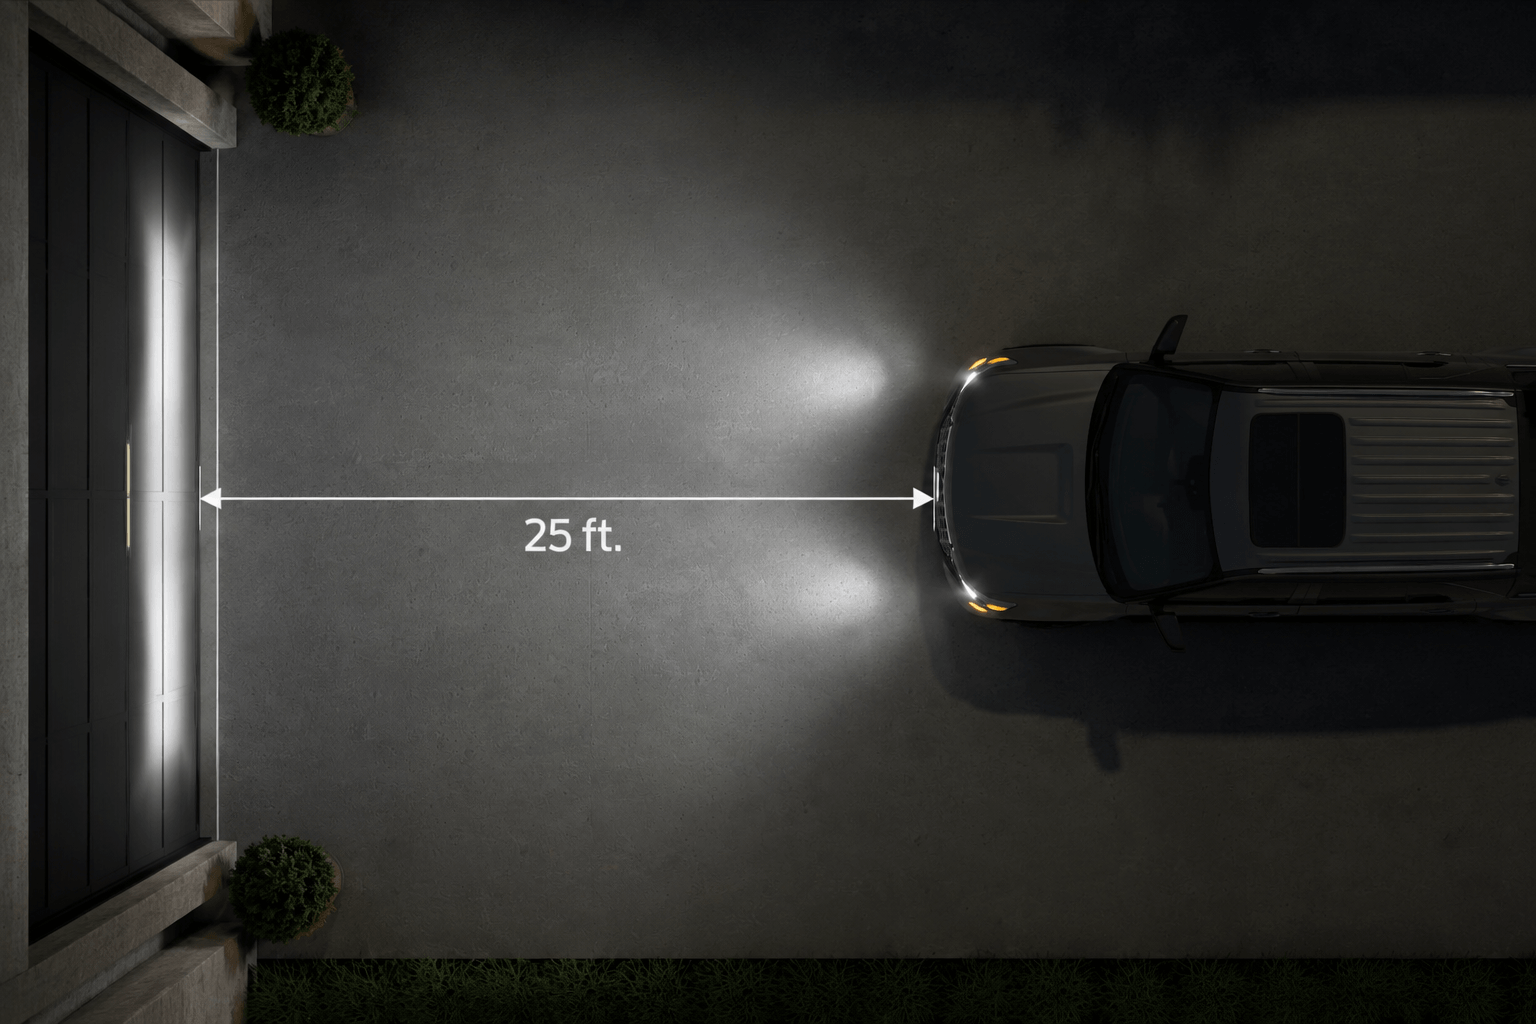
Measure exactly 25 feet from the front face of the headlight lens — not the bumper or the front axle — back the vehicle up in a straight line without turning the wheel, and confirm it's still perpendicular to the wall. Turn on your low beams only; everything else, including fog lights, should be off.
7. Check One Headlight at a Time
Cover one headlight with an opaque board (not fabric pressed directly against it) so you can evaluate the other side on its own. This makes the cutoff line much easier to see clearly.
8. Identify Your Beam's Cutoff Reference
Projector headlights usually produce a sharp cutoff with a step that rises on one side. Look for a "VOL" (visual/optical aim, left) or "VOR" (visual/optical aim, right) marking on the lens — a VOL lamp aims off the flat left side of the cutoff, while VOR aims off the flat right side. Don't mistake the raised step for misalignment; it's part of the intended beam pattern.
Reflector headlights tend to have a softer upper edge. Use the top boundary of the main beam as your reference, and ignore any small stray reflections or isolated bright spots above it.
9. Adjust the Beam Height
Open the hood and locate the vertical adjuster near the top or rear of the headlight assembly — it might be a Phillips screw, a hex bolt, a plastic gear, or hidden inside a recessed hole. Turn it slowly in quarter-turn increments; the direction that raises the beam isn't the same on every vehicle, so watch how the light moves as you go. Work one headlight at a time until the correct part of the cutoff lines up with your target tape line, then switch sides.
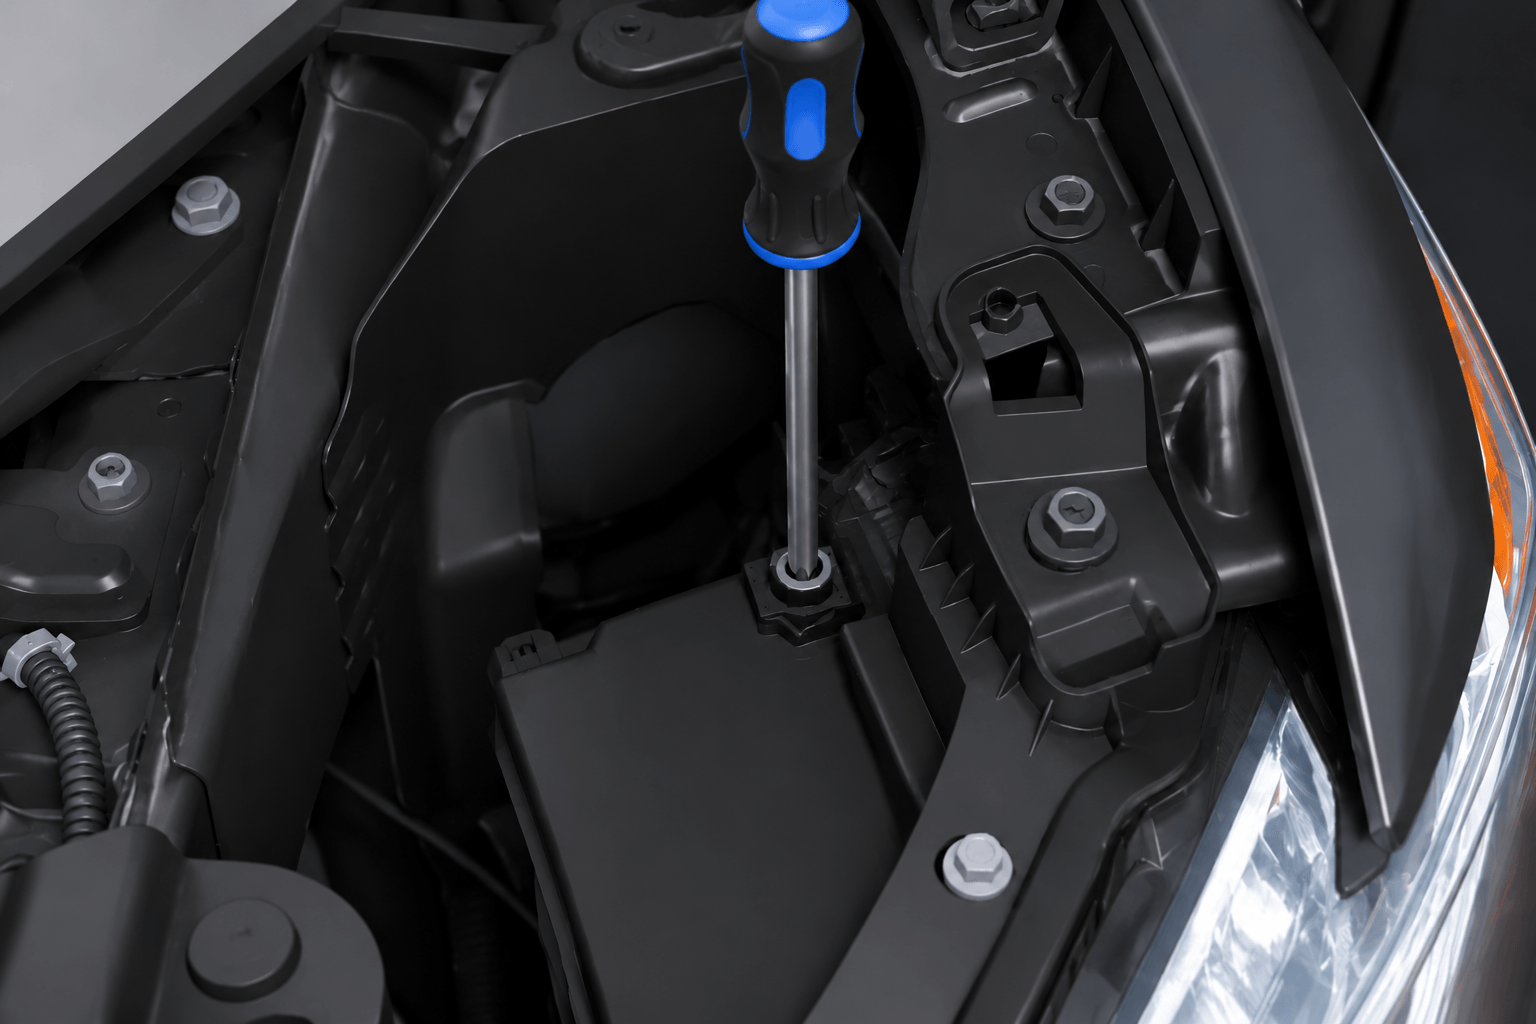
Work one headlight at a time until the correct part of the cutoff lines up with your target tape line, then switch sides.
10. Check the Horizontal Position
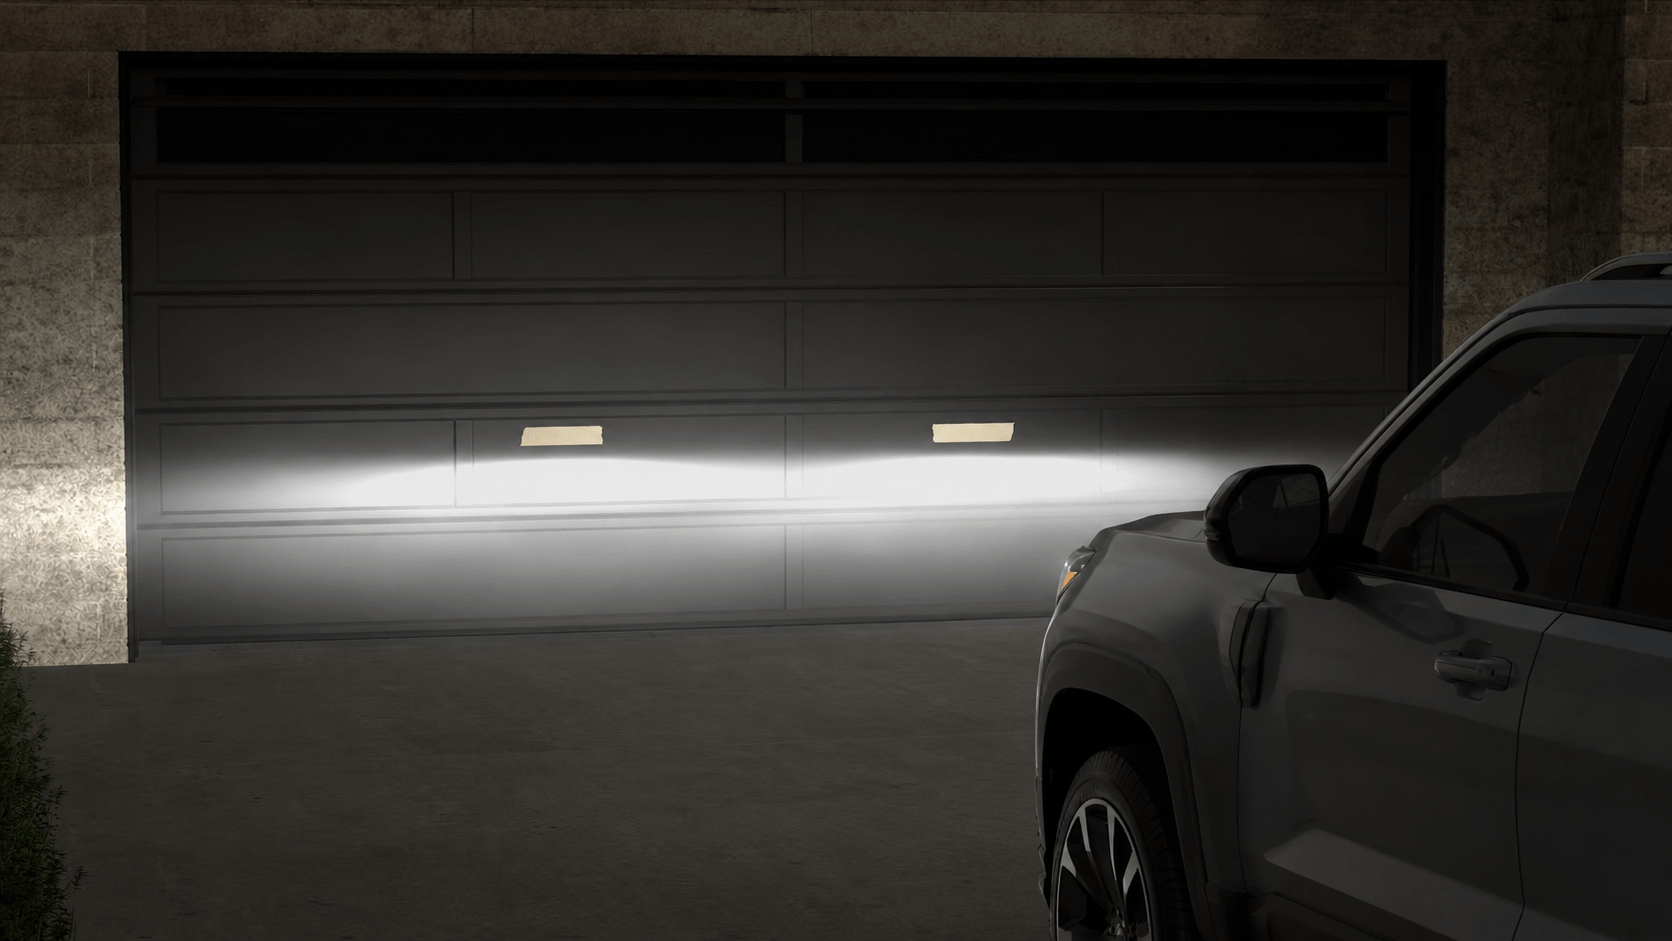
With both headlights uncovered, look at the beams together. Keep in mind that low-beam patterns are often intentionally asymmetric — designed to light up the roadside more than the oncoming lane — so they won't look identical, and that's normal. Many vehicles don't offer an owner-accessible horizontal adjuster at all. If one beam is noticeably off to one side, check for a loose bulb, loose mounting bolts, or damage before assuming it needs adjustment.
11. Do a Final Inspection
Confirm that neither cutoff sits dramatically higher than the other, both beams land near your target height, and the driver-side beam isn't spilling into the opposing lane. If the light still looks scattered after everything is aimed correctly, the LED bulb may not be a great match for your specific headlight housing — some reflector designs handle LED beam patterns better than others.
Perform a Nighttime Road Test
Test the headlights on a dark, low-traffic road.
Check that:
- You can see a useful distance ahead.
- Most of the light is not concentrated directly in front of the bumper.
- The driver-side beam stays out of oncoming traffic.
- The headlights do not illuminate the mirrors or upper windows of vehicles ahead.
- Reflective signs are not excessively bright.
- Other drivers do not repeatedly flash their high beams.
Do not make large roadside adjustments based on one passing vehicle. Return to the level wall and verify the measurements.
When to Get Professional Help
Have the headlights professionally inspected when:
- You cannot identify the correct adjuster.
- The adjustment screw is broken or at its limit.
- The headlight assembly is loose or damaged.
- The vehicle has front-end collision damage.
- One beam points significantly left or right.
- The beam remains scattered after reinstalling the bulb.
- The two headlights cannot be aligned consistently.
- The vehicle uses automatic leveling or adaptive headlights.
Headlight Adjustment FAQs
Do I need to adjust headlights after installing LED bulbs?
You should at least check them. The mechanical aim may not change, but an incorrectly seated bulb or a different beam pattern can create glare.
How far should the vehicle be from the wall?
Use approximately 25 feet between the front face of the headlight lens and the wall.
Should I use low beams or high beams?
Use the low beams. Their cutoff is the main reference for glare control and aiming height.
How much should I turn the adjustment screw?
Use small adjustments, usually about a quarter-turn at a time.
Why are my headlights bright nearby but weak at a distance?
The beams may be aimed too low, or the LED bulbs may not be properly focused in the housing.
Why are drivers still flashing their high beams?
The headlights may be aimed too high, but the bulbs may also be incorrectly seated, incorrectly oriented or incompatible with the housing.
Final Takeaway
Proper headlight adjustment is not simply a matter of lowering bright headlights. The aim must be high enough to provide useful distance visibility but controlled enough to avoid excessive glare.
For most conventional headlights, the practical process is:
Check the bulb installation → Prepare the vehicle → Mark the headlight centers → Move back 25 feet → Check one low beam at a time → Adjust vertically in small increments → Verify the horizontal position → Road-test the result
After installing LED bulbs, briefly confirm that the bulbs are properly seated and that the beam pattern is controlled. Then focus on adjusting the complete headlight assembly according to the vehicle manufacturer's specifications.
When the bulb, headlight housing and adjustment all work together, you can improve nighttime visibility without unnecessarily blinding other drivers.