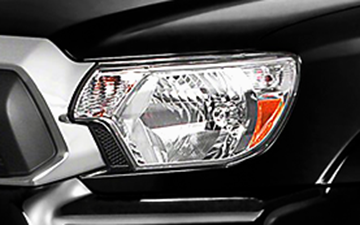
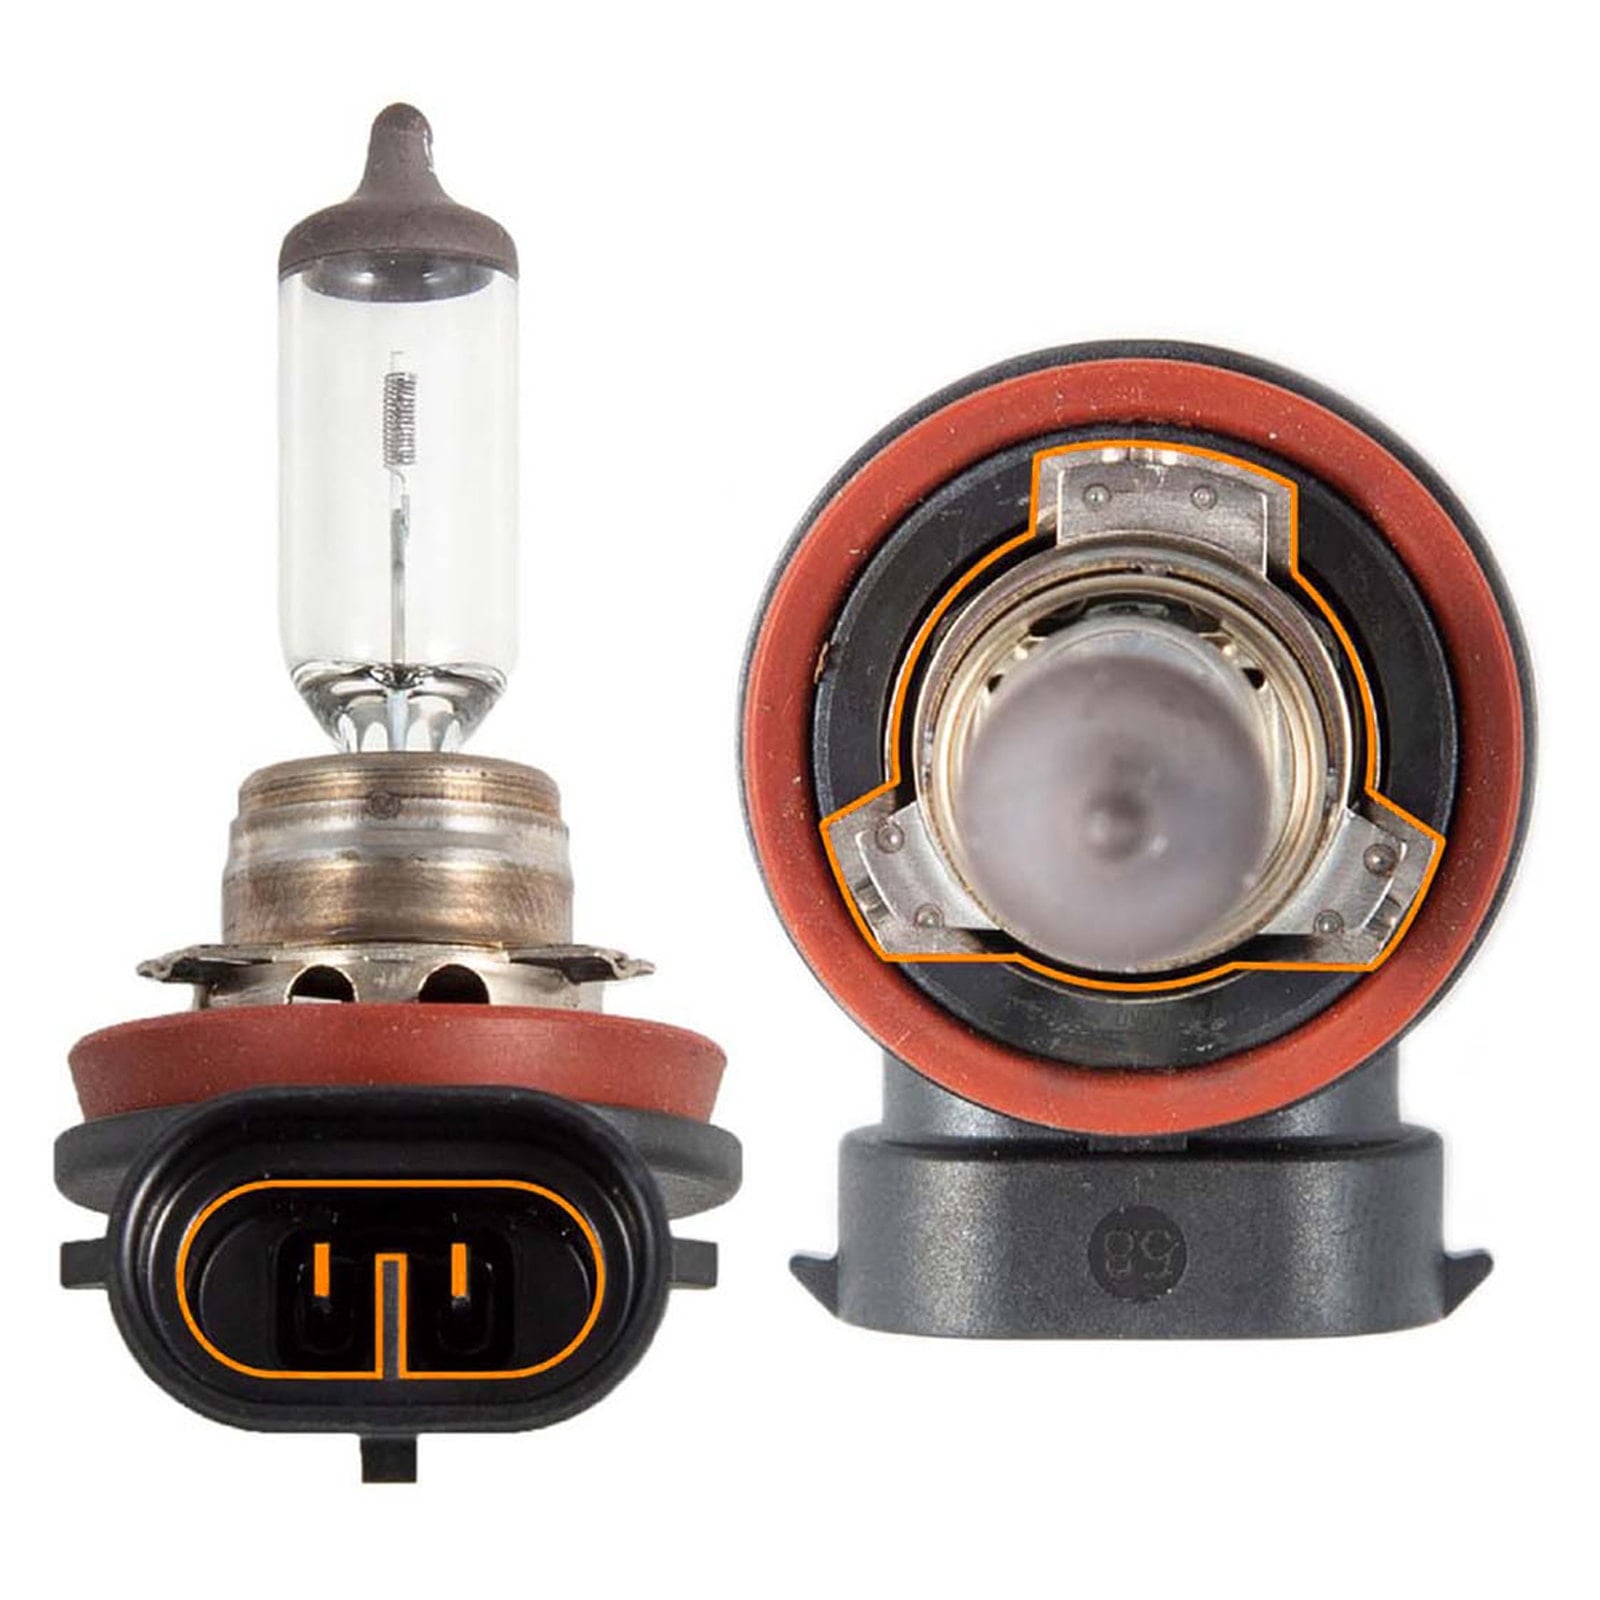
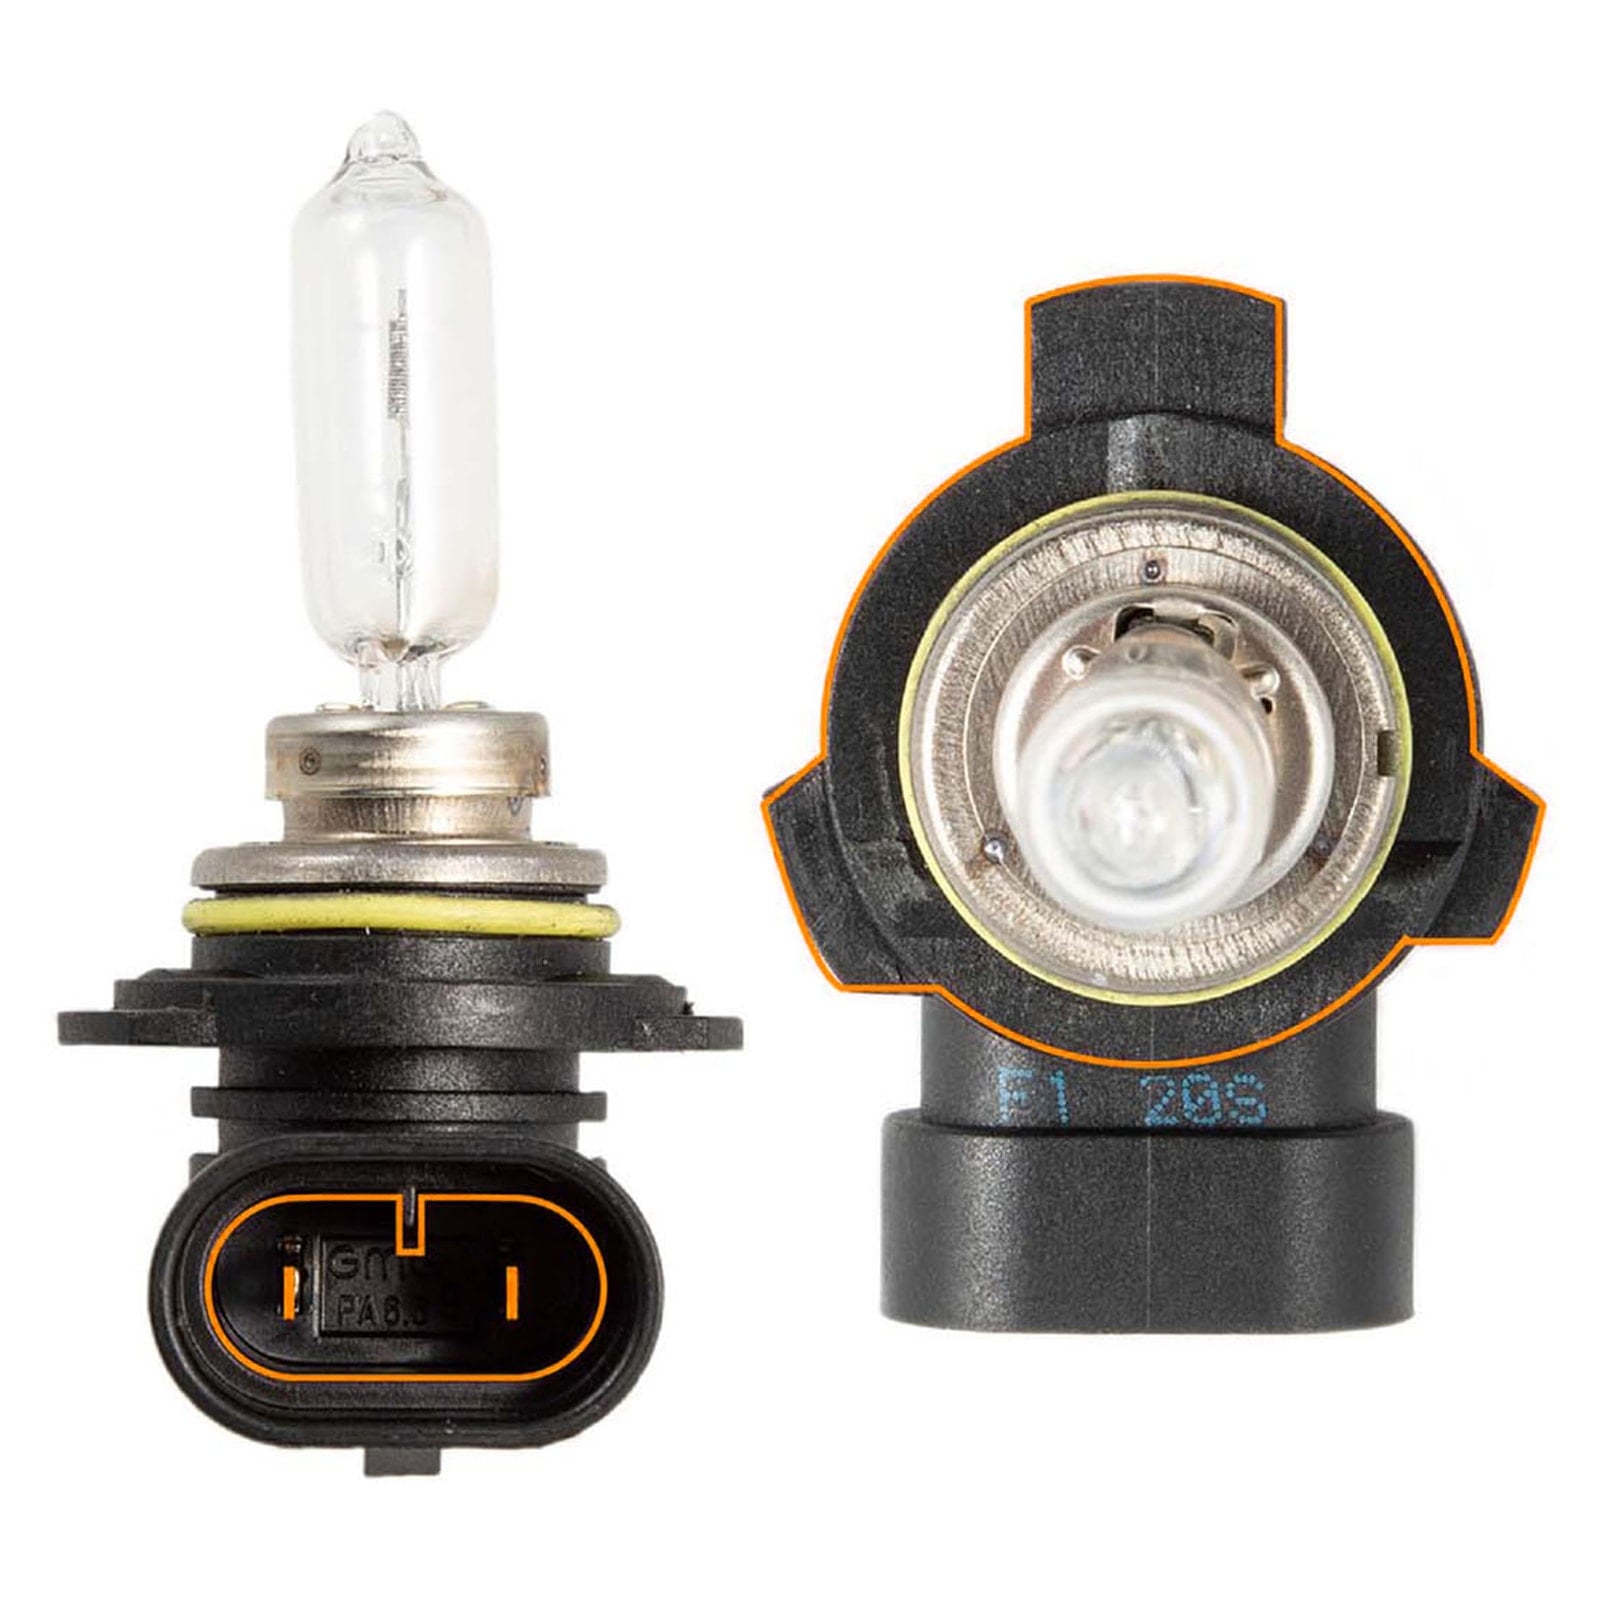

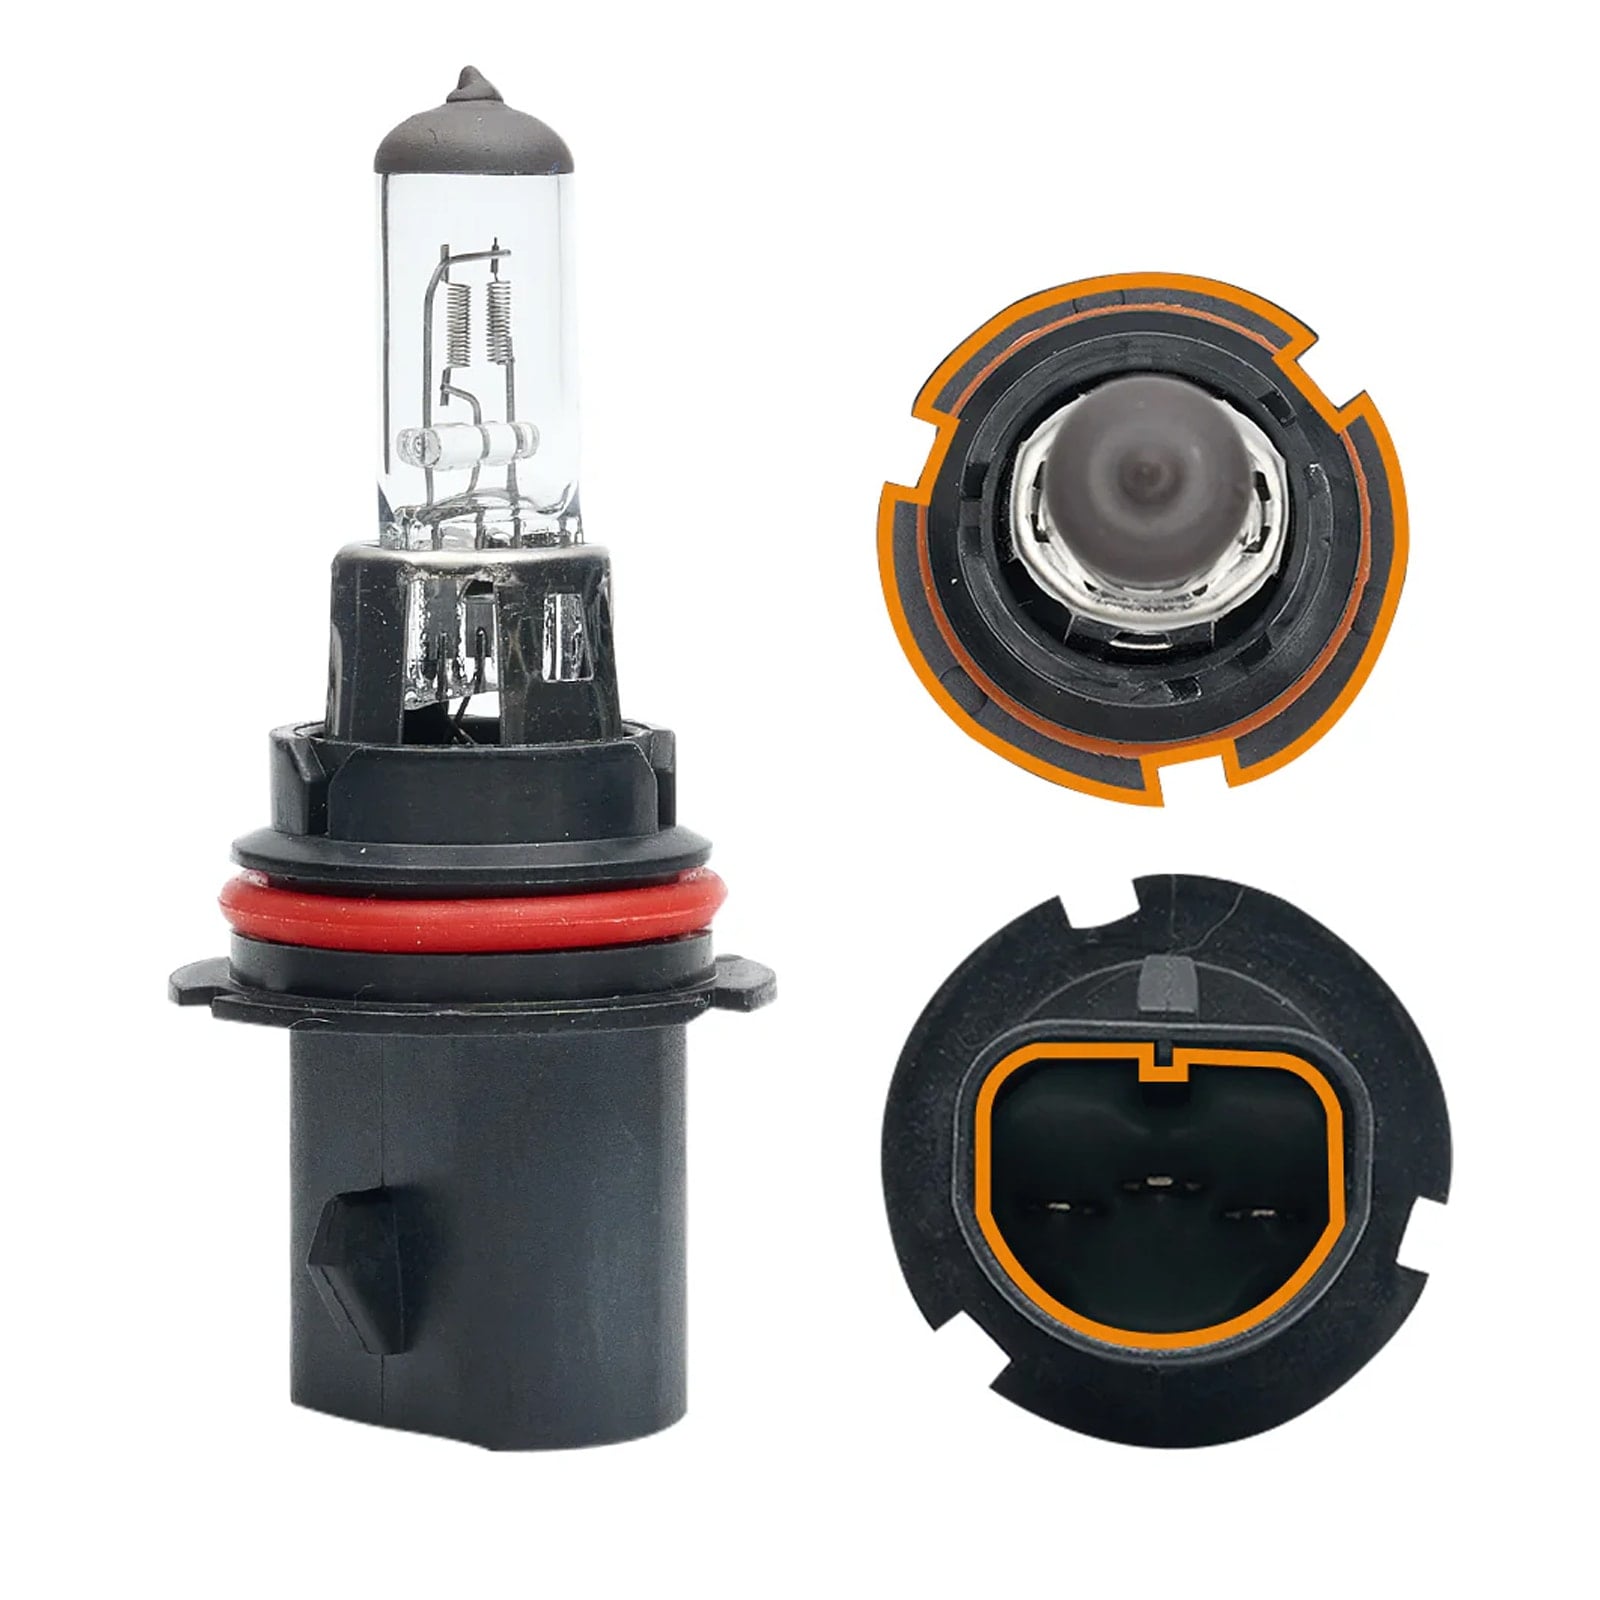
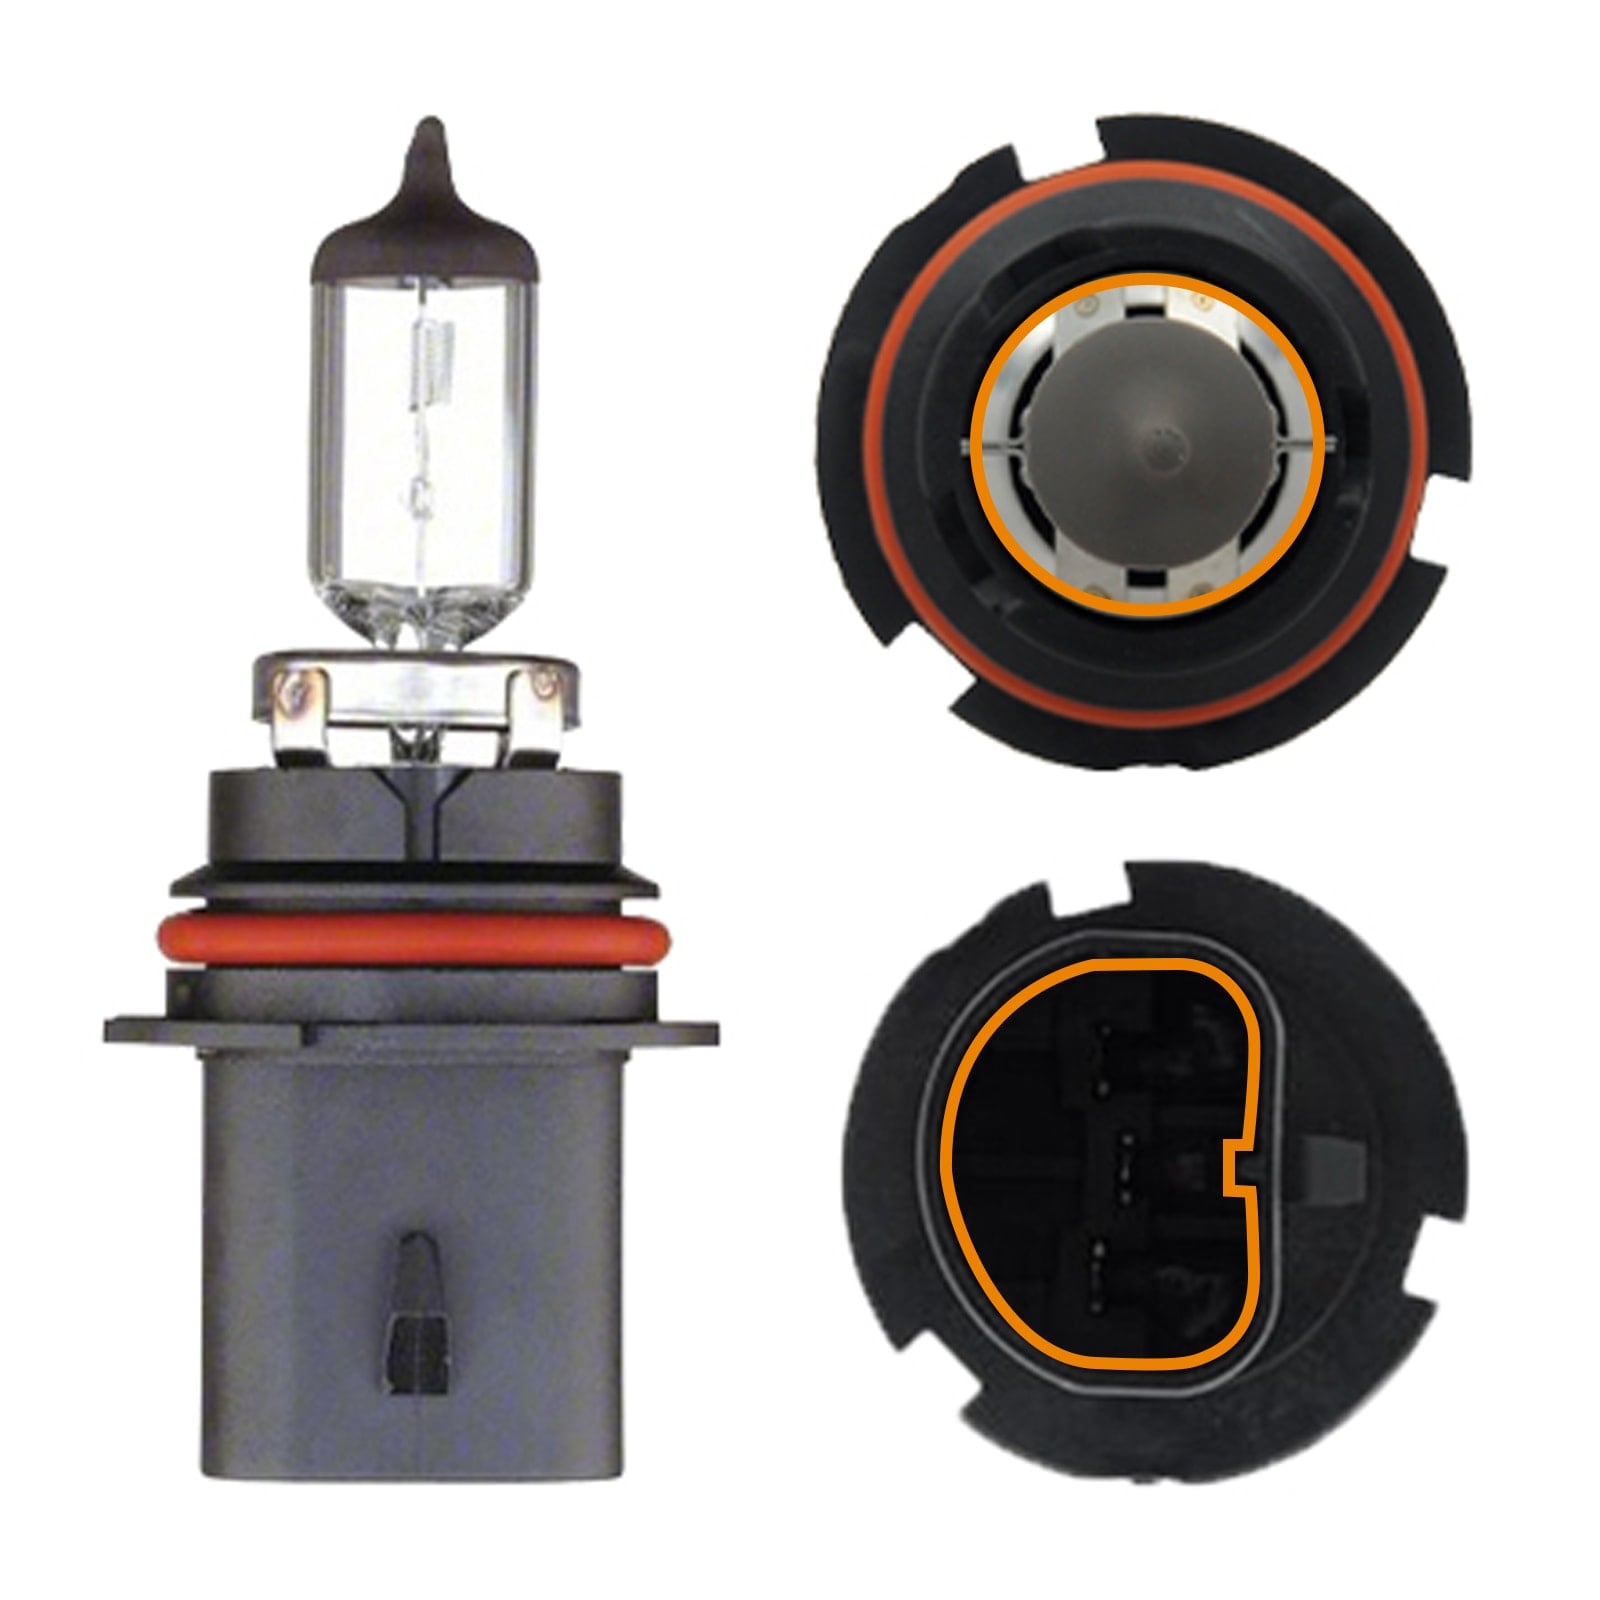
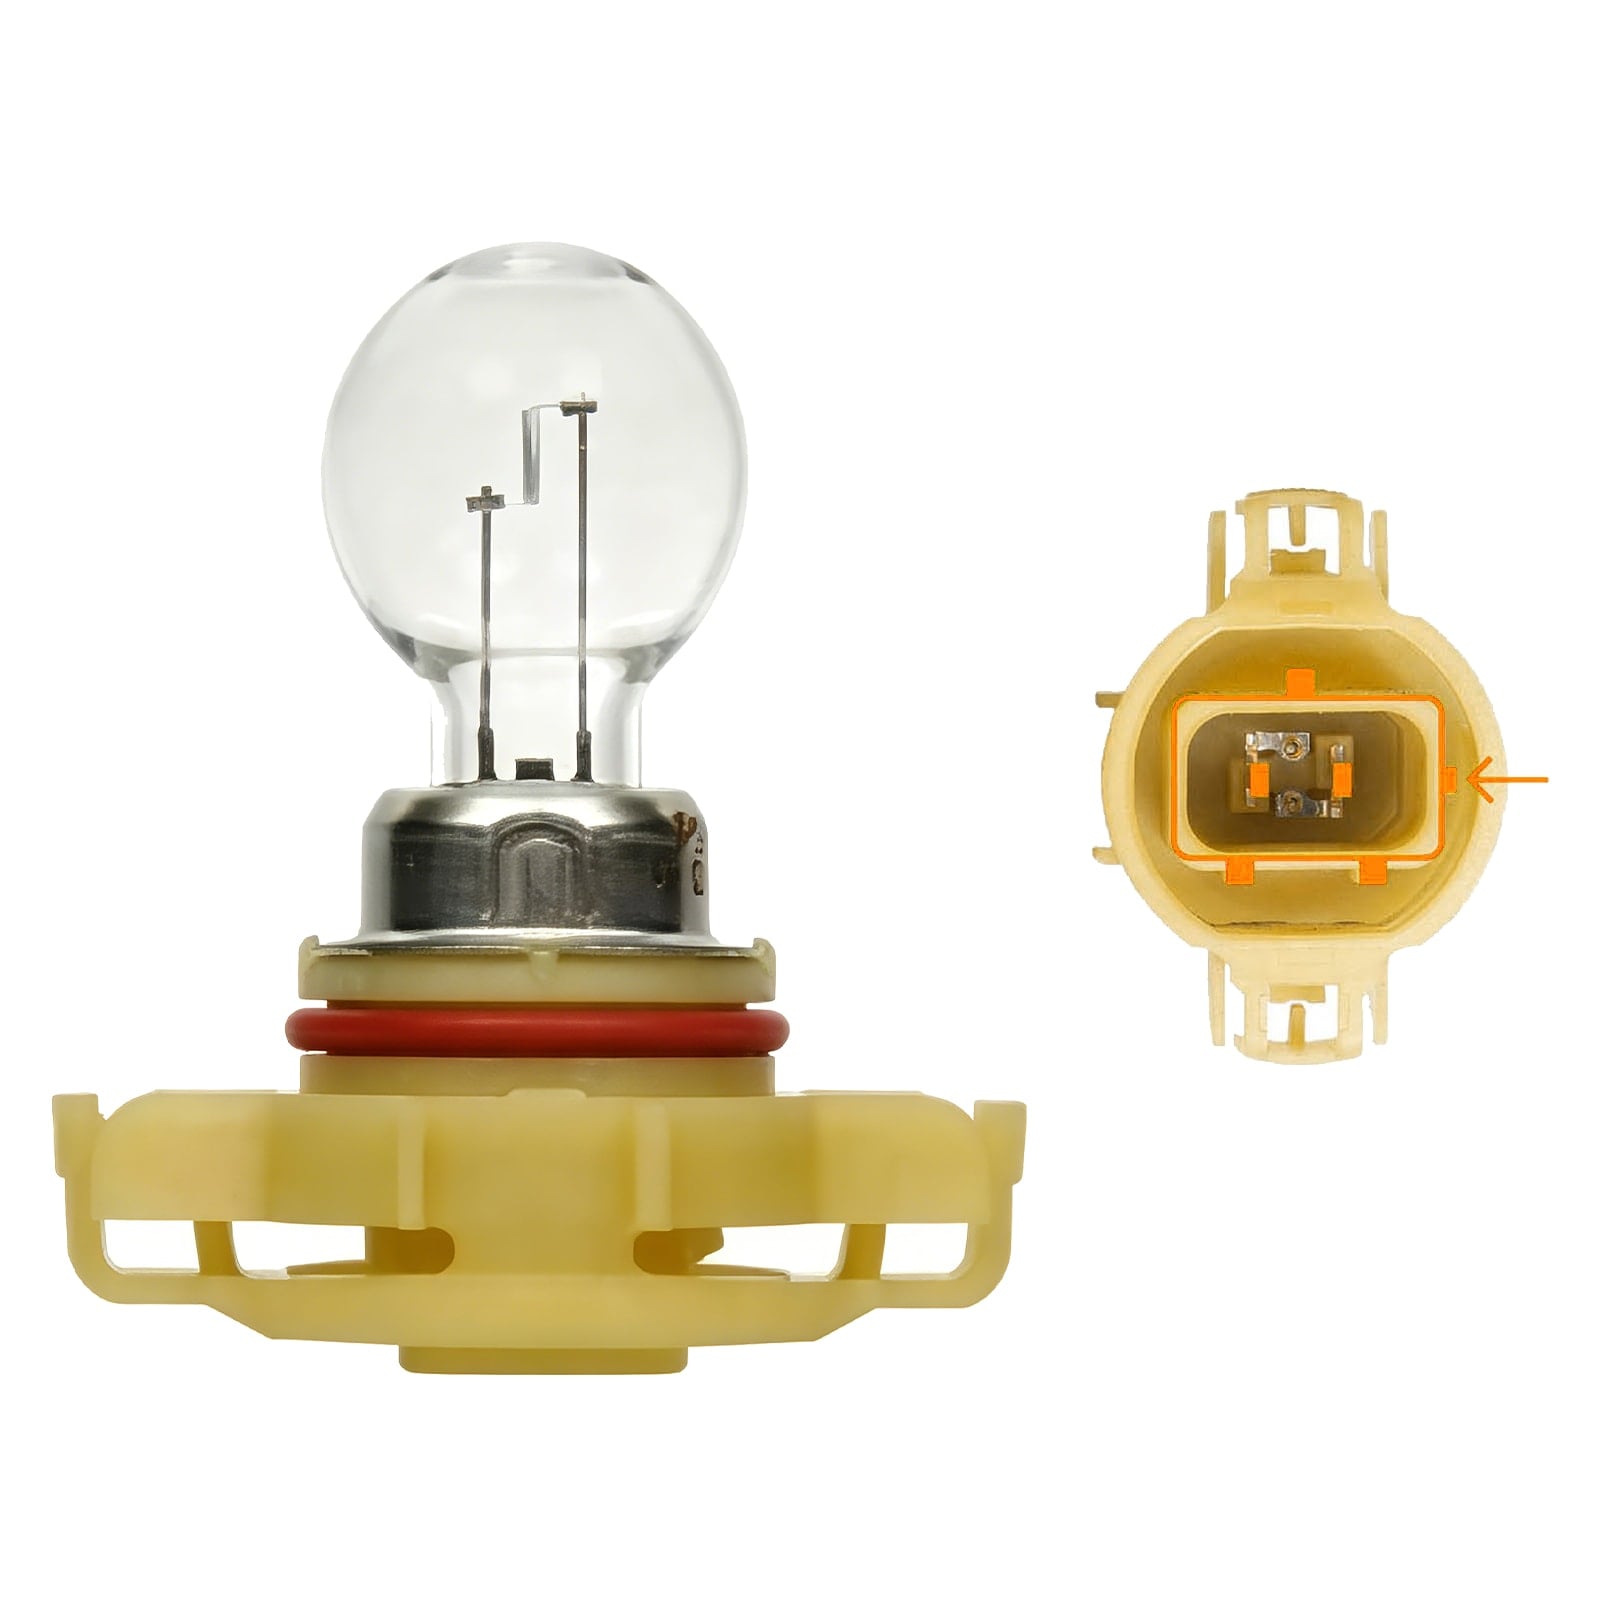


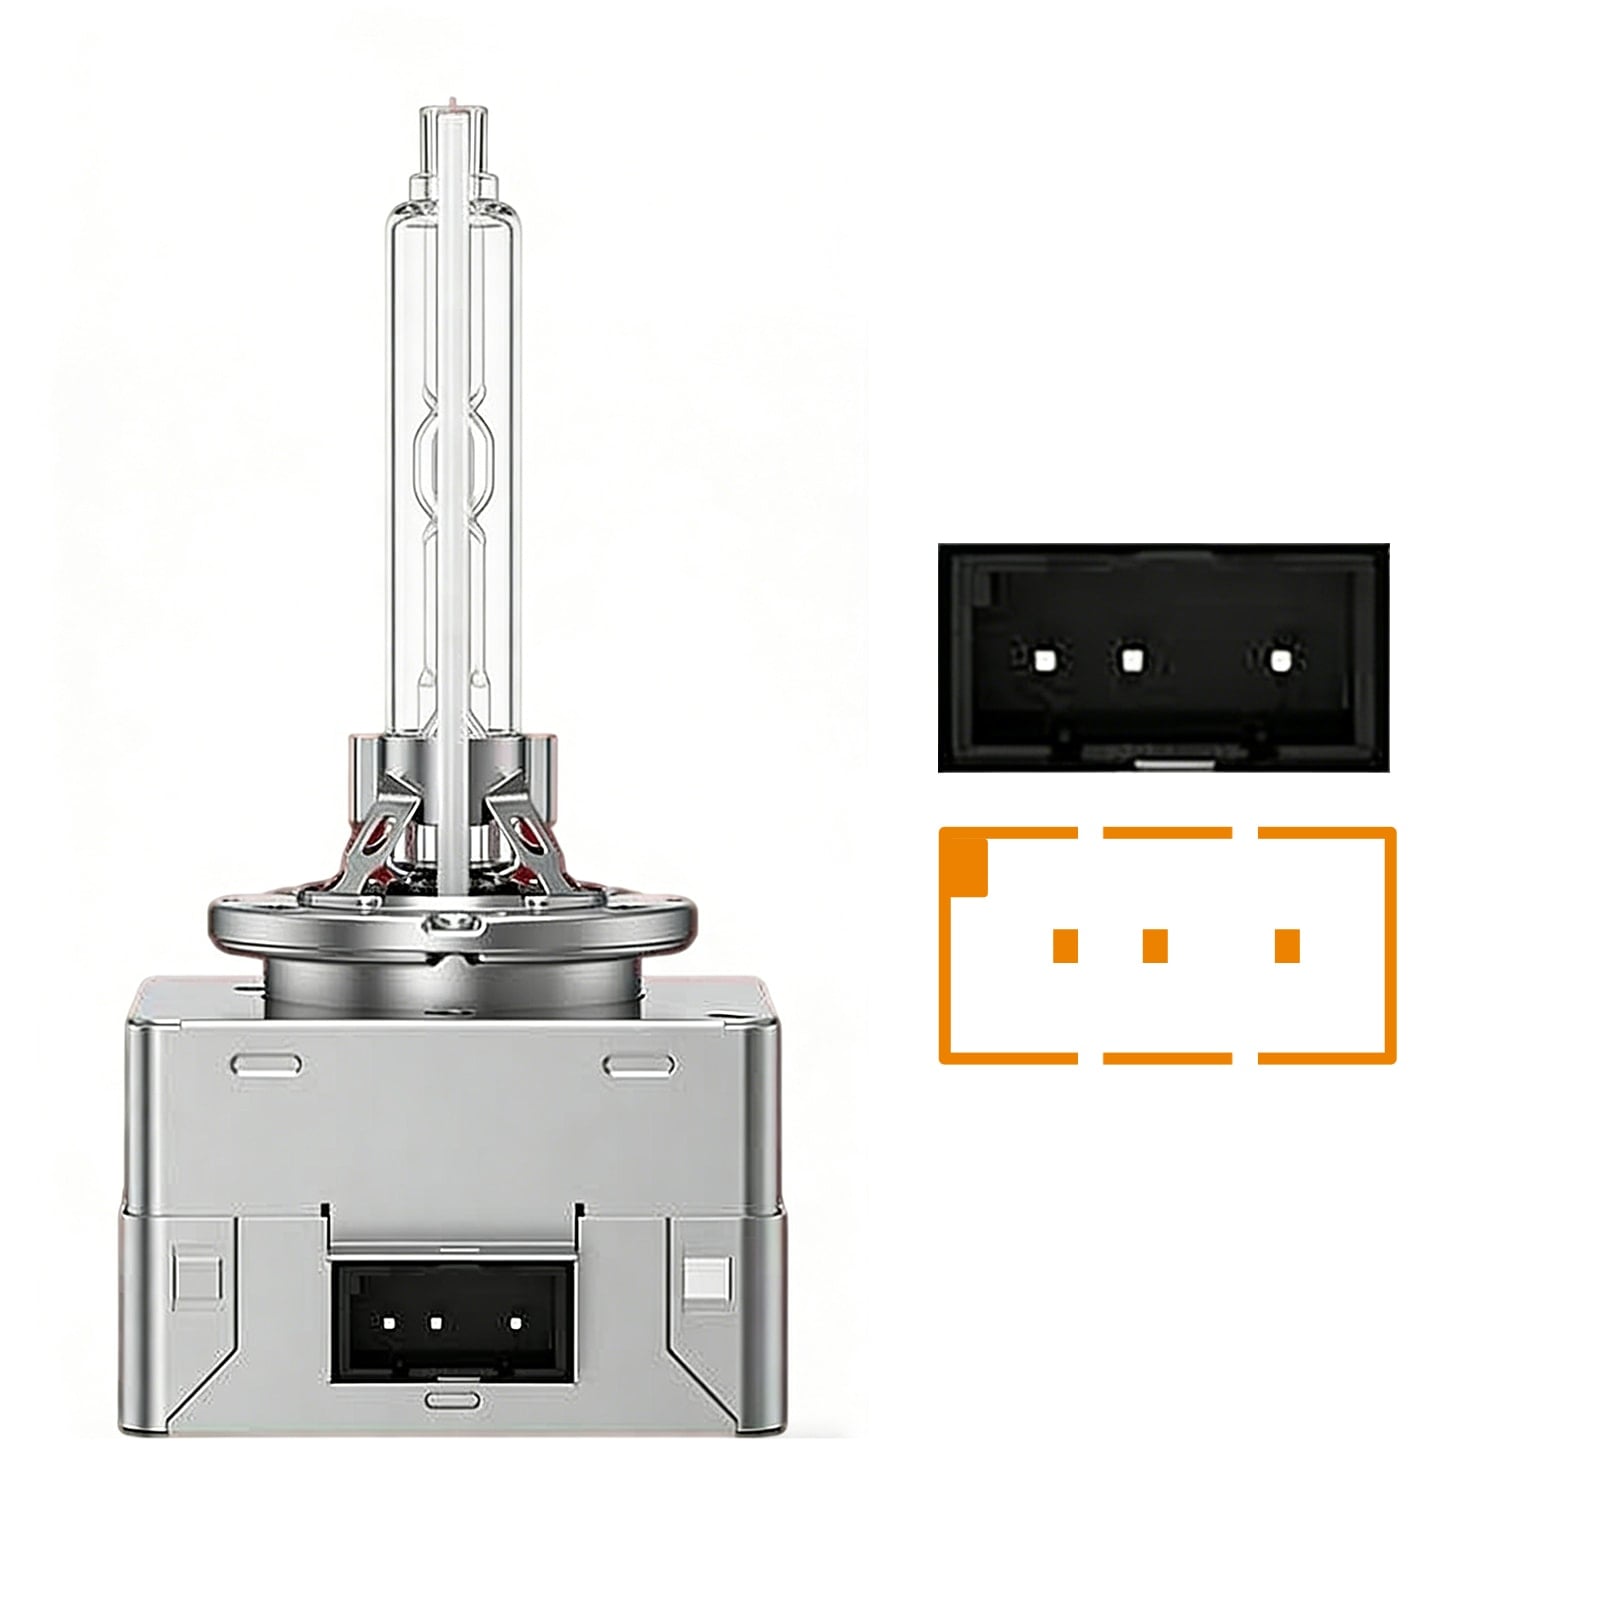


The 9007 HB5 is a dual-filament halogen bulb designed to serve both high and low beam functions in a single unit, commonly used in various vehicle models.
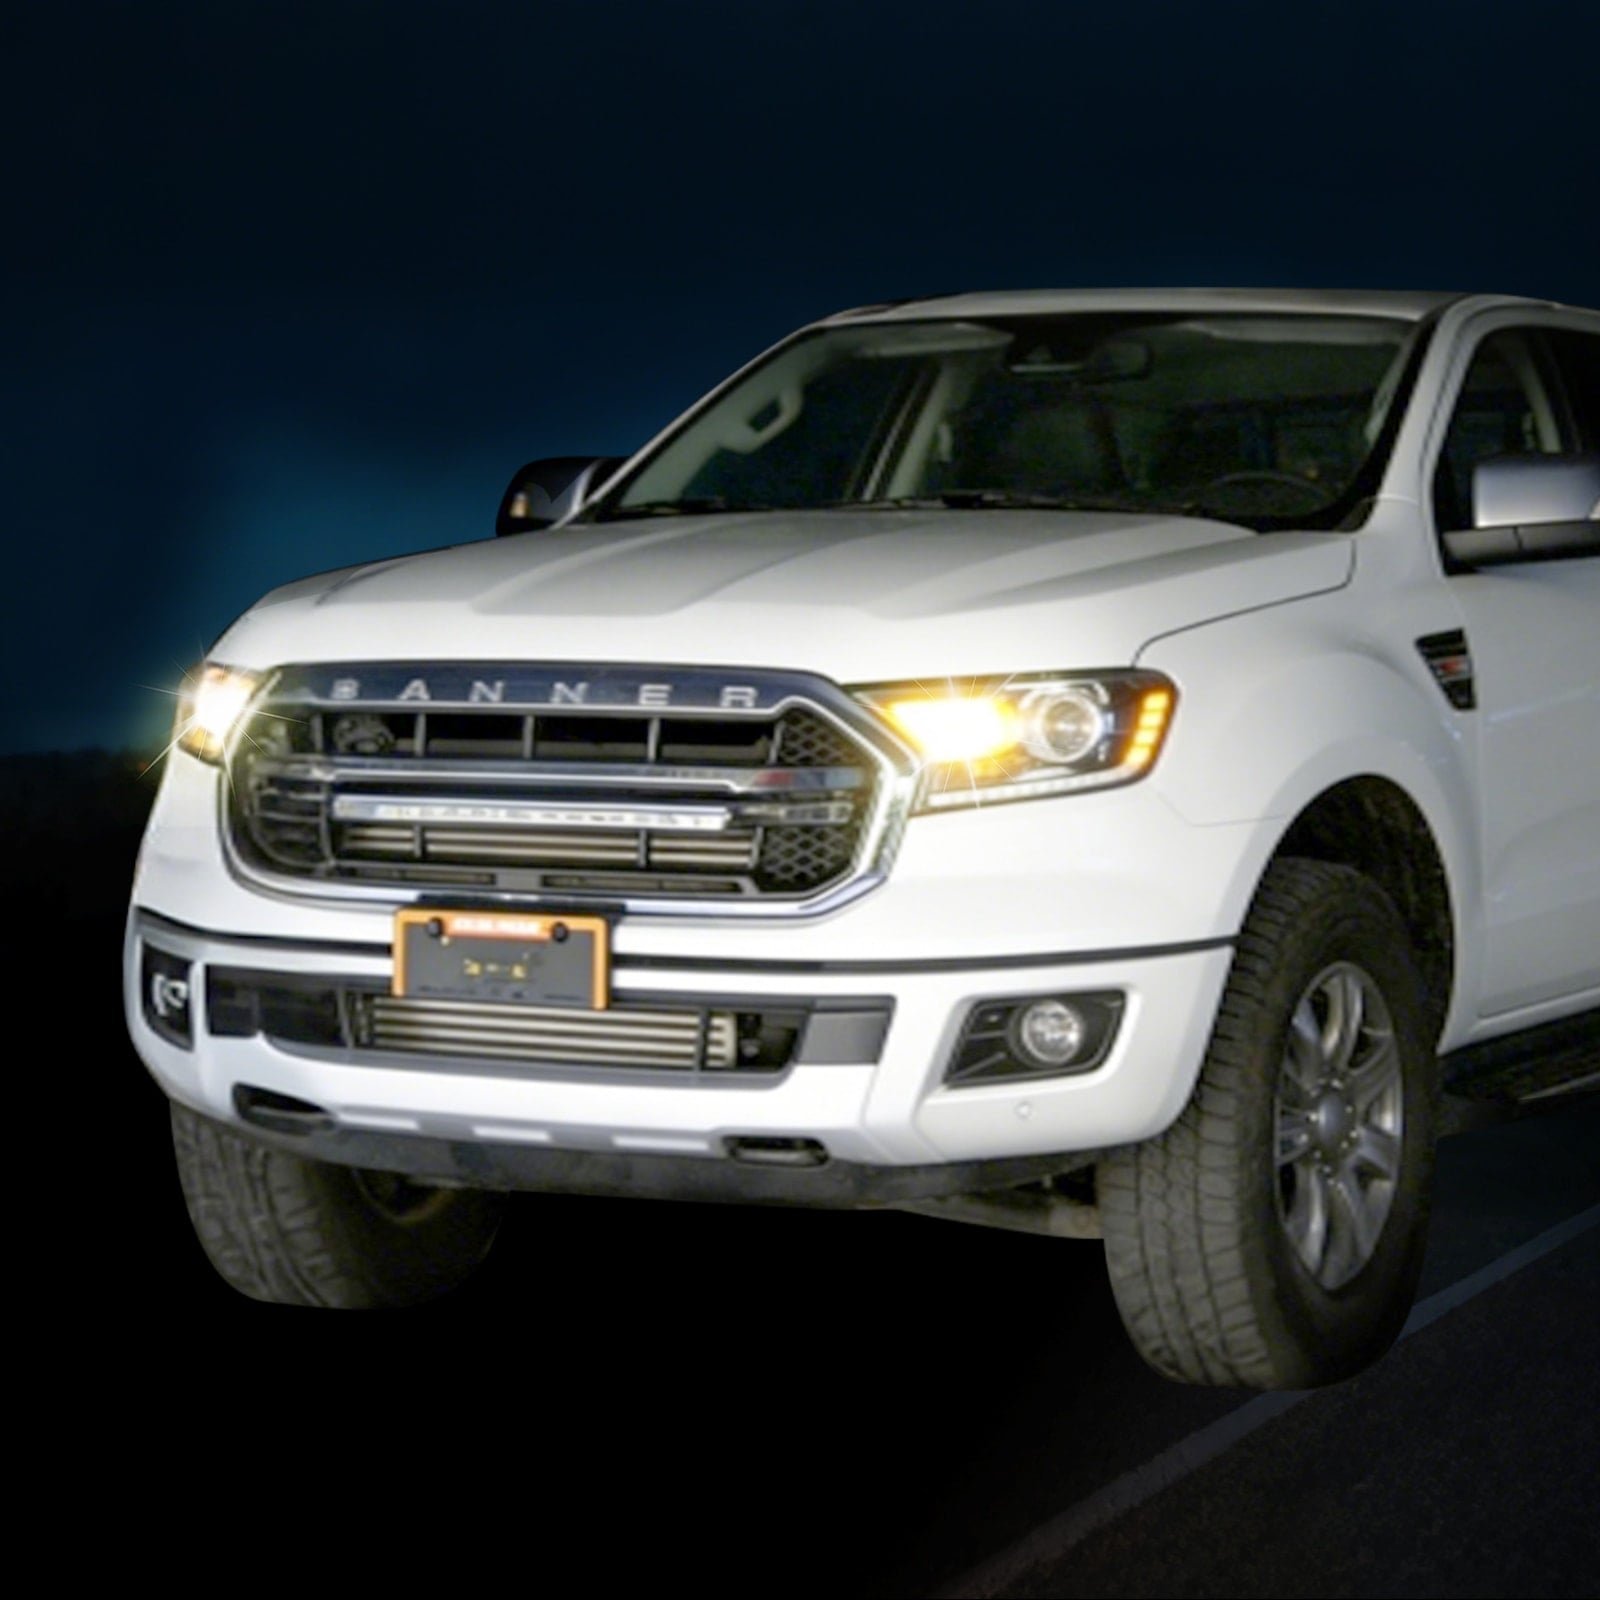
Upgrading your vehicle’s headlights from 9007 HB5 halogen bulbs to LED bulbs is a smart move that improves visibility, energy efficiency, and the overall appearance of your car's lighting system. This guide provides a detailed step-by-step process for safely and effectively installing 9007 LED headlight bulbs.
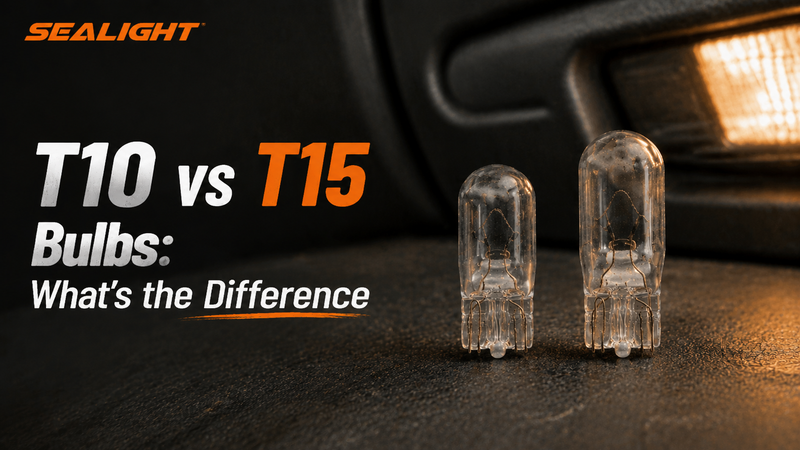
Further reading: 9007 Headlight Bulb Guide – Learn the Basics and Discover Top LED Options.
Tools and Materials Needed
Before beginning your installation, make sure you have the following tools and materials ready:
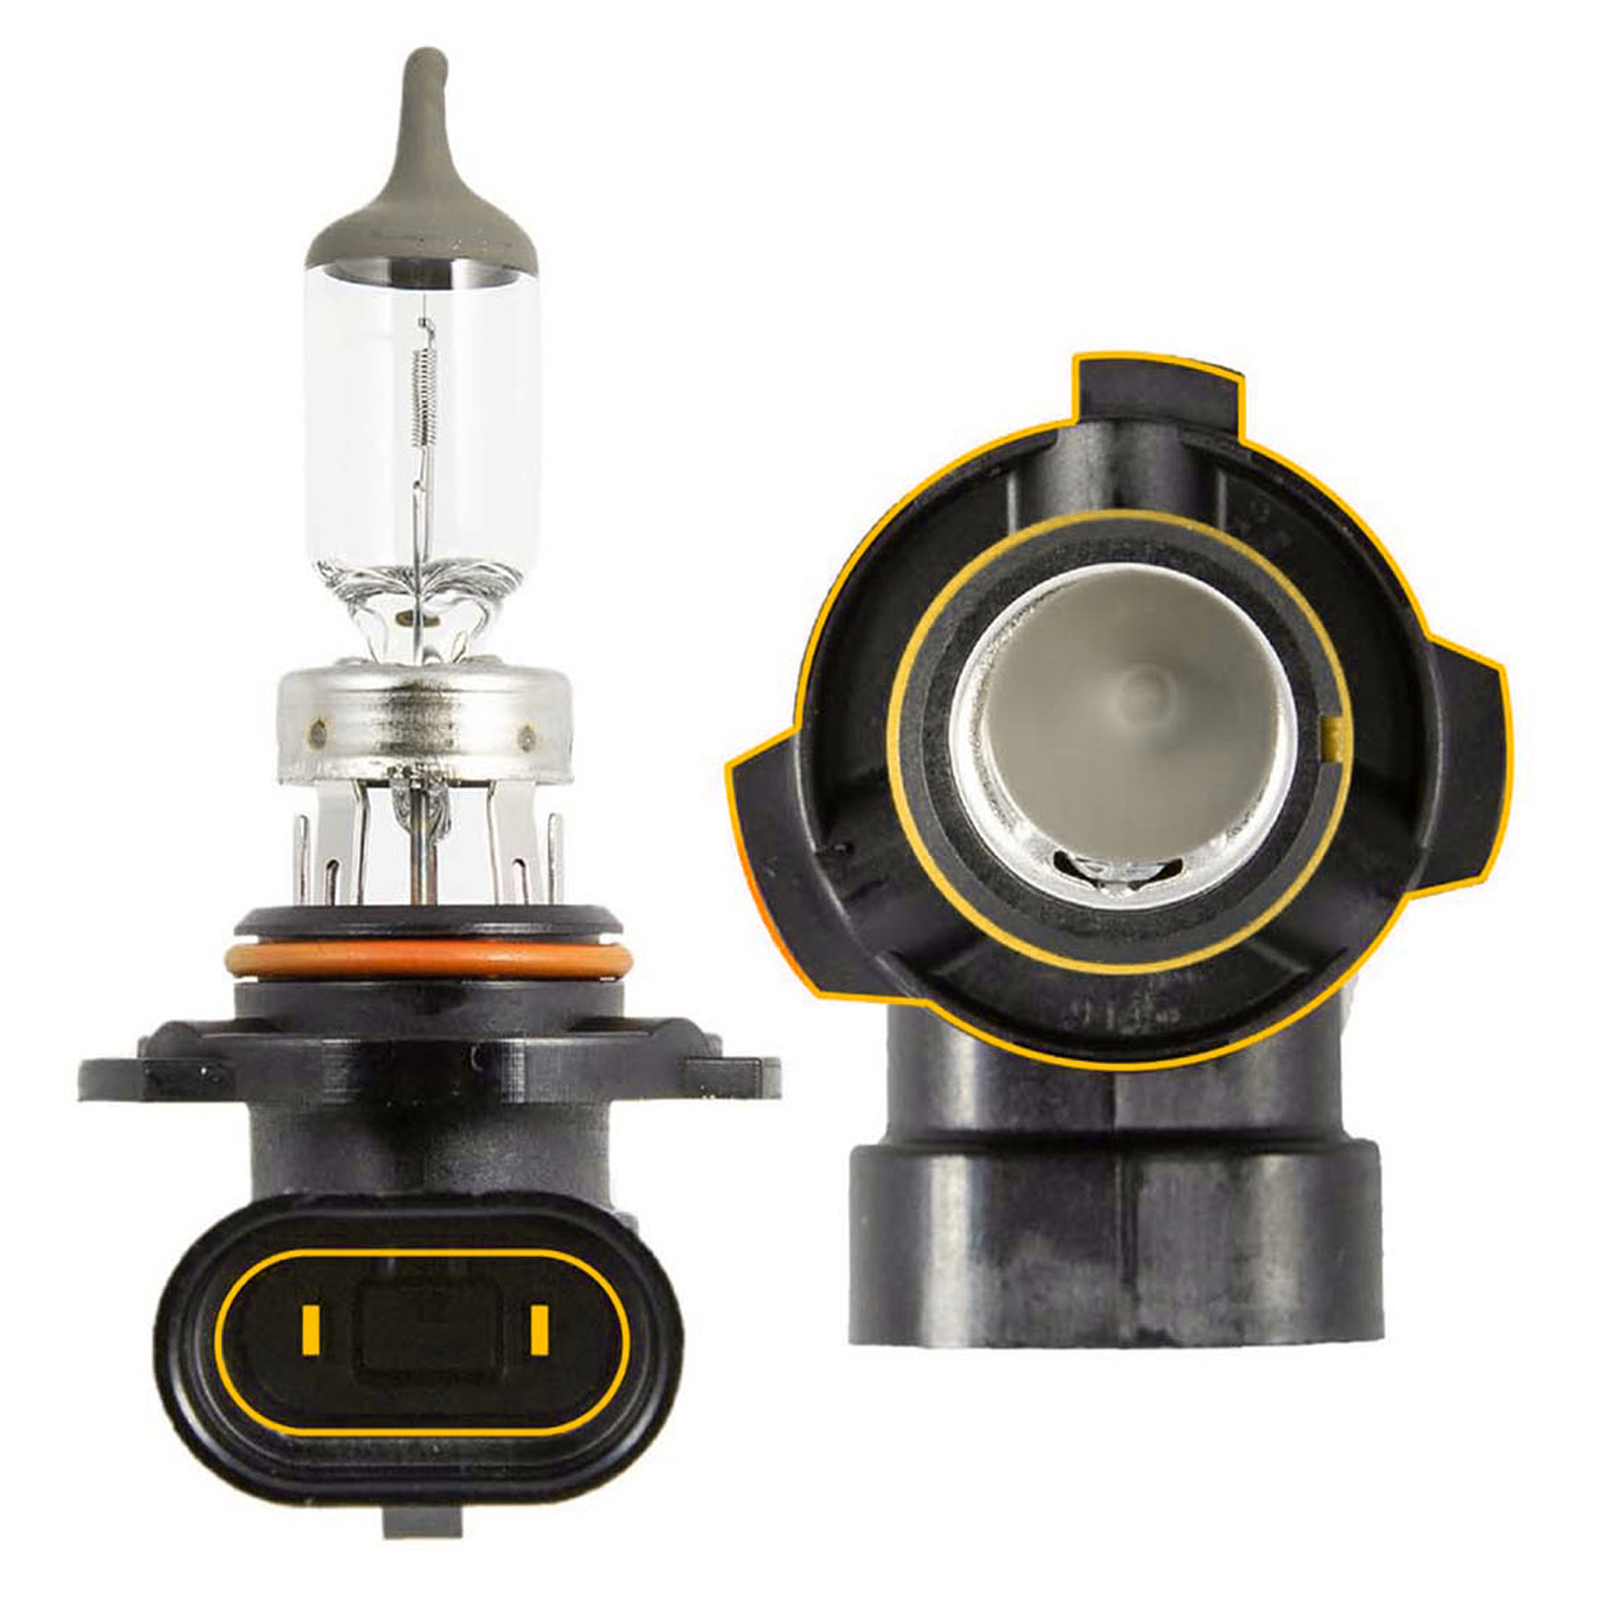
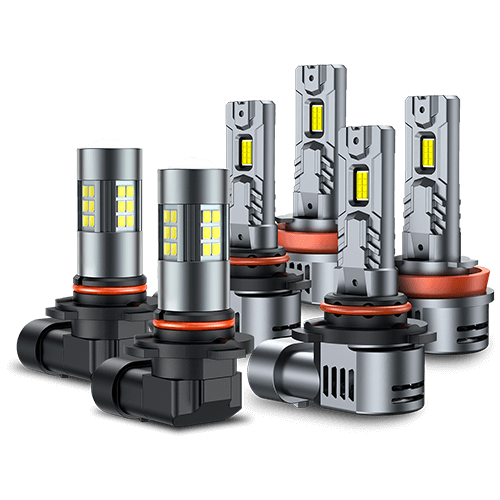
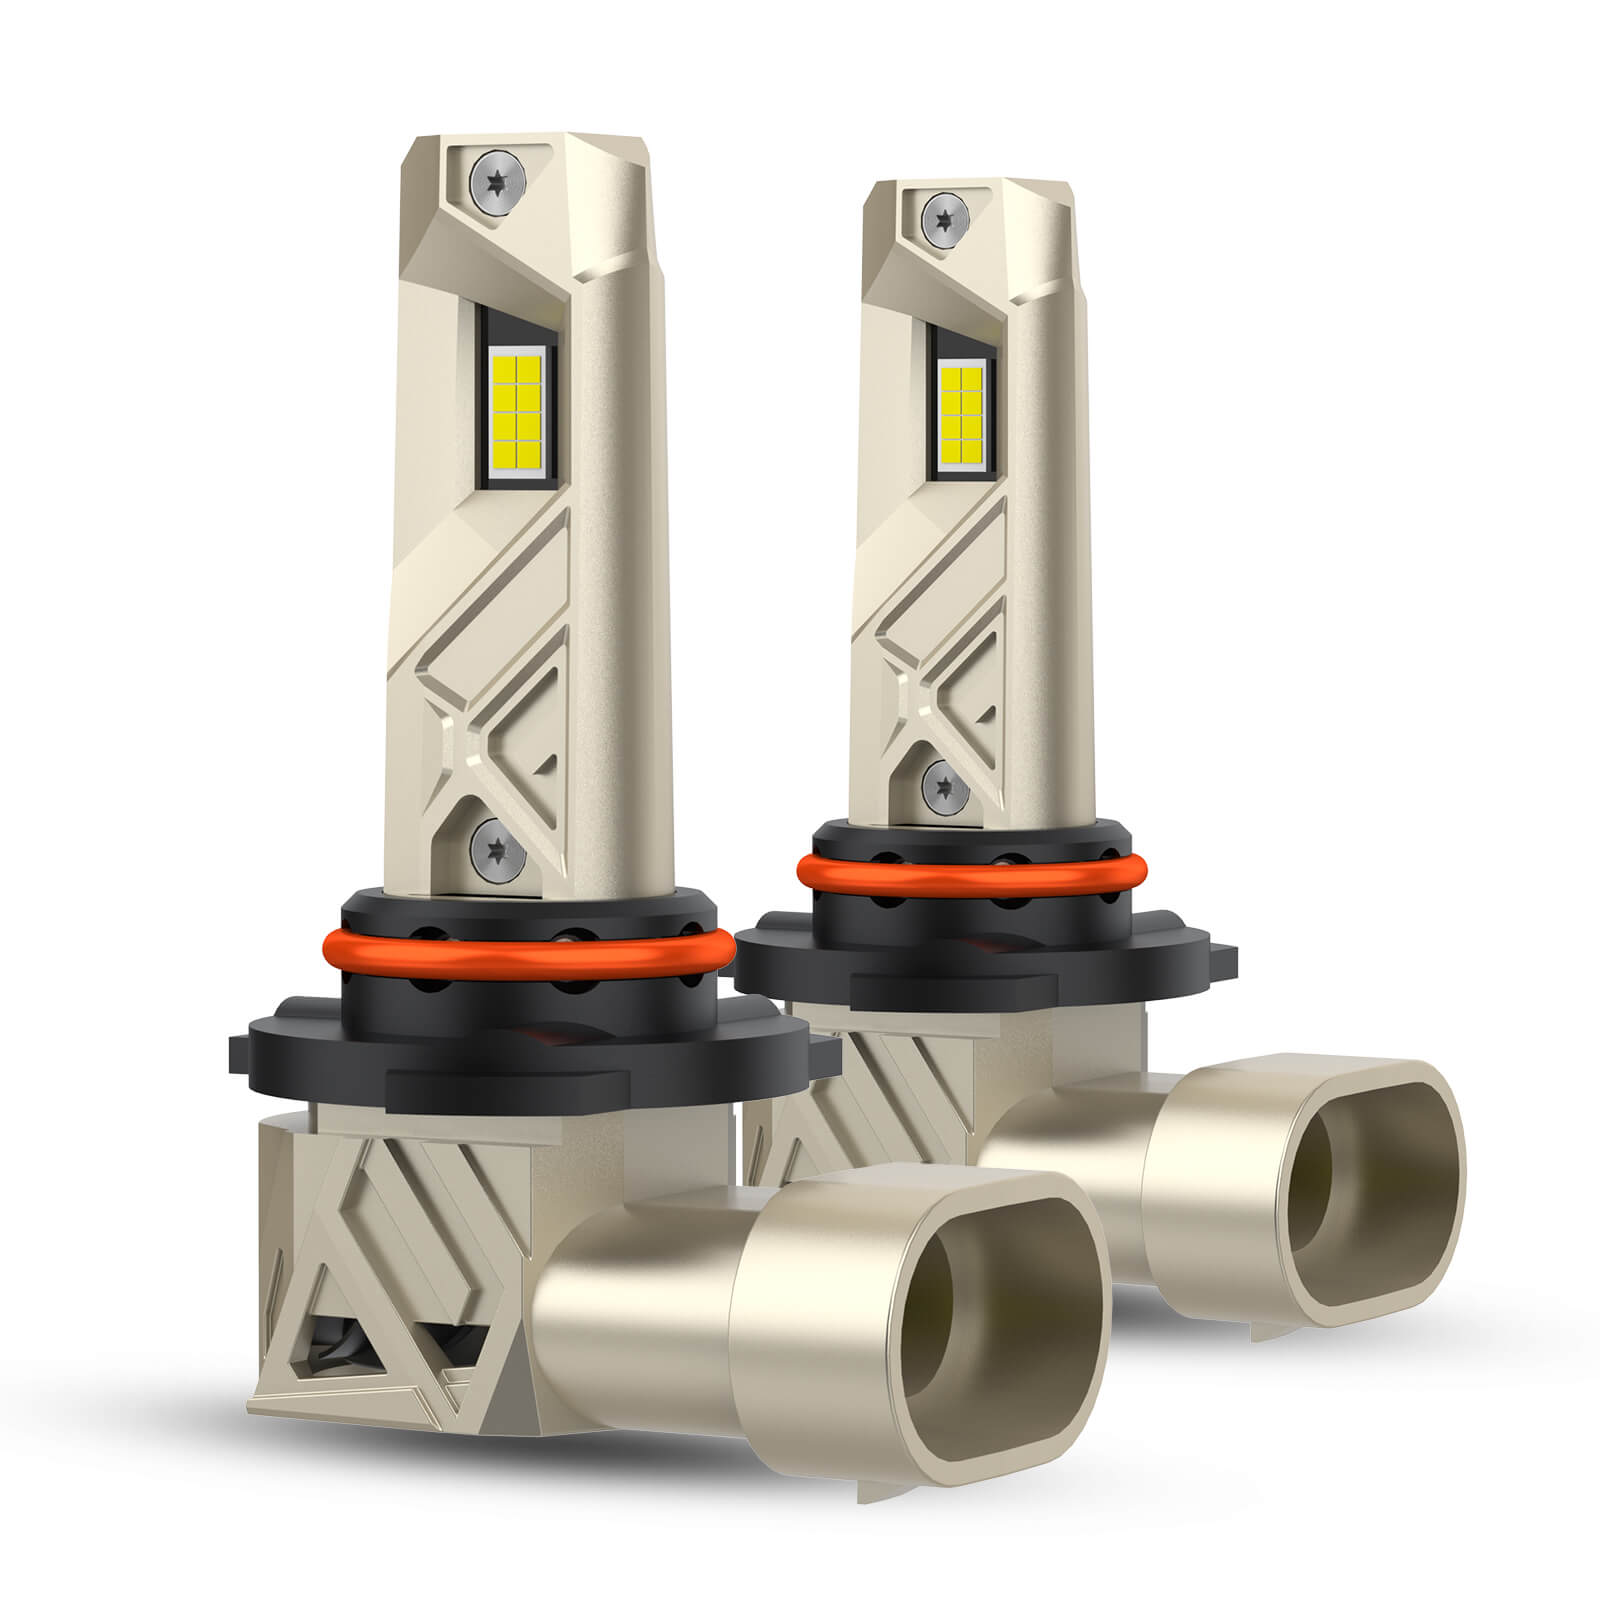
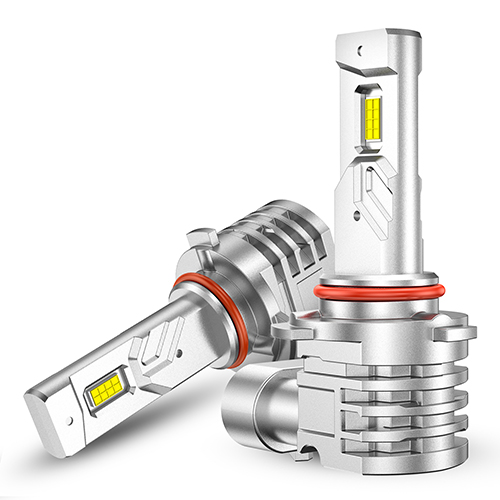
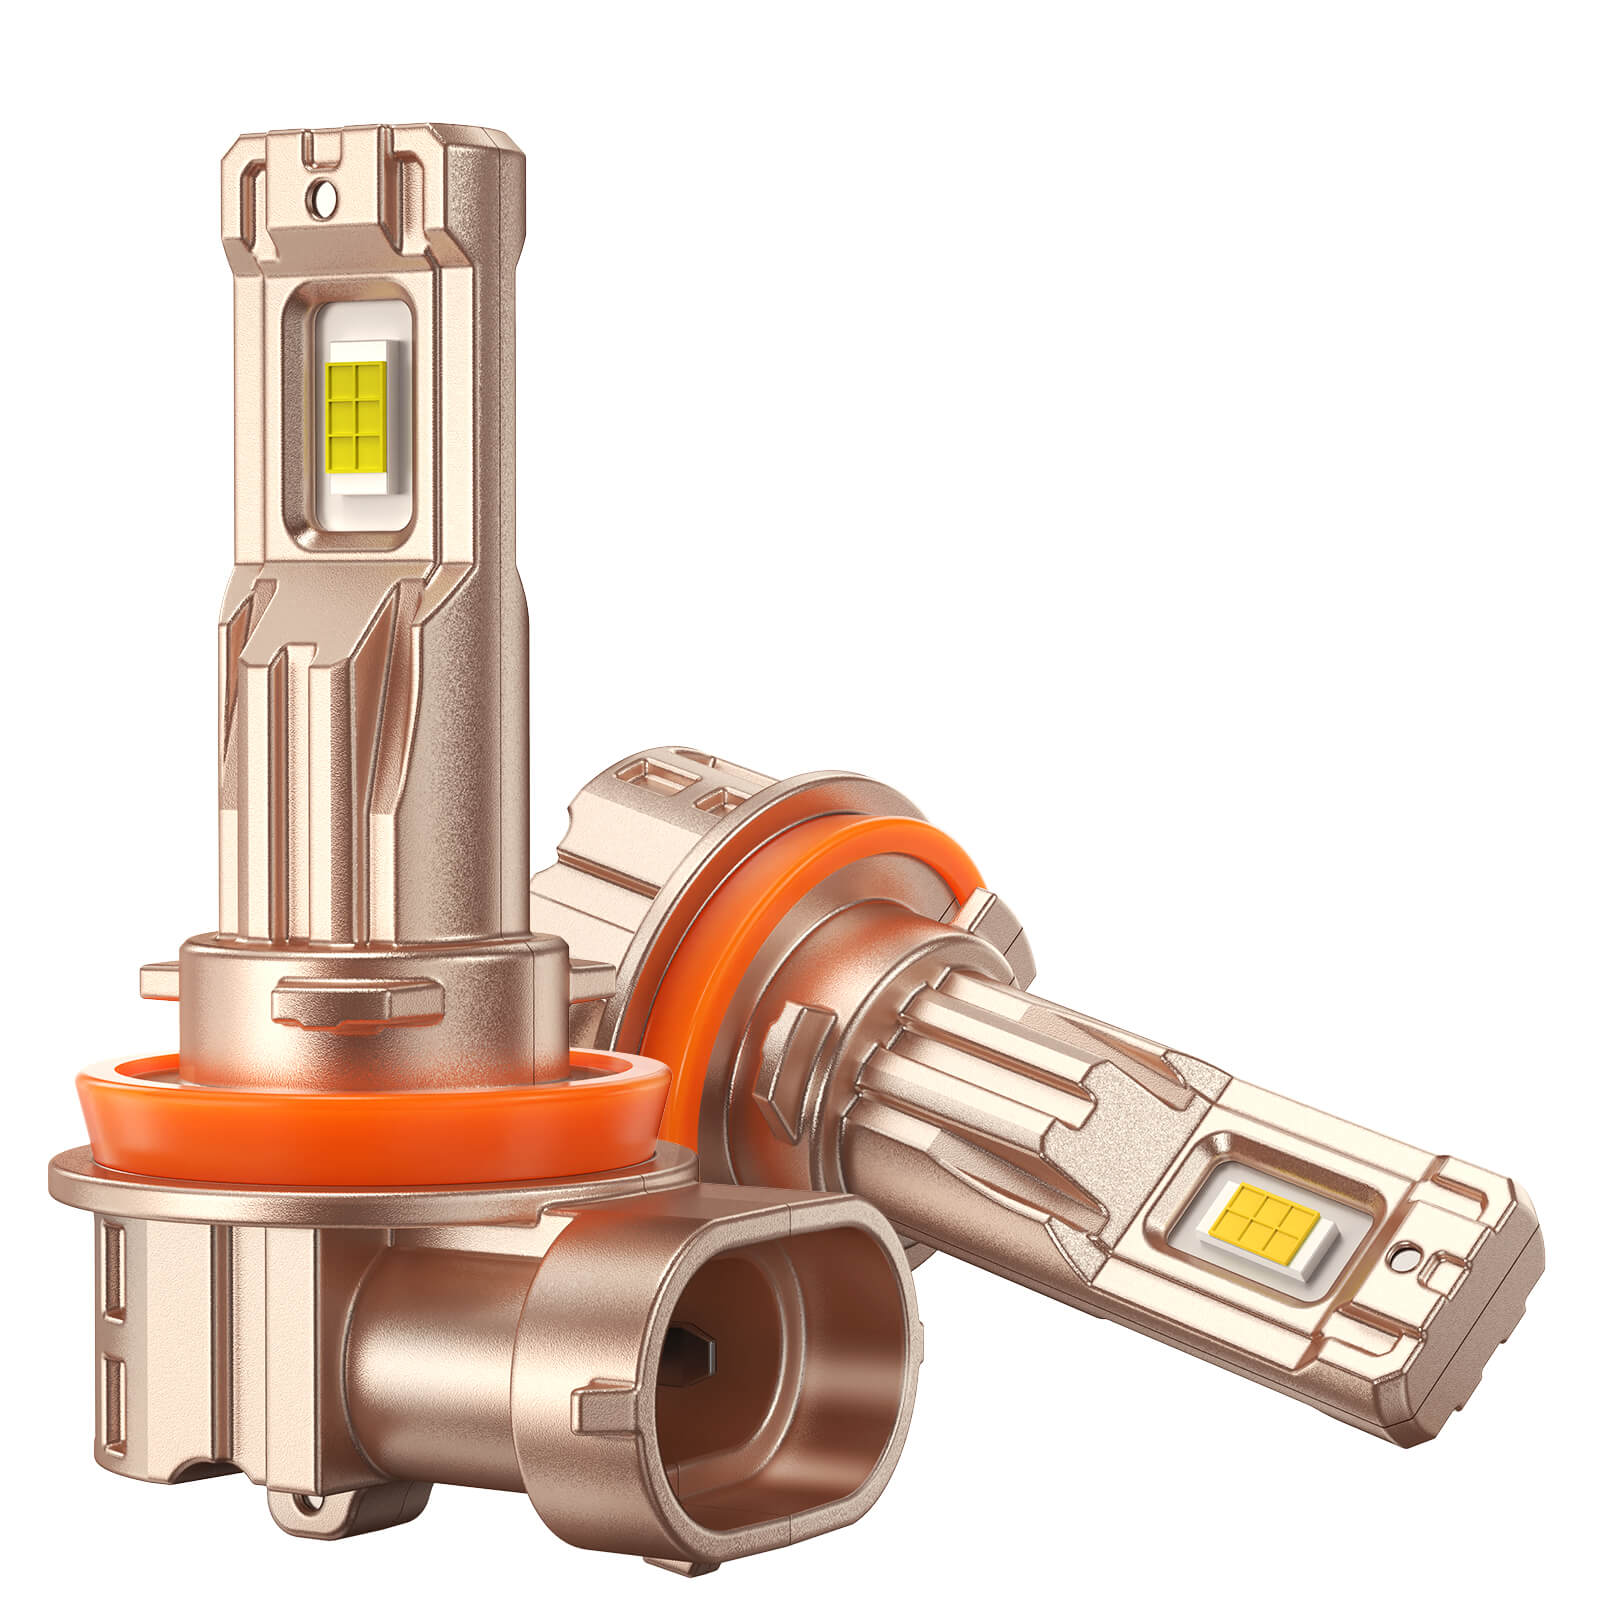
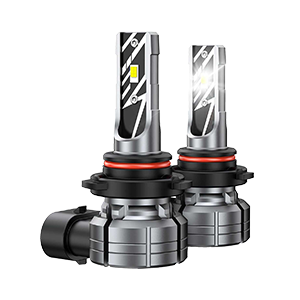
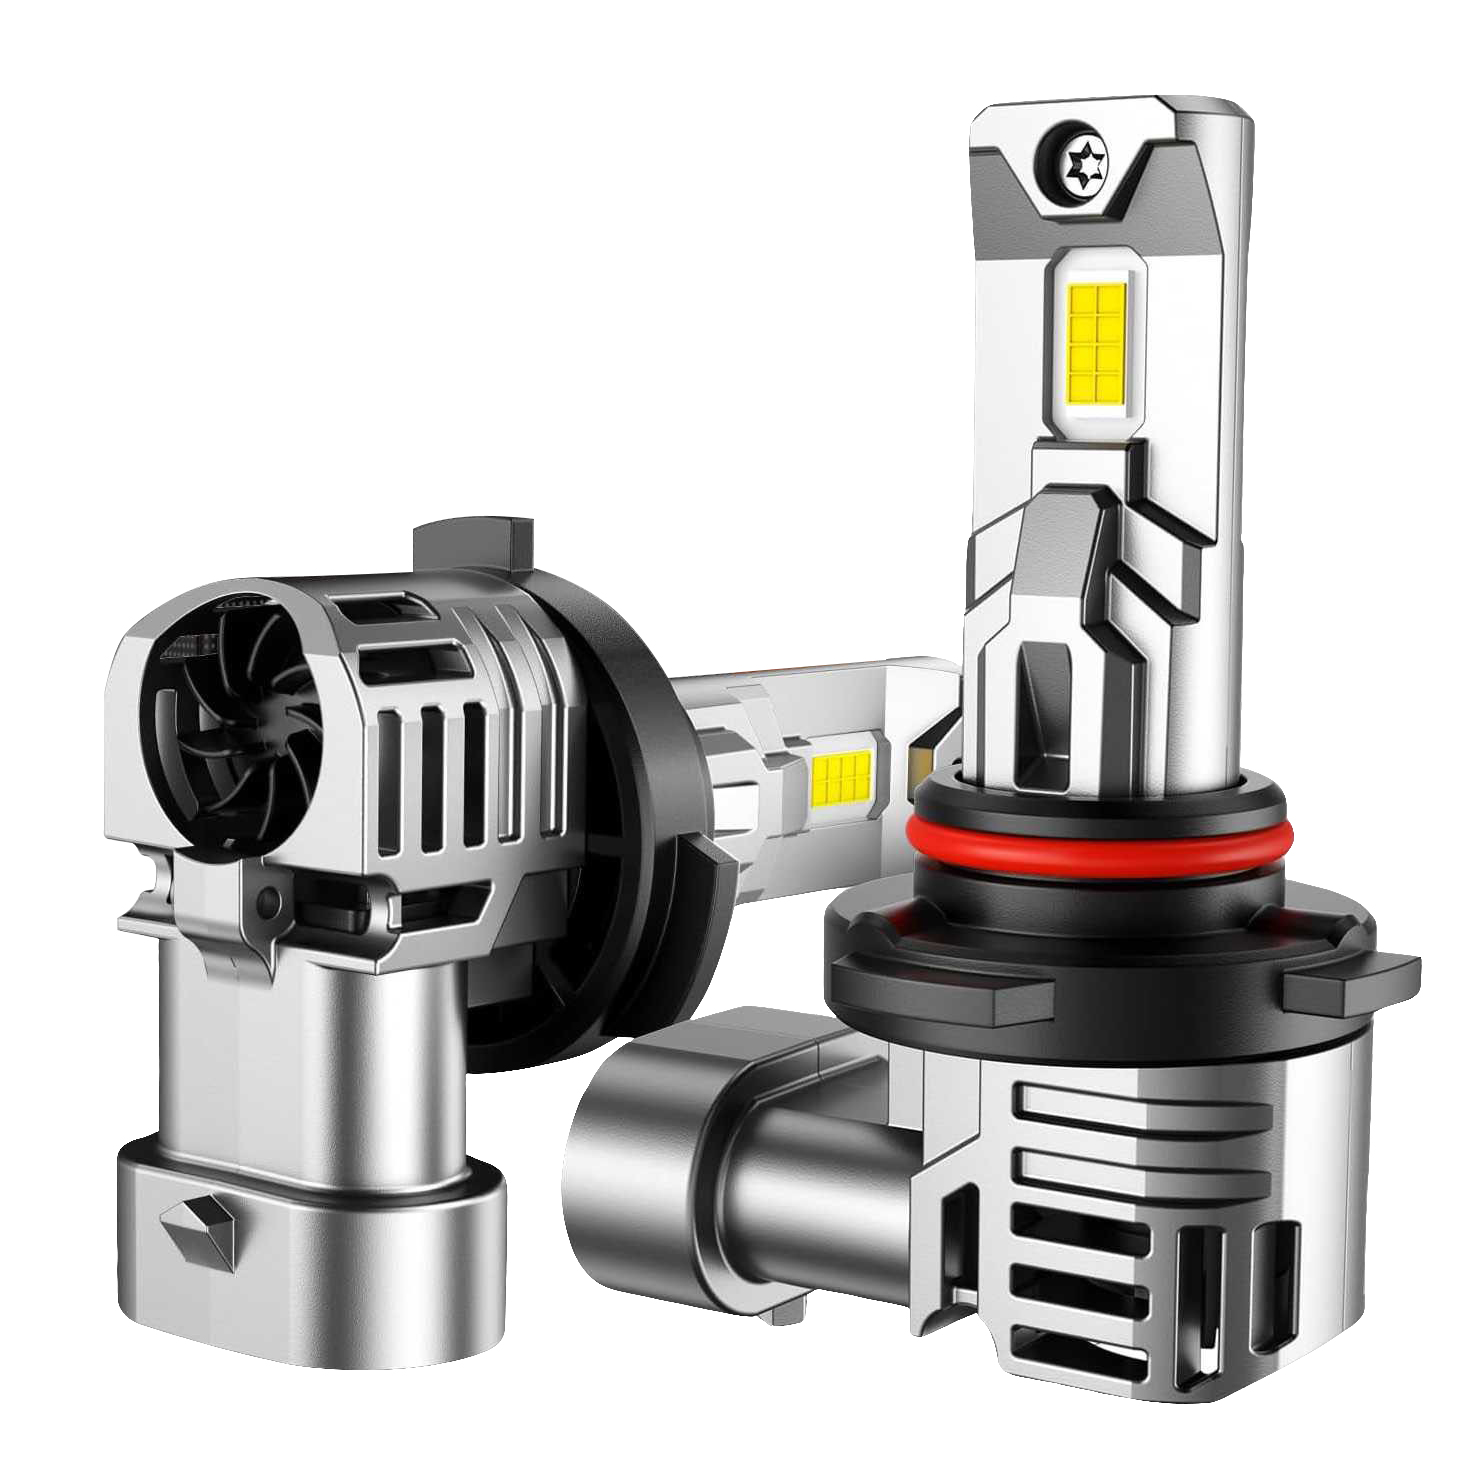
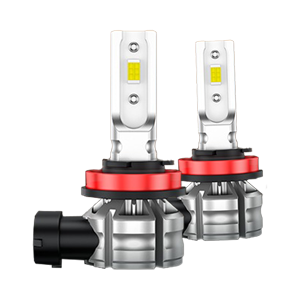
A pair of 9007 LED headlight bulbs: Choose a reliable automotive lighting brand like SEALIGHT for better performance and longevity.
Protective gloves: Prevent oils from your hands from contaminating the bulbs.
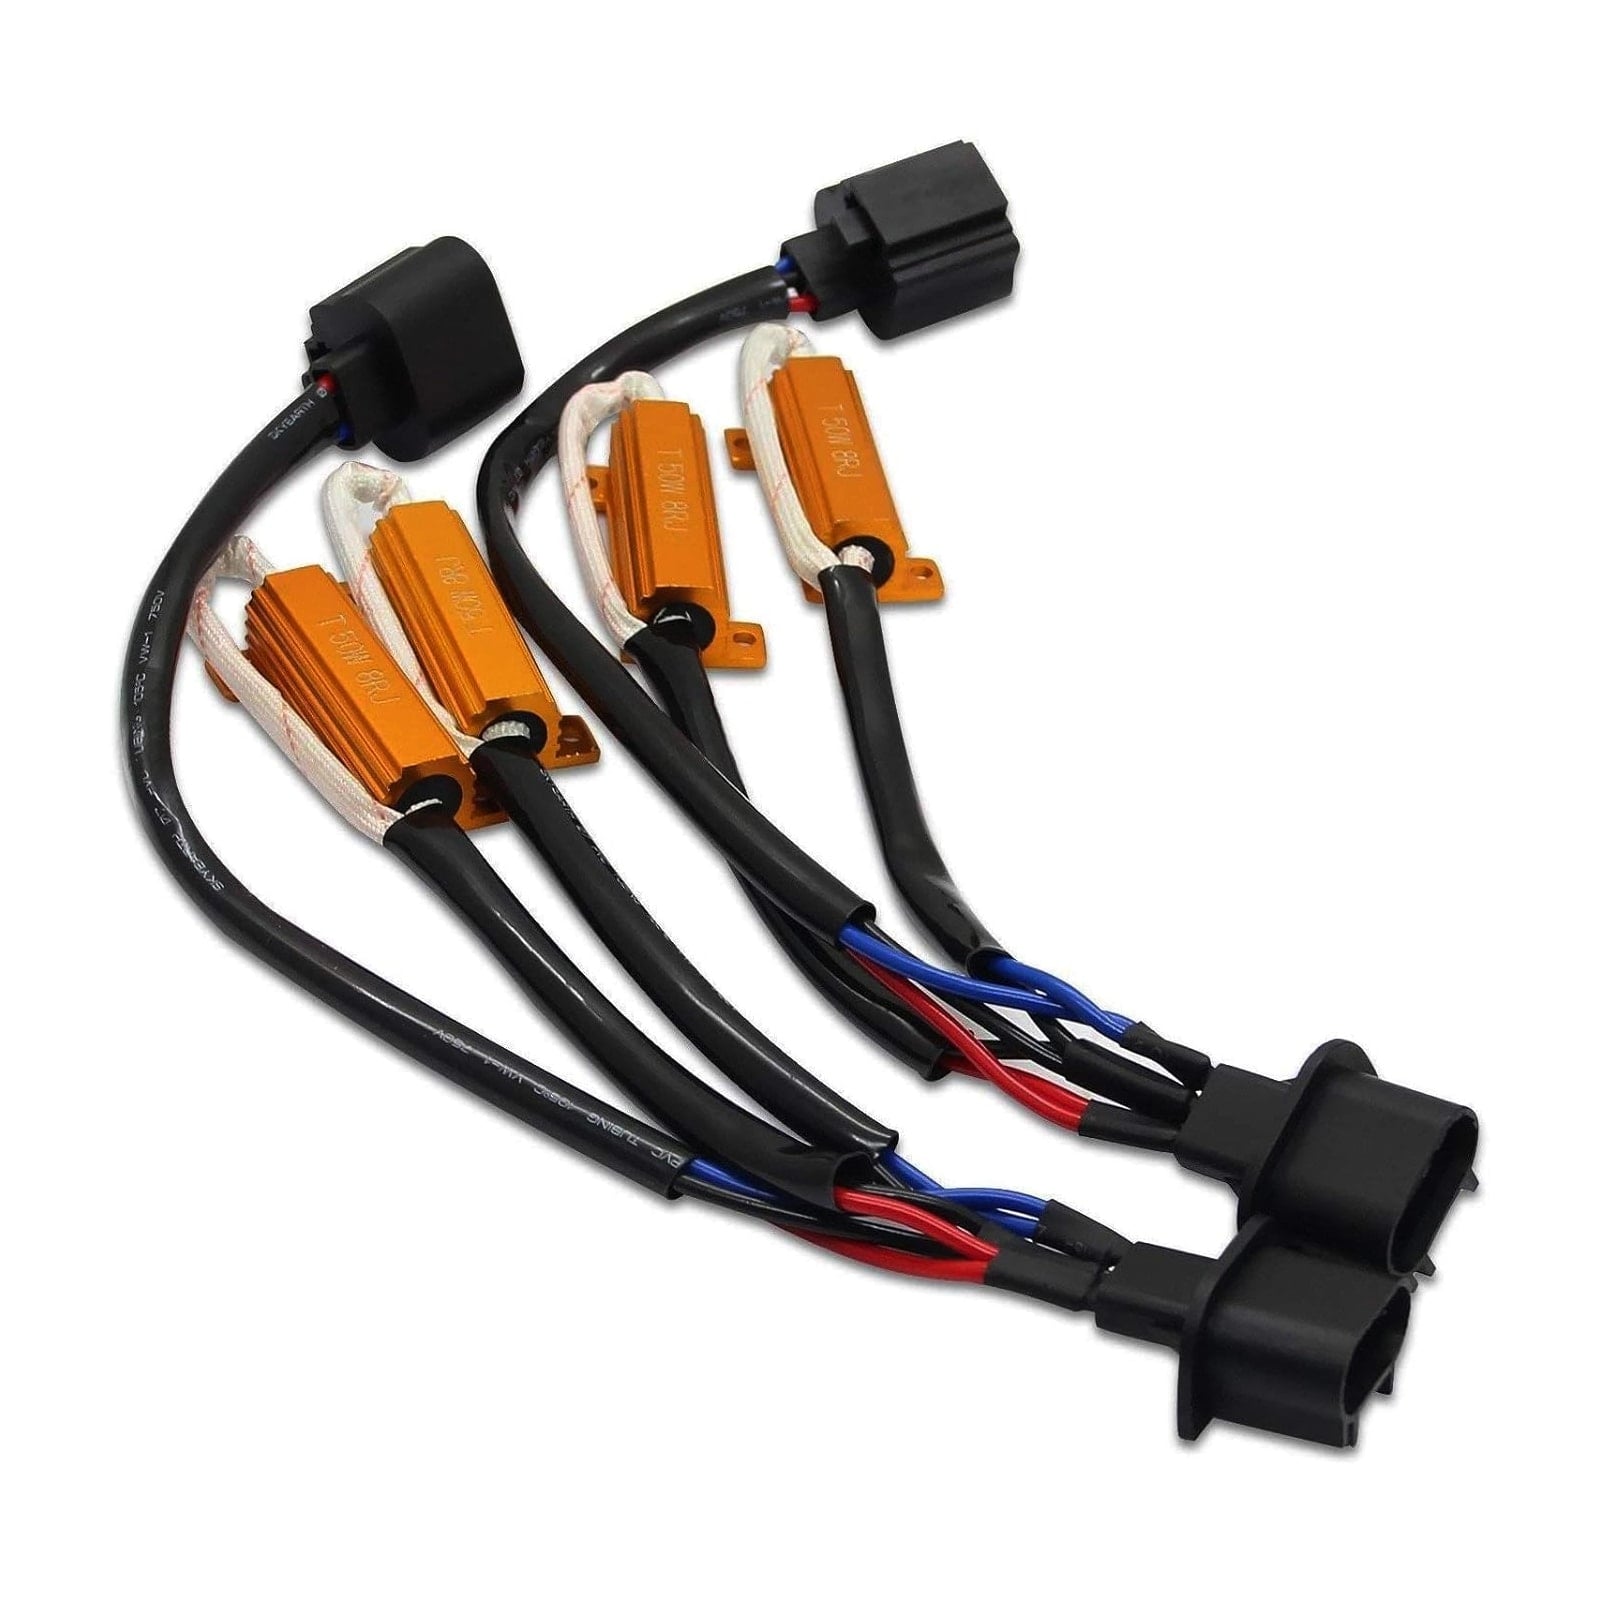
Zip ties (optional): Helps secure wires neatly after installation.
Flathead screwdriver (optional): Useful for loosening or adjusting components.
Safety glasses (optional): Additional protection during the installation process.
Pre-Installation Preparations
To ensure a smooth installation process and avoid potential damage, follow these preparatory steps:
Turn Off the Vehicle: Ensure the vehicle is completely off, and remove the key from the ignition. This step prevents electrical hazards during the installation.
Allow the Headlights to Cool: If the headlights were recently used, allow them to cool down to avoid burns.
Wear Protective Gloves: Handle the bulbs with gloves to avoid transferring oils or dirt, which can reduce the lifespan of the bulbs.
Step-by-Step Installation Process
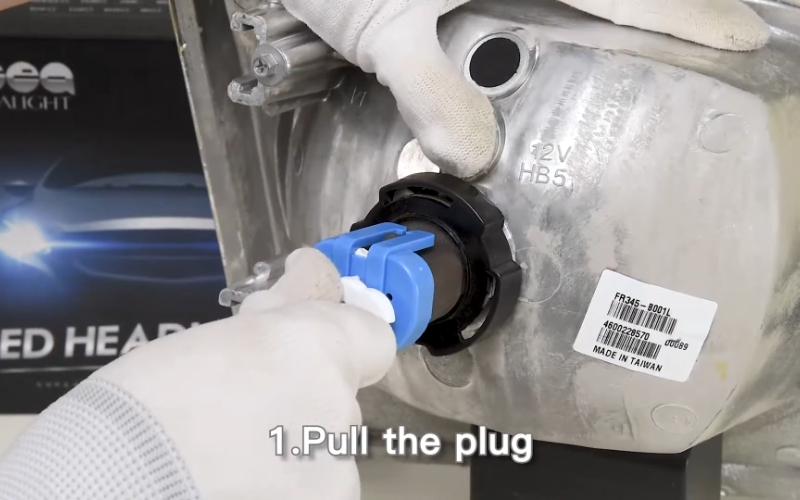
Step 1: Disconnect the Plug
Begin by locating the headlight assembly. Disconnect the three-wire plug attached to the back of the headlight housing.
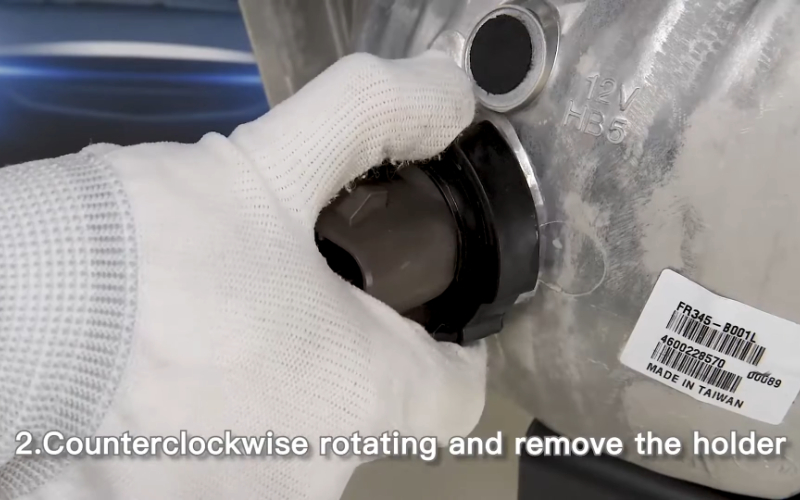
Step 2: Remove the Holder
Rotate the bulb holder counterclockwise and carefully remove it from the assembly. This exposes the old halogen bulb.
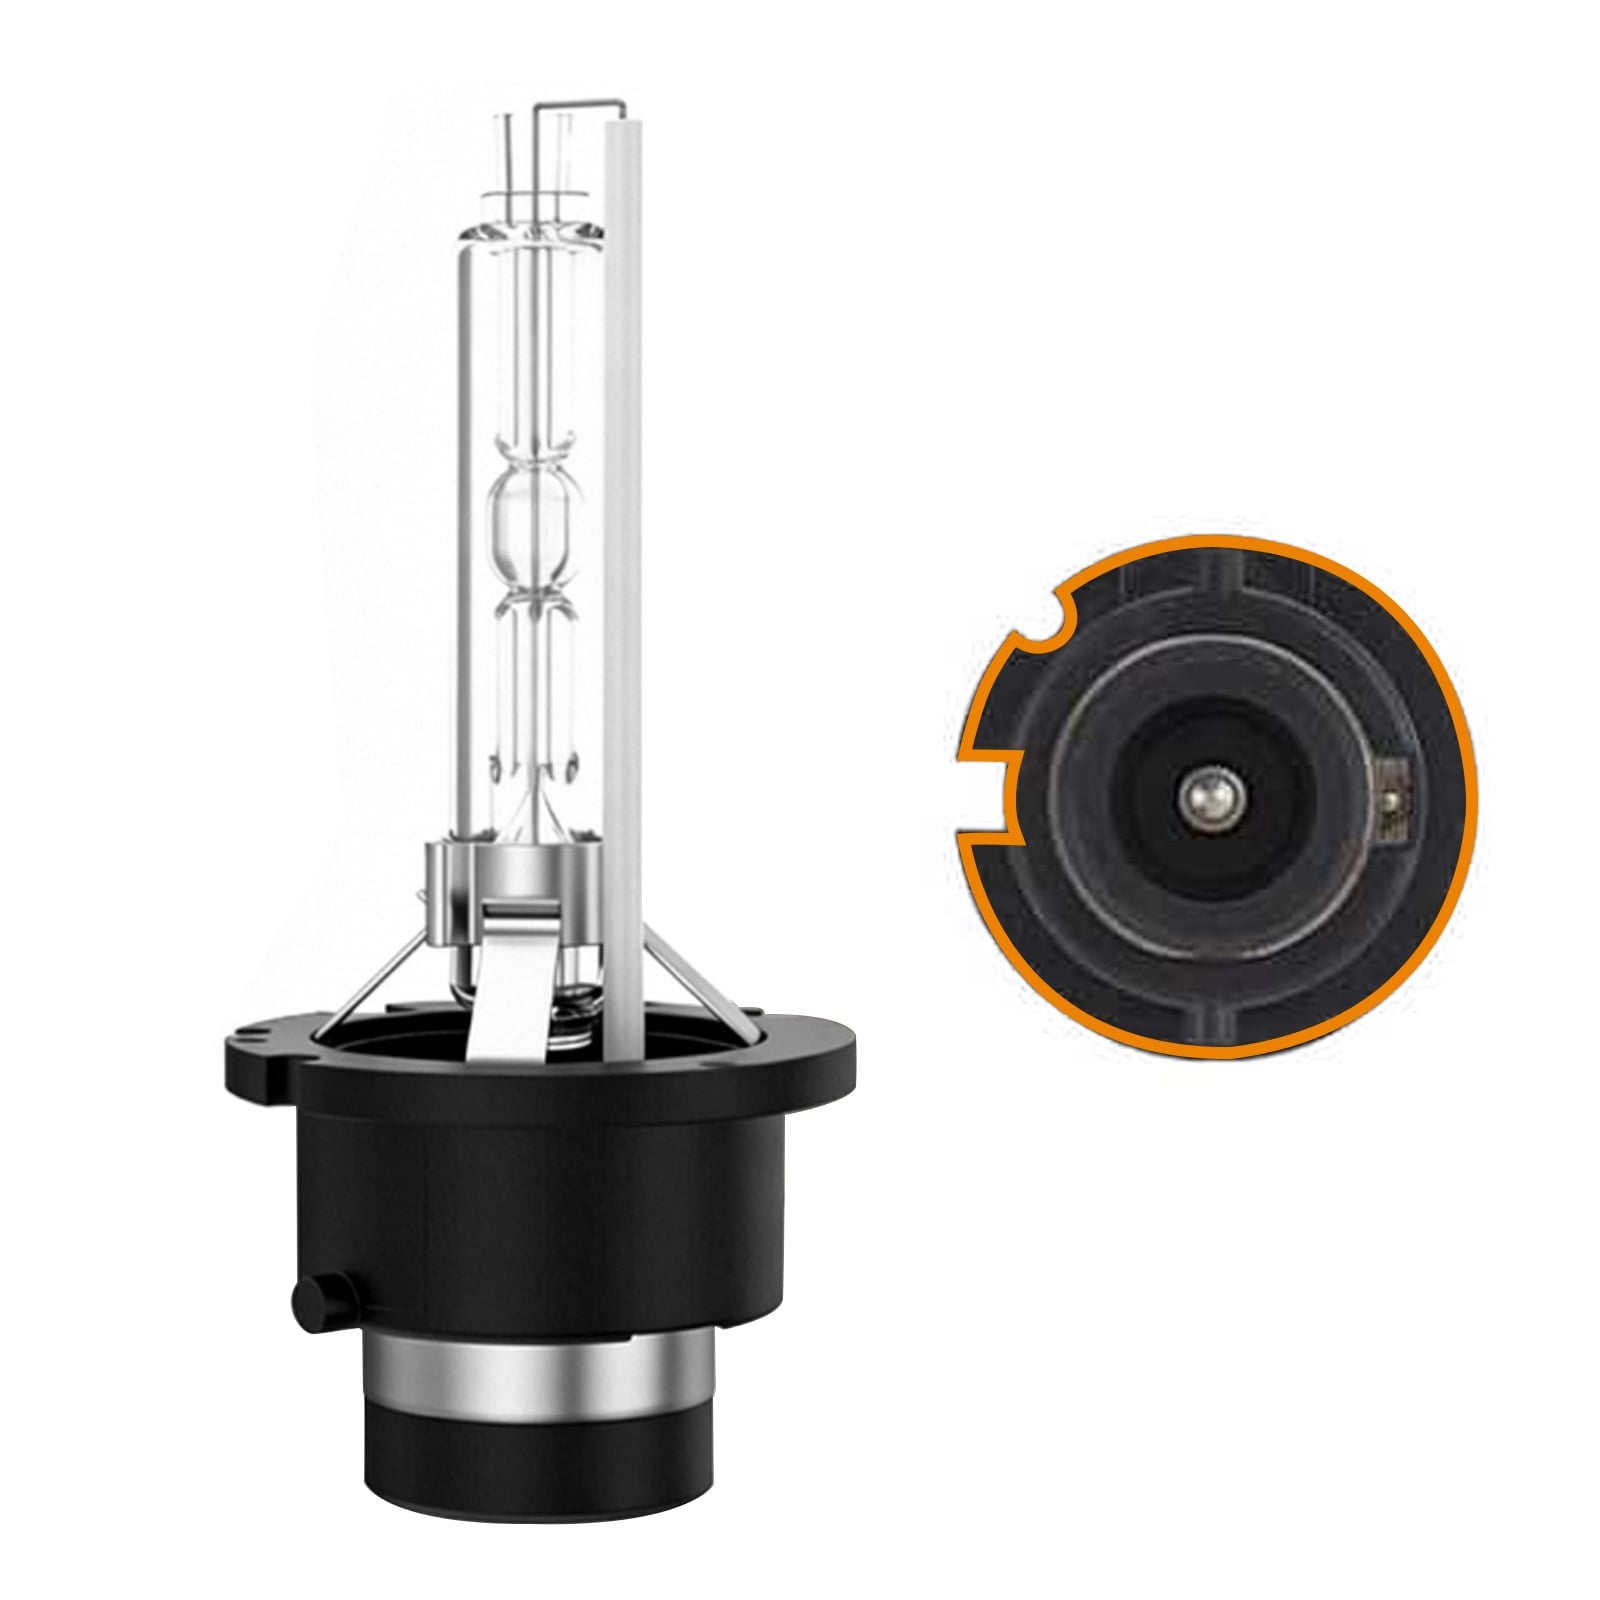
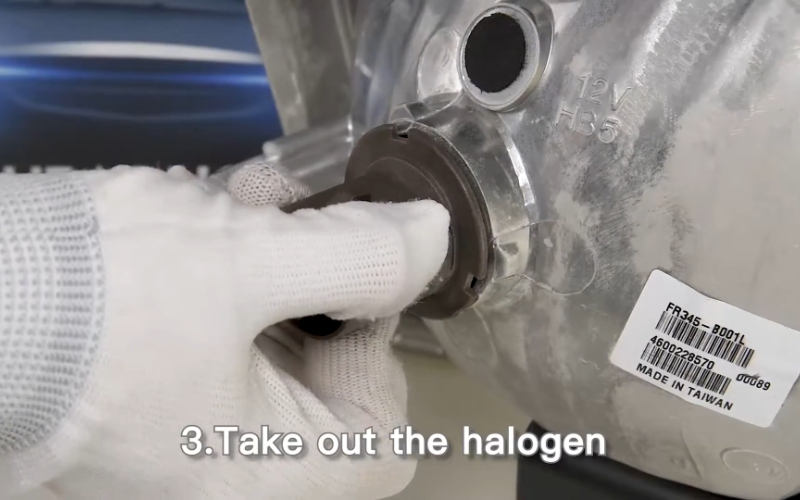
Step 3: Take Out the Halogen Bulb
Carefully remove the halogen bulb from the assembly. Be gentle to avoid damaging the holder or nearby components.
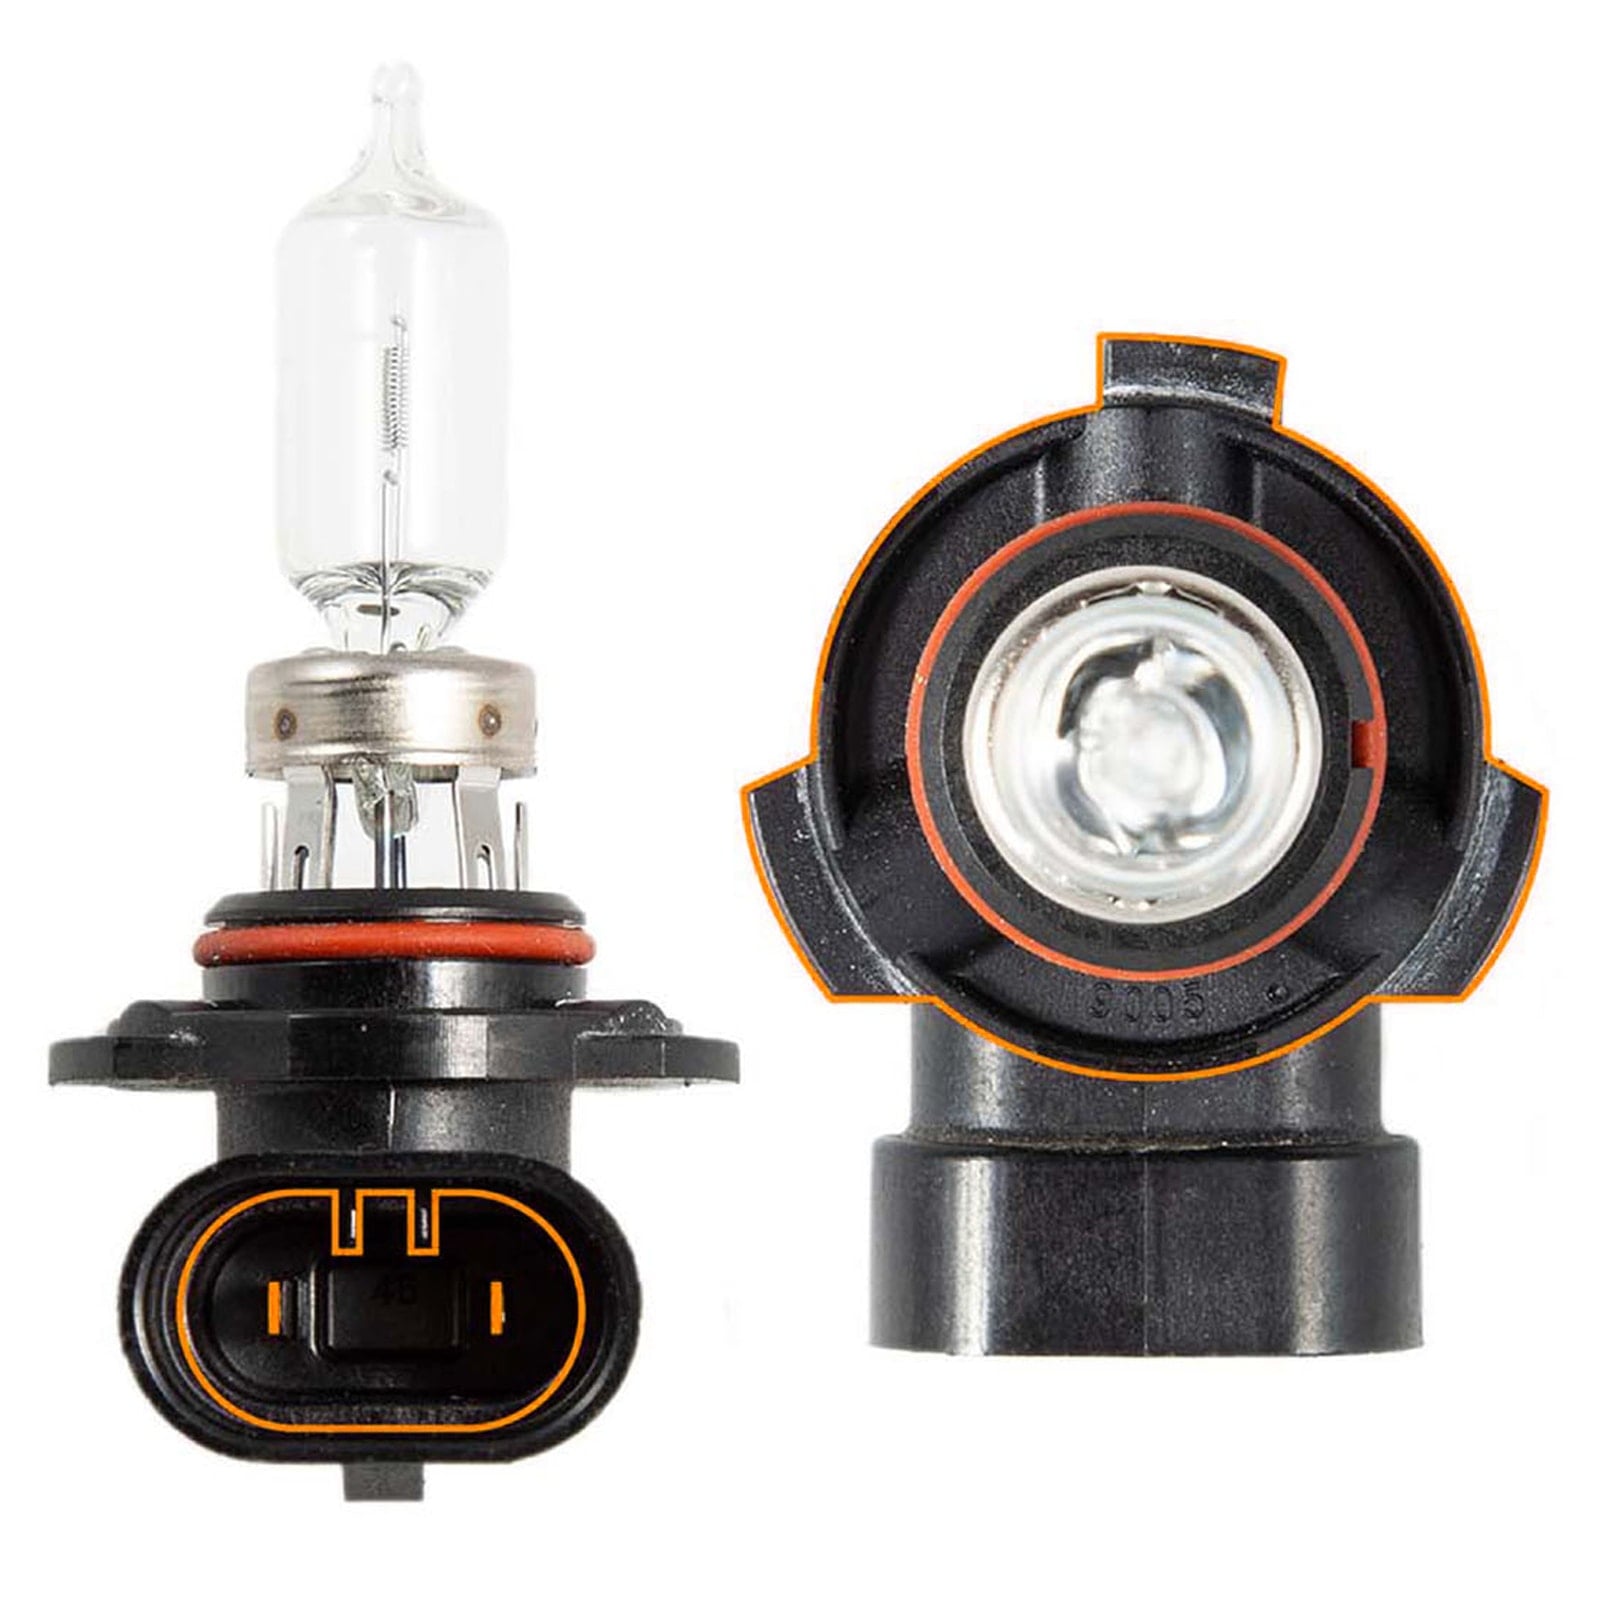
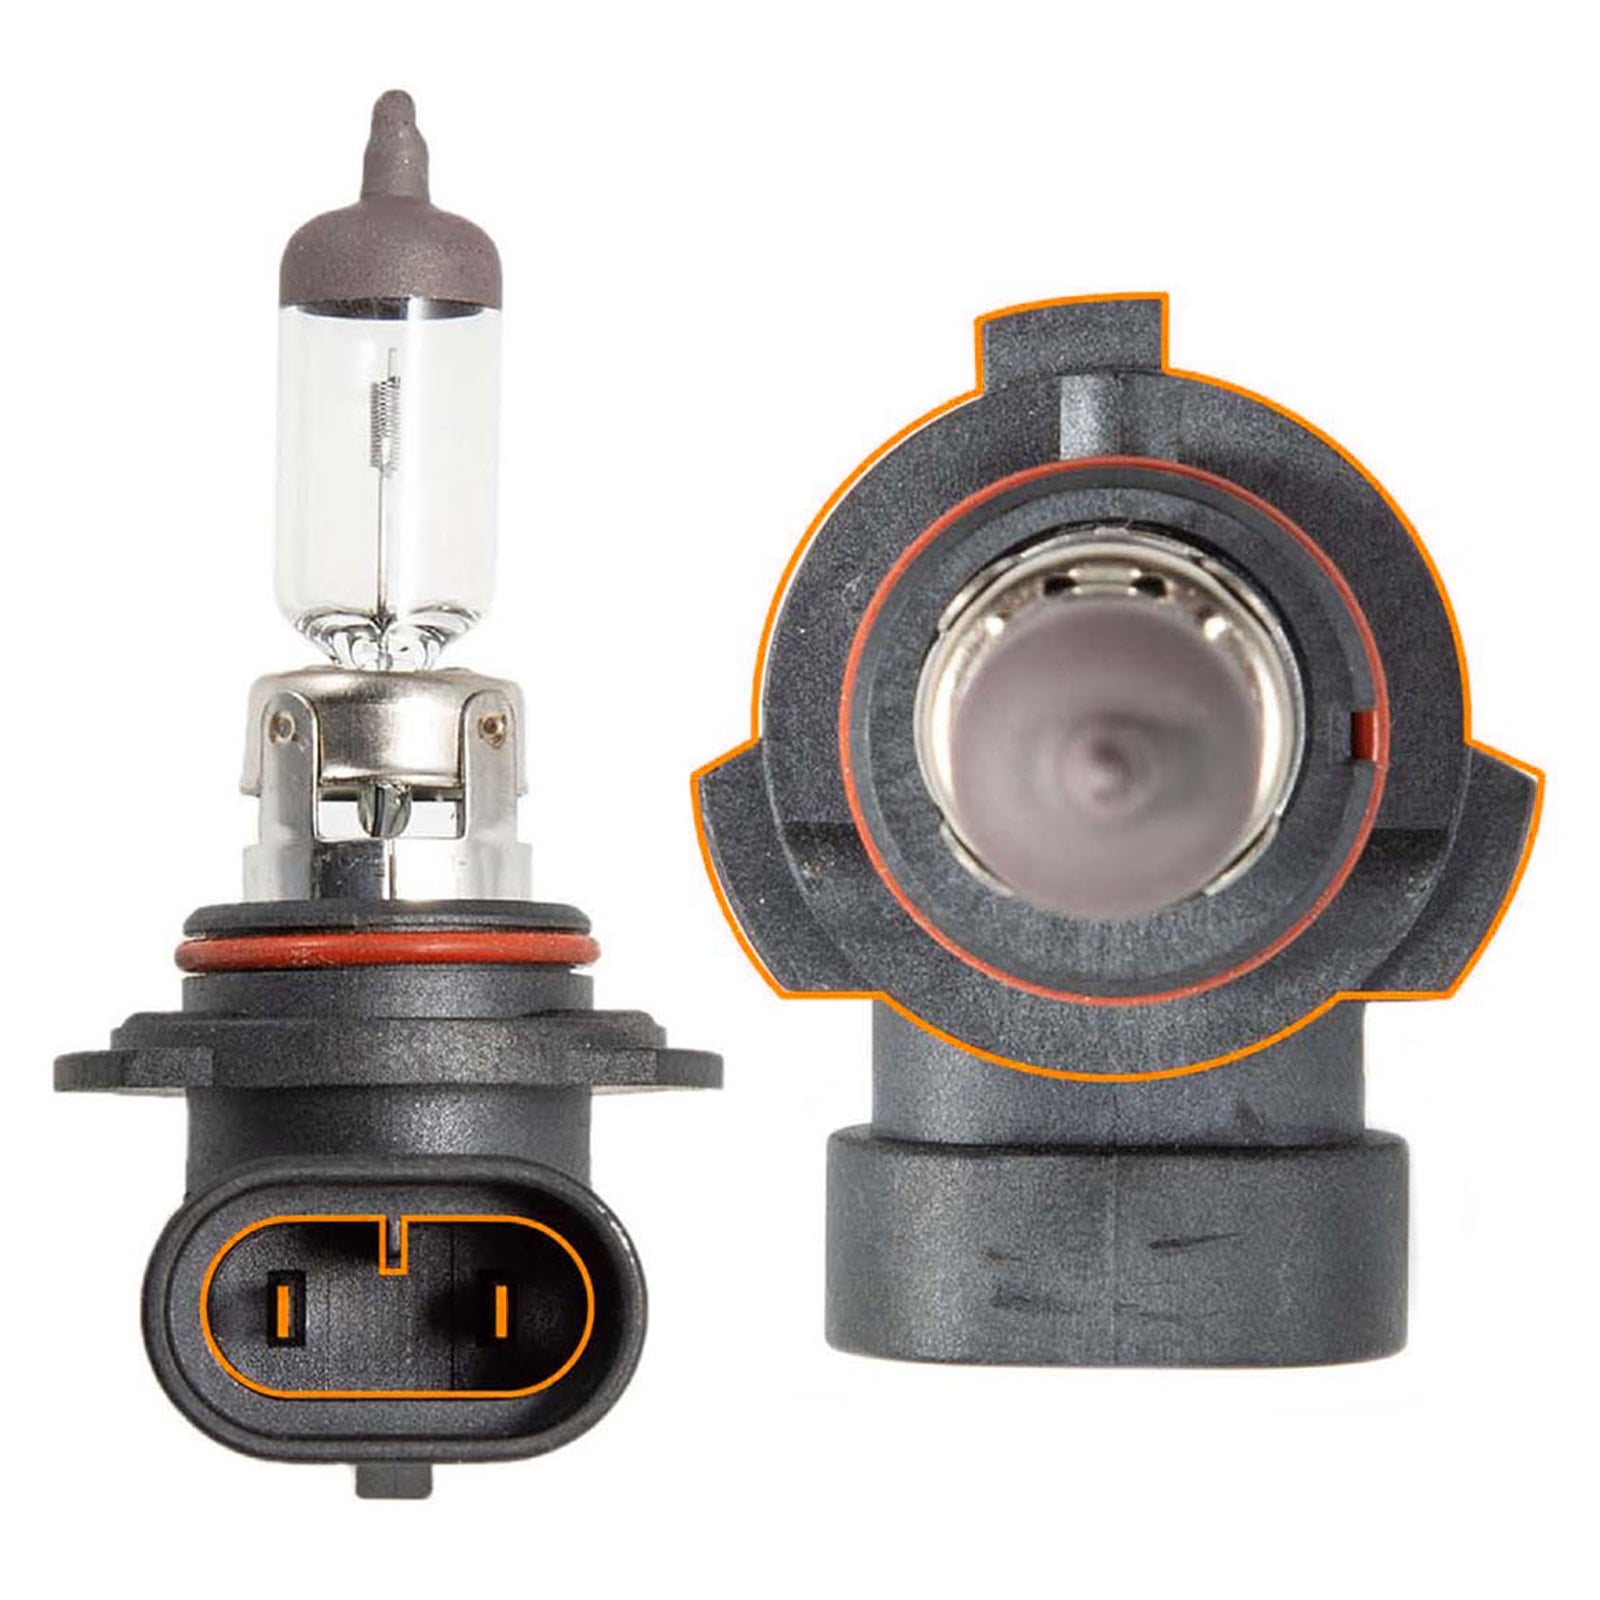
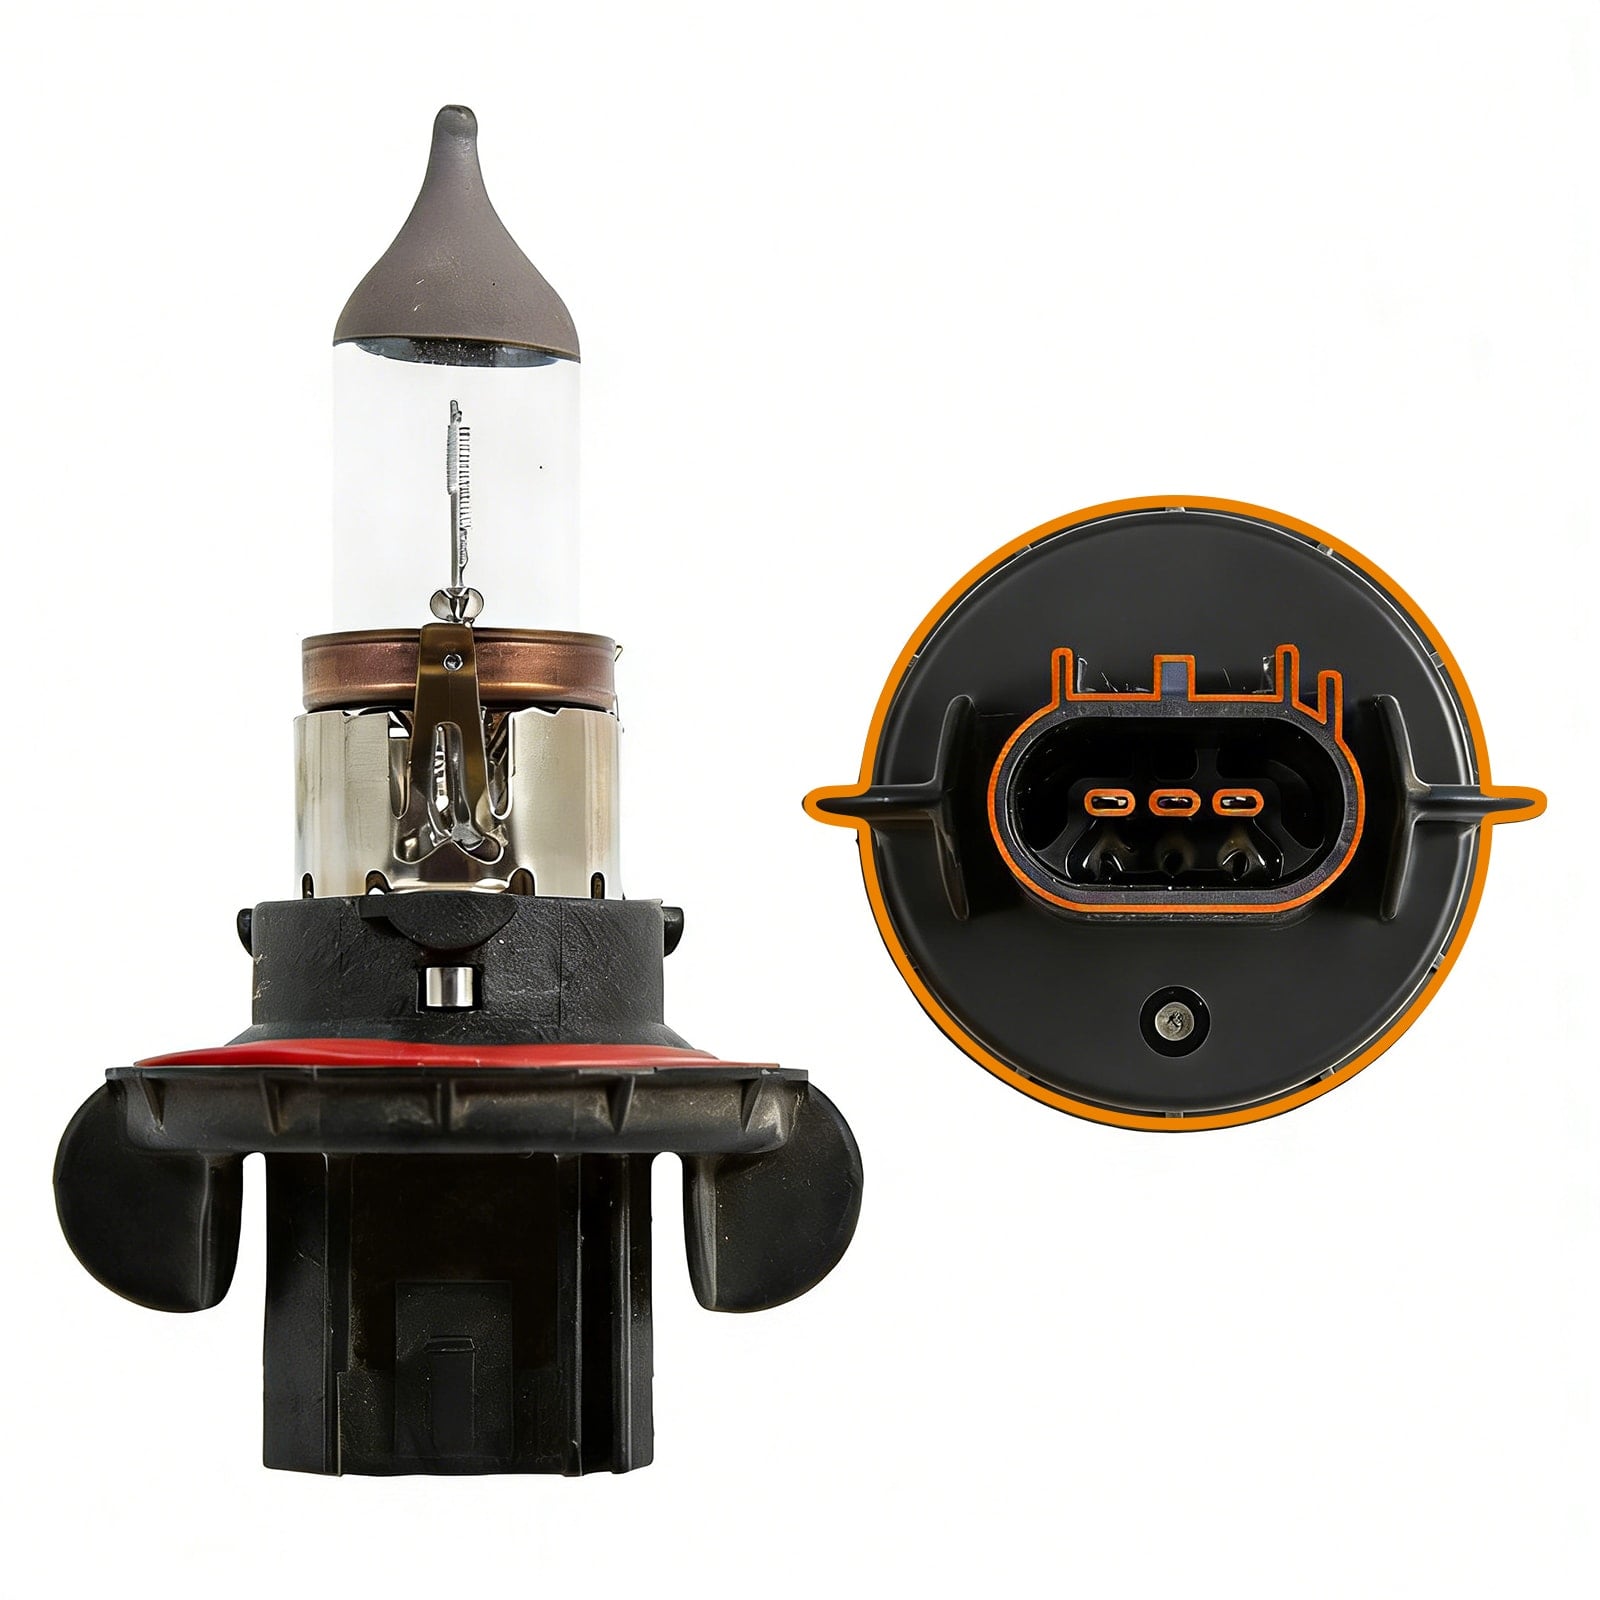
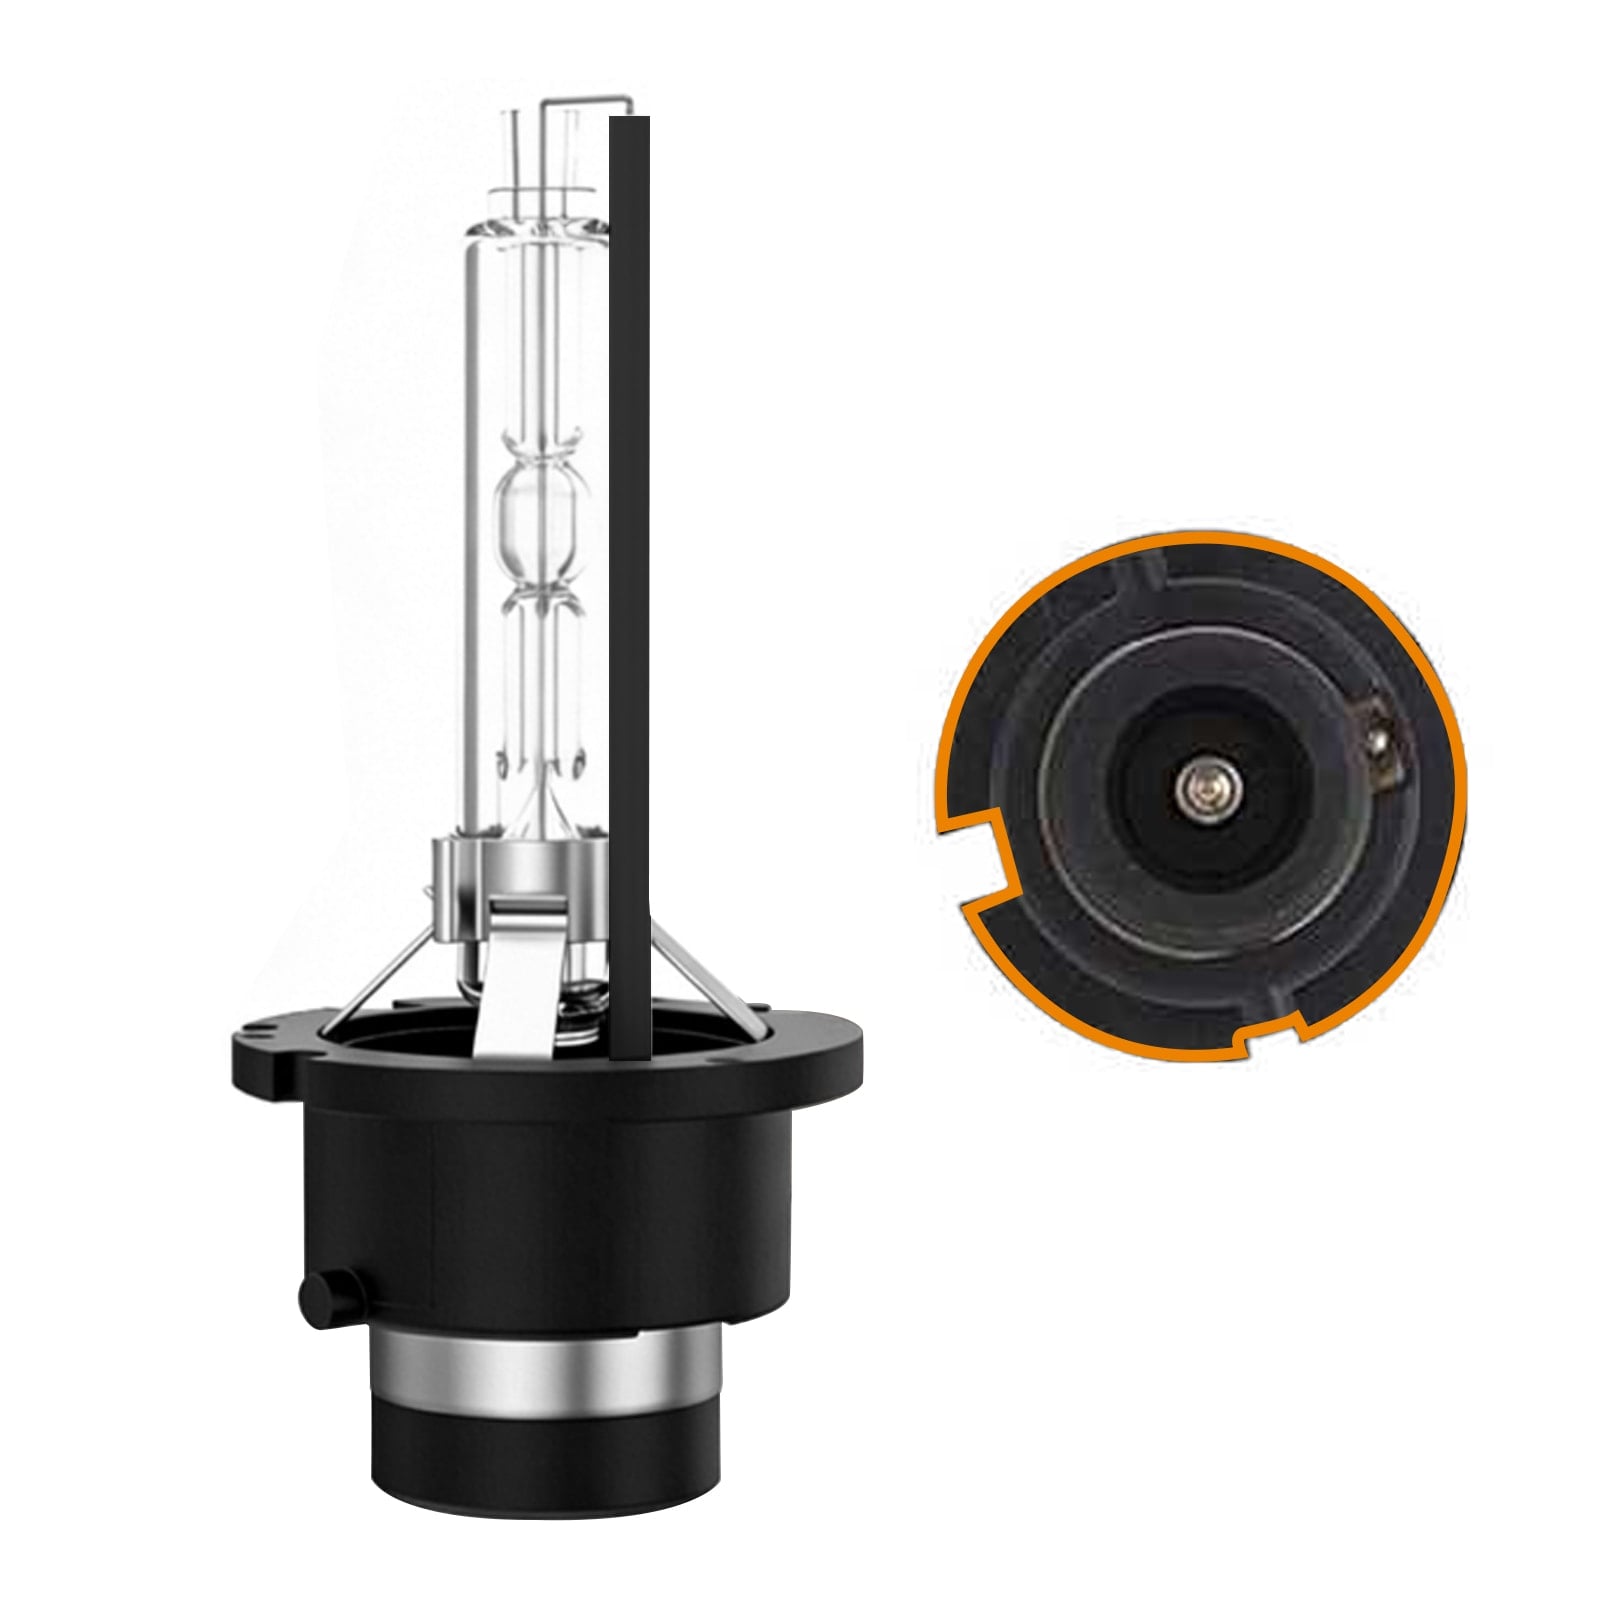
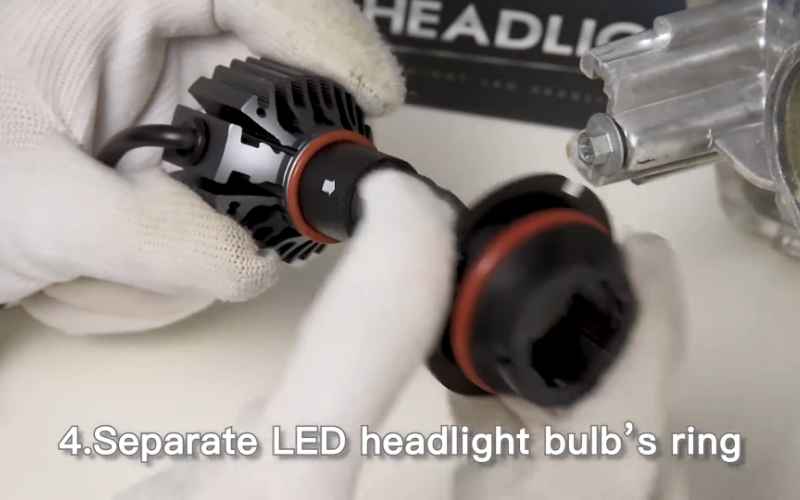
Step 4: Prepare the LED Bulb
Most 9007 LED bulbs come with a retainer or locking ring. Release this locking ring from the LED bulb to prepare it for installation.
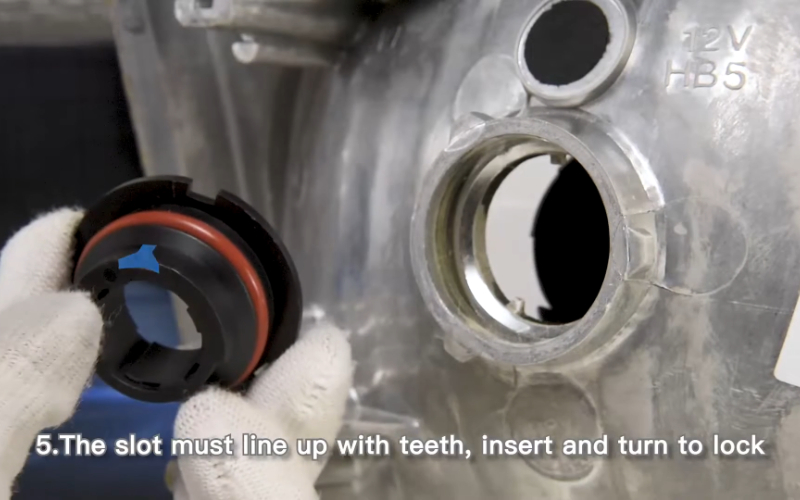
Step 5: Insert the Locking Ring of LED Bulb
Take the locking ring and insert it into the headlight assembly. Align the ring with the slots in the housing to ensure a proper fit. This step may vary slightly depending on the specific design of your LED bulbs.
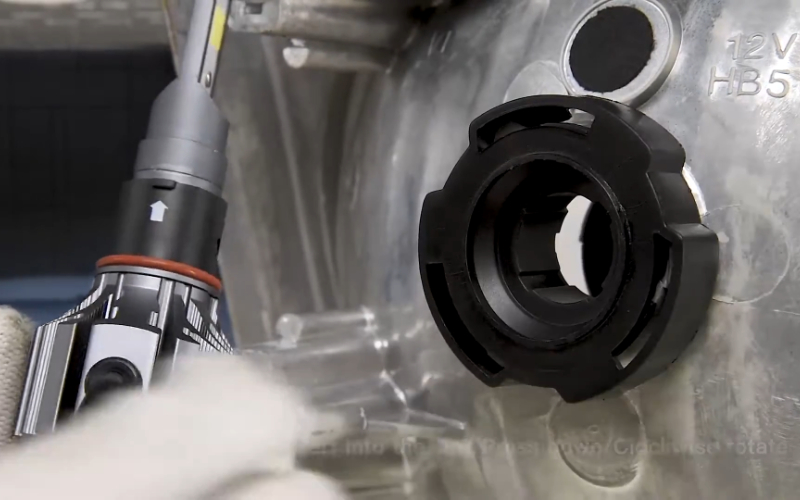
Step 6: Reinstall the Holder
Once the locking ring is in place, reattach the bulb holder by rotating it clockwise. Make sure the holder is secure.
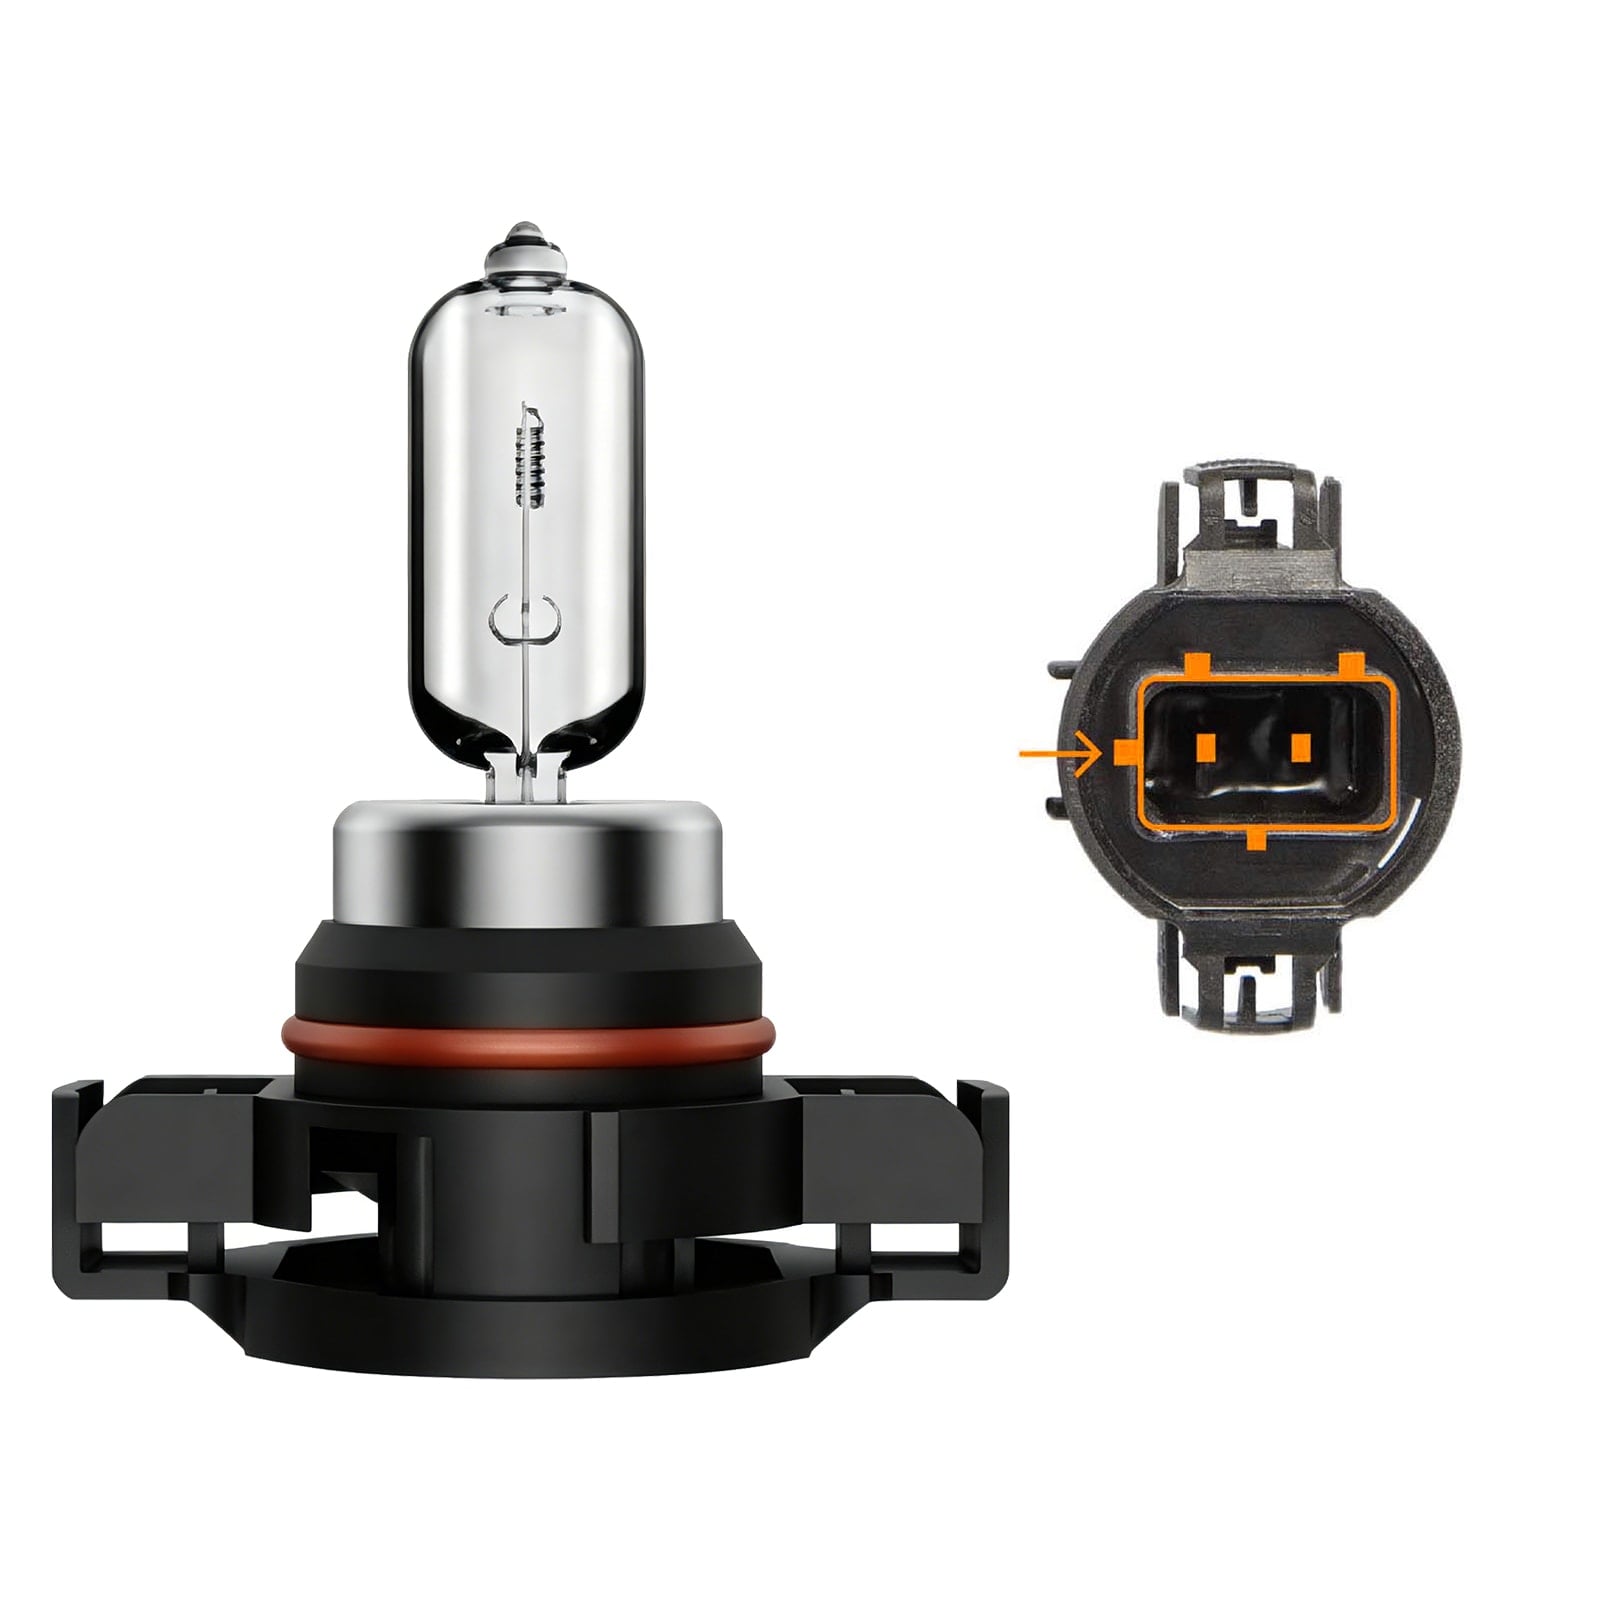
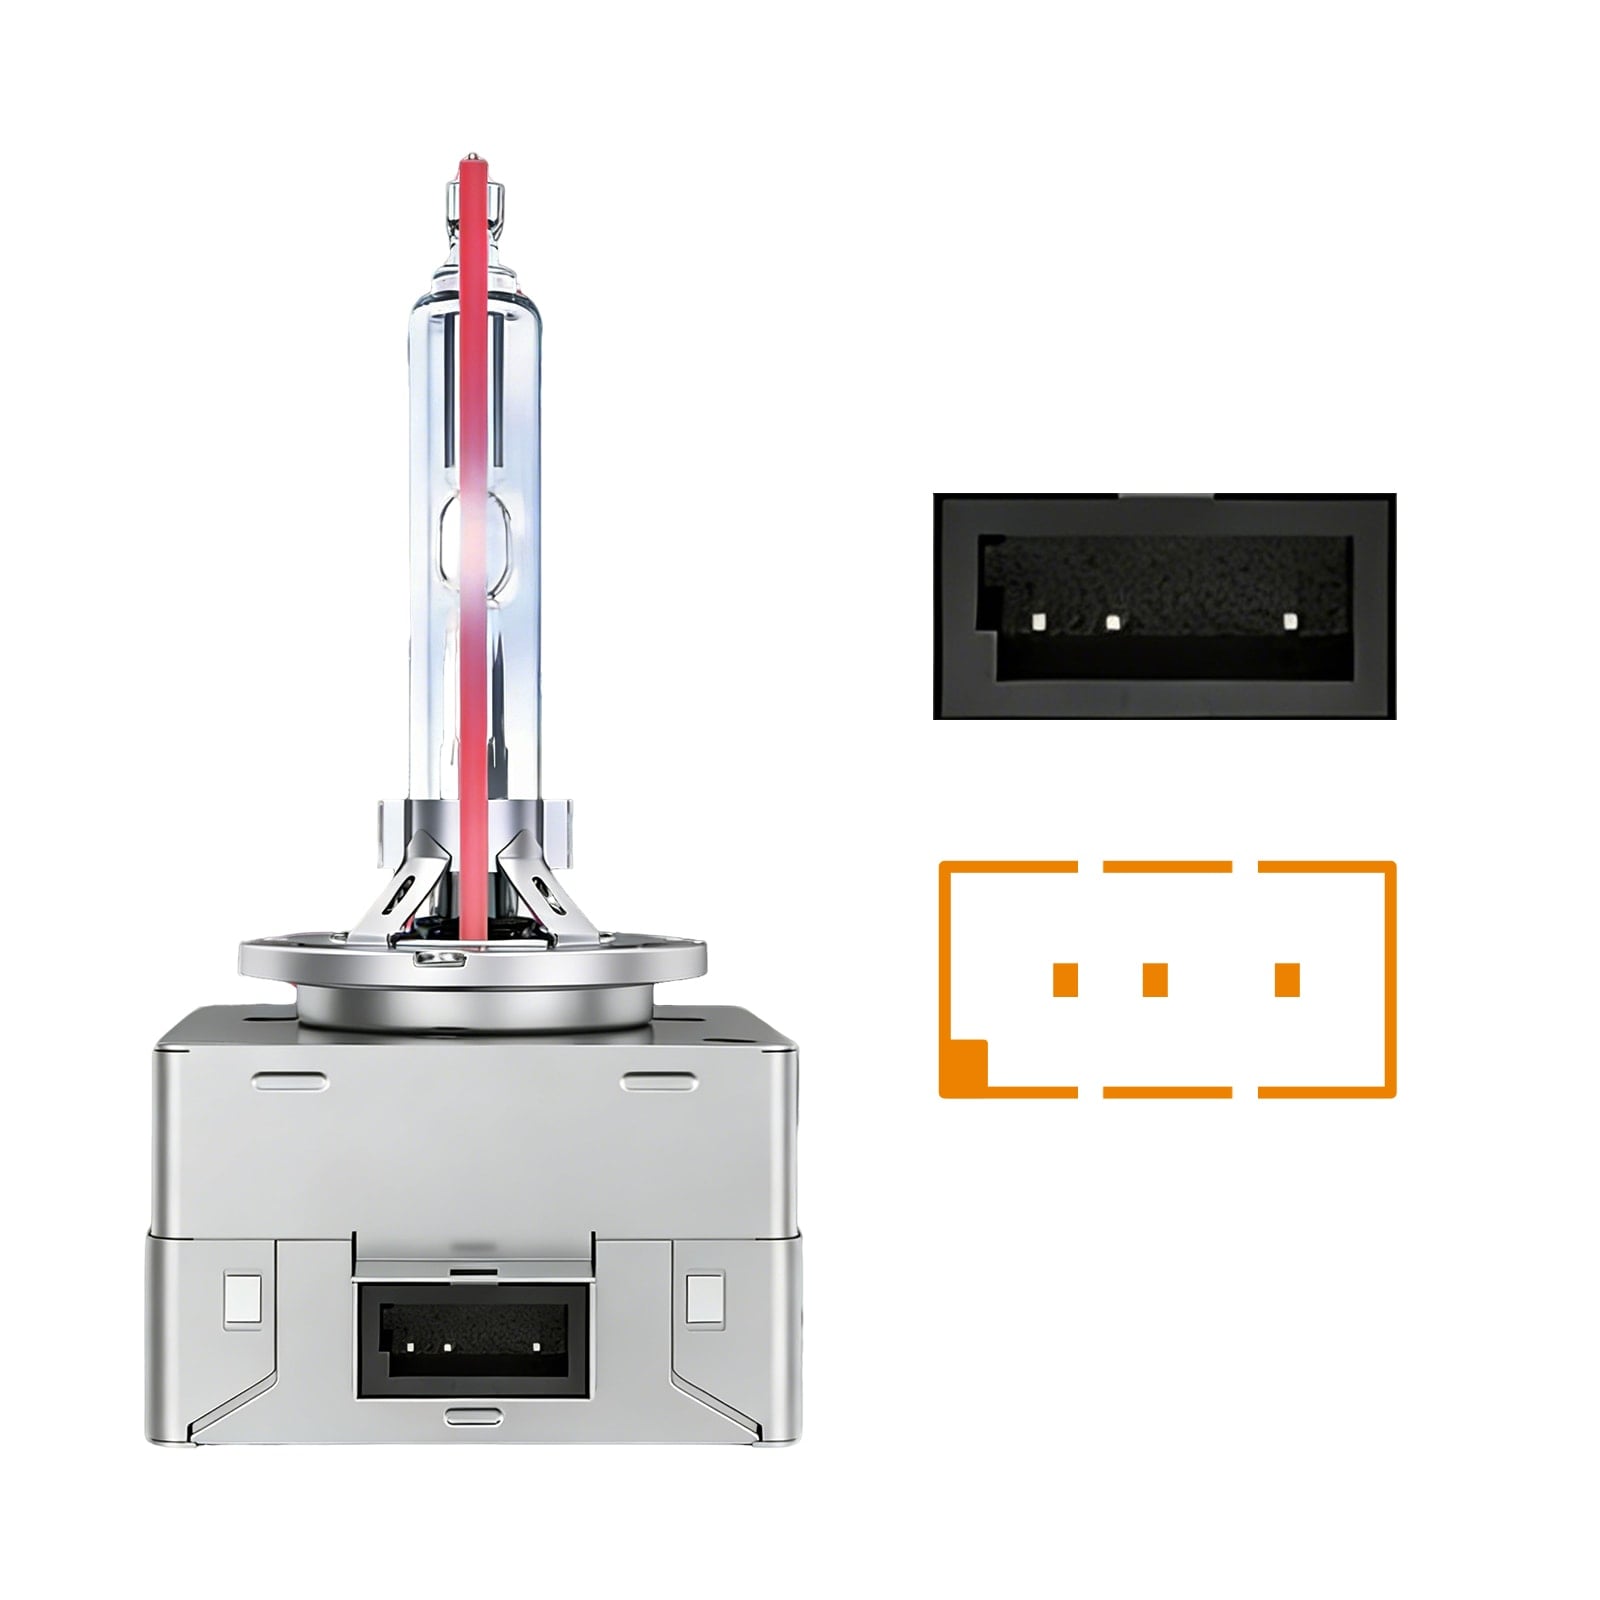
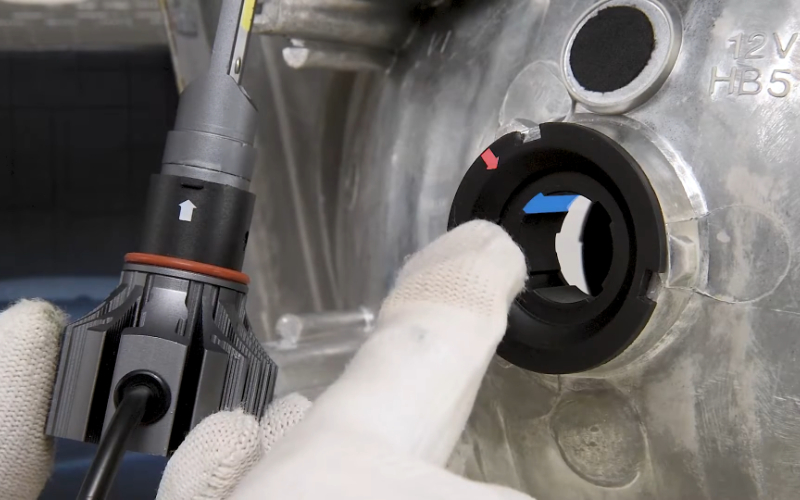
Step 7: Insert the 9007 LED Bulb
Place the LED bulb into the holder and align it with the base. Secure it by ensuring the bulb fits snugly into the housing. Some LED bulbs, such as SEALIGHT S1 9007 bulbs, come with alignment arrows printed on the base and ring to make this step easier. Align the arrows as instructed for a proper fit.
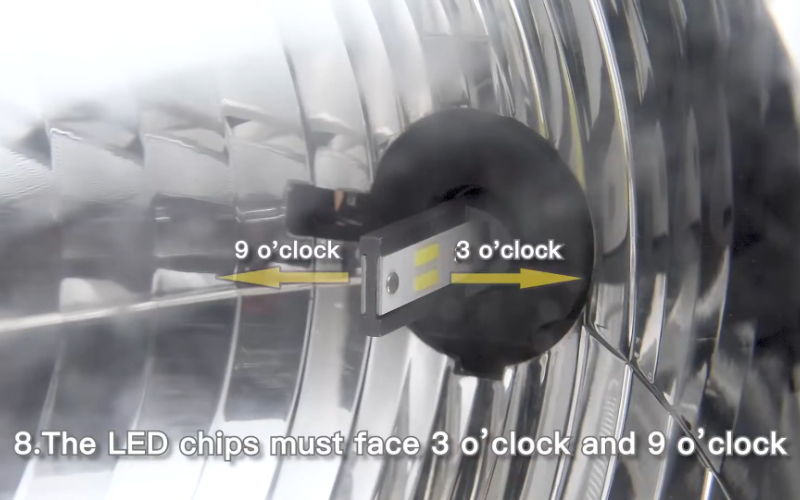
Step 8: Position the LED Bulb Correctly
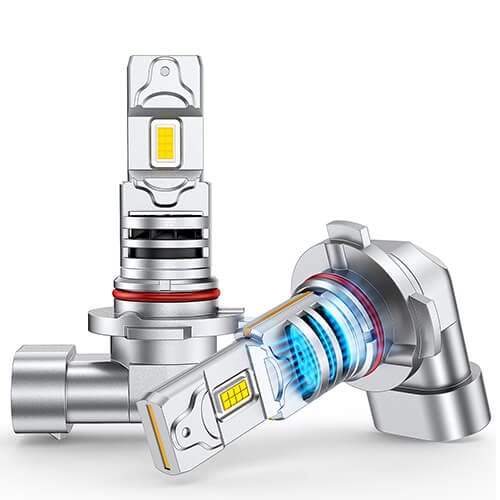
Proper orientation of the LED bulb is critical for optimal performance. Ideally, the LED chips should face outward at the 3 o’clock and 9 o’clock positions. This orientation ensures an even spread of light across the road and minimizes glare for oncoming traffic.
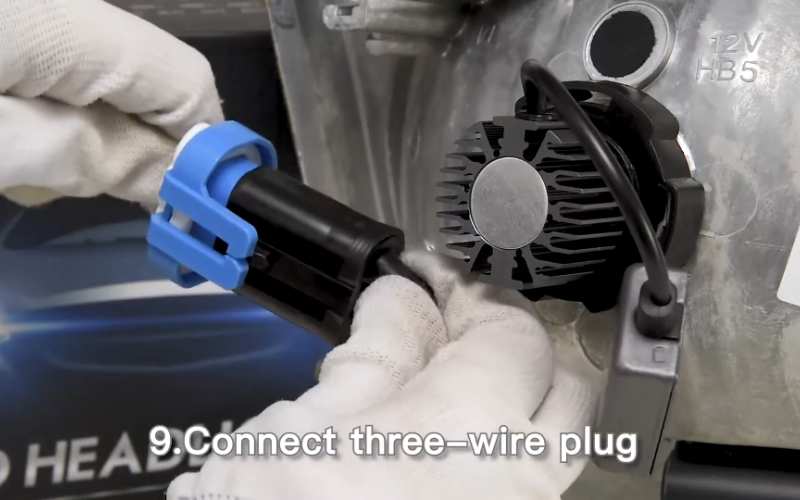
Step 9: Connect the Plug
Reconnect the three-wire plug to the back of the LED bulb. Check all connections to ensure they are secure and properly aligned. For the loose wires, use zip ties to secure them neatly.
Post-Installation Checklist
After completing the installation, follow this checklist to ensure everything is working correctly:
Test the Headlights: Turn on the vehicle and test the headlights to ensure they are functioning properly in both high and low beam modes.
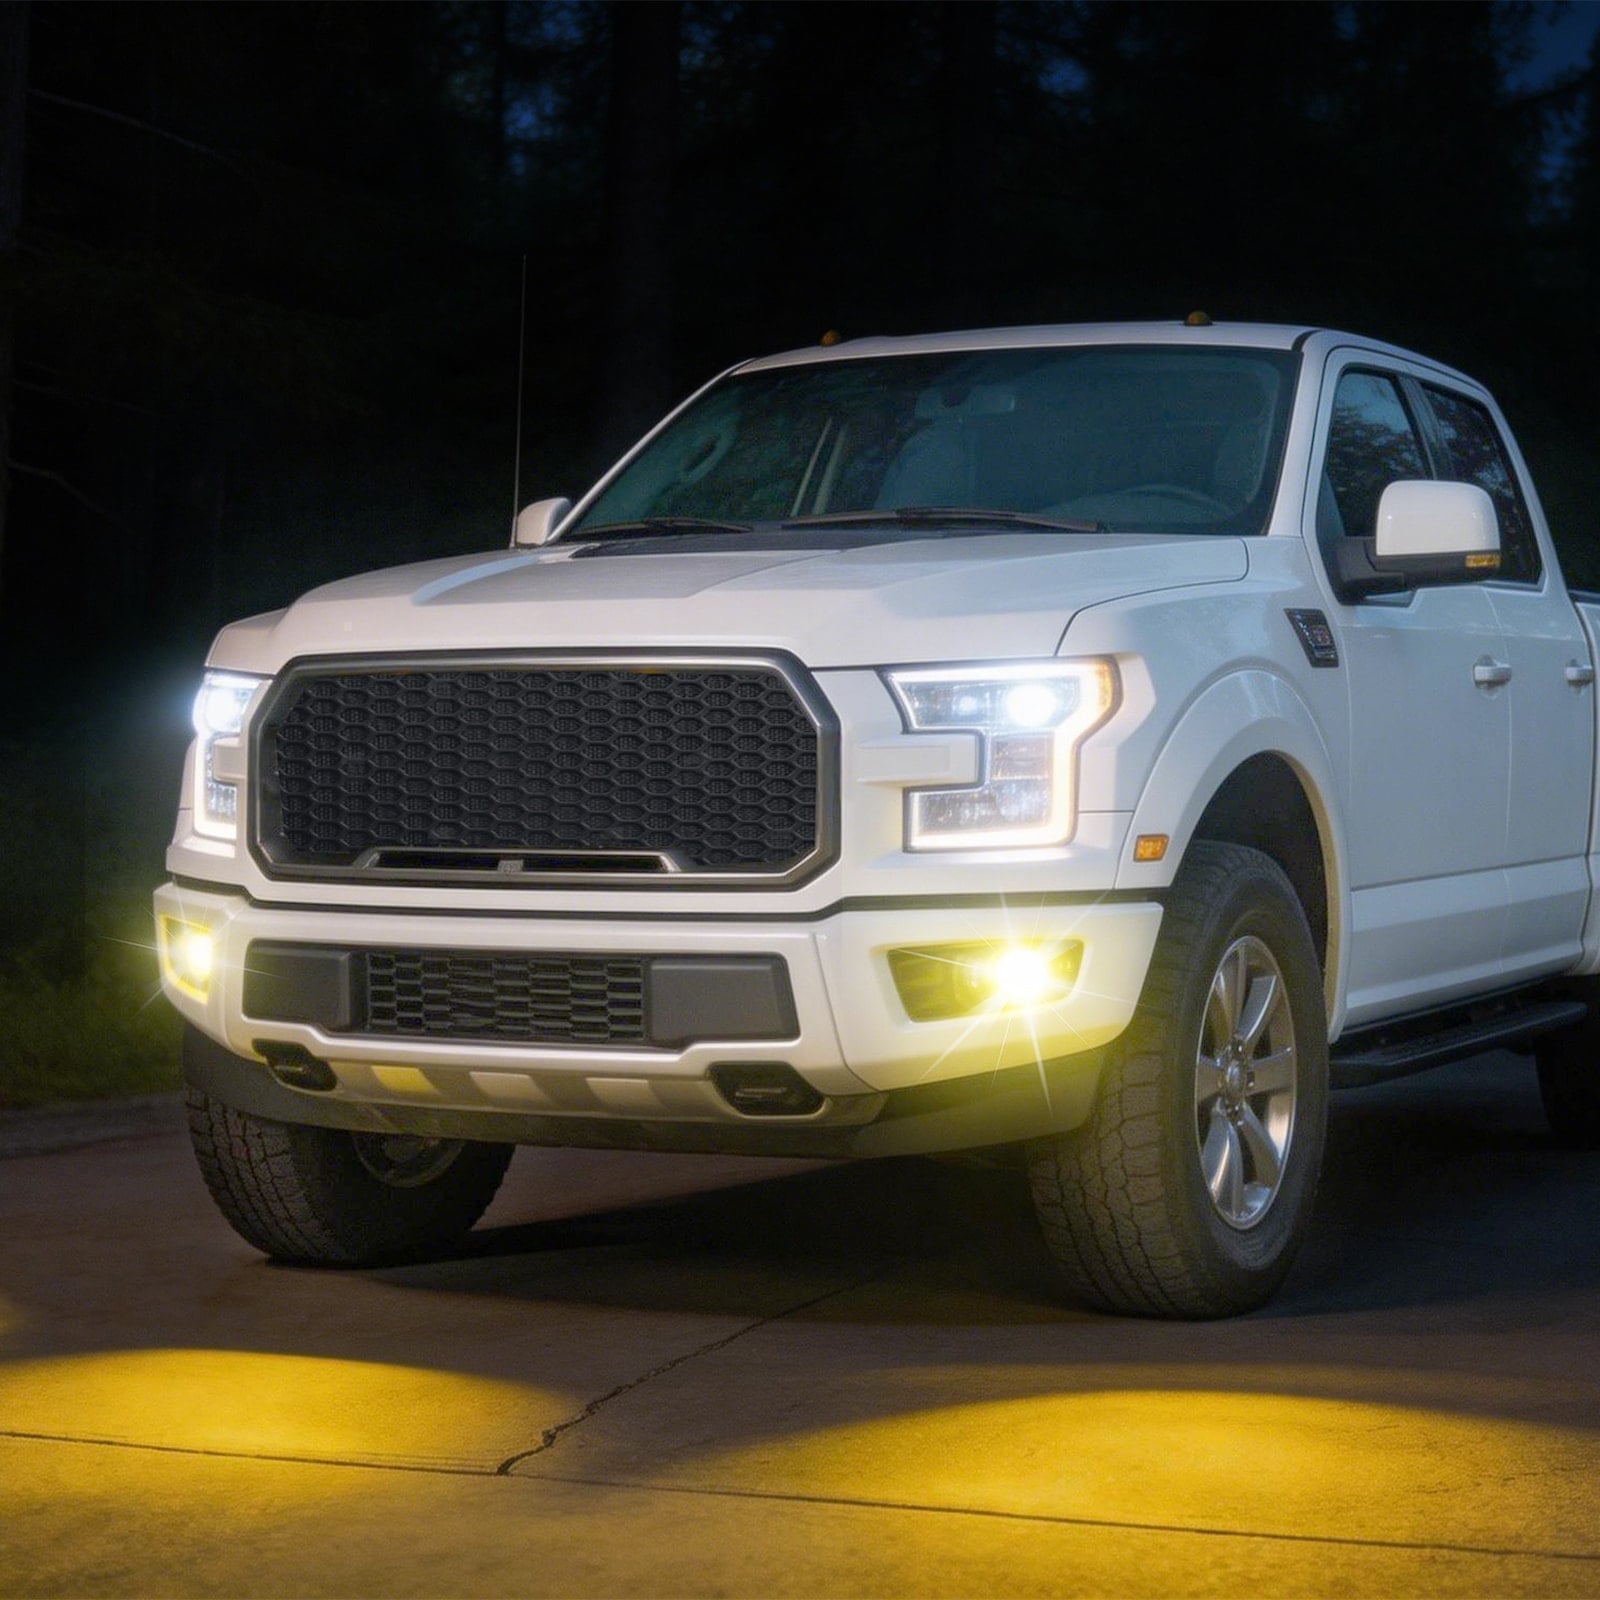
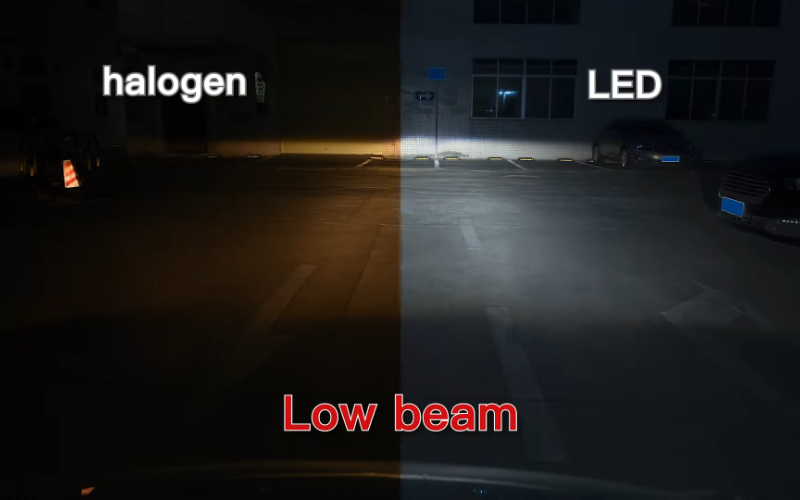
Below is the low beam light comparision of the 9007 halogen bulb and 9007 SEALIGHT LED bulbs:
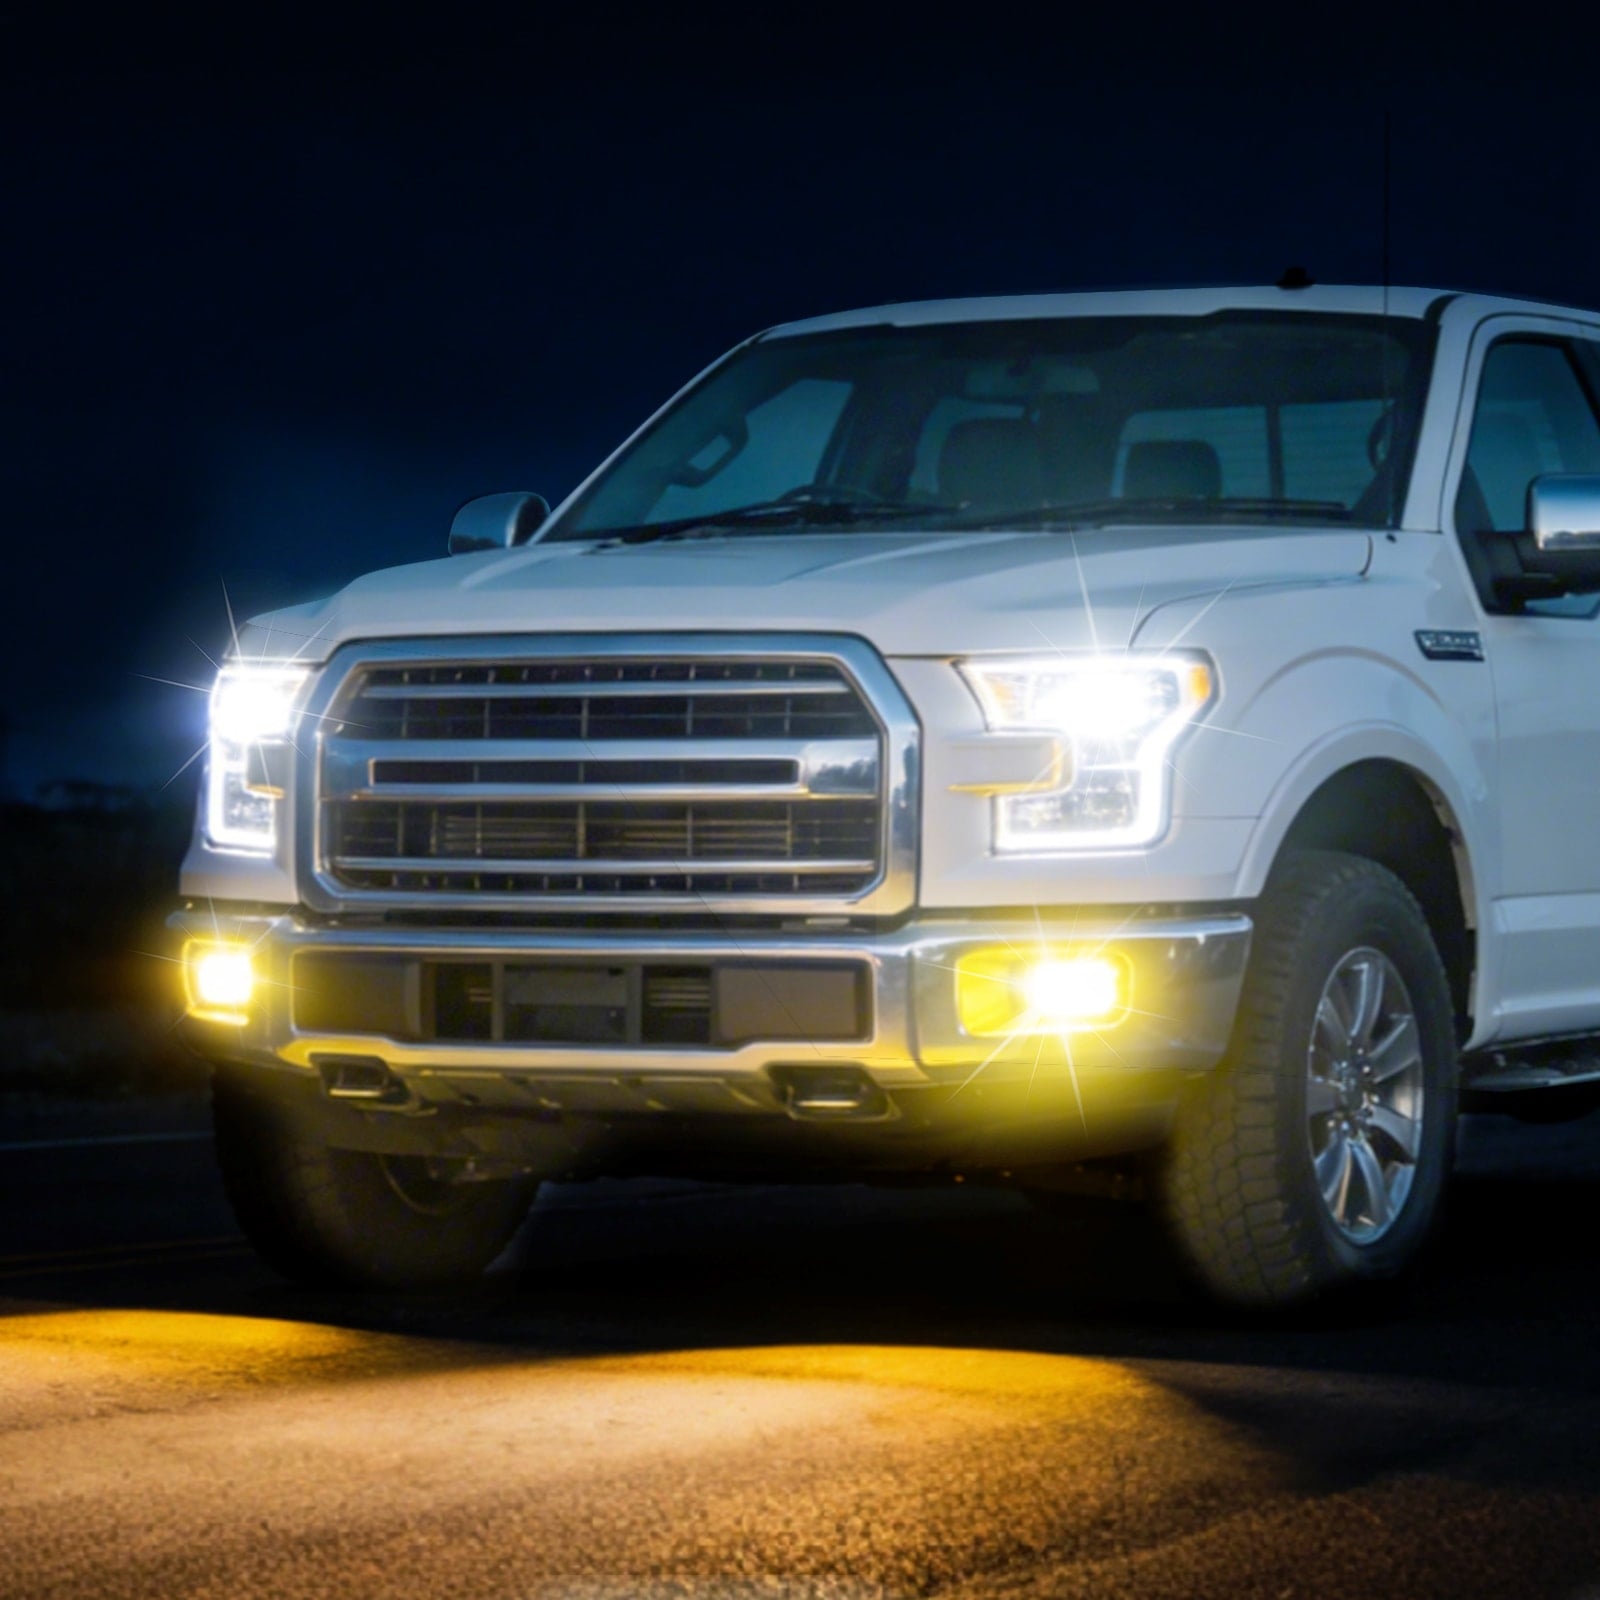
And here's the high beam comparison:
Check Alignment: Verify that the light beam is evenly distributed and correctly aligned. Adjust as needed to avoid glare or uneven lighting.
Inspect Connections: Double-check all connections to ensure they are secure and free from damage.
Final Thoughts
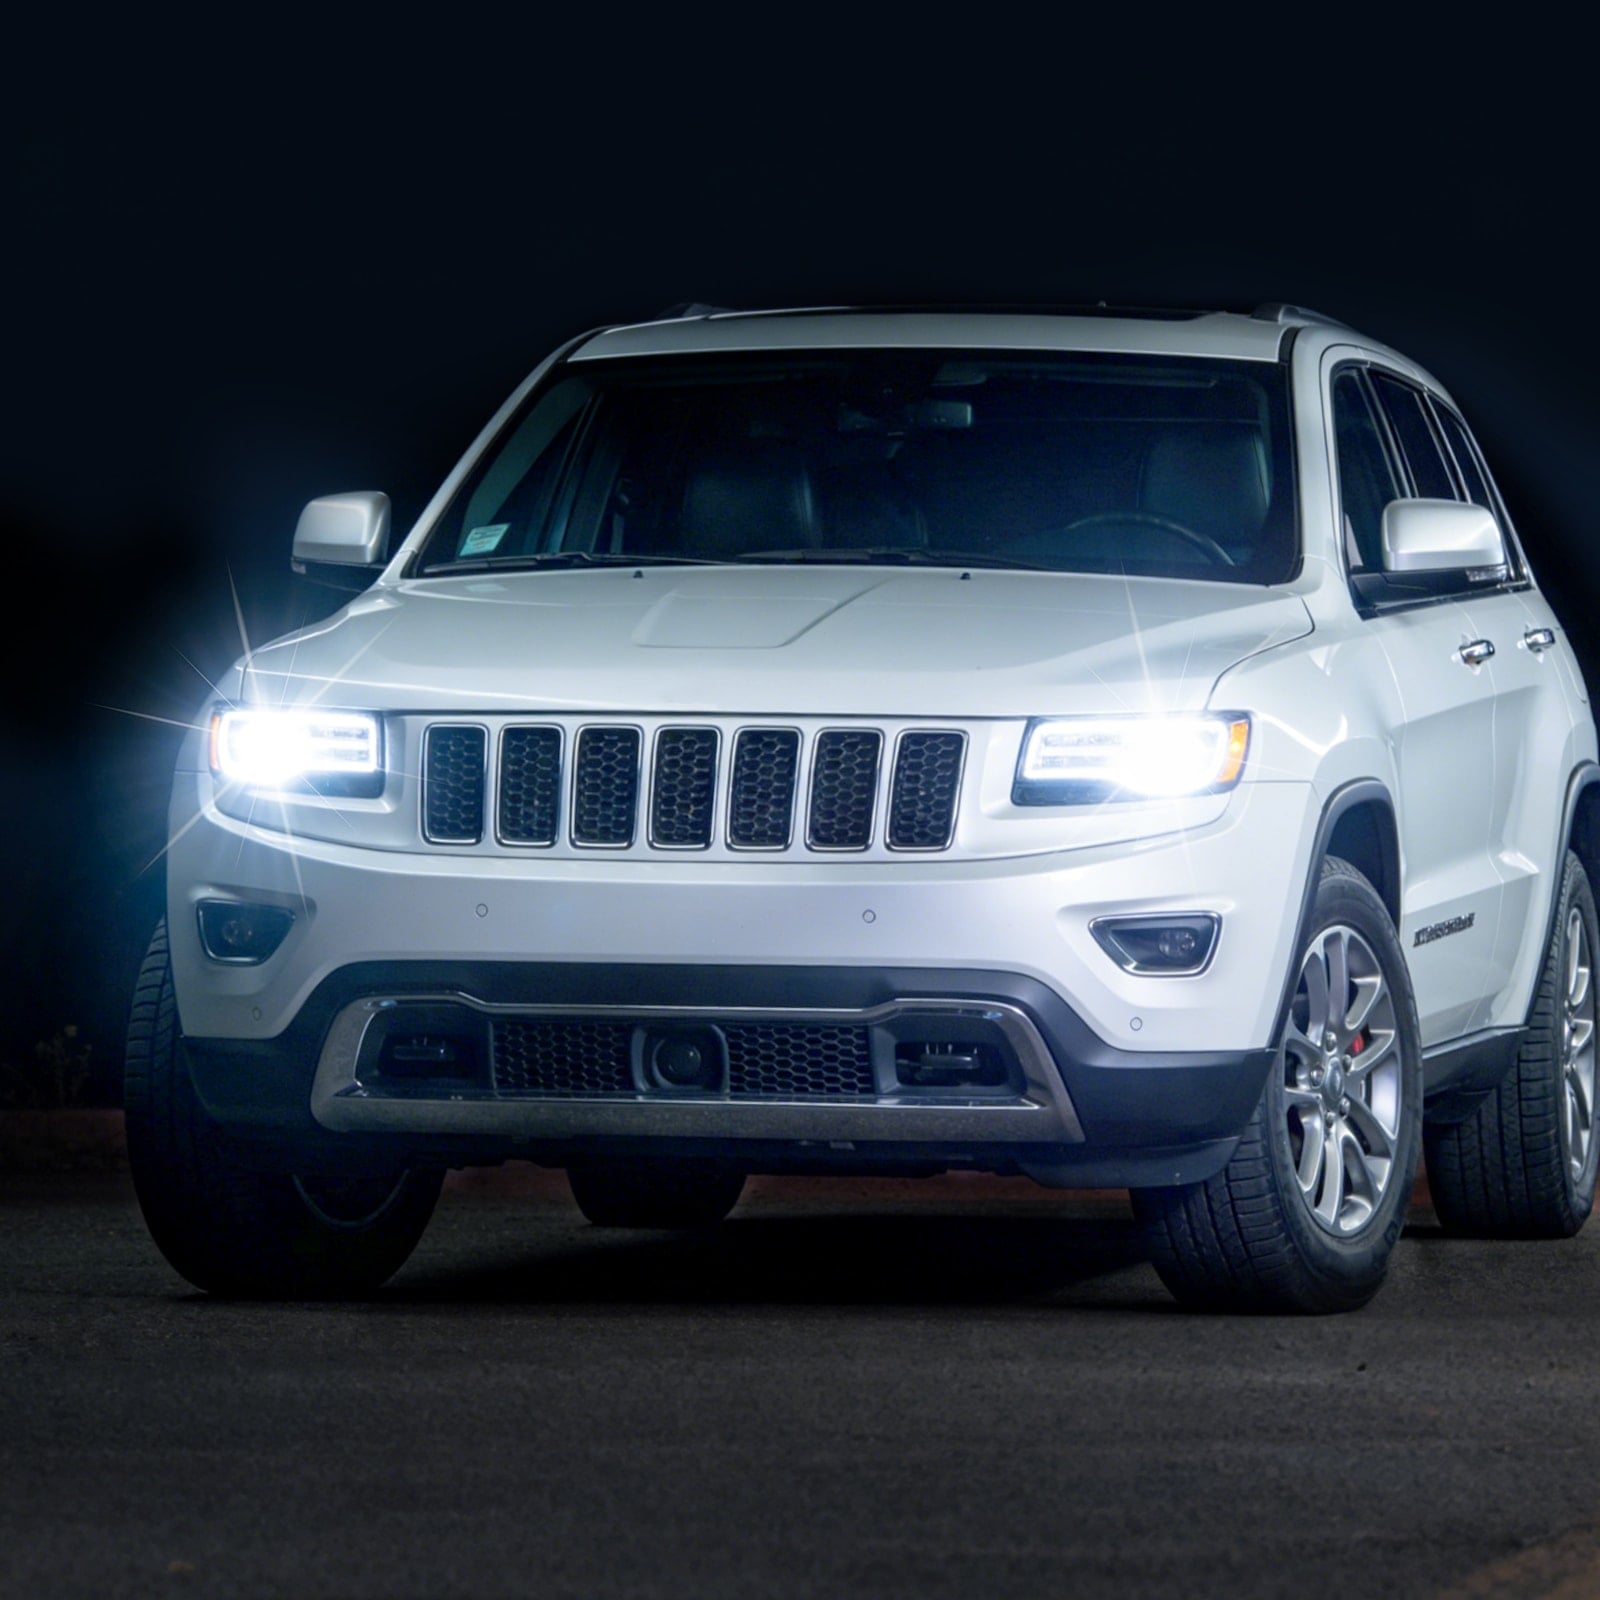
Upgrading to 9007 LED headlight bulbs is a worthwhile investment that enhances visibility, energy efficiency, and the lifespan of your headlights. By following this step-by-step guide, you can safely and effectively install your new LED bulbs, ensuring optimal performance and road safety.
For the best results, consider high-quality LED bulbs from a trusted brand. Products like the SEALIGHT S1 Series 9007 LED bulbs offer durability, reliable performance, and compatibility with most vehicles. With your new LED headlights installed, you can enjoy brighter, more efficient lighting for a safer and more comfortable driving experience.