
 Headlight Bulbs


 Track Order
 My Vehicles
 Contact Us
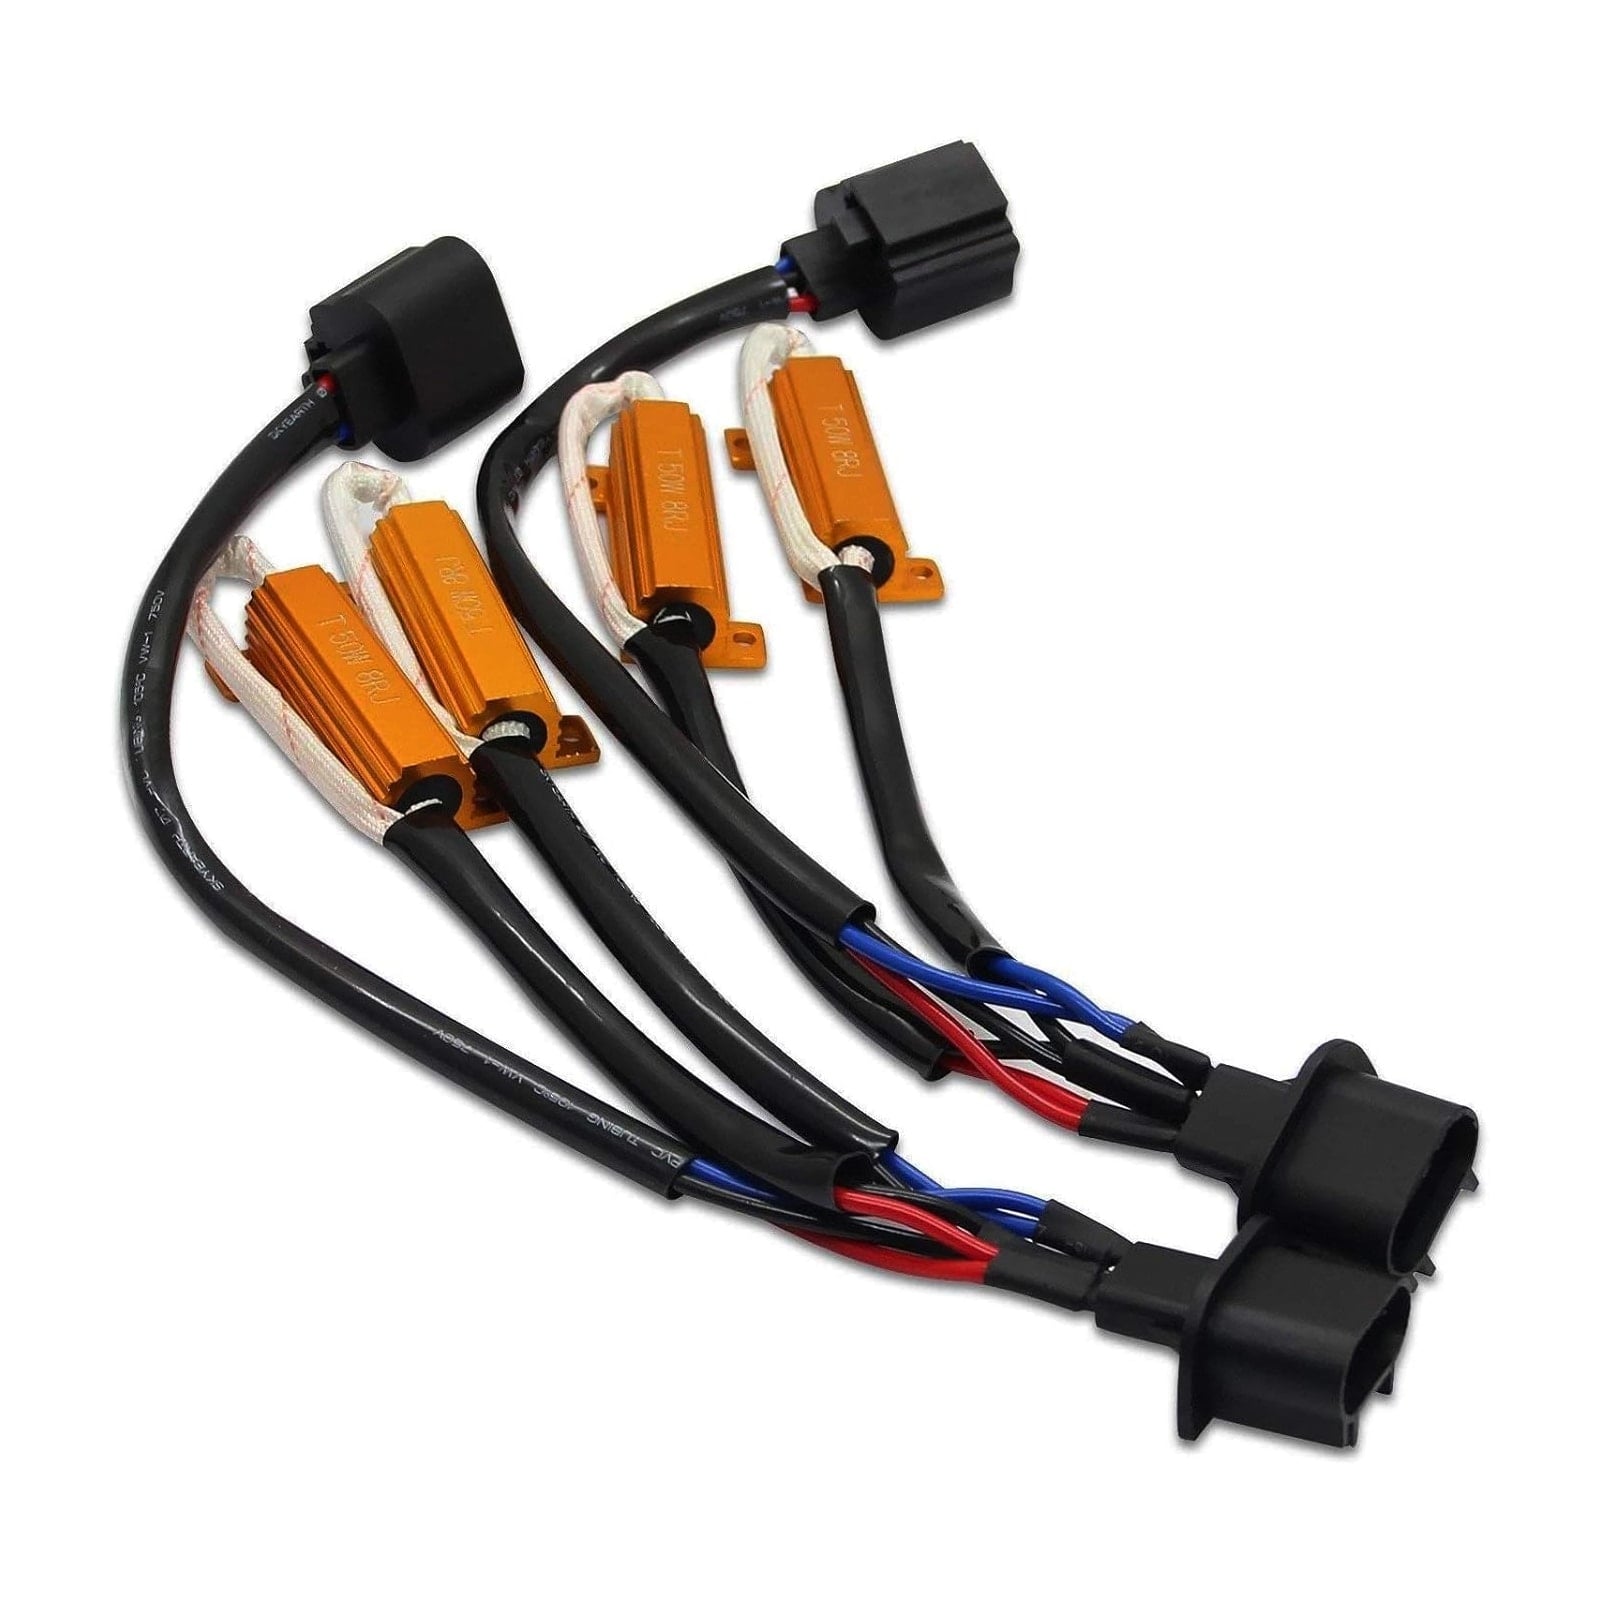
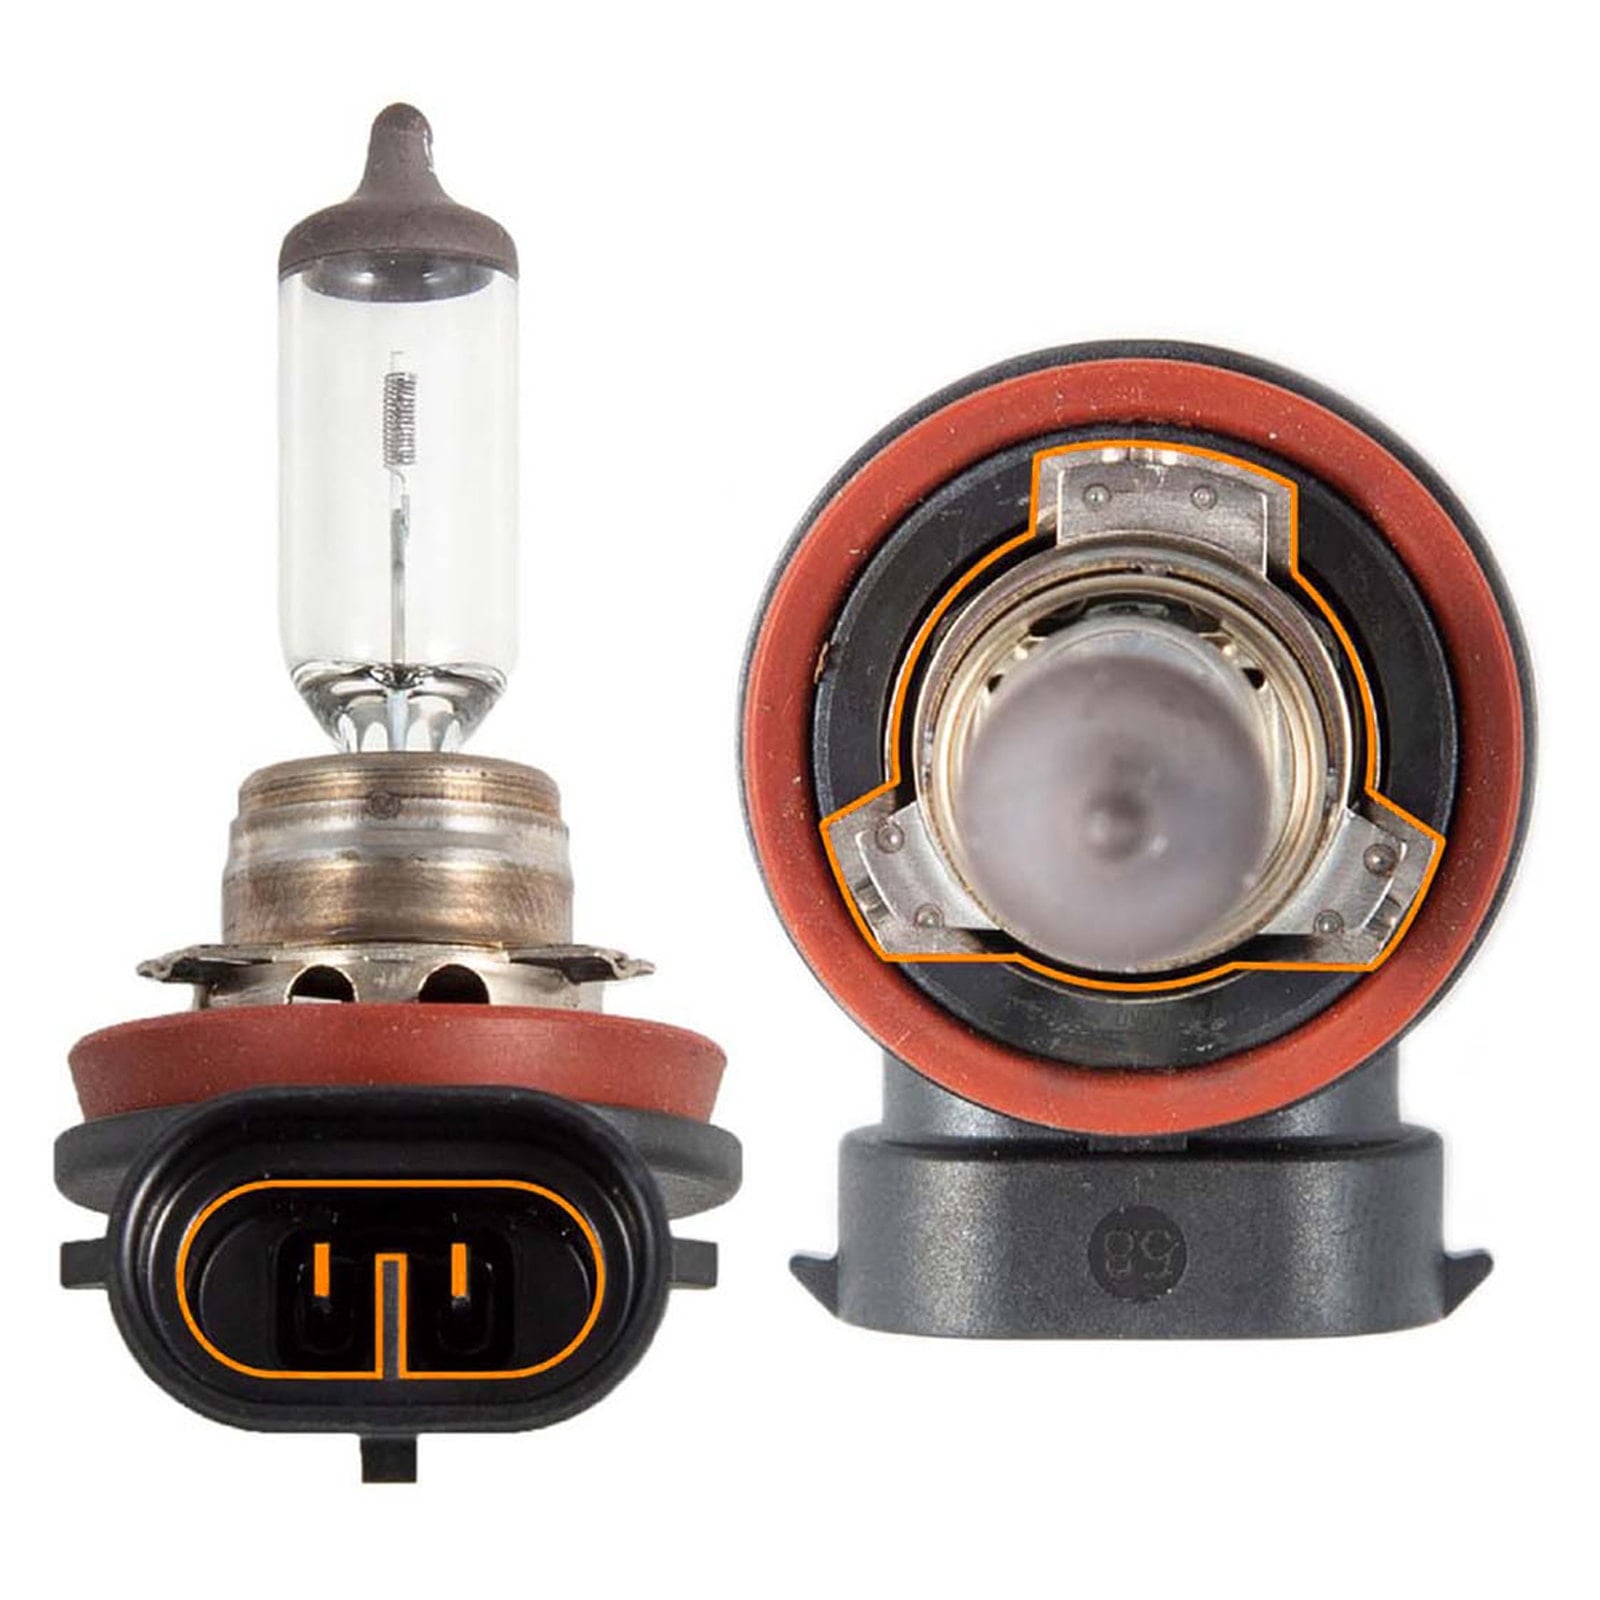
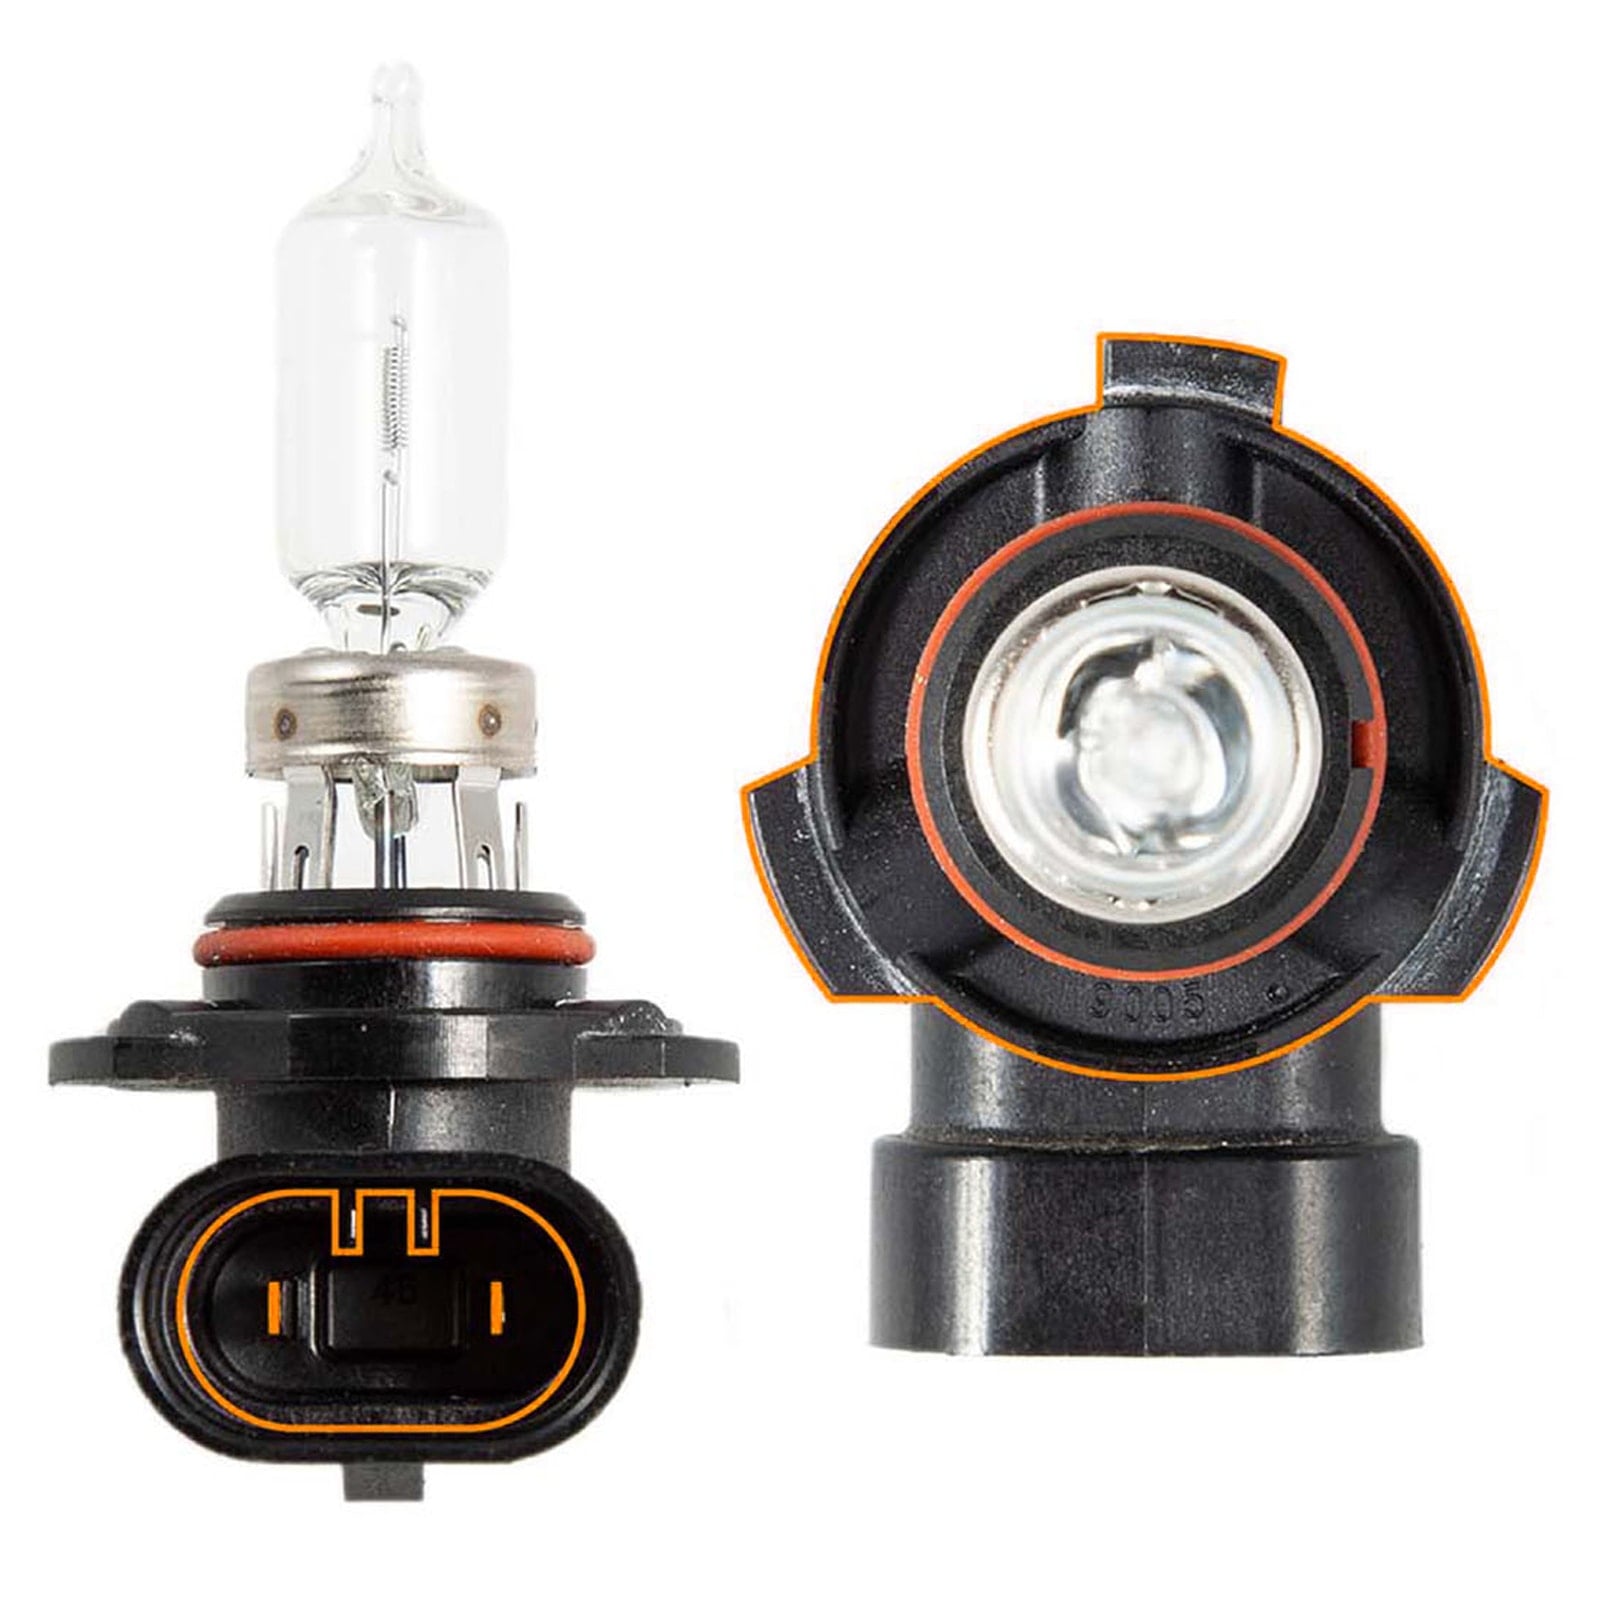
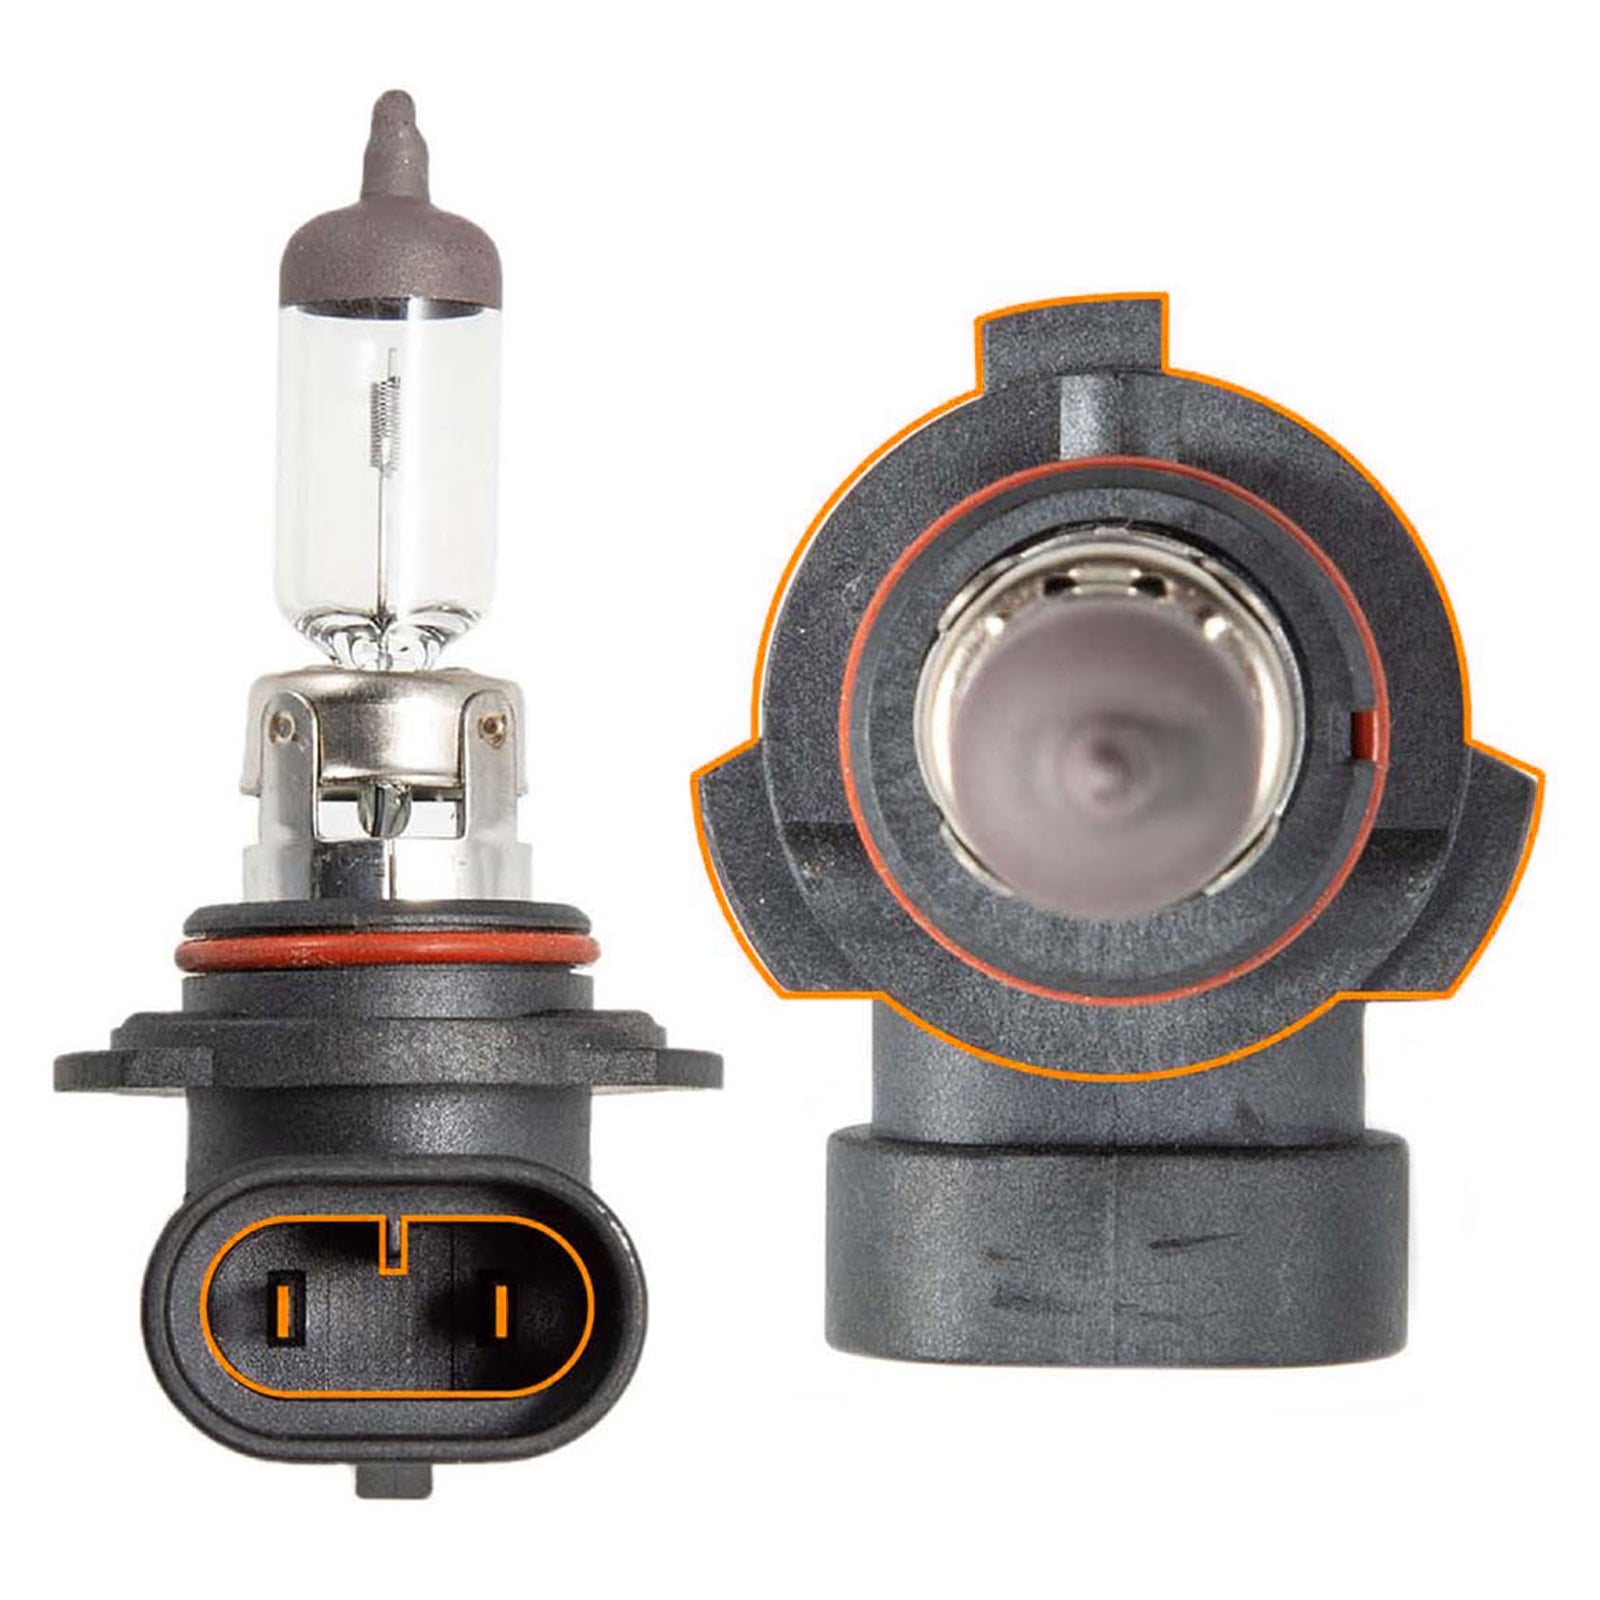
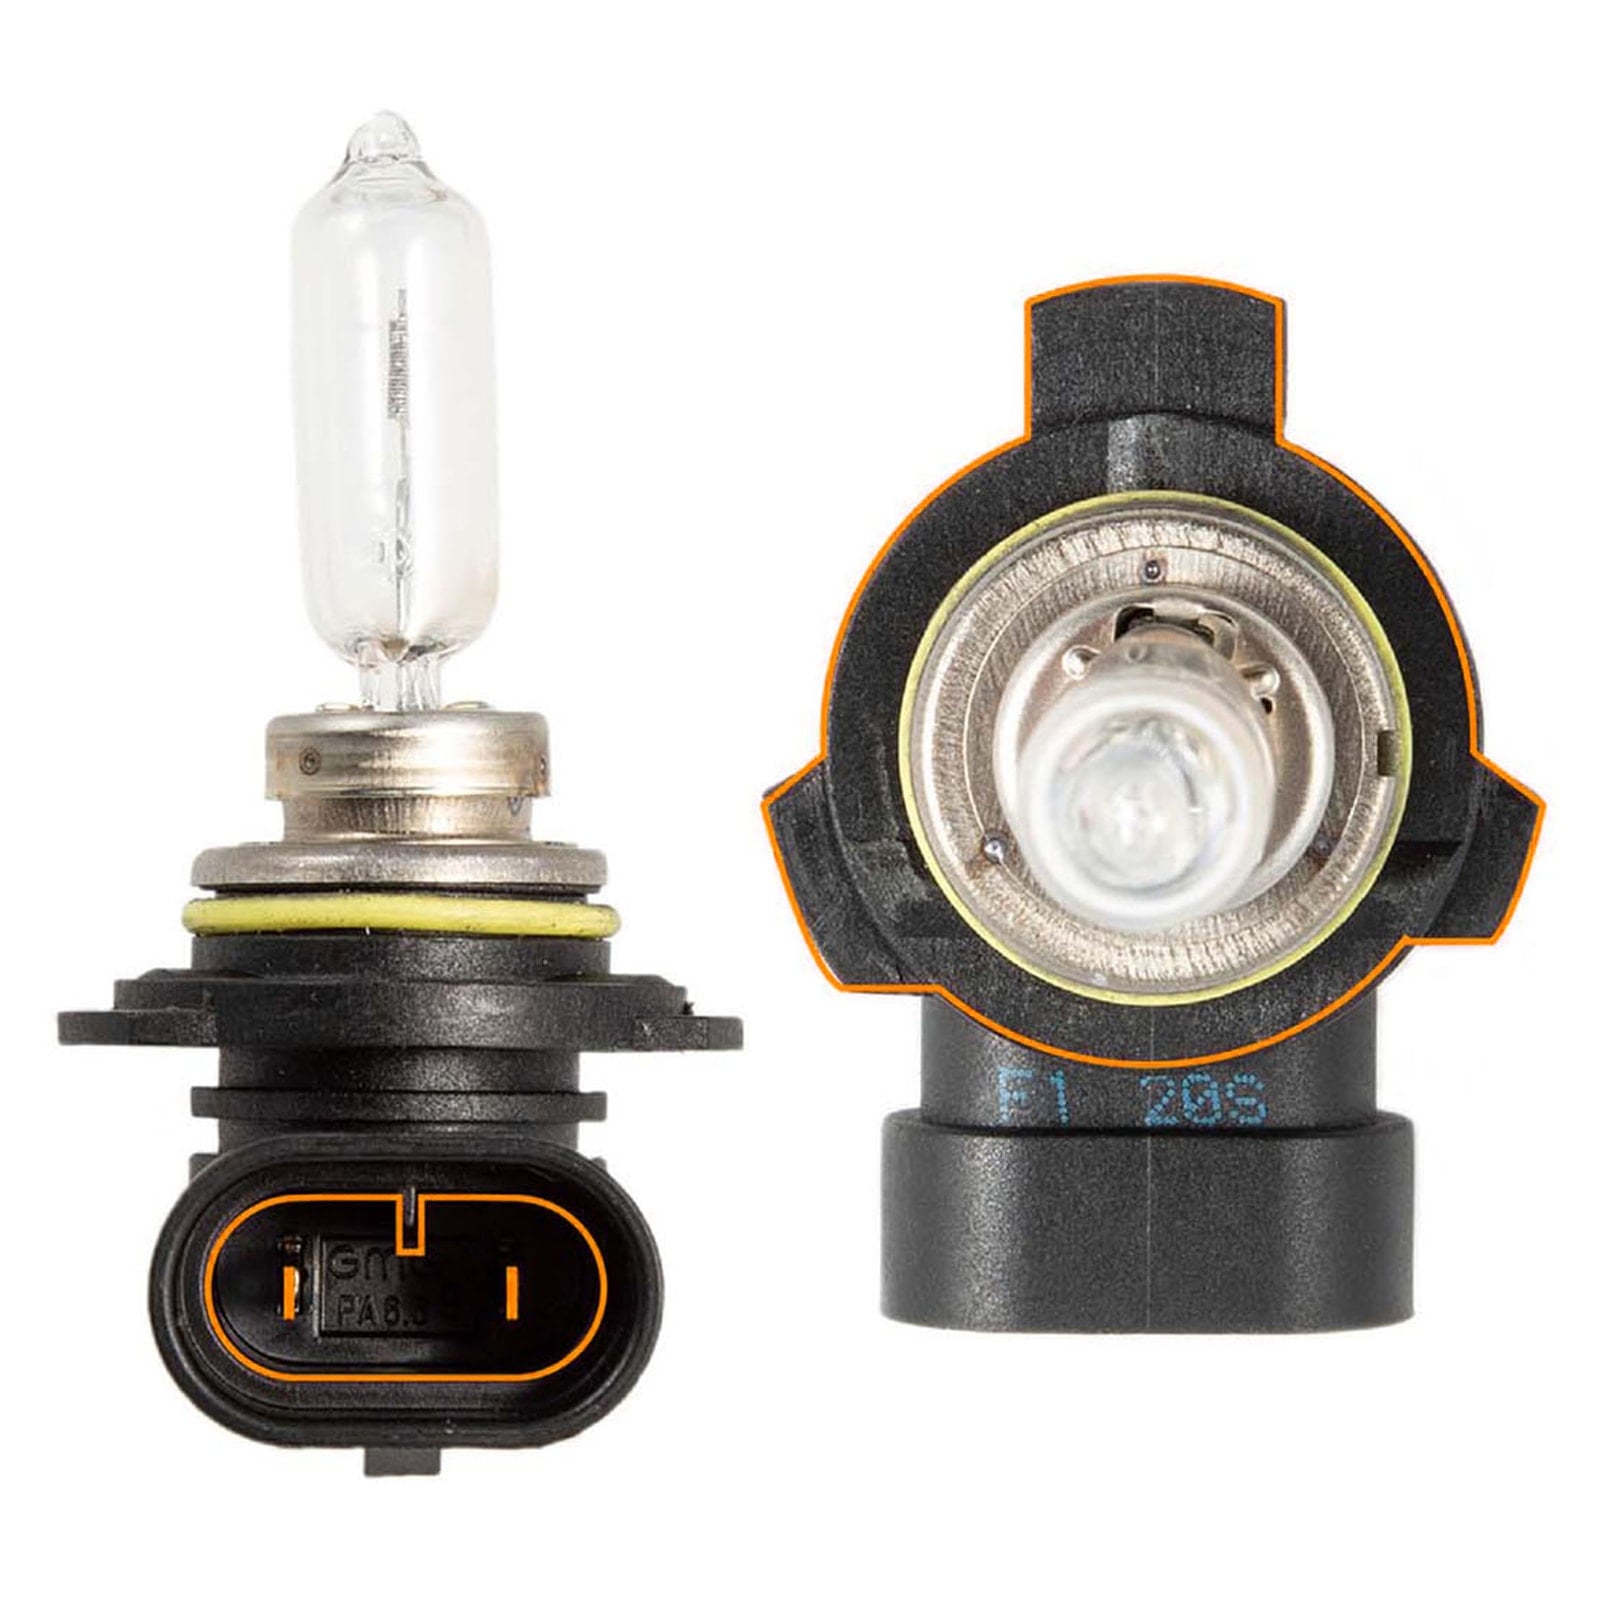
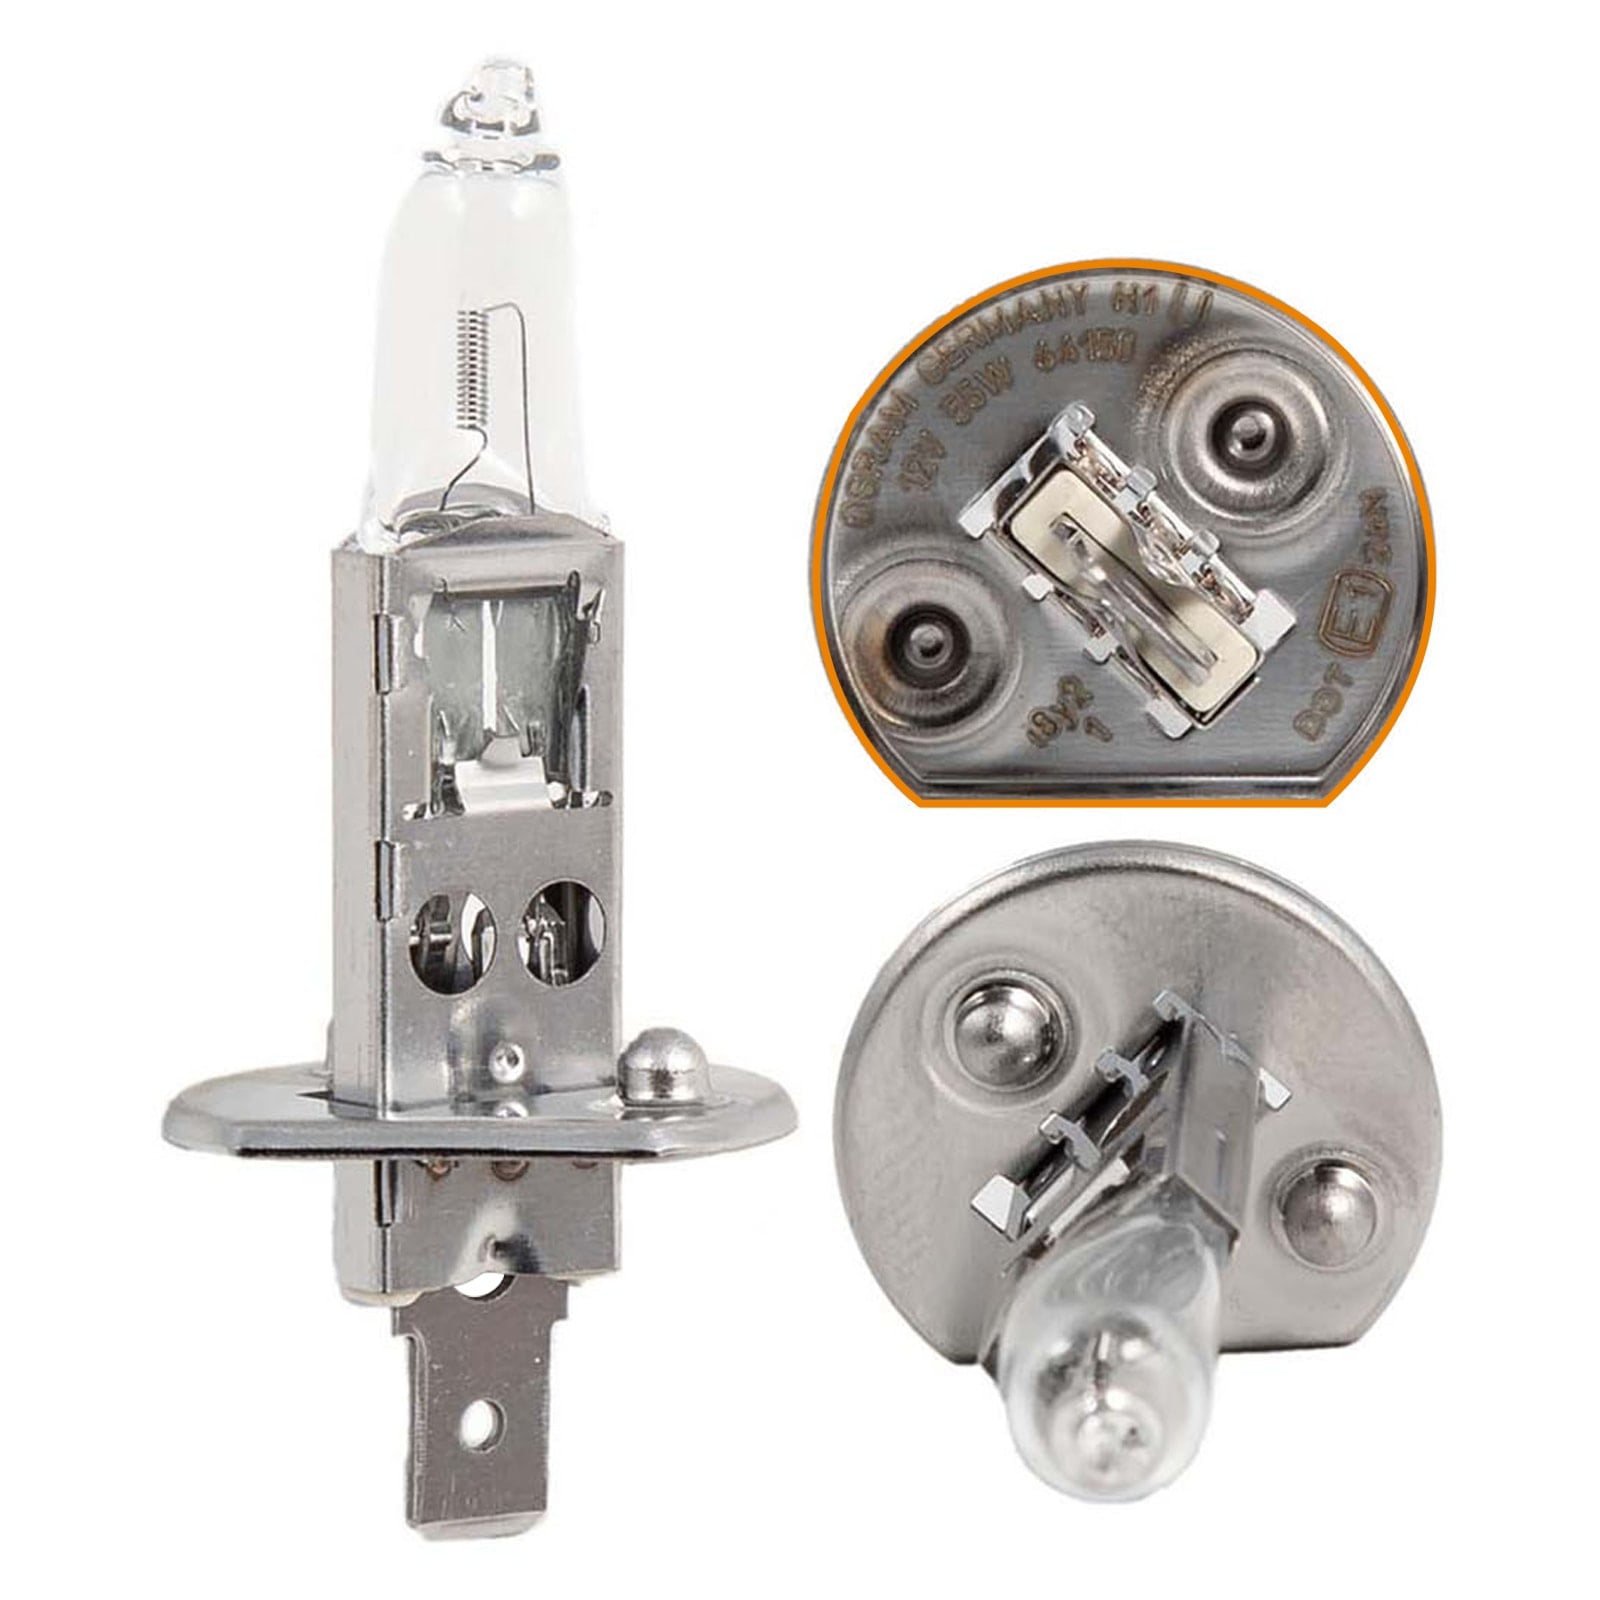

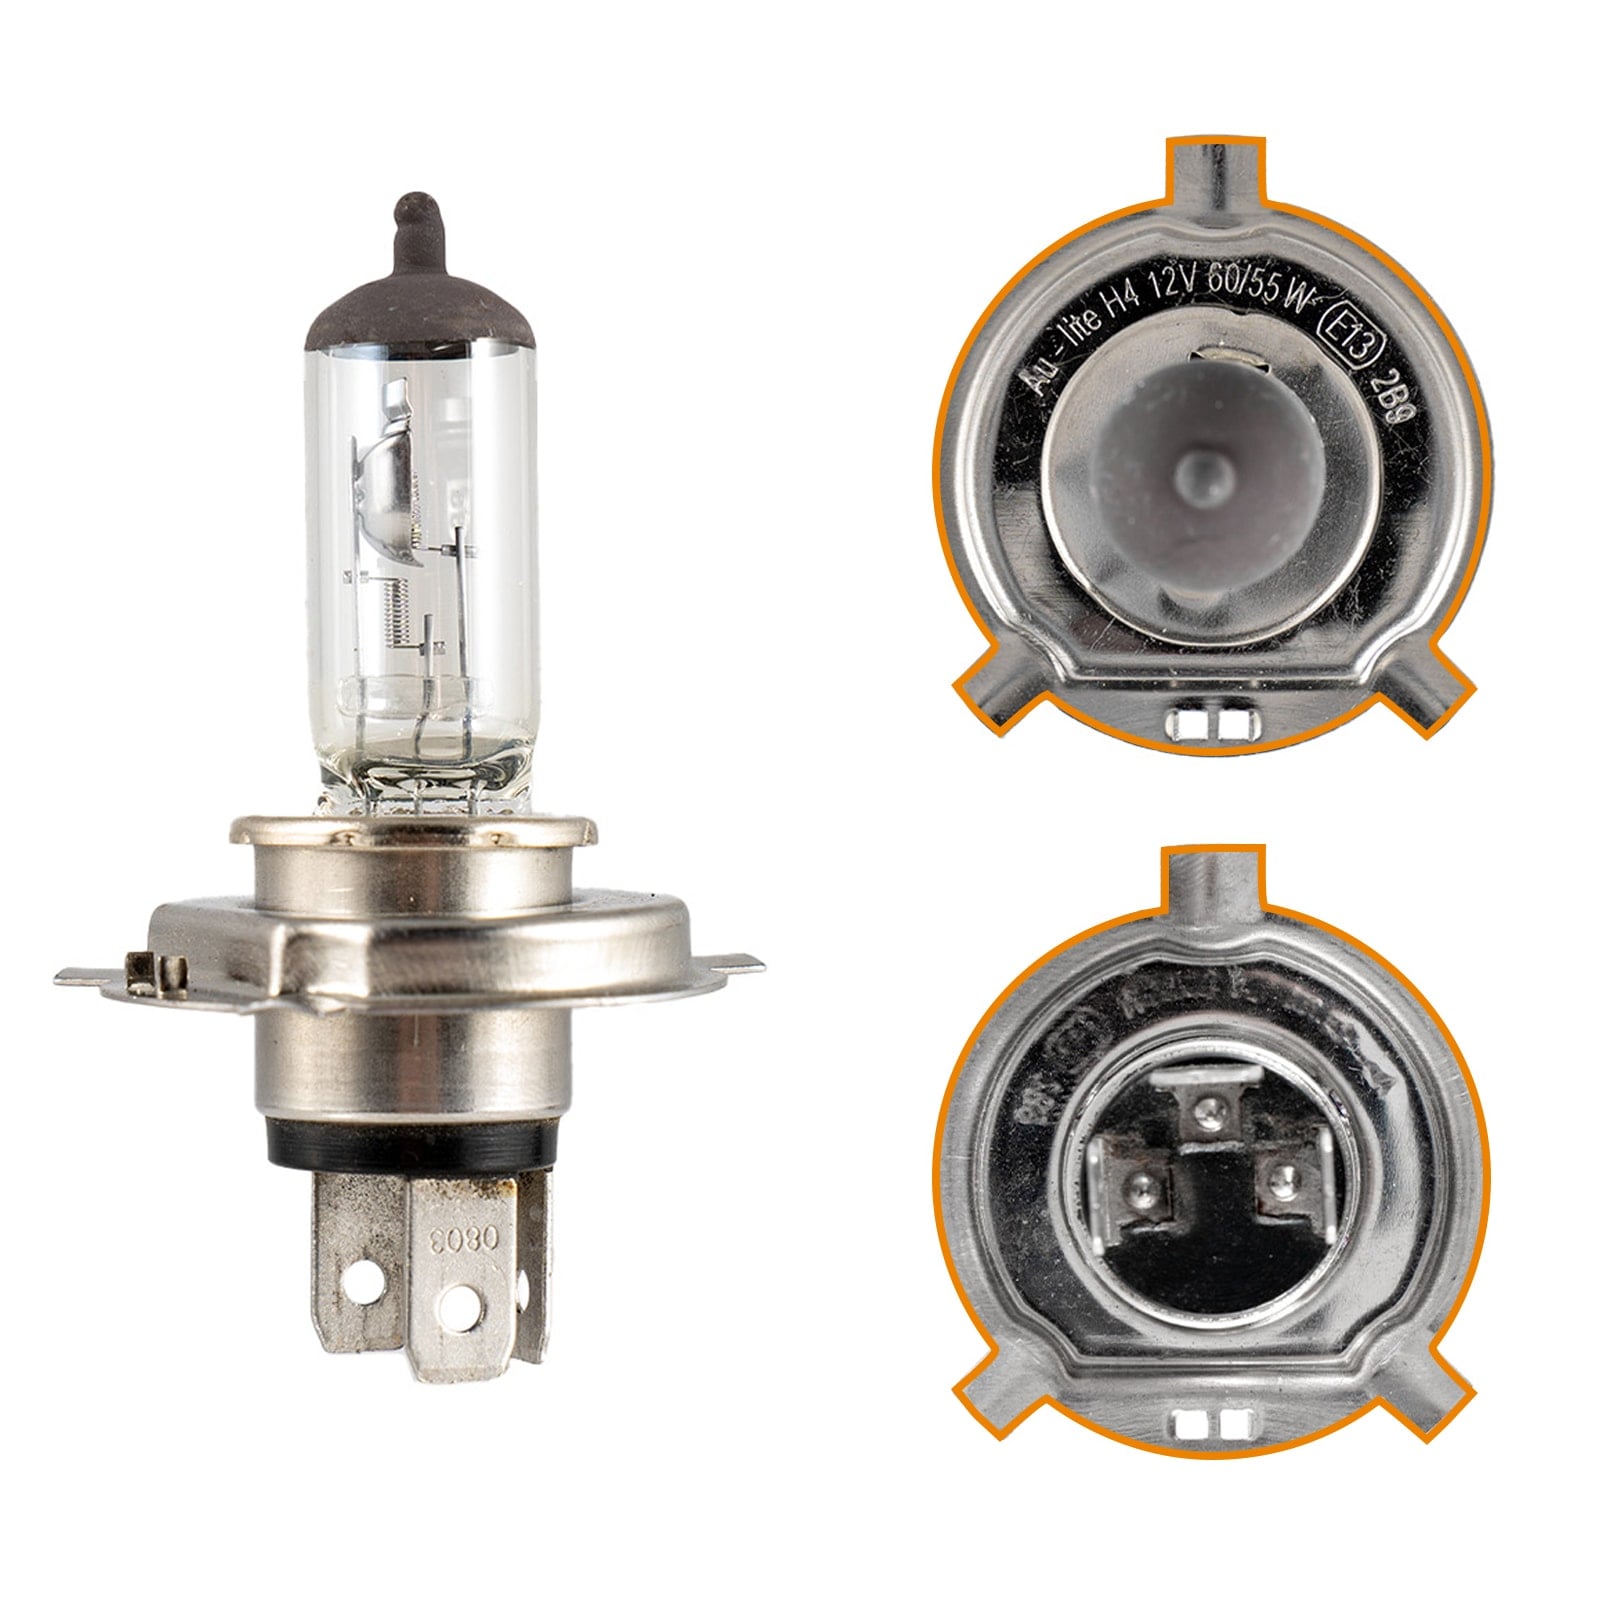
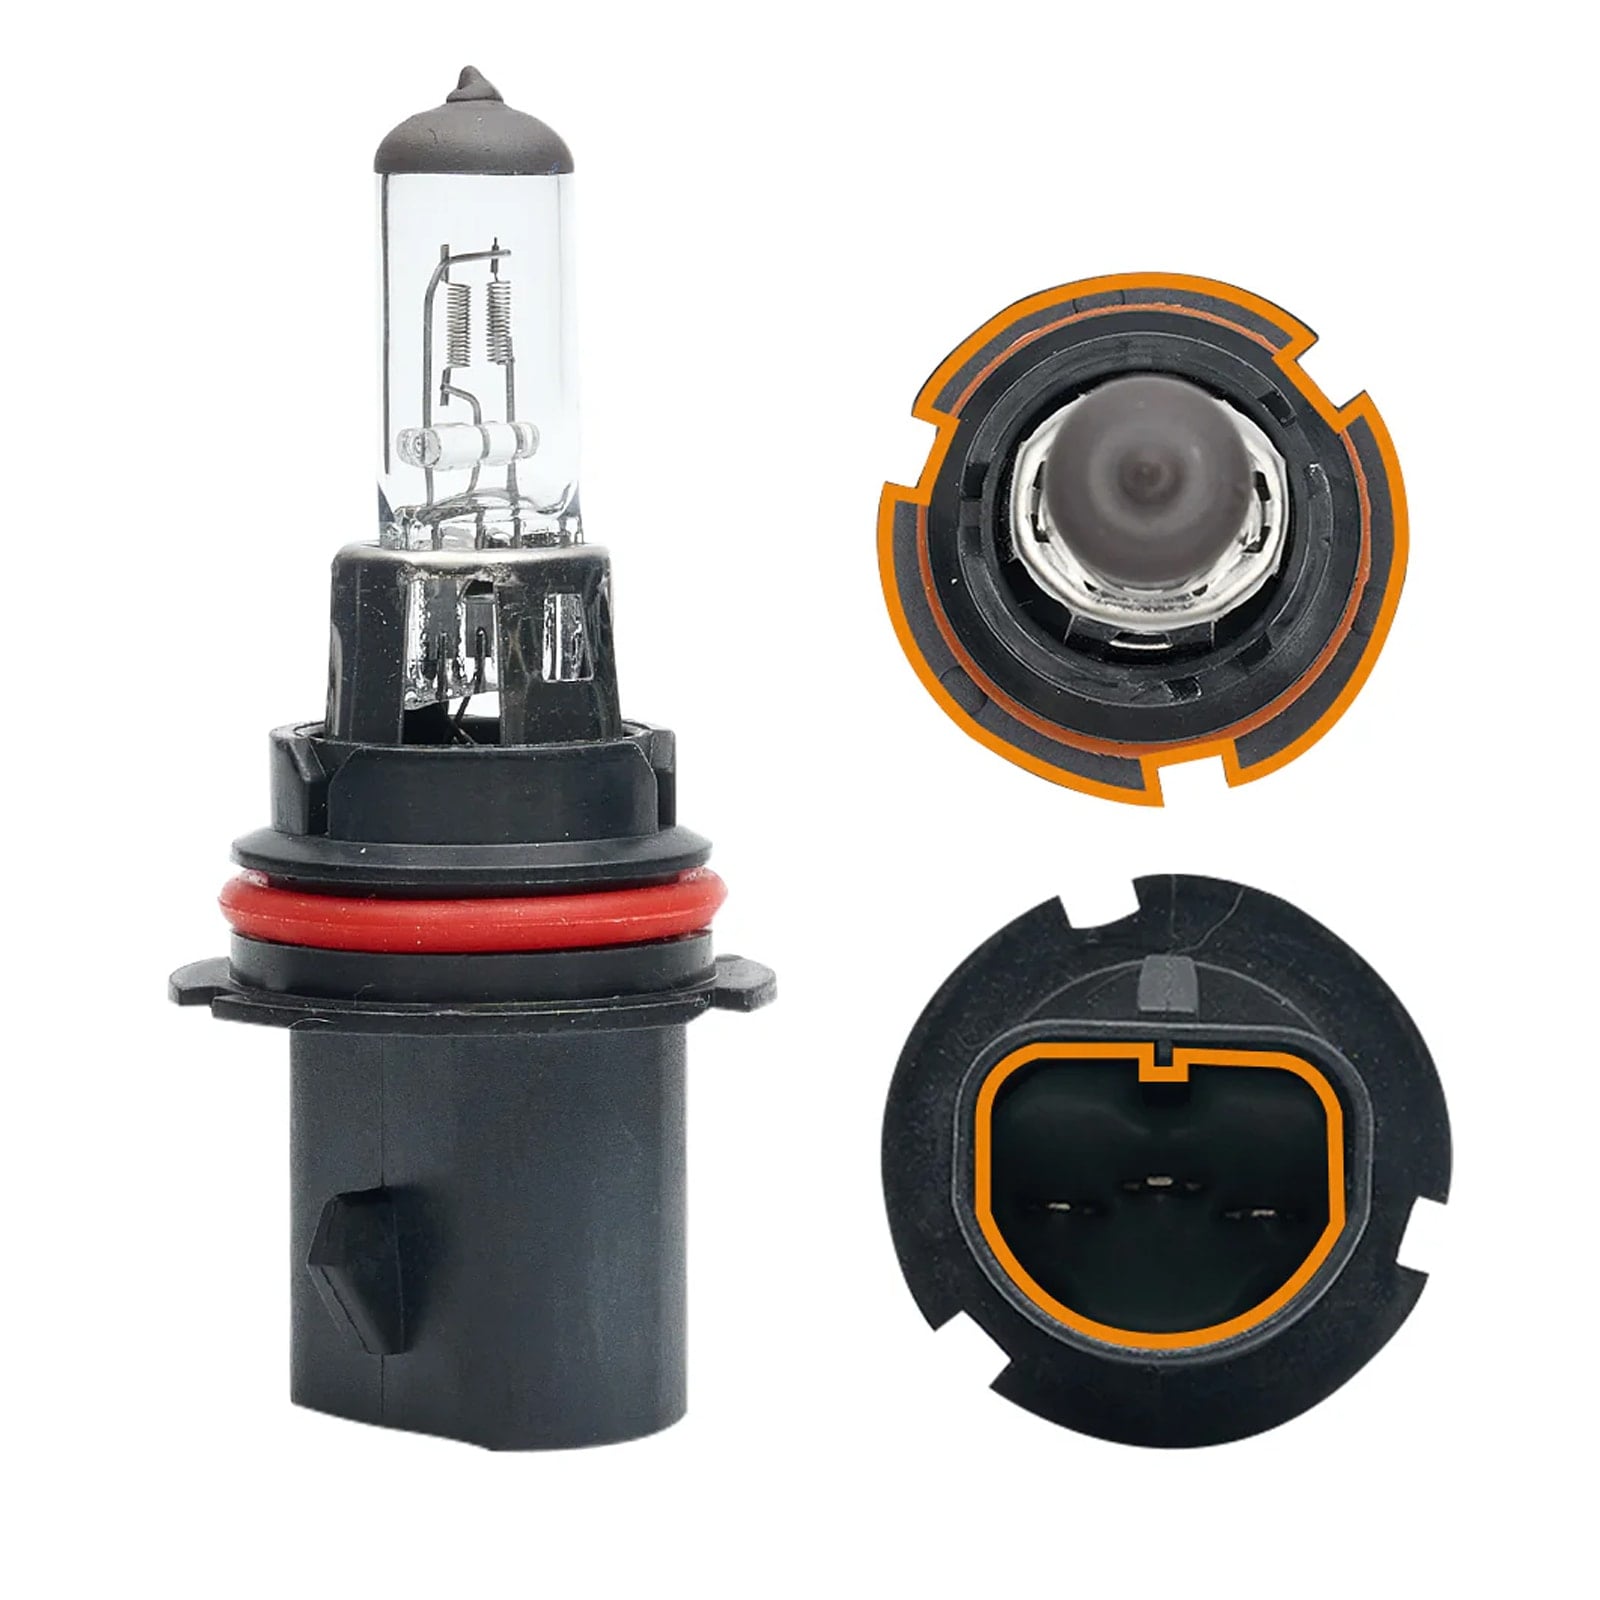
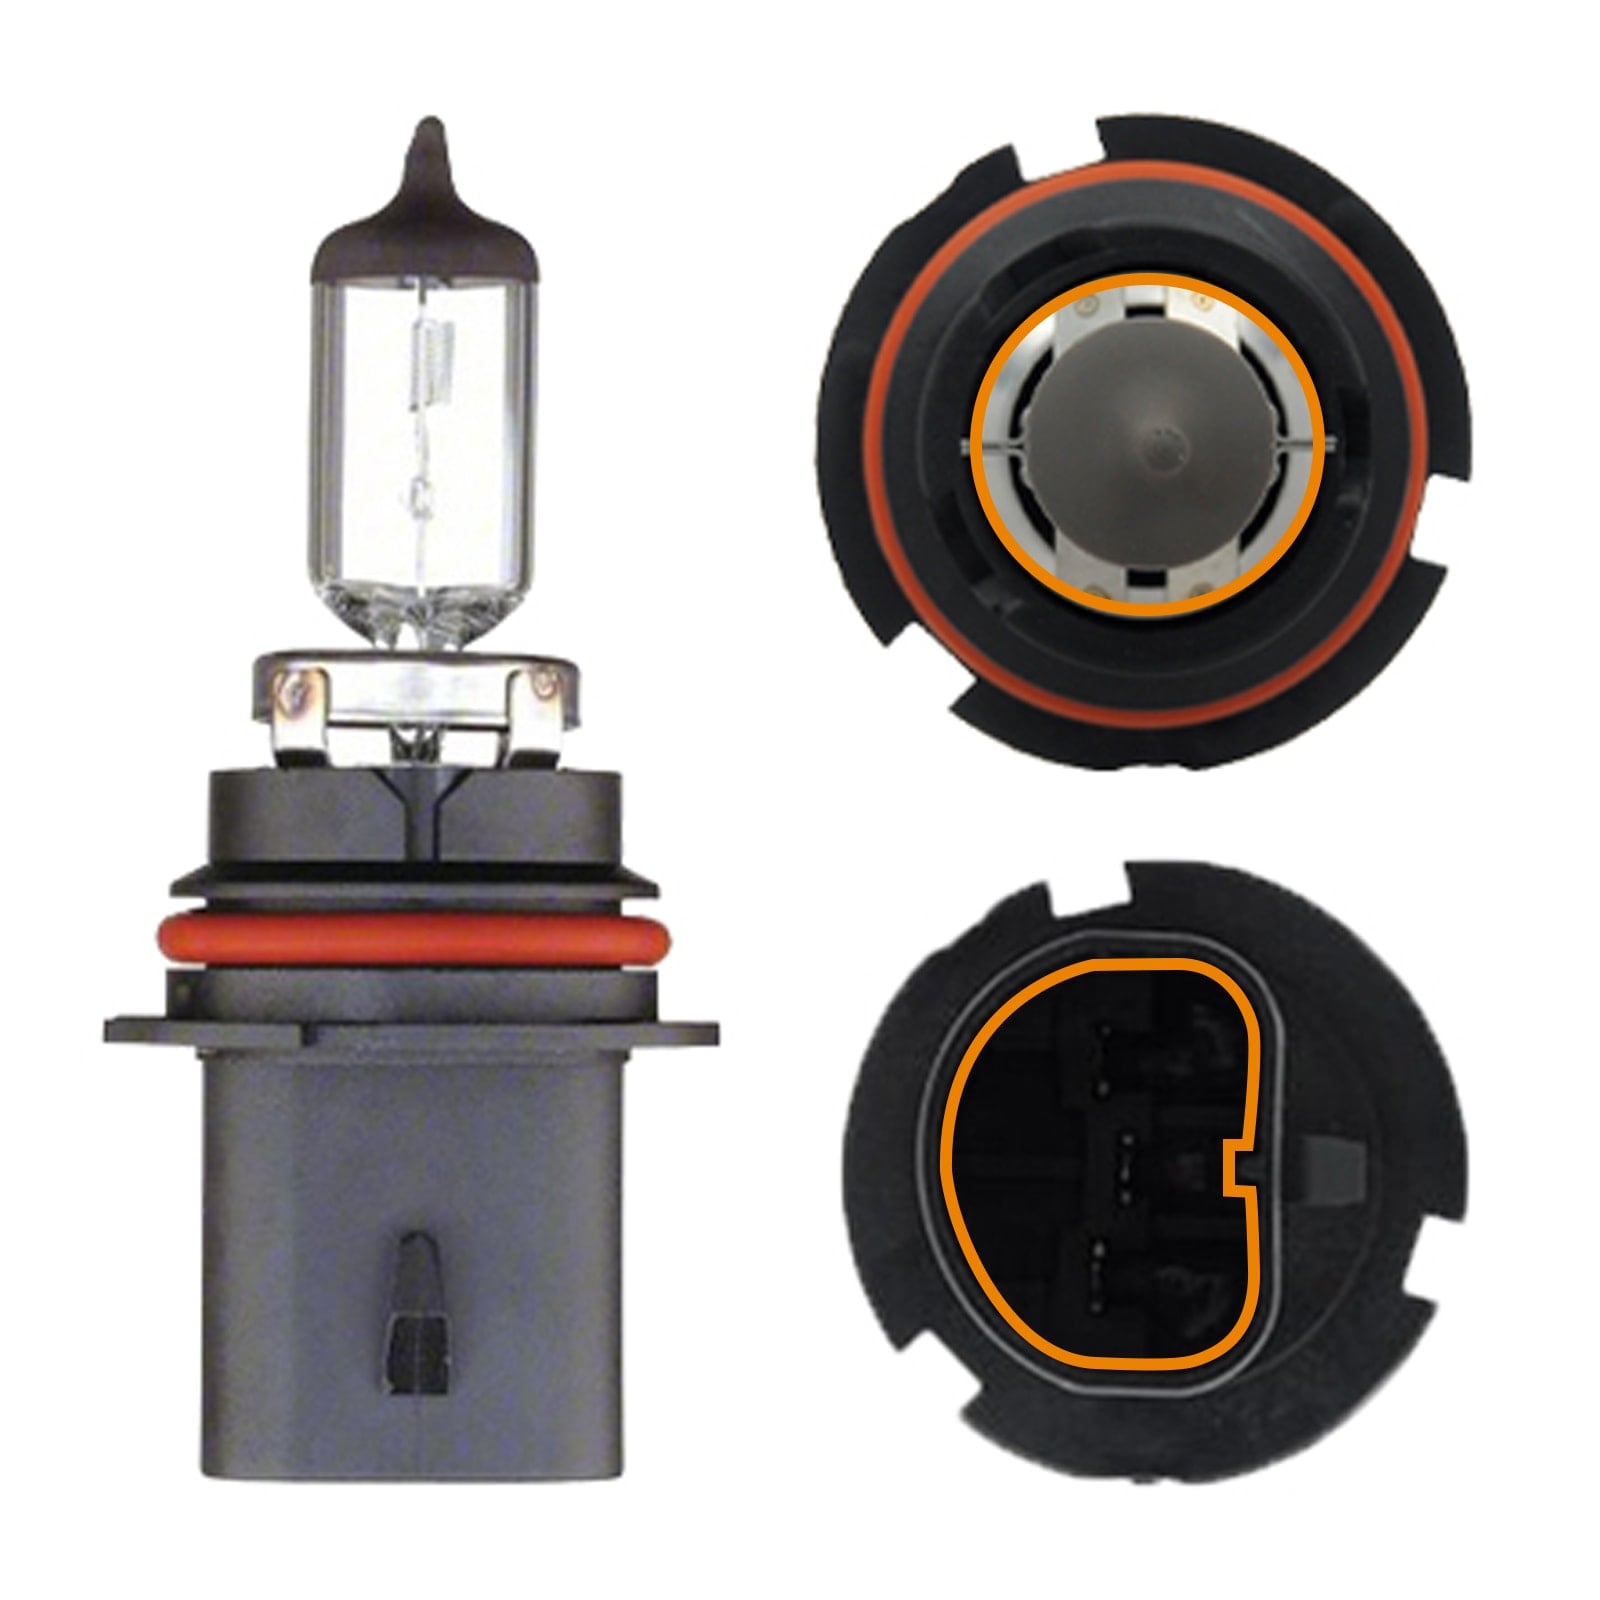
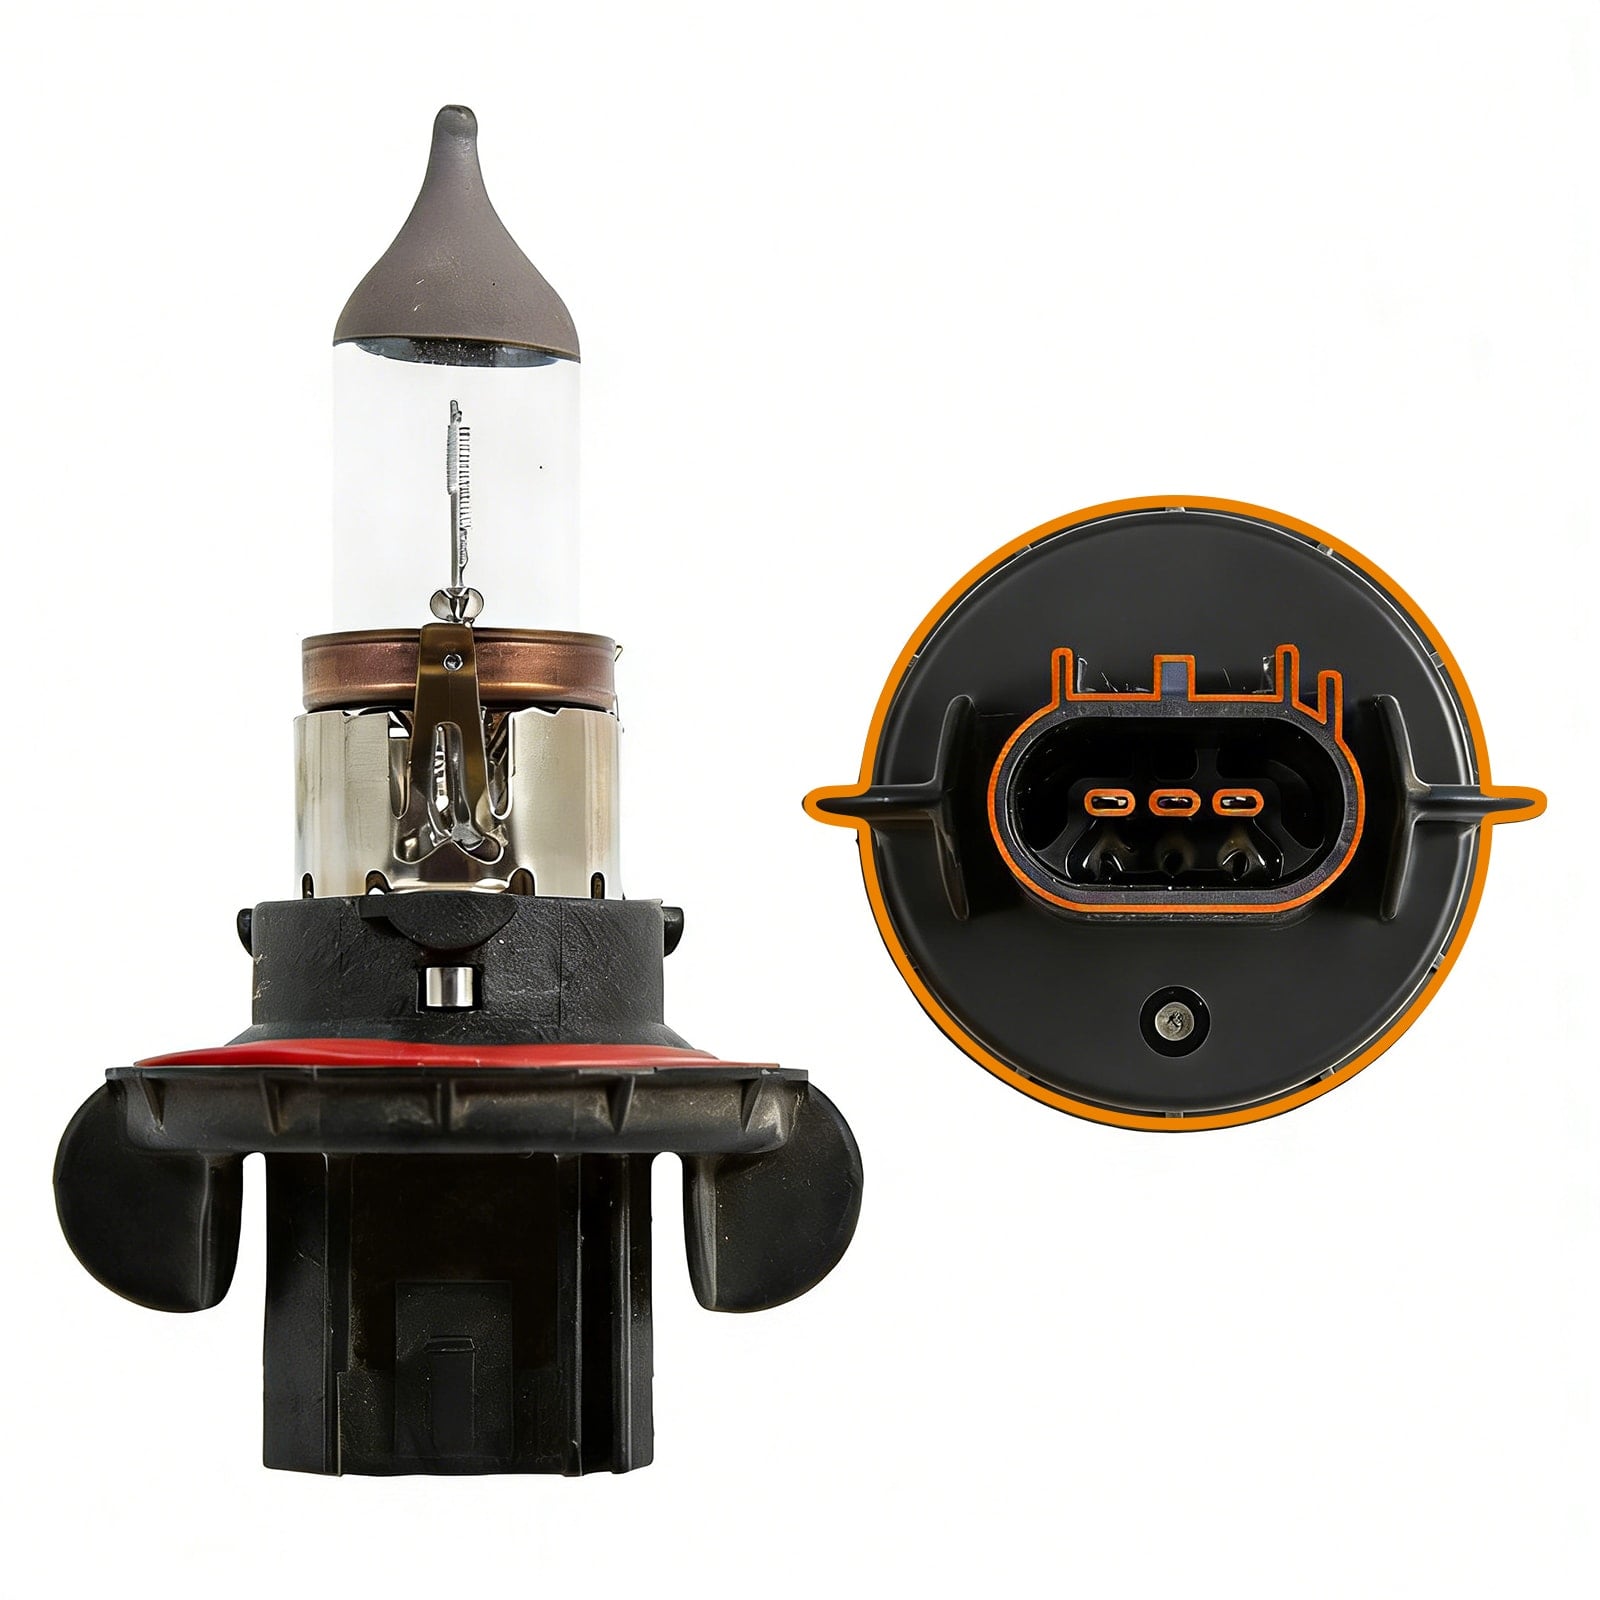
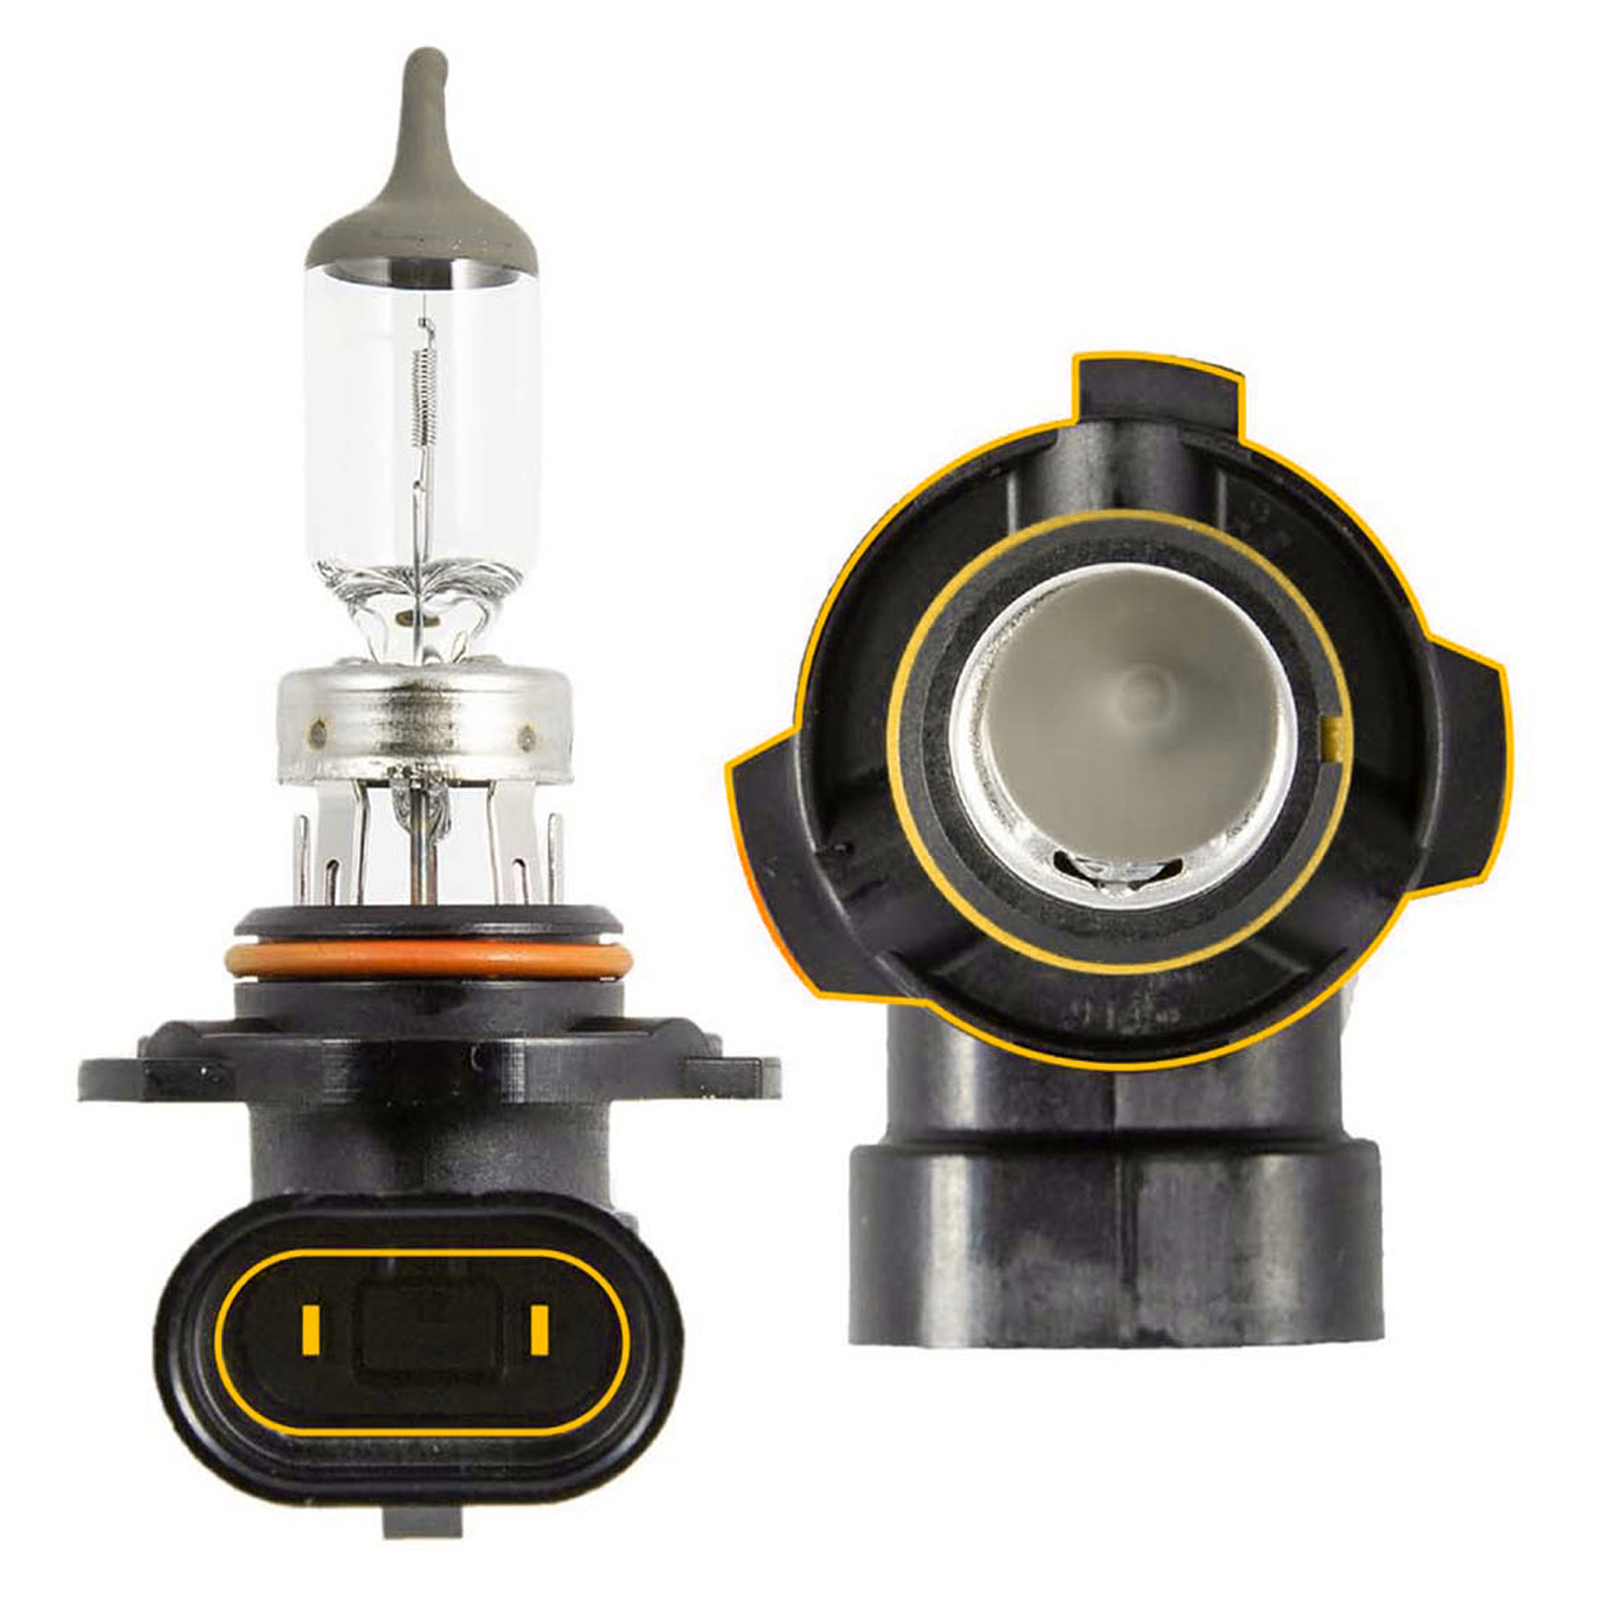
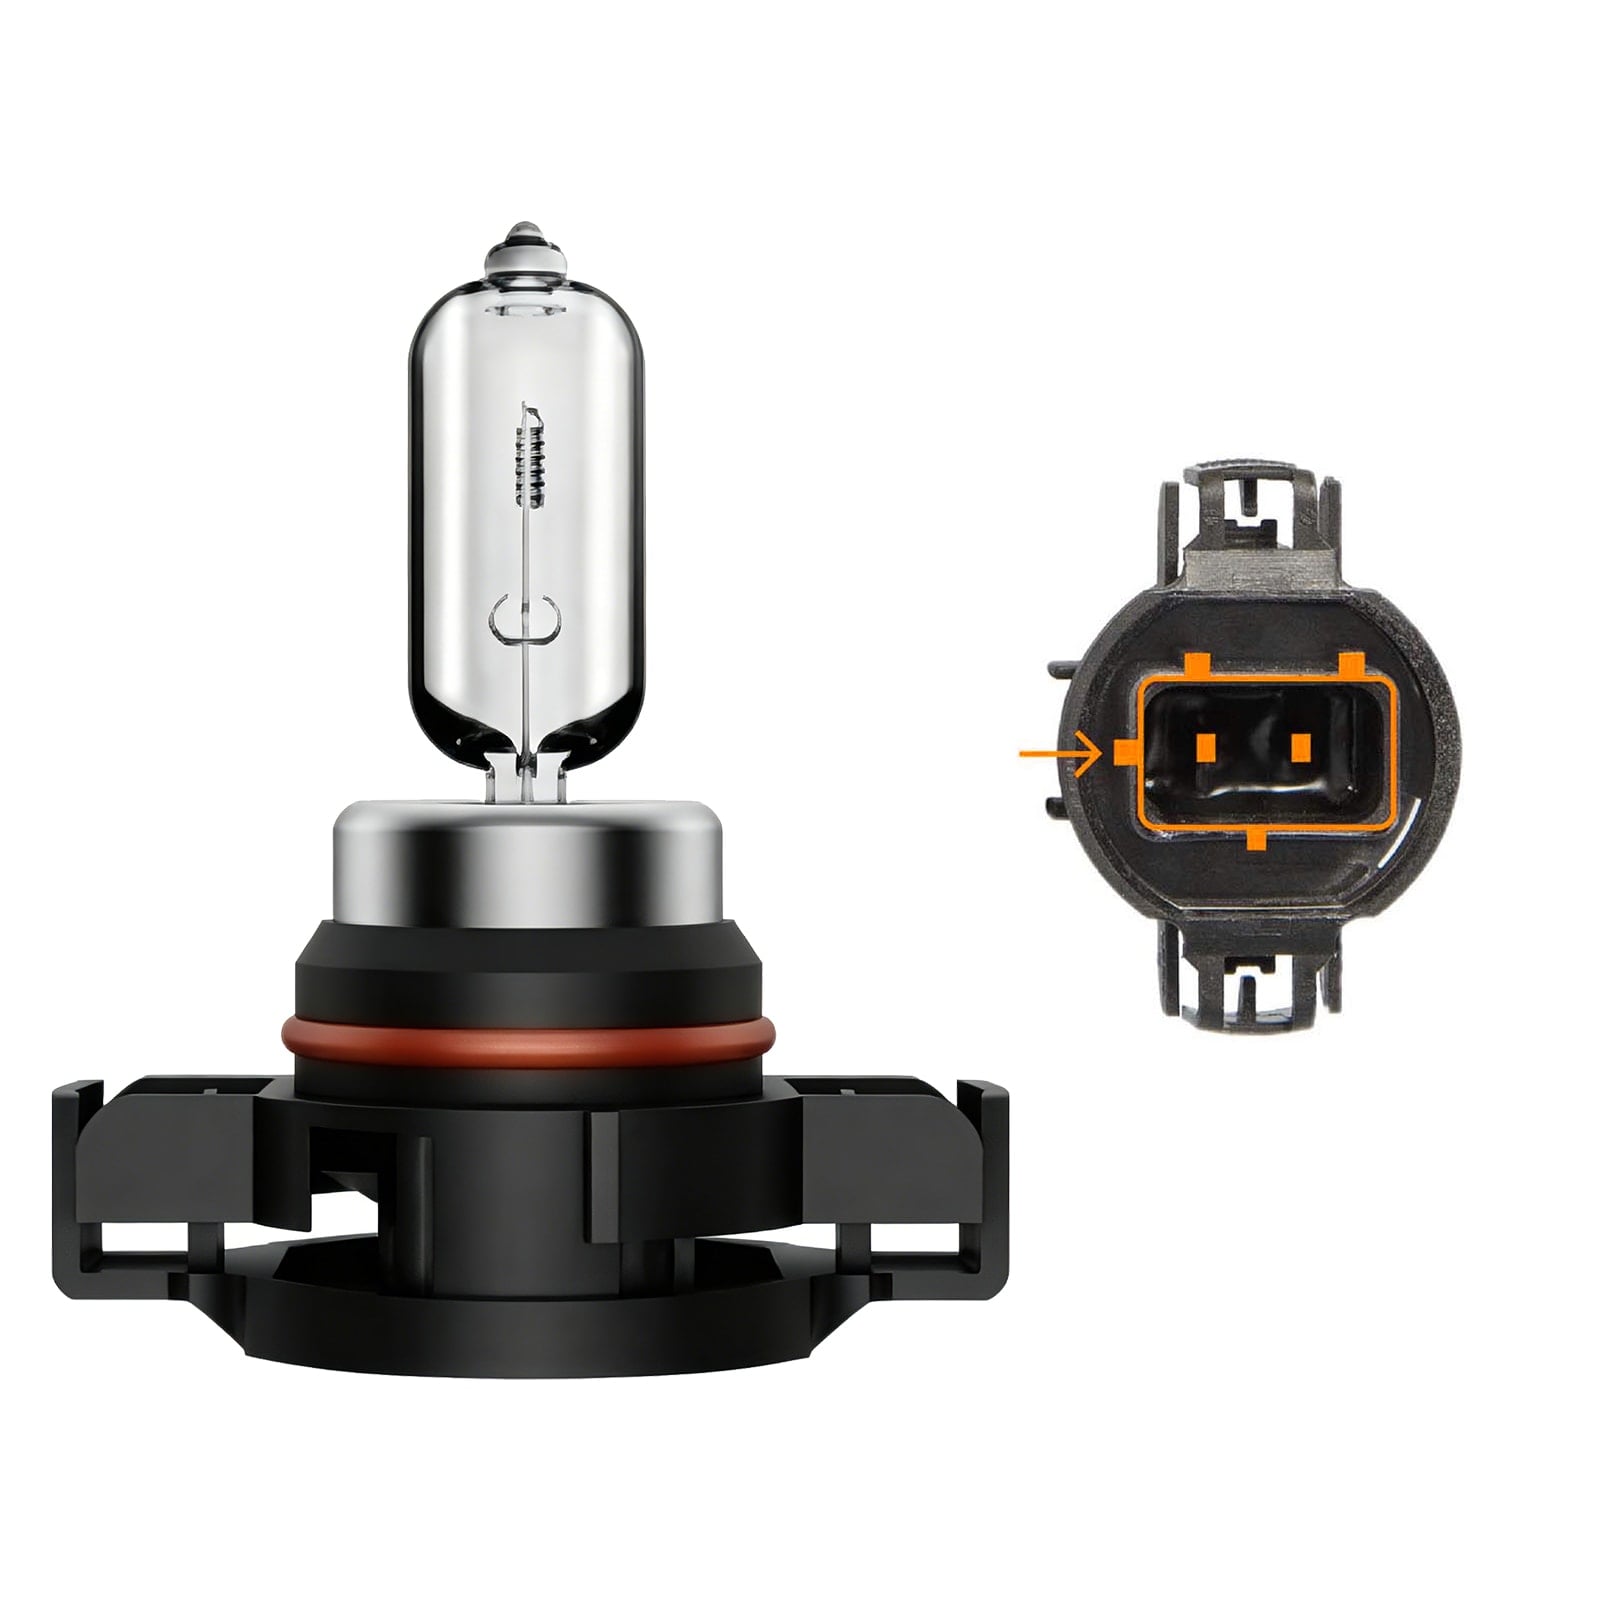
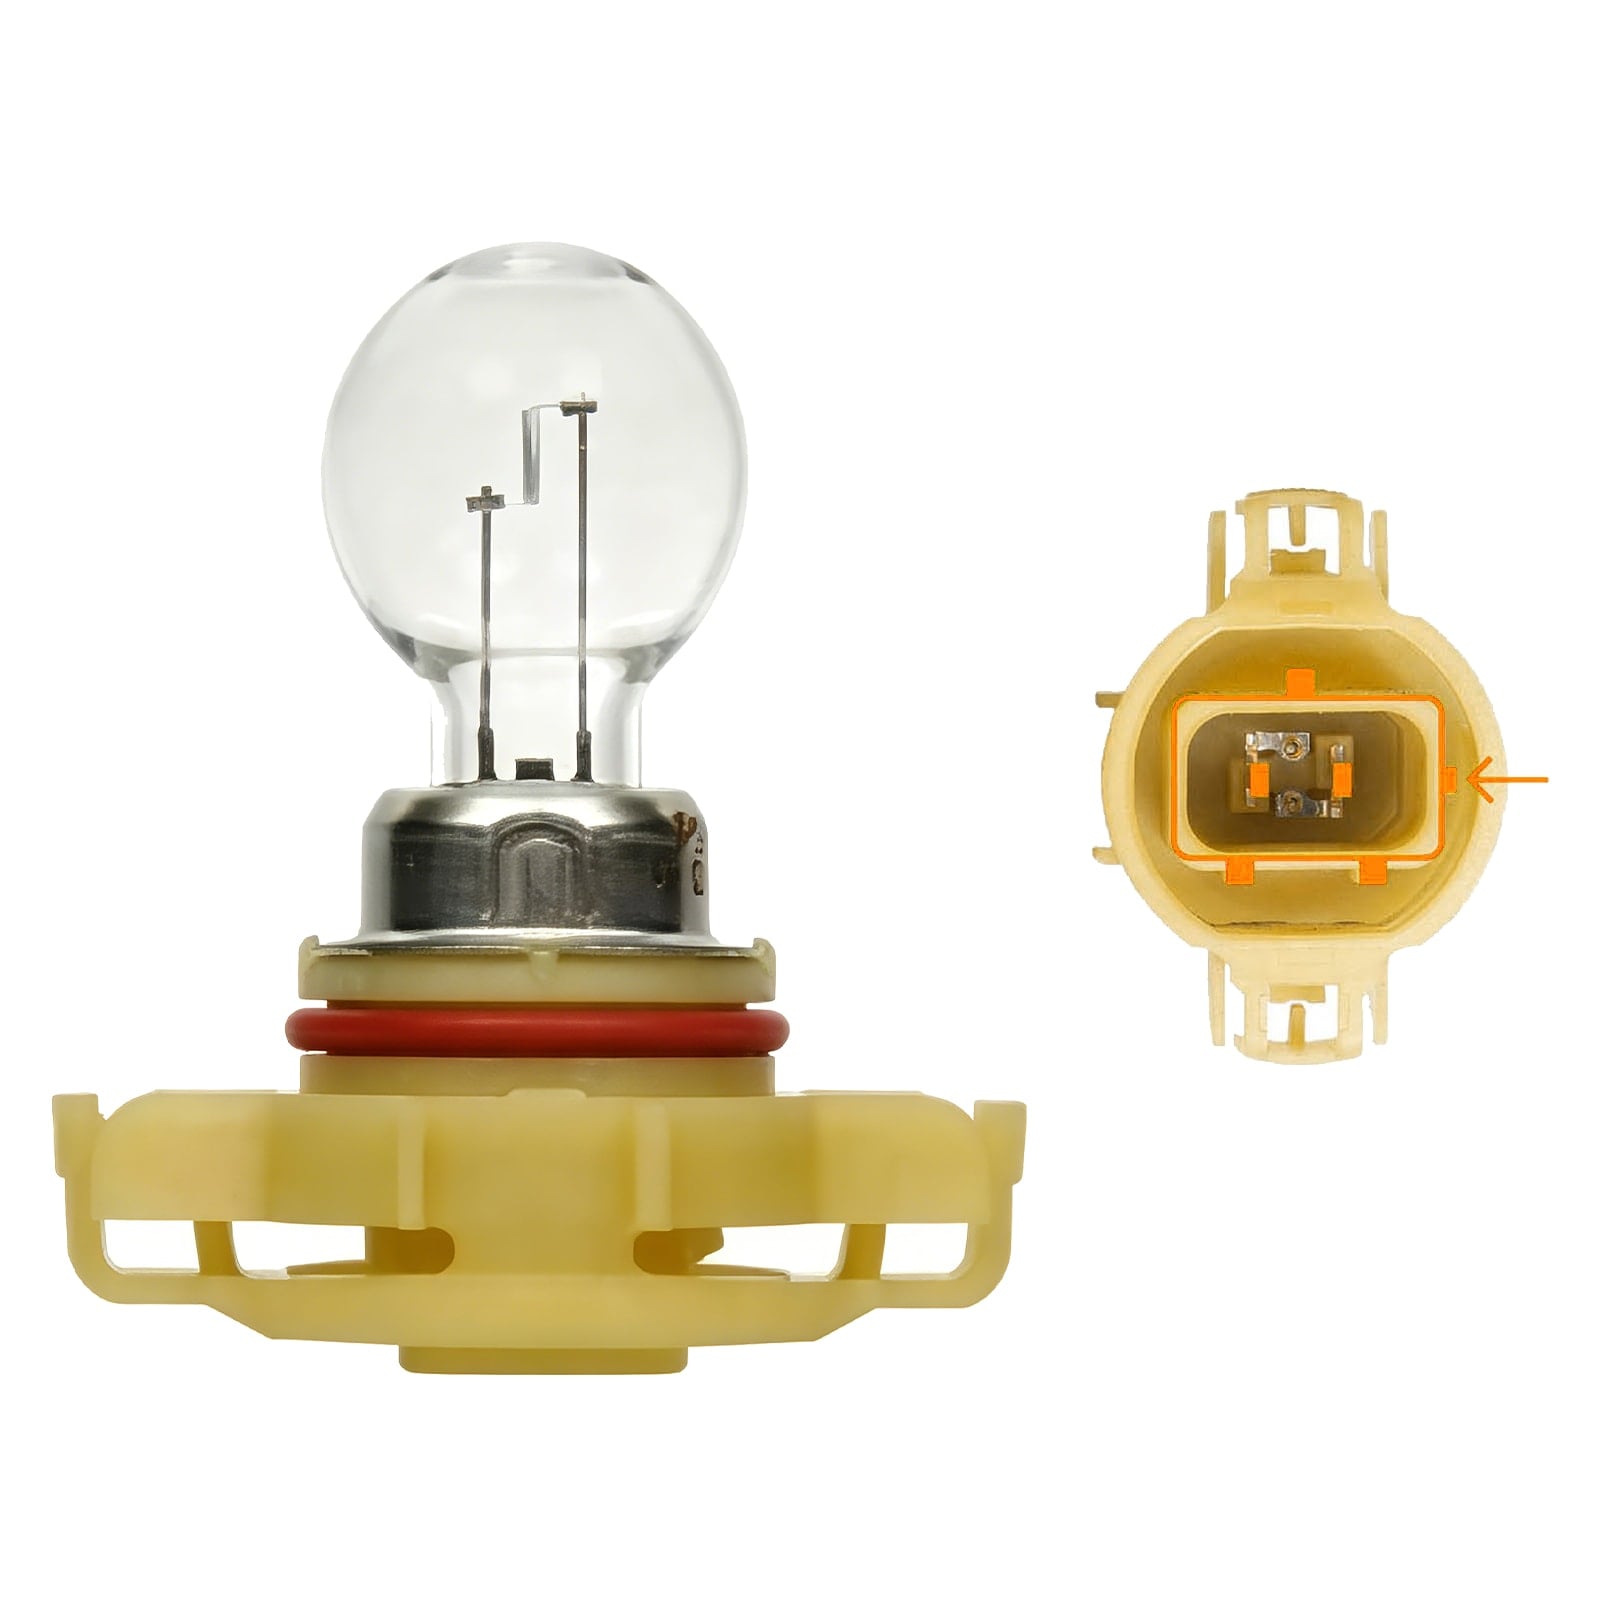
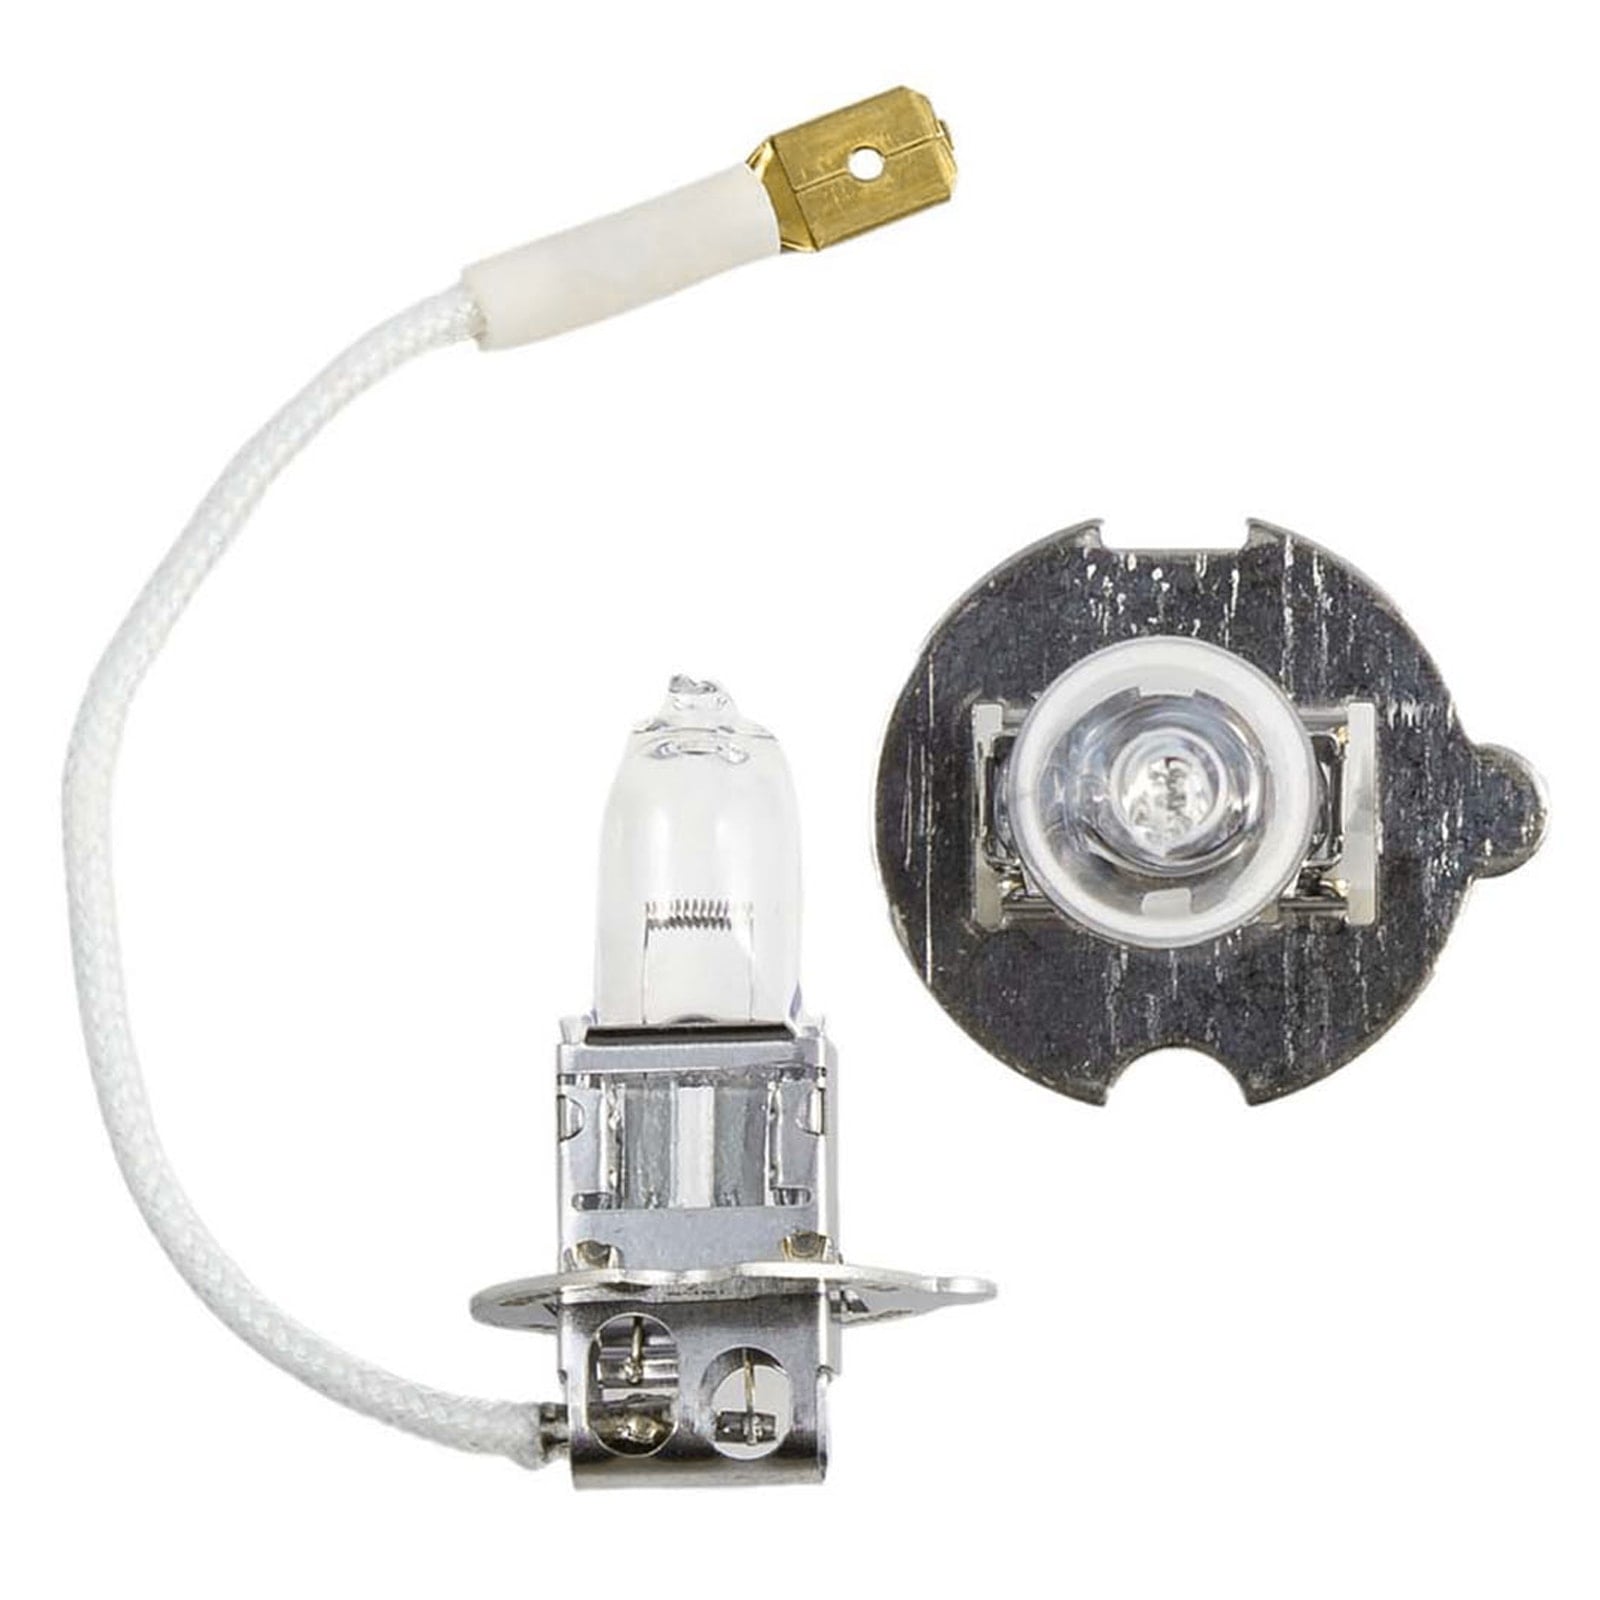
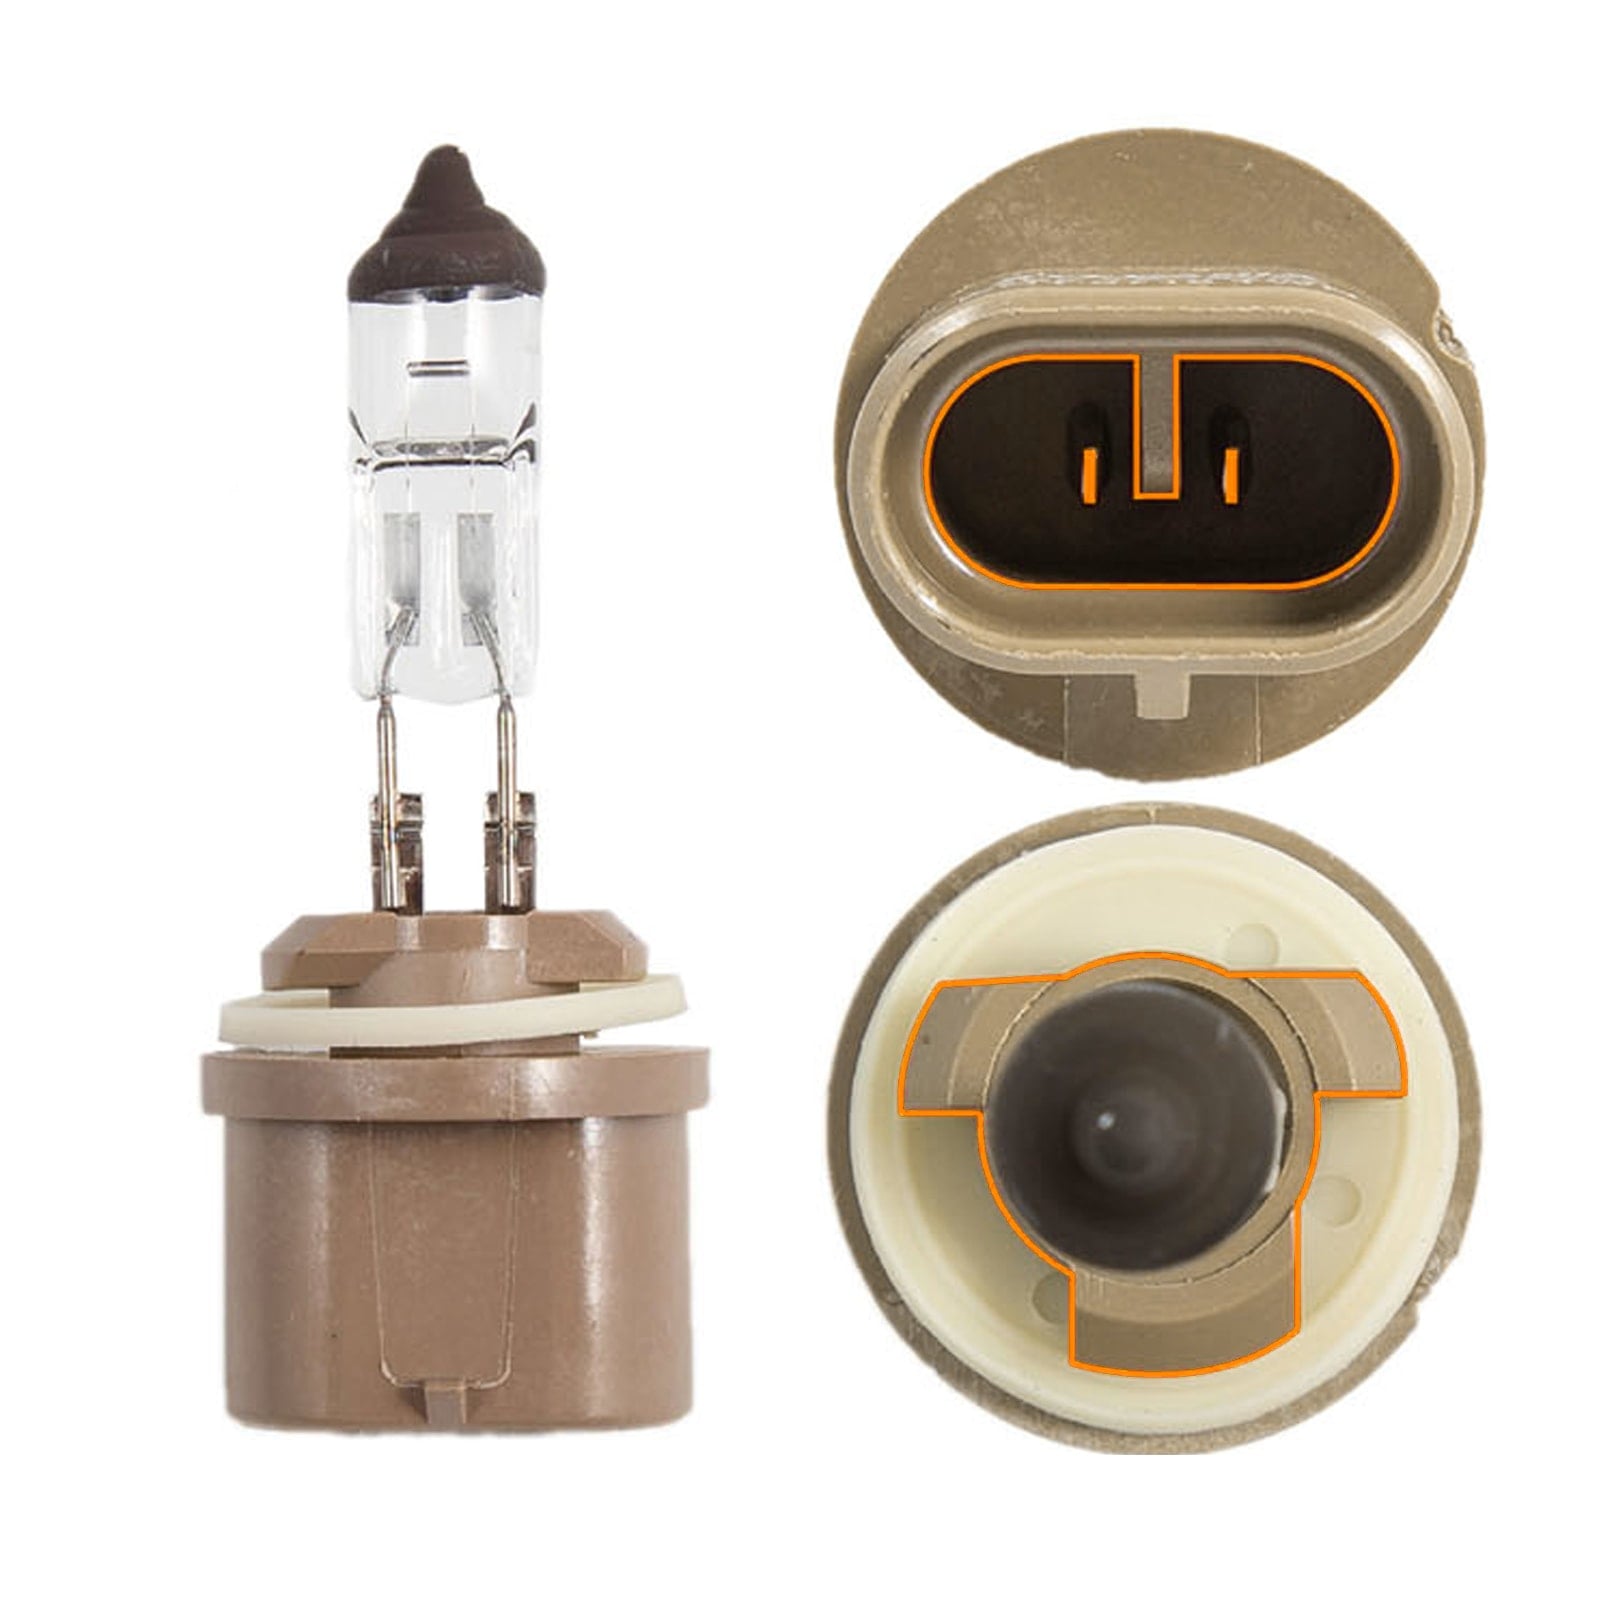
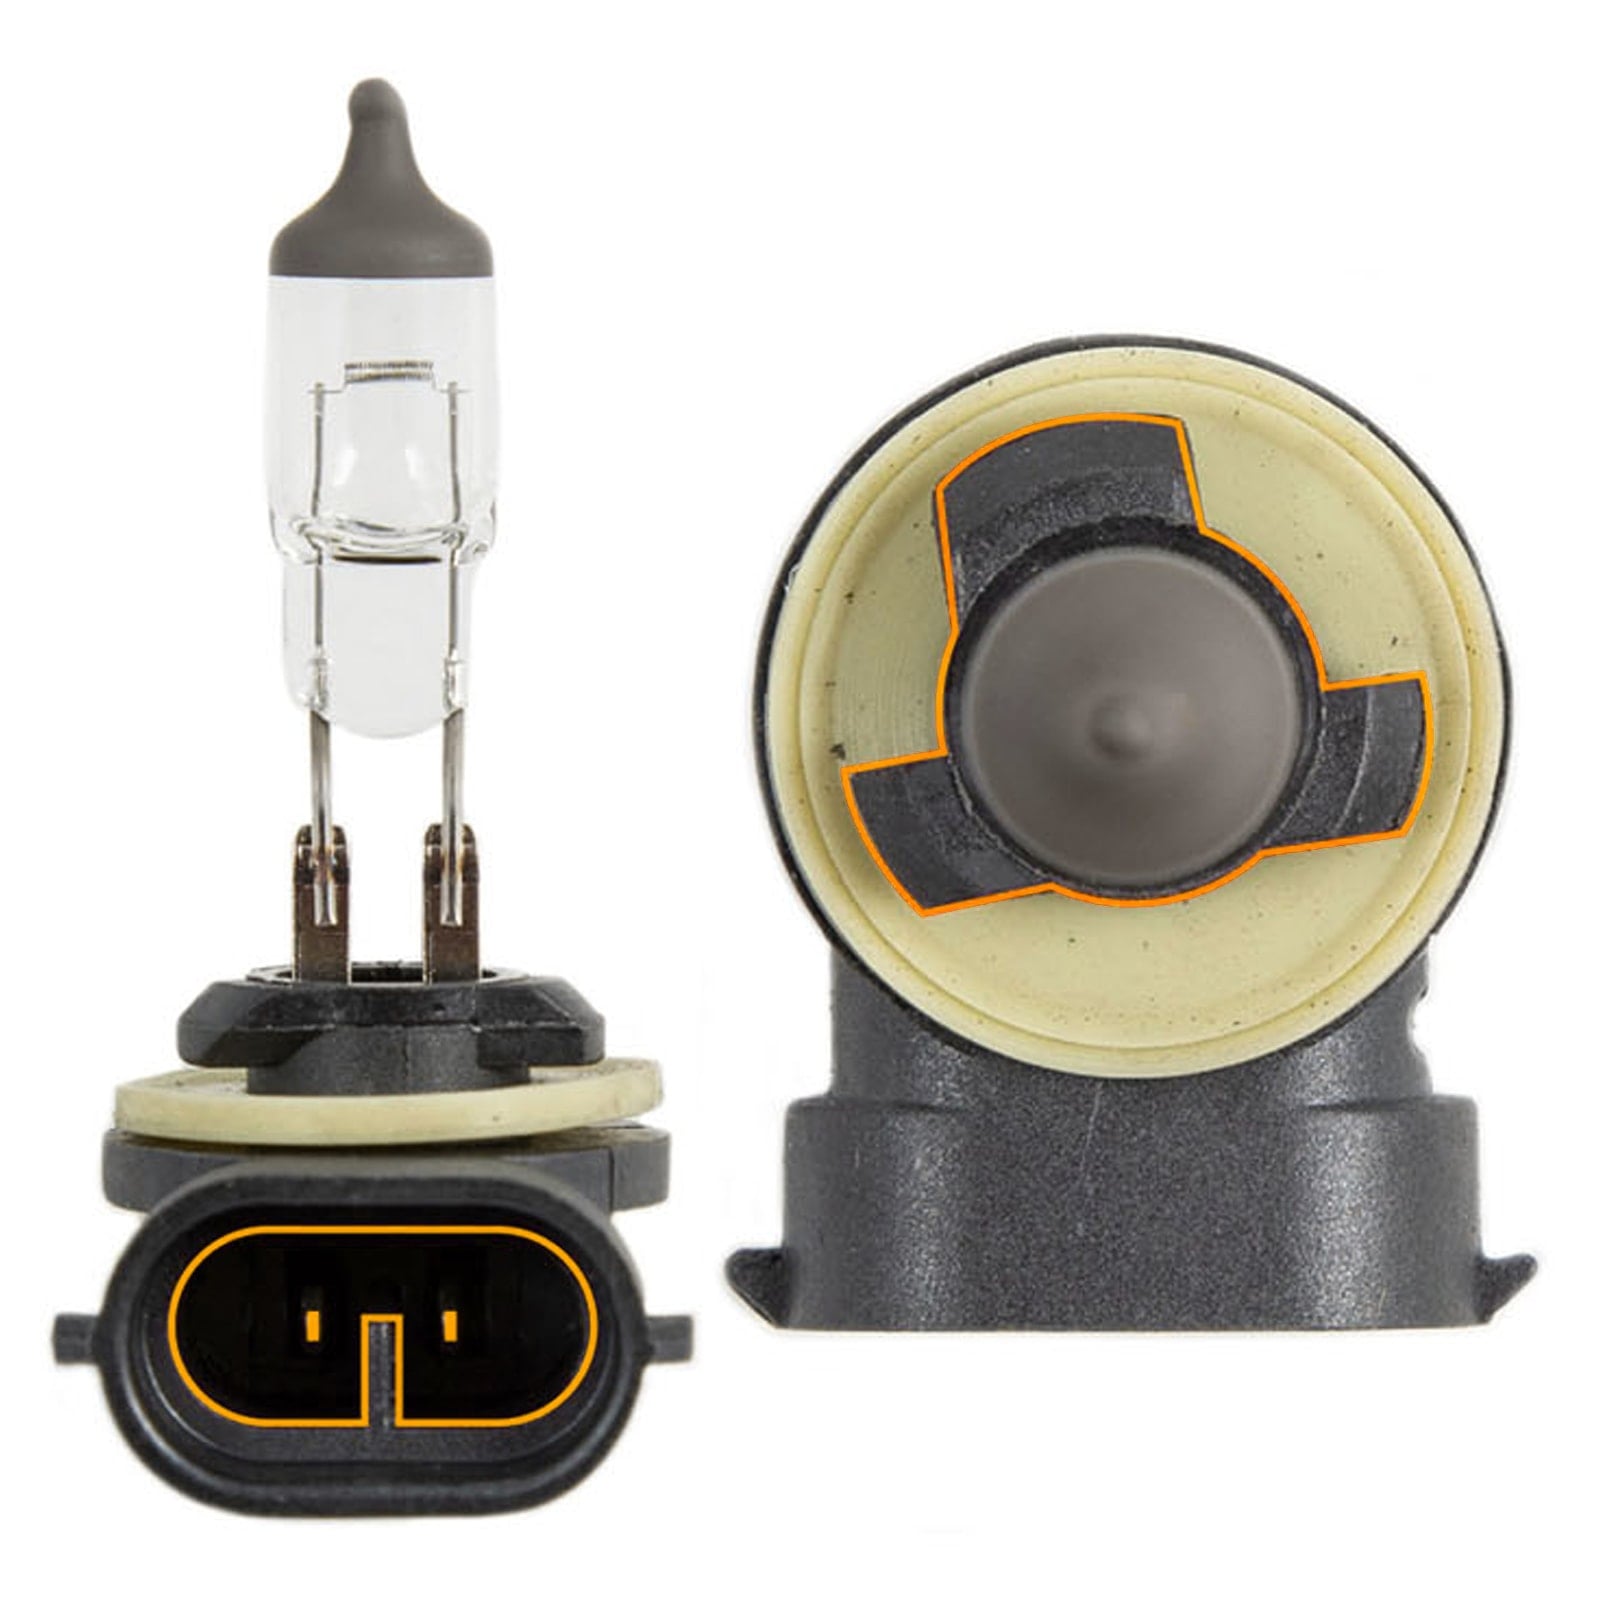
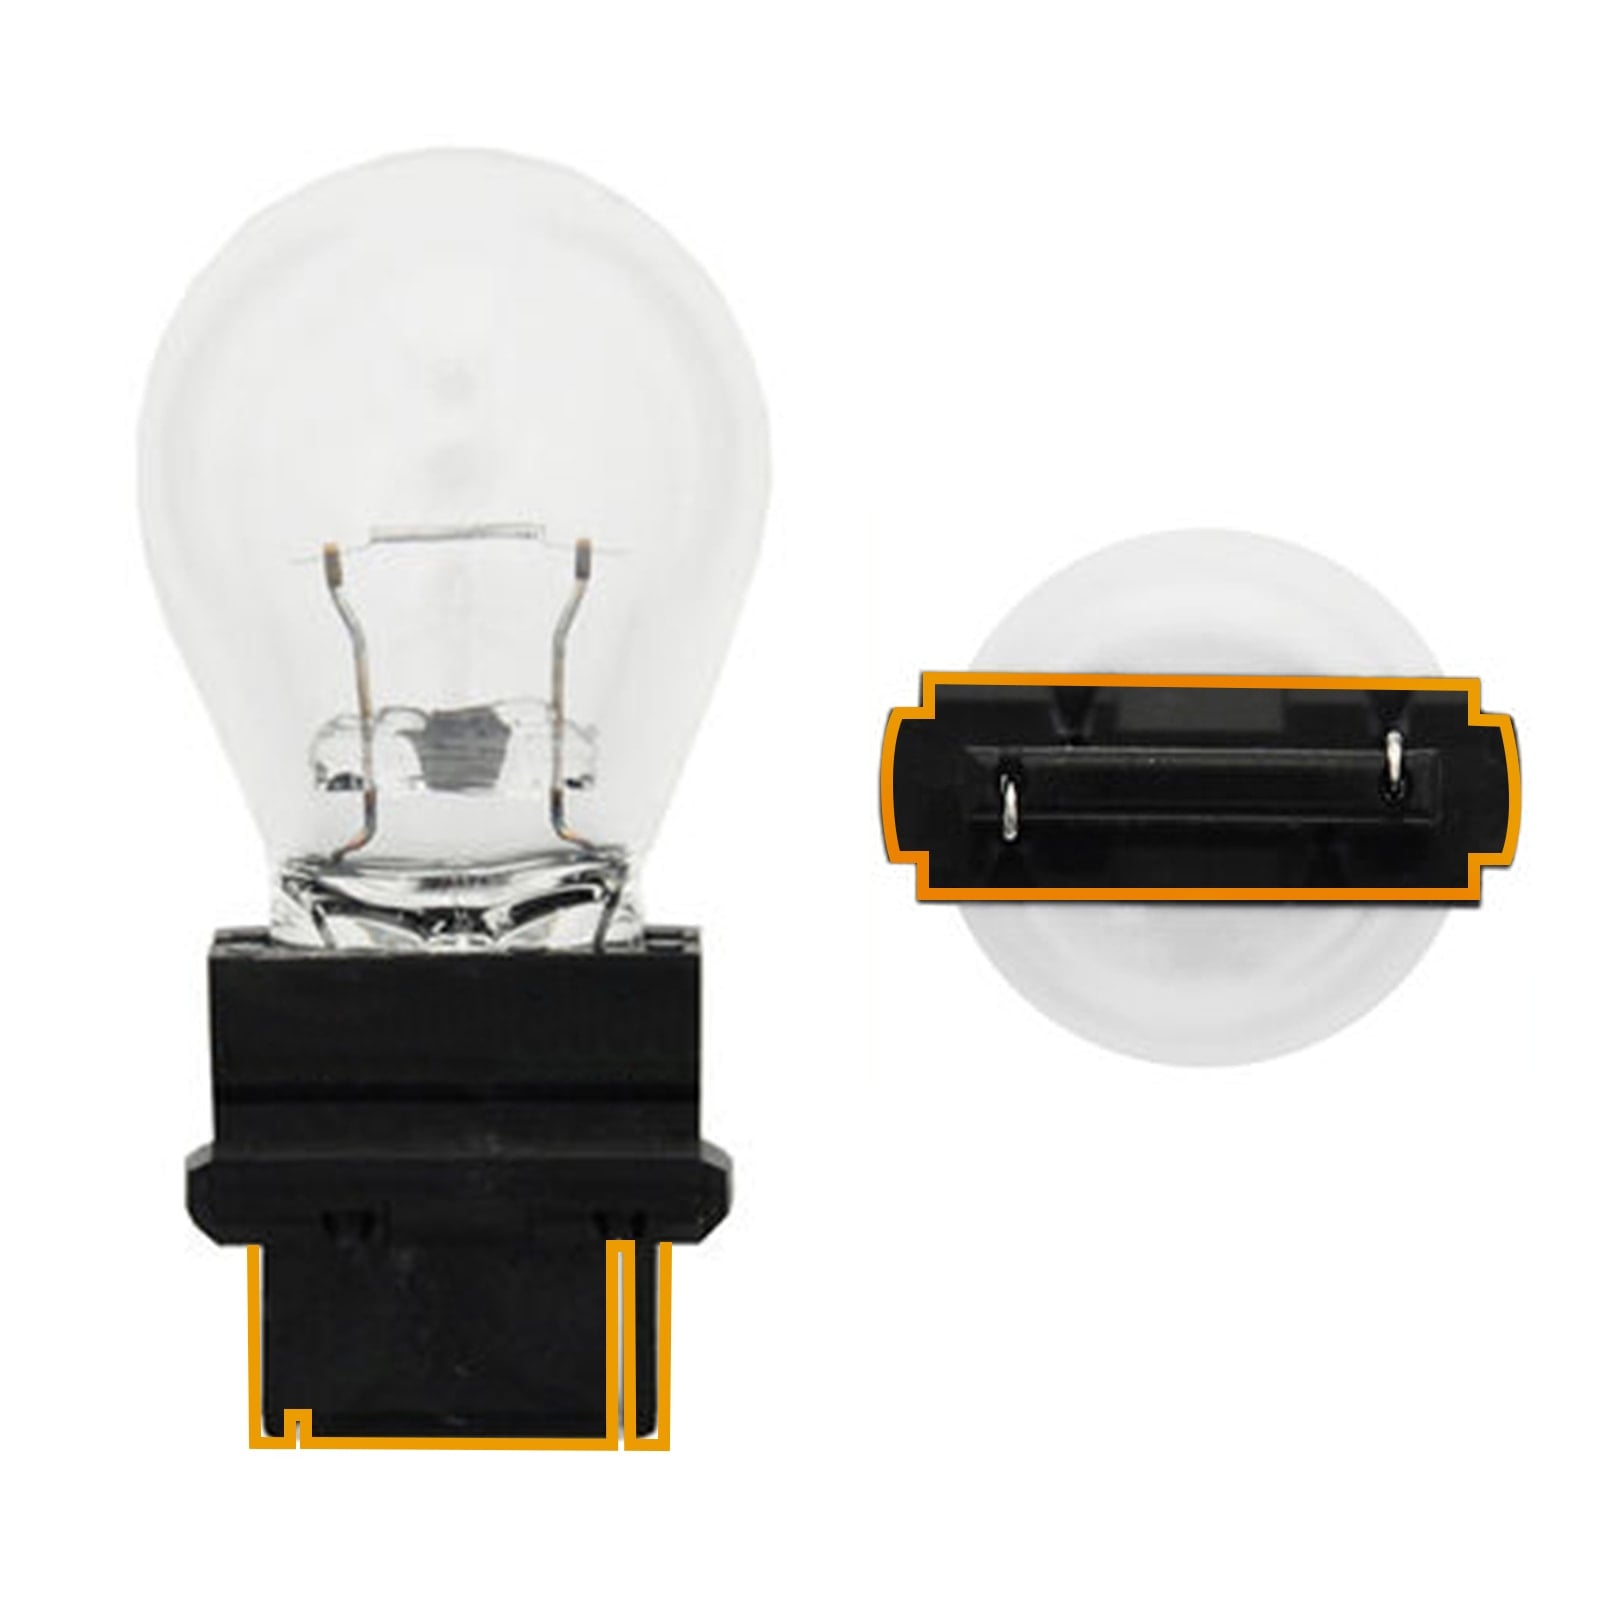
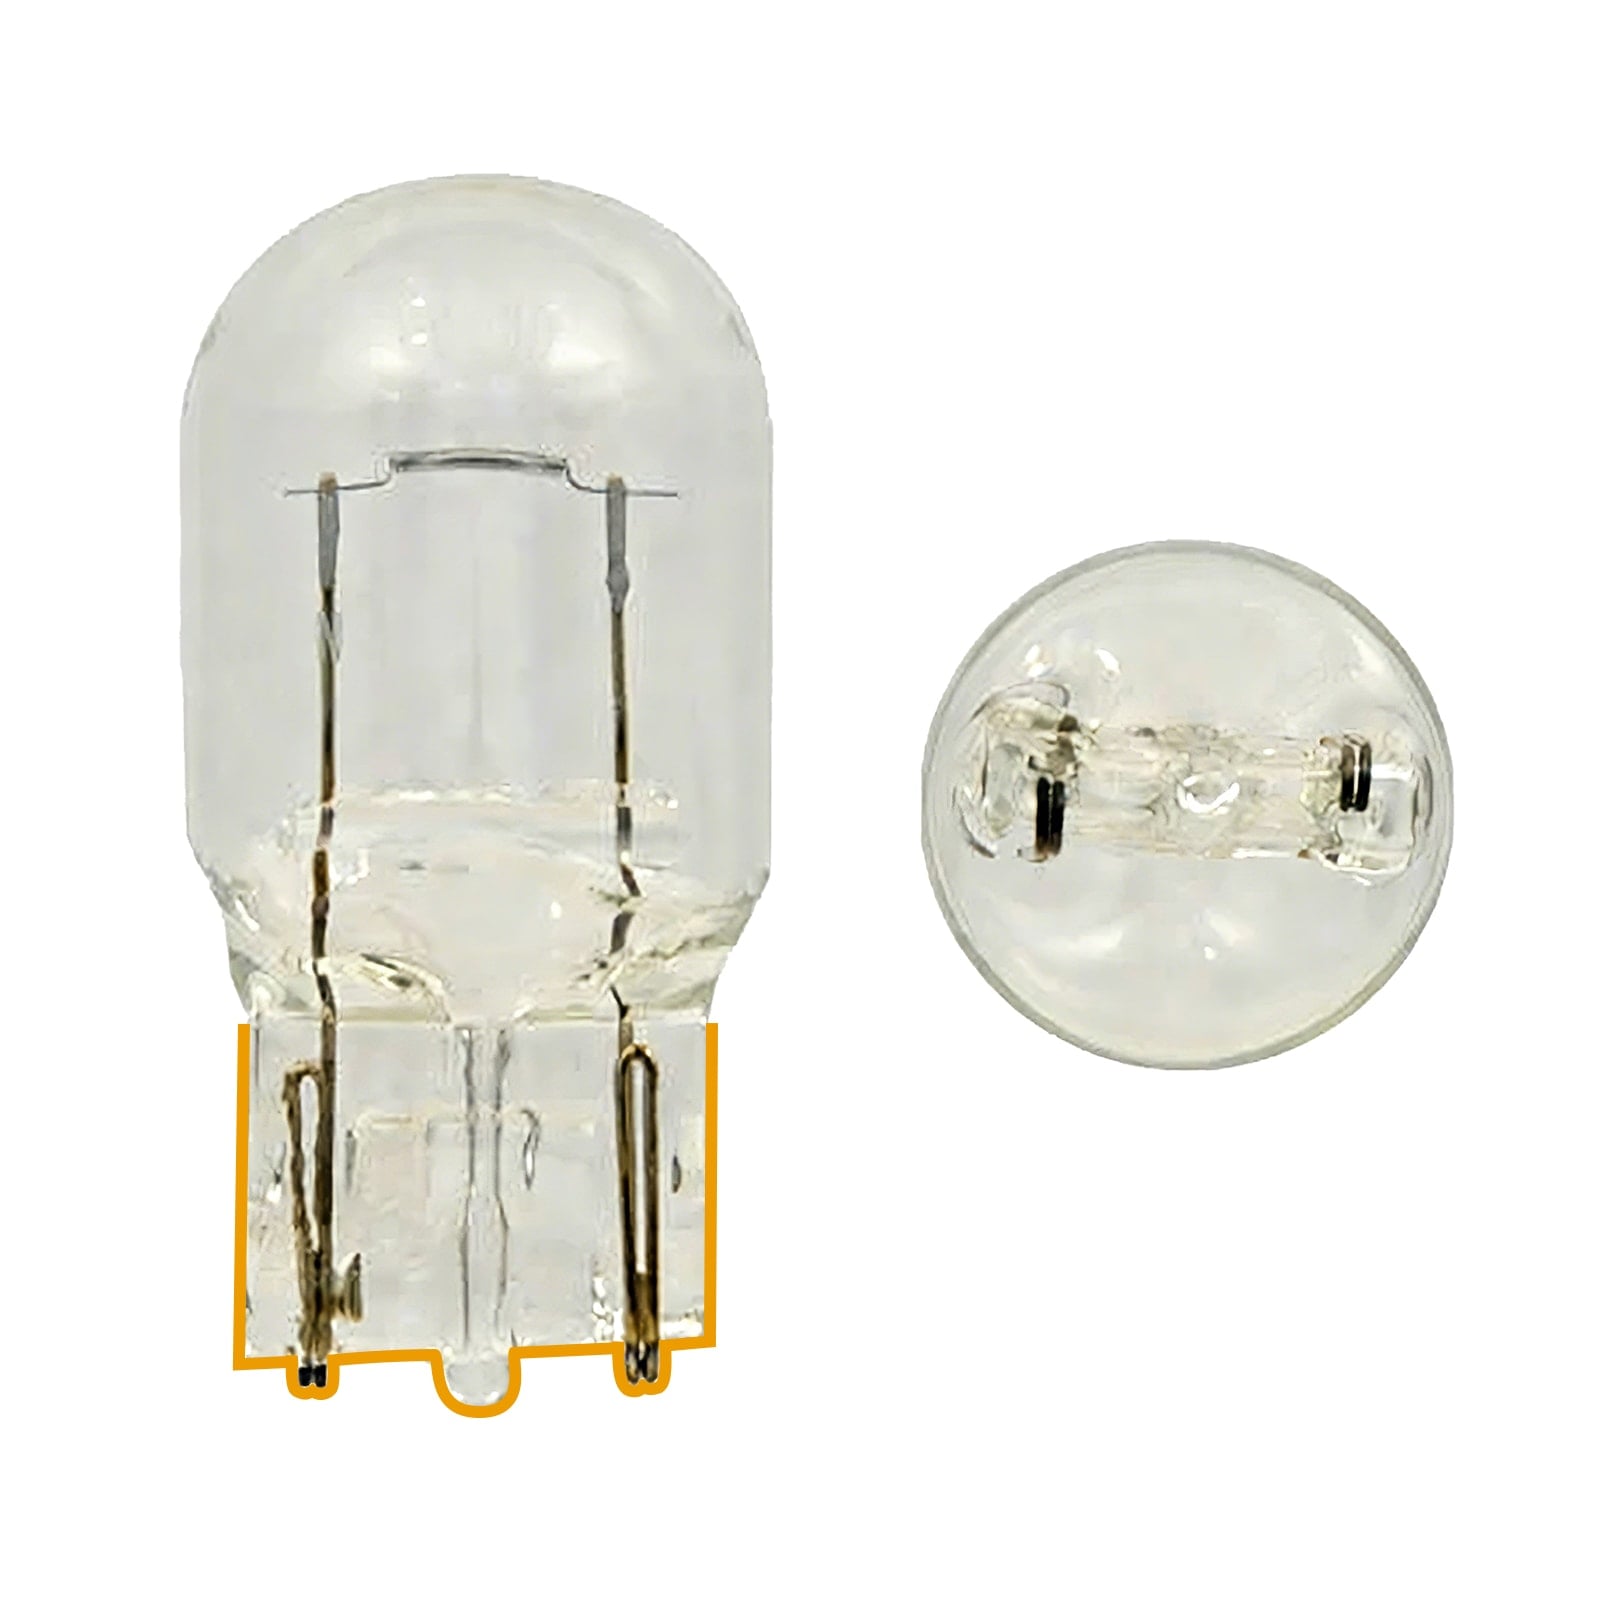
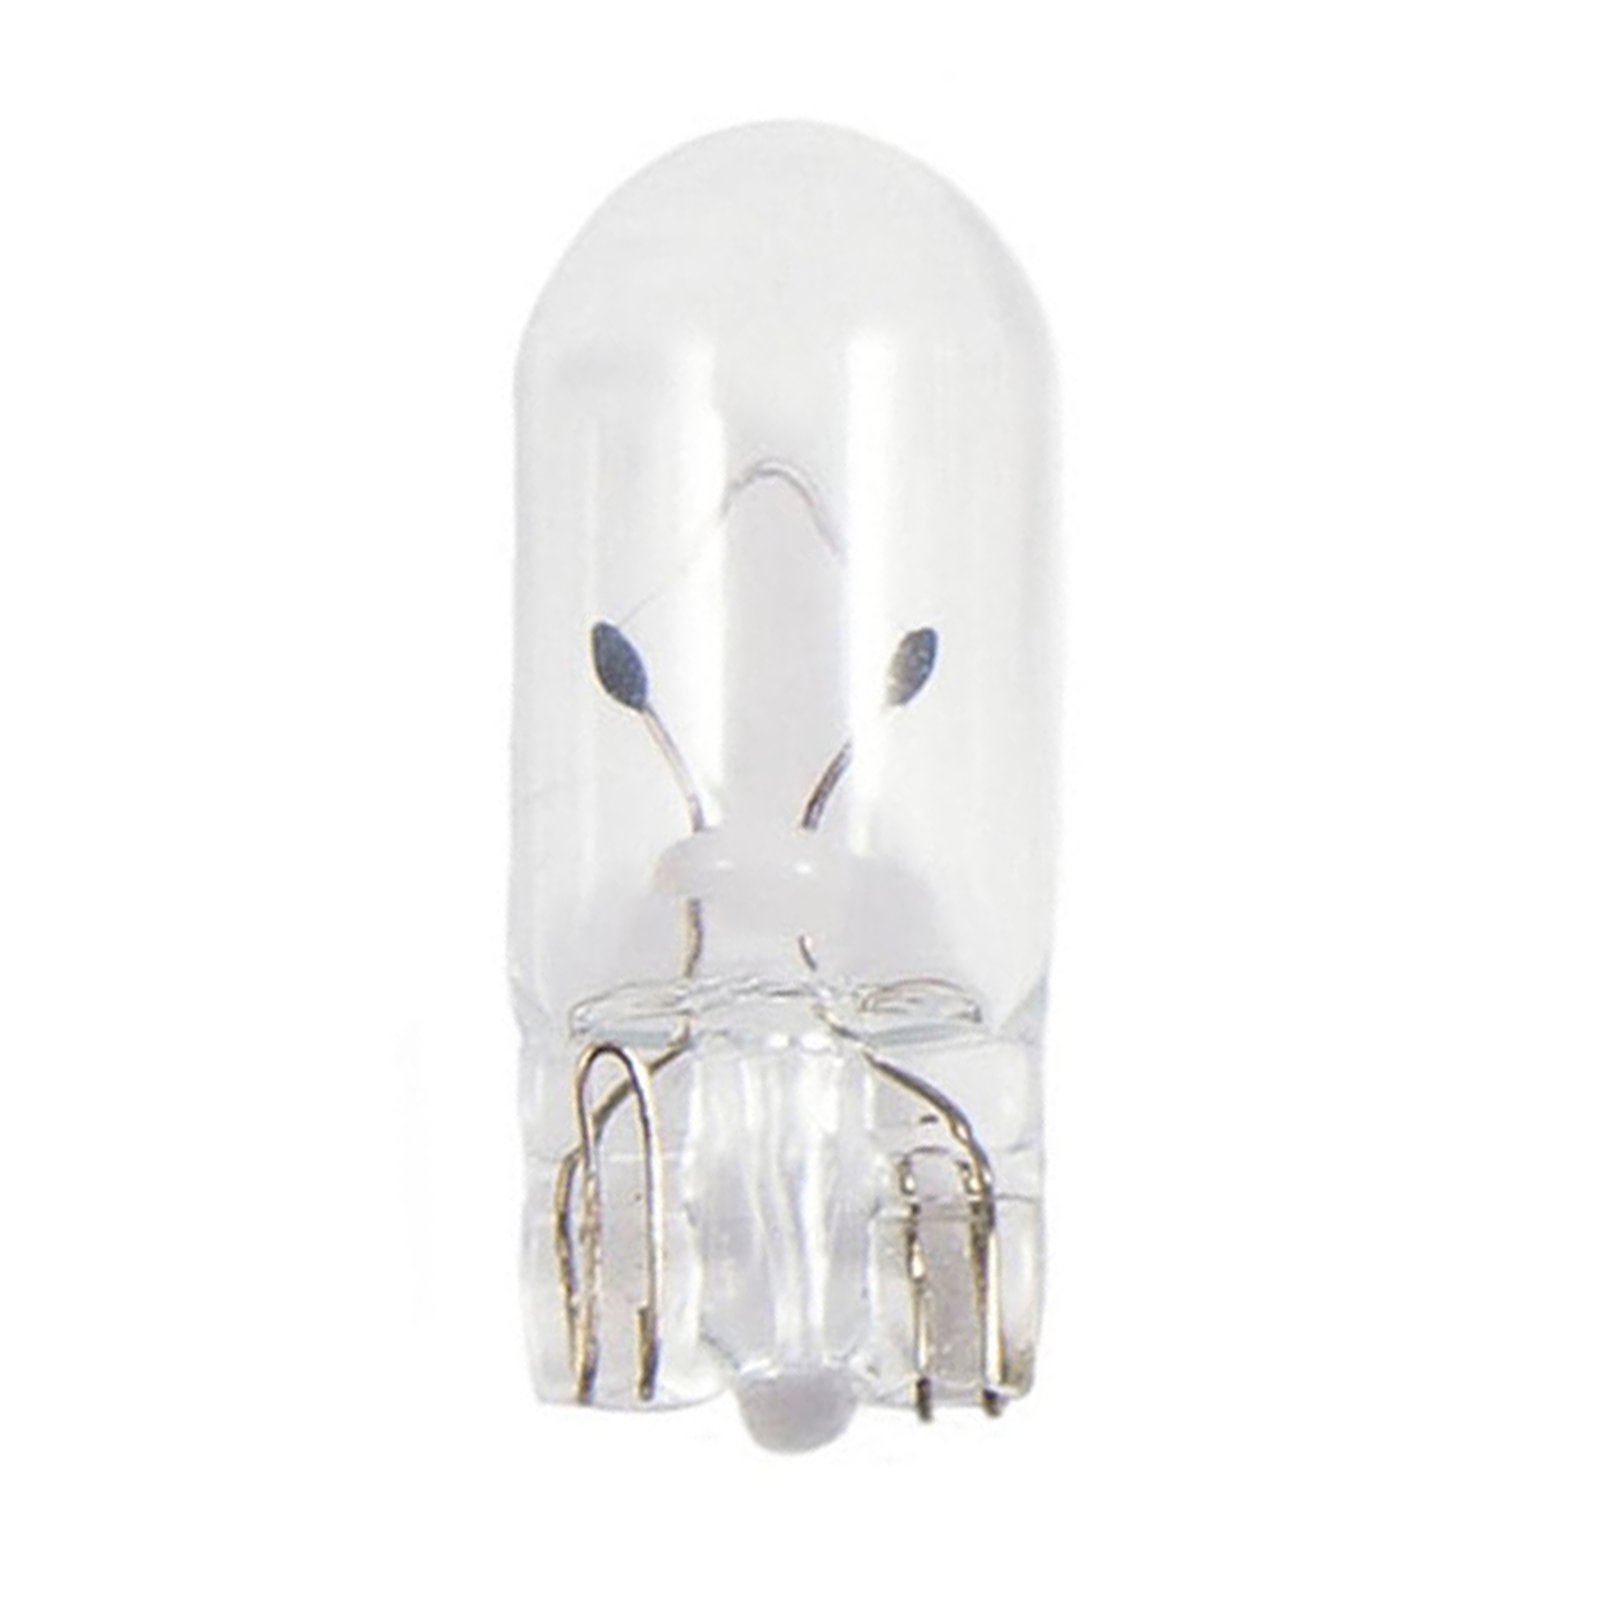
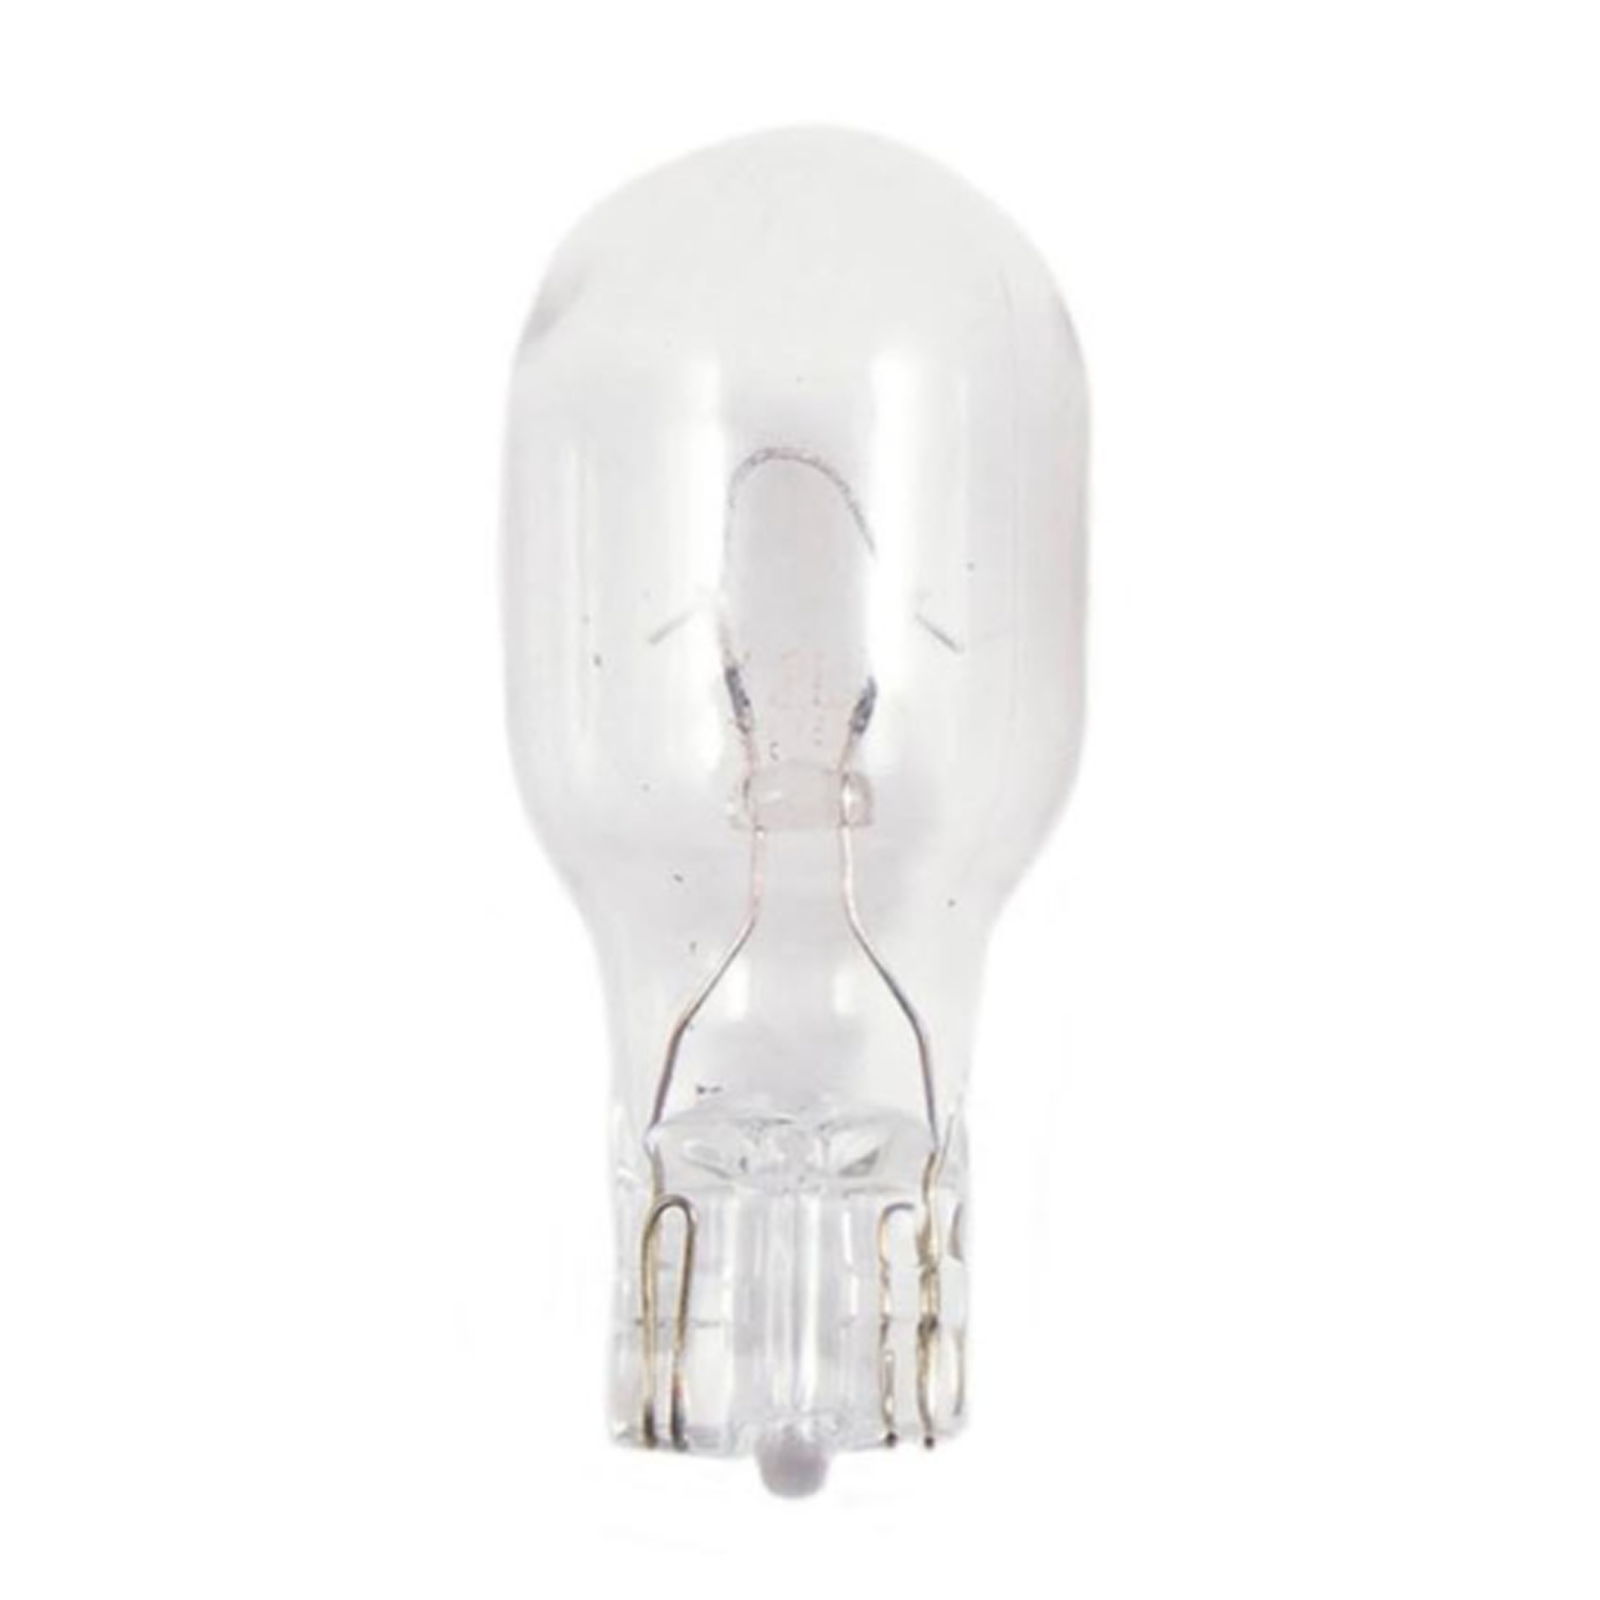
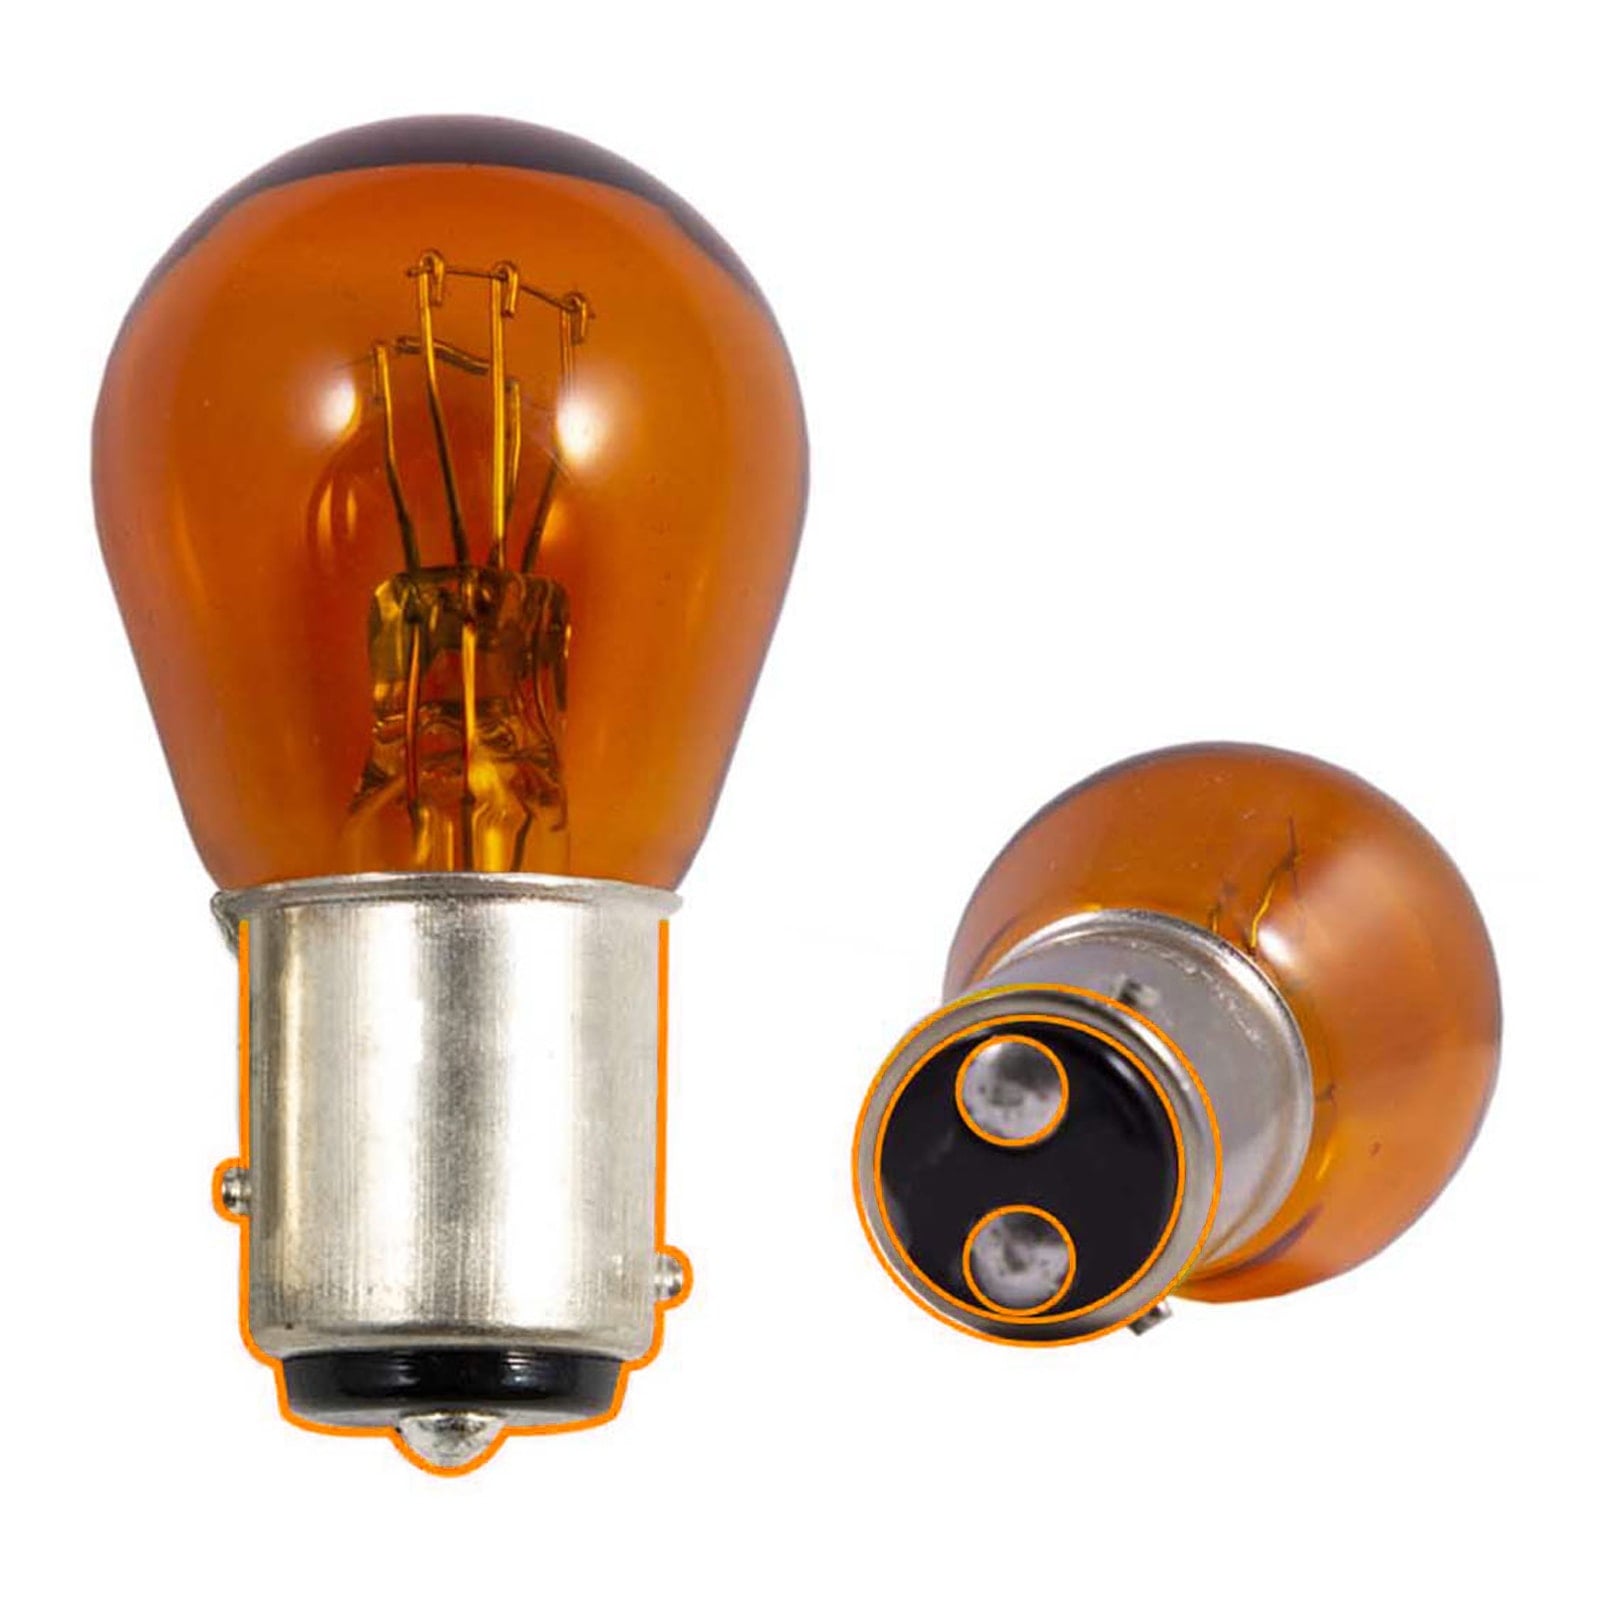
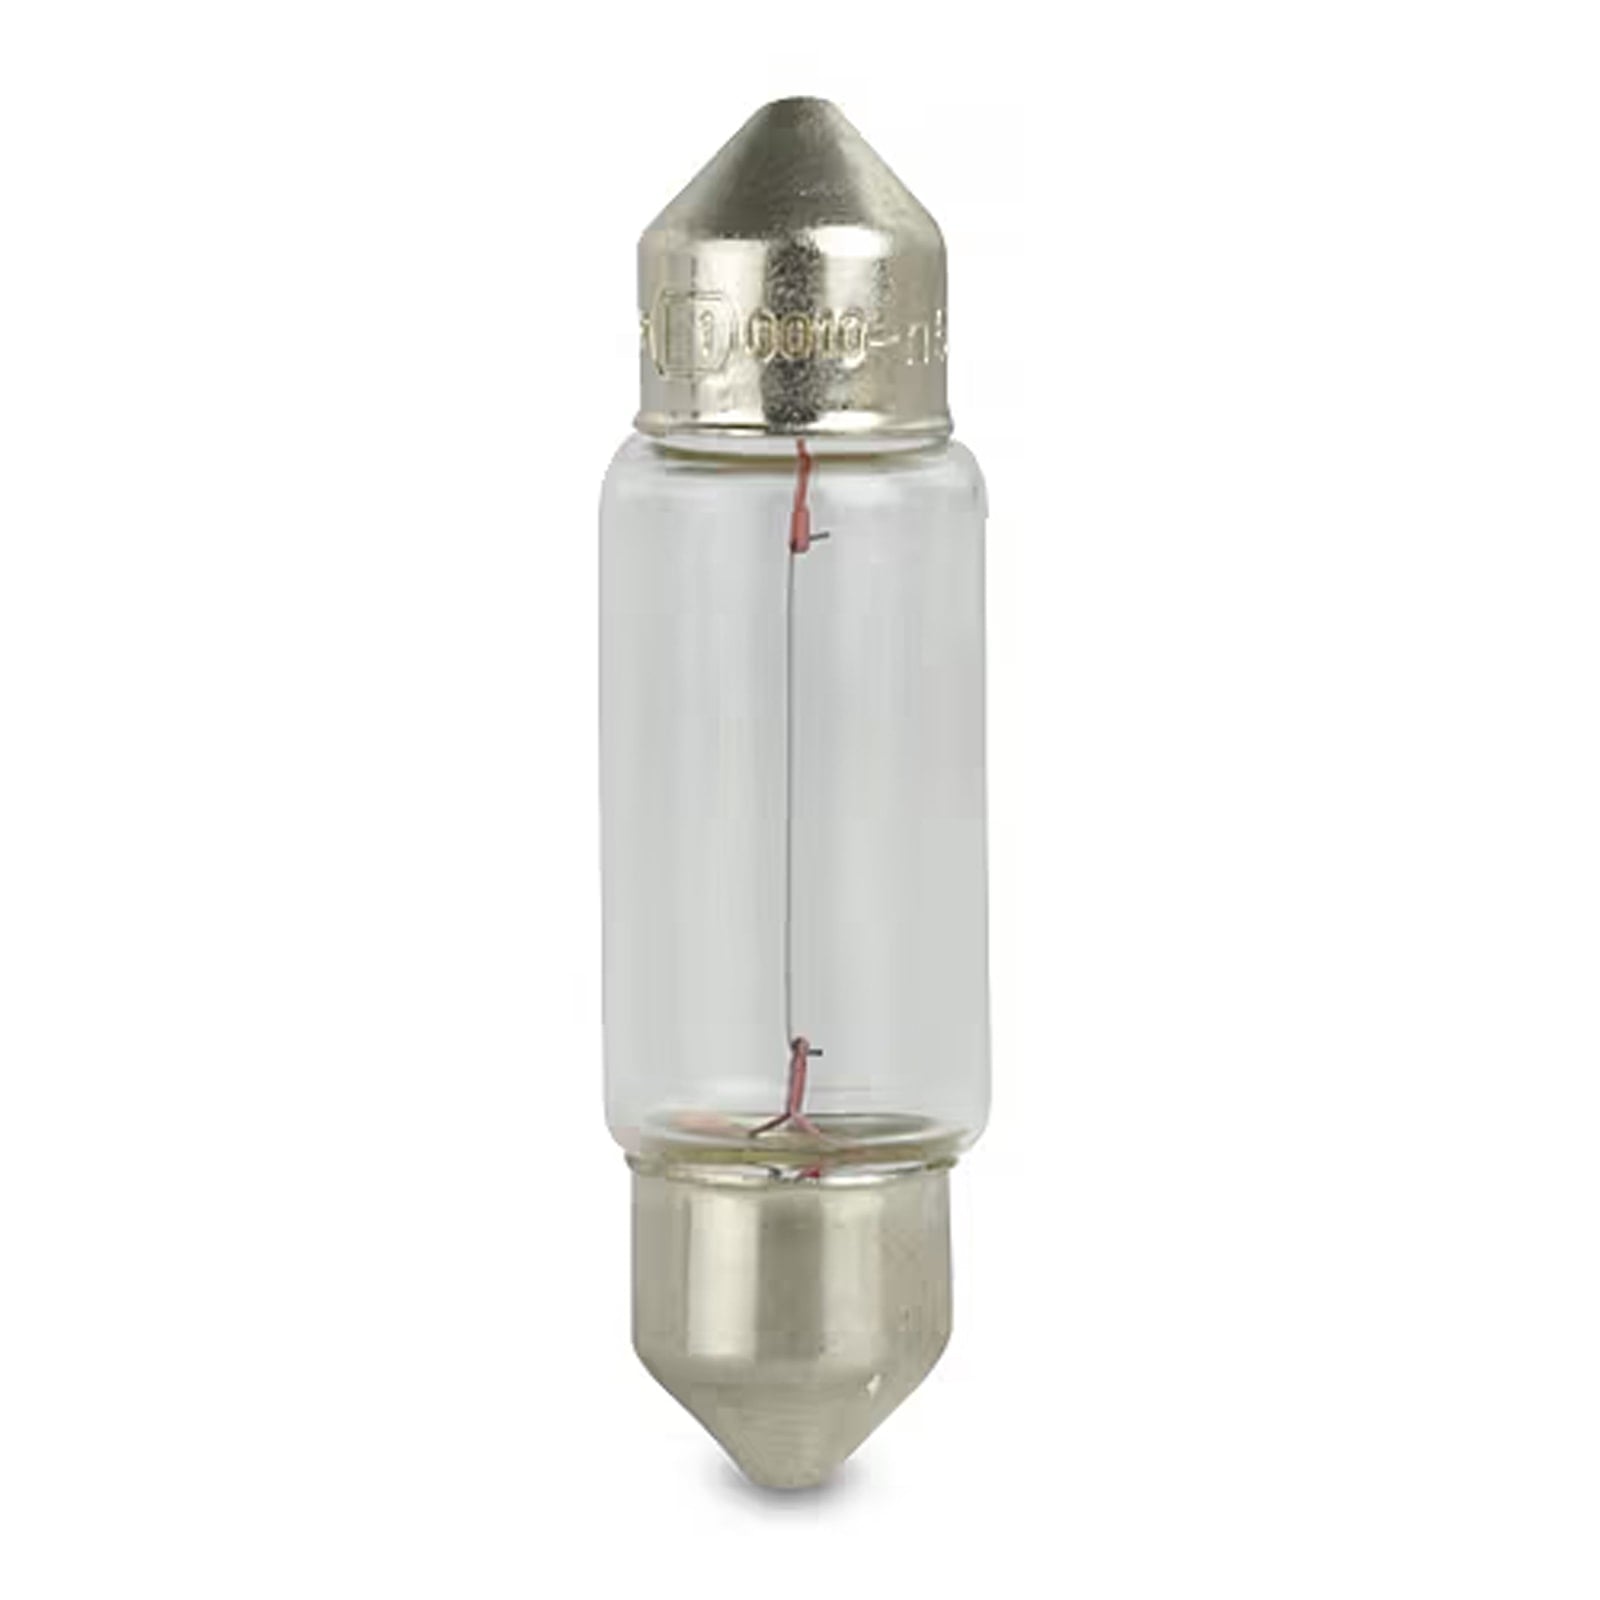
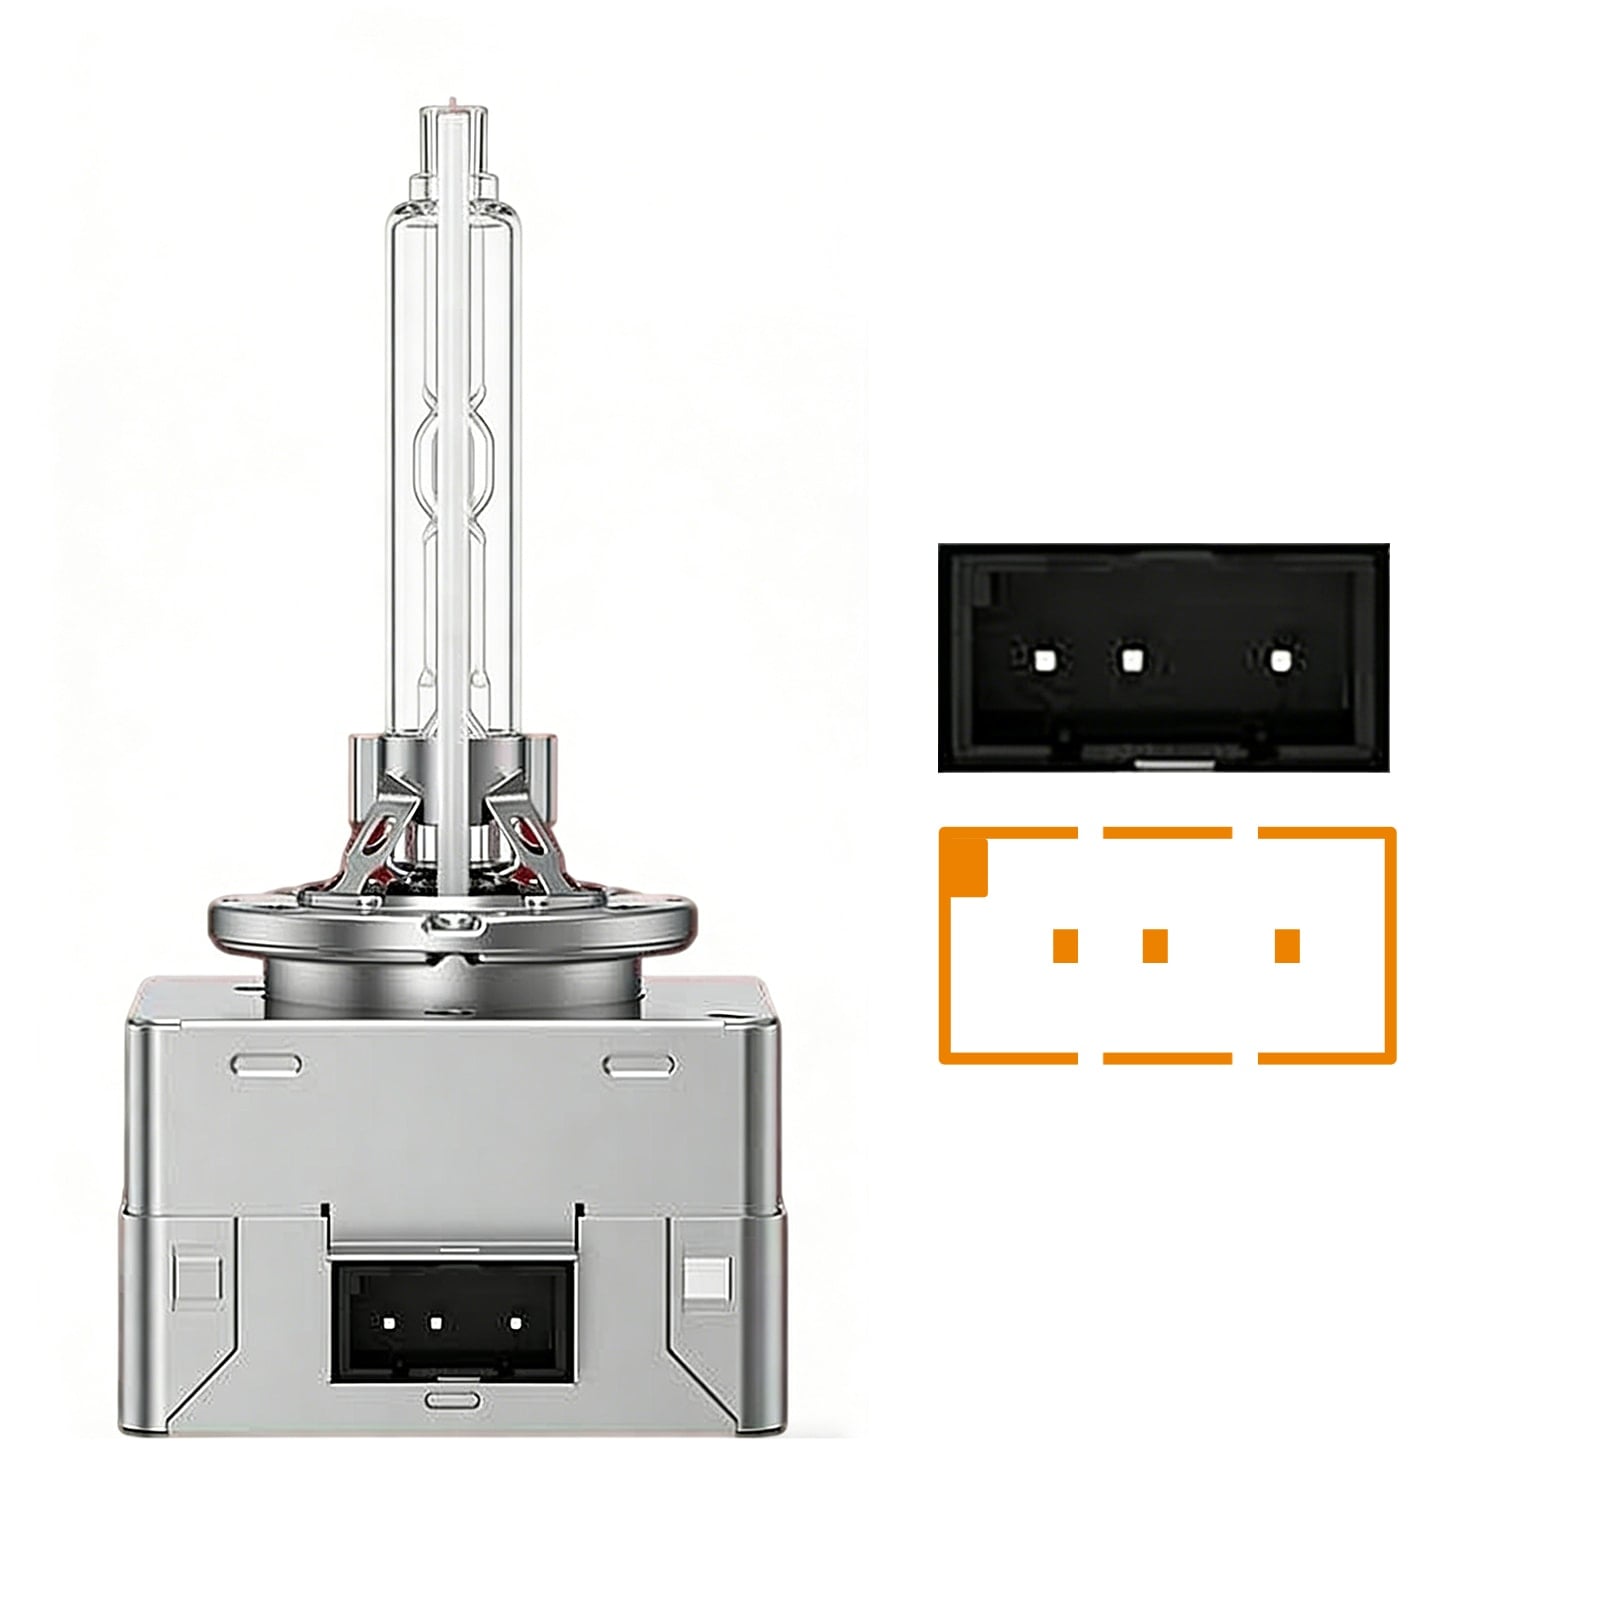
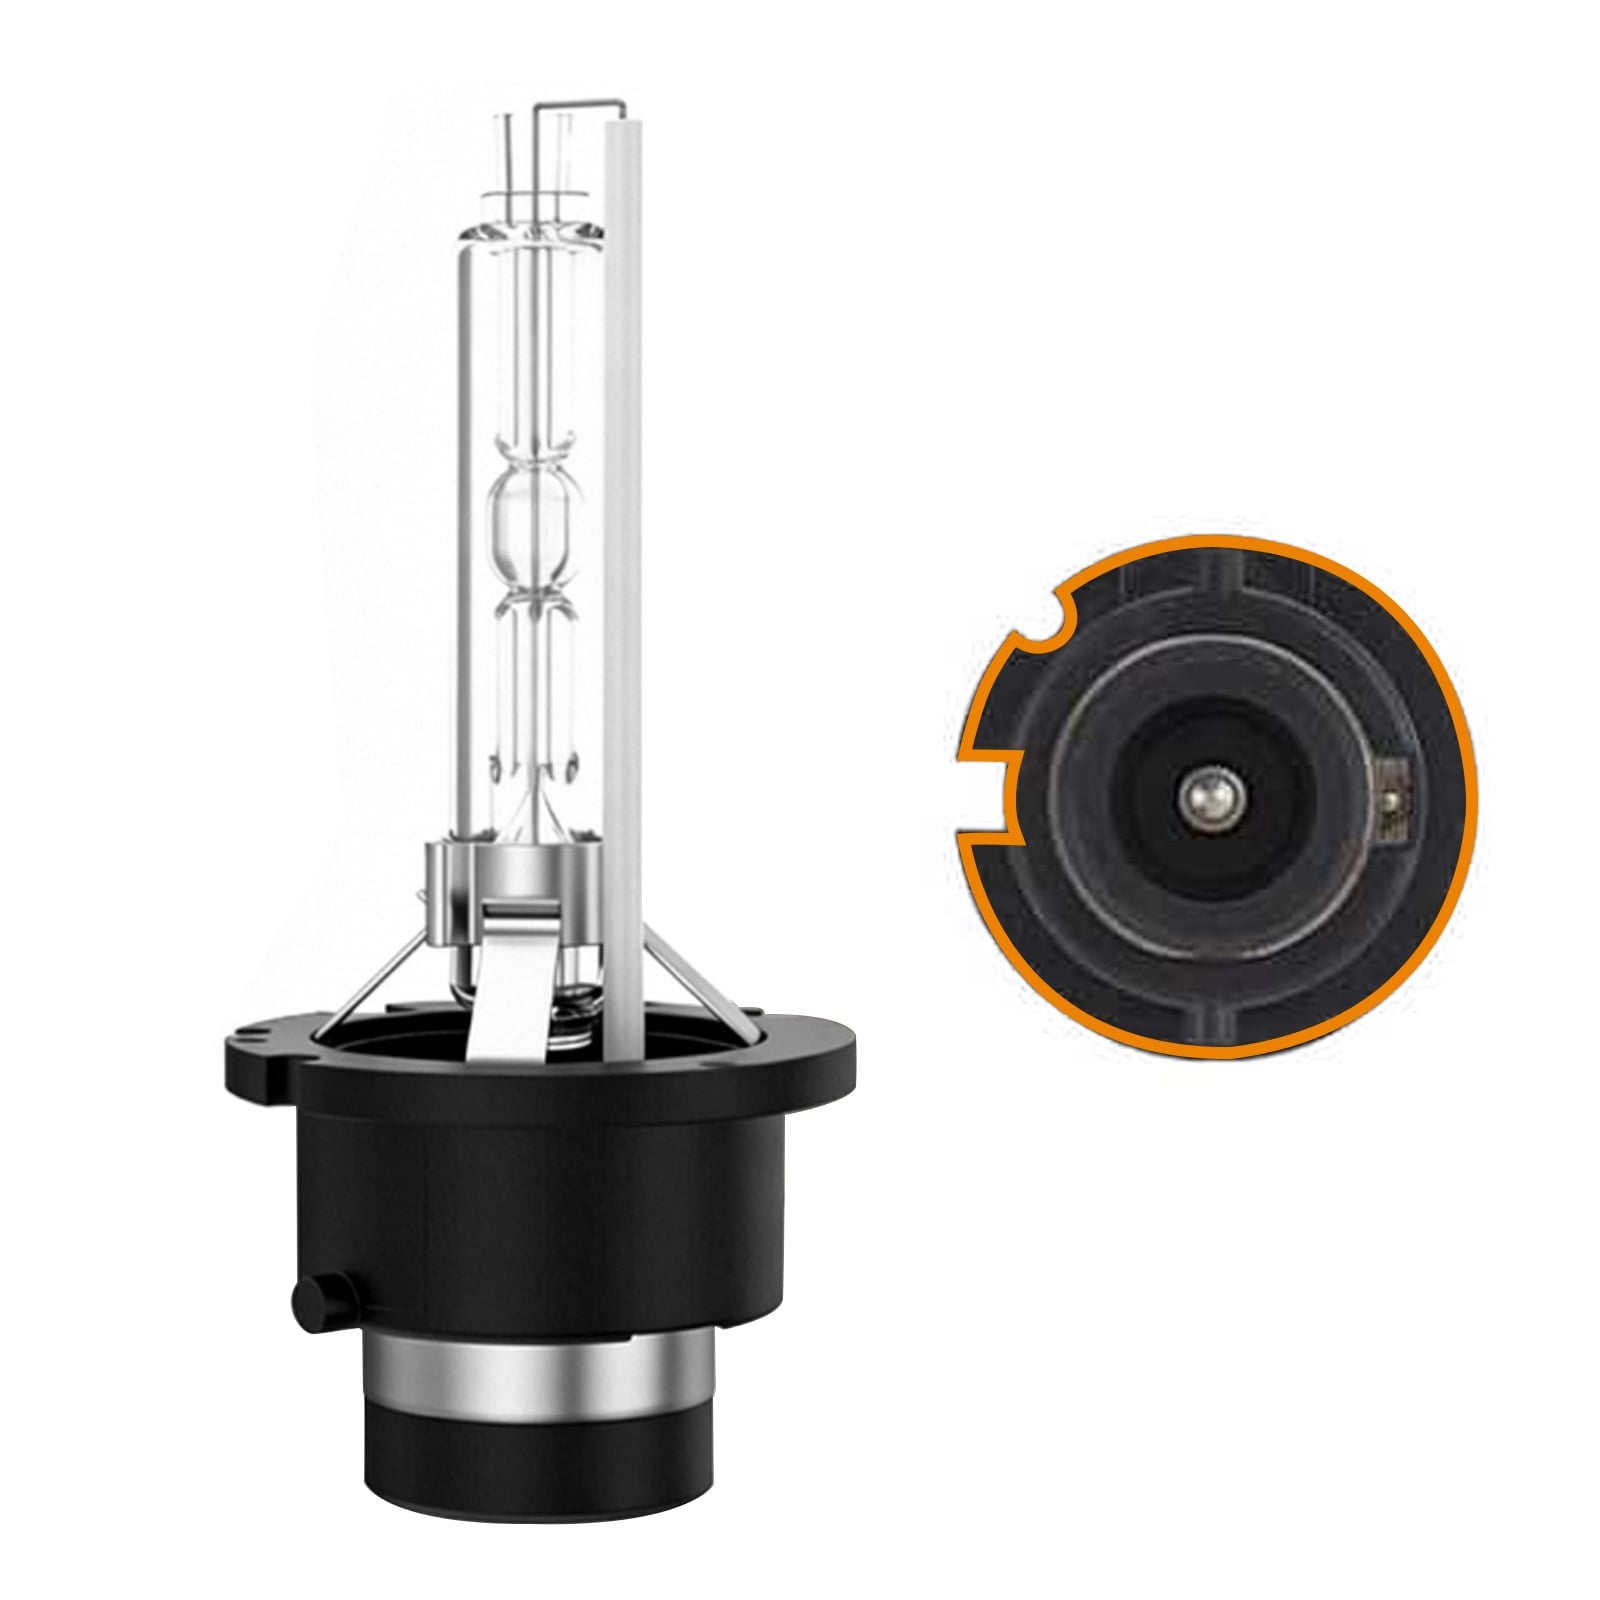
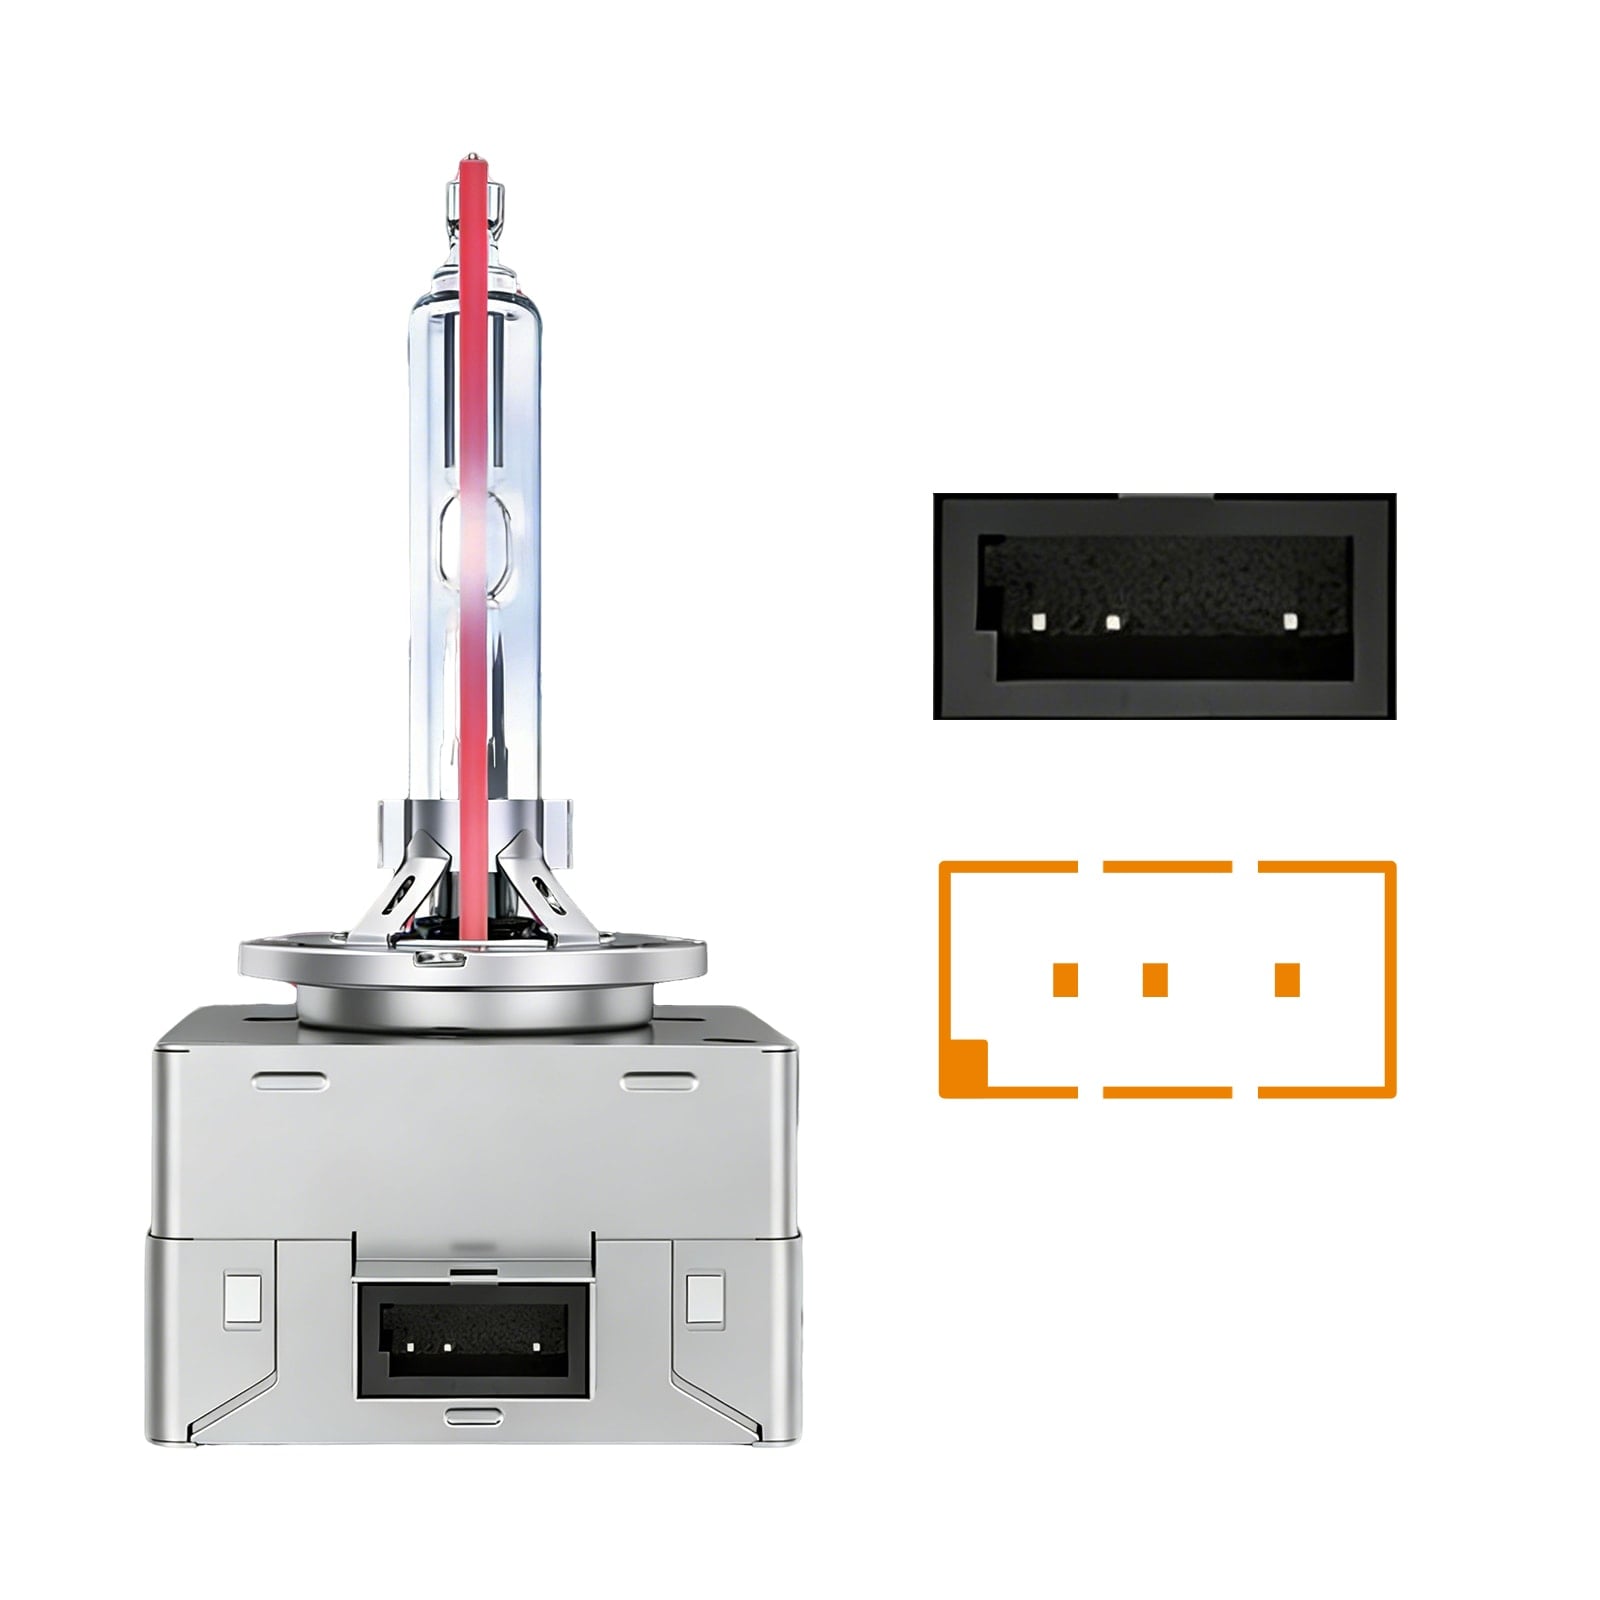
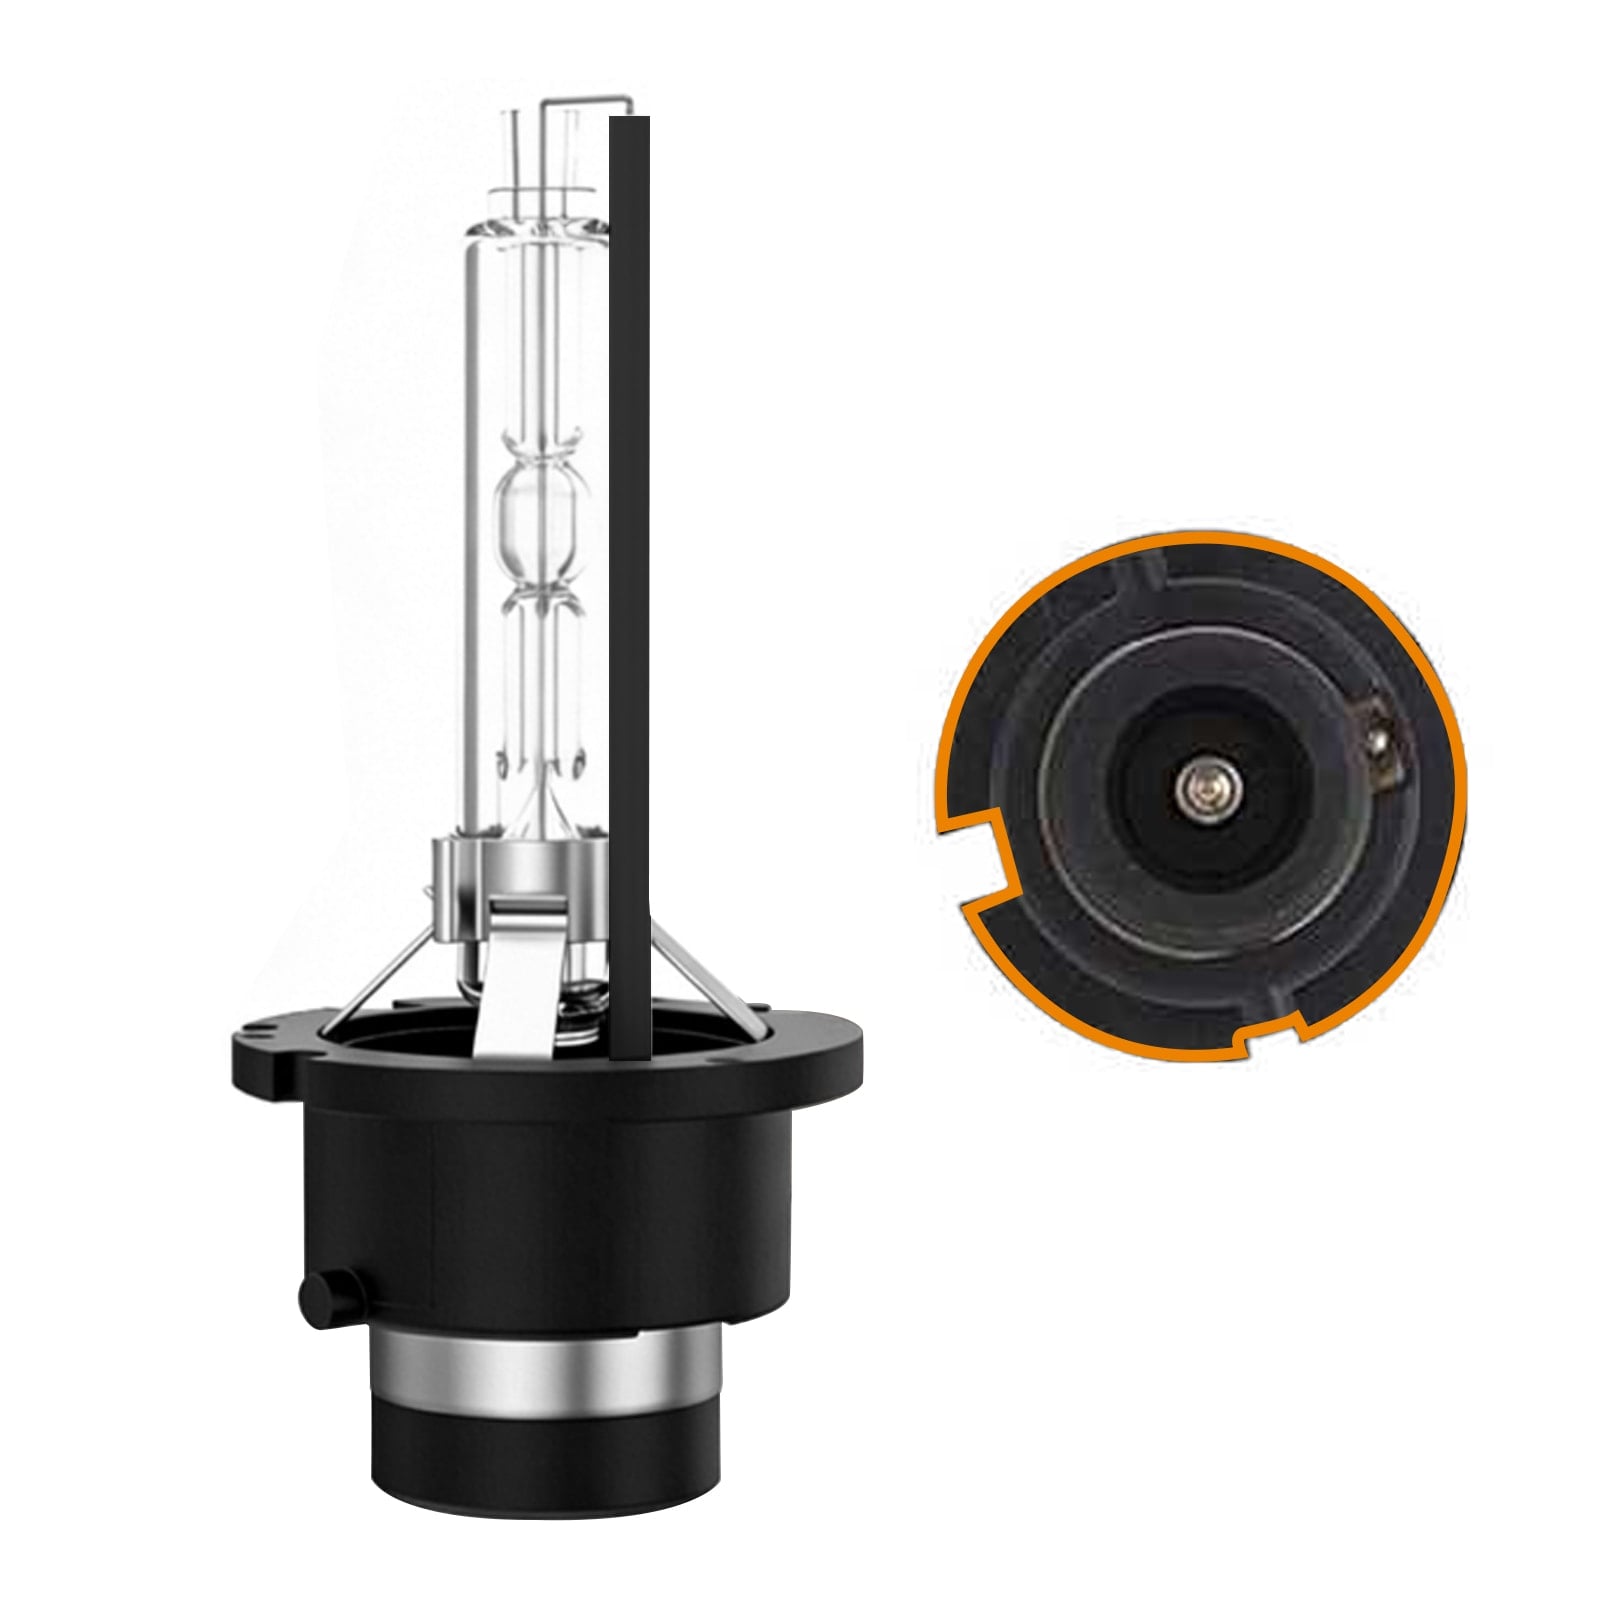
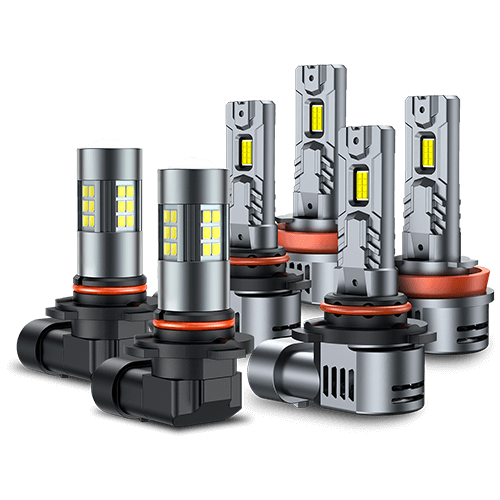


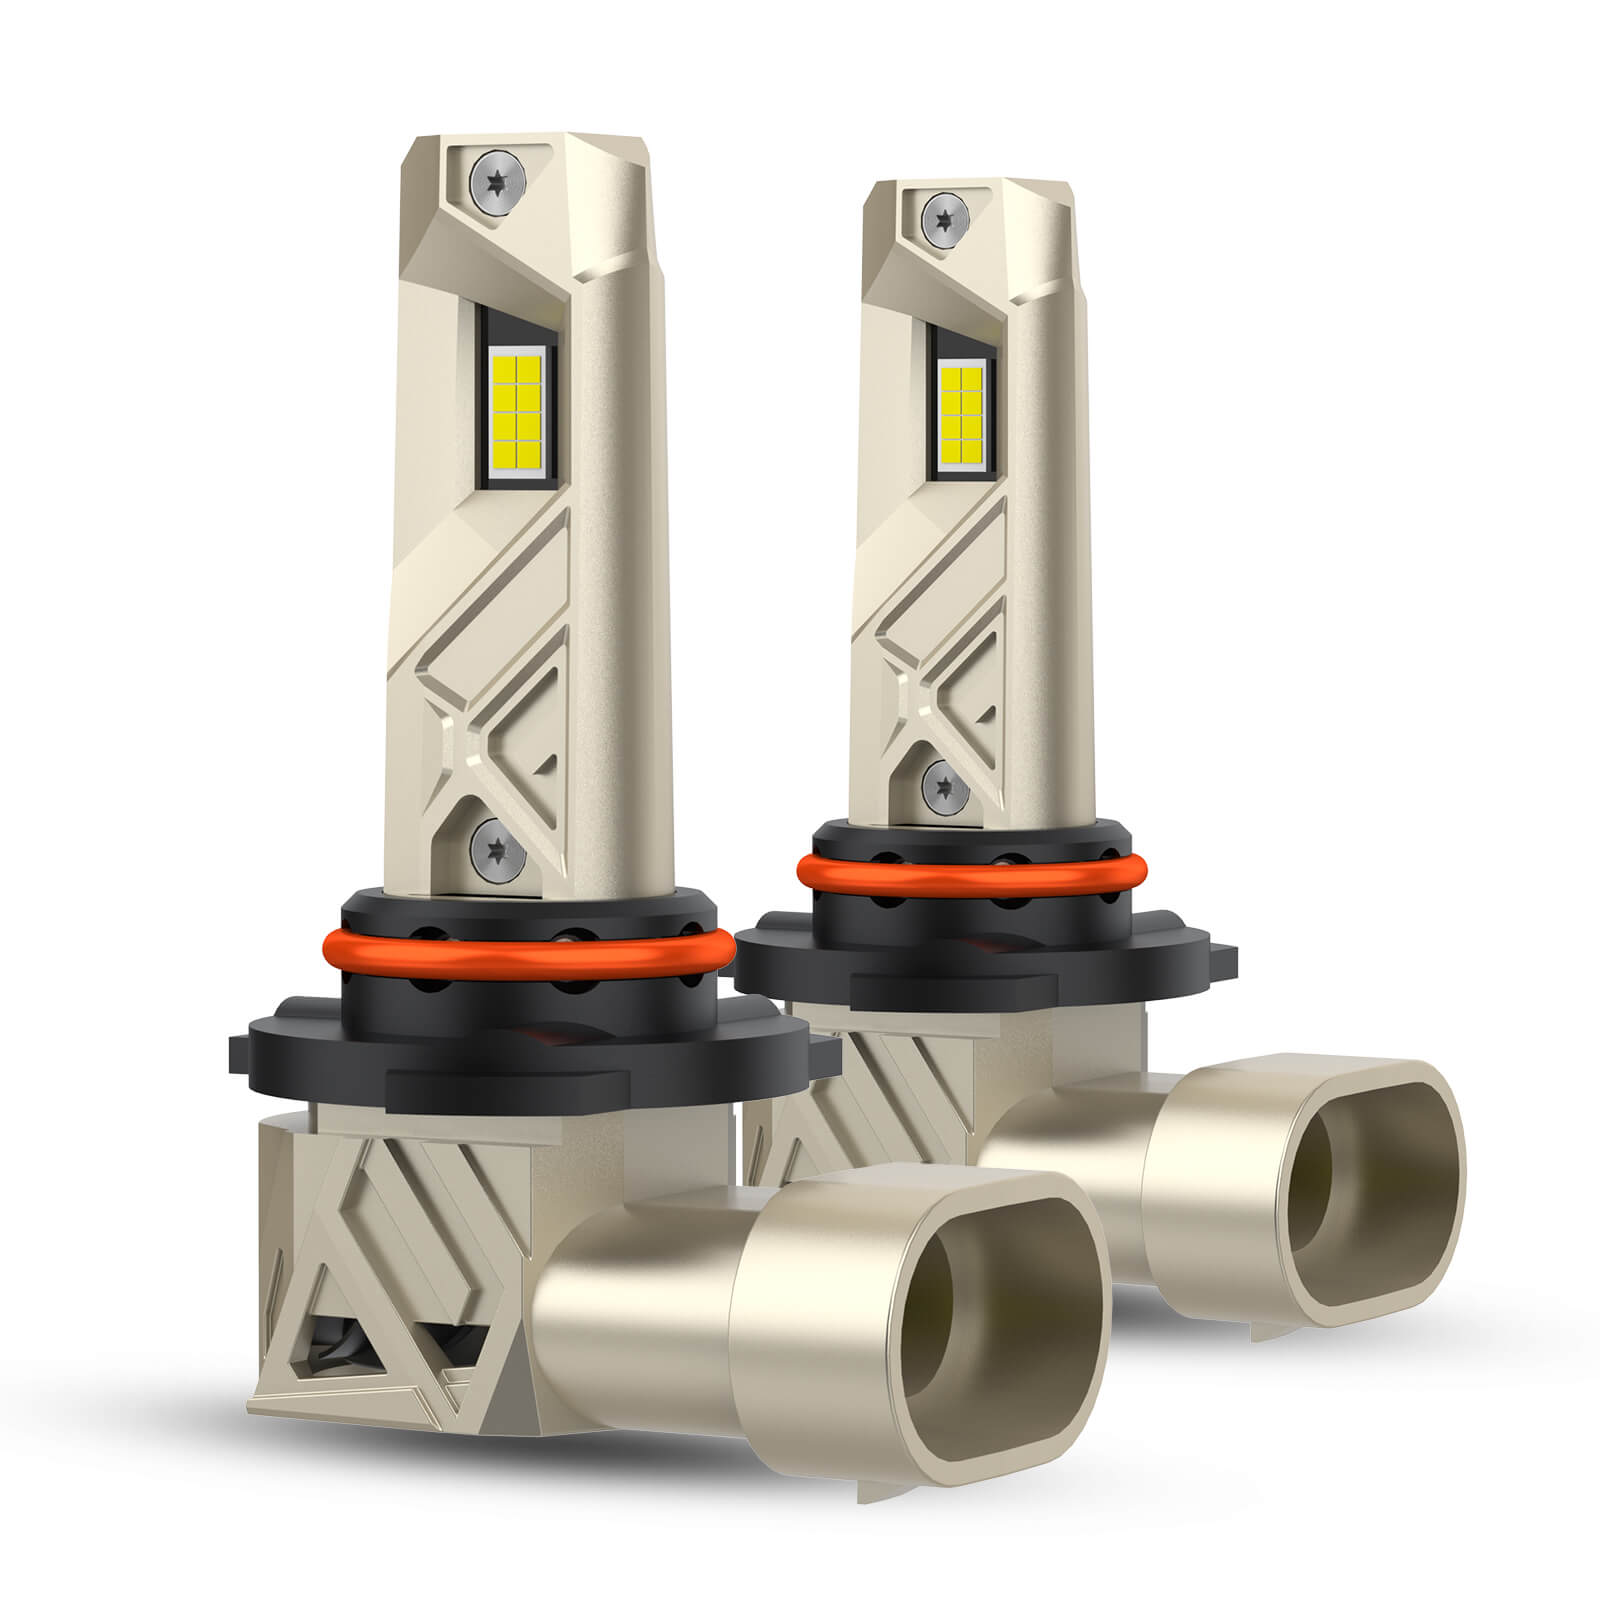


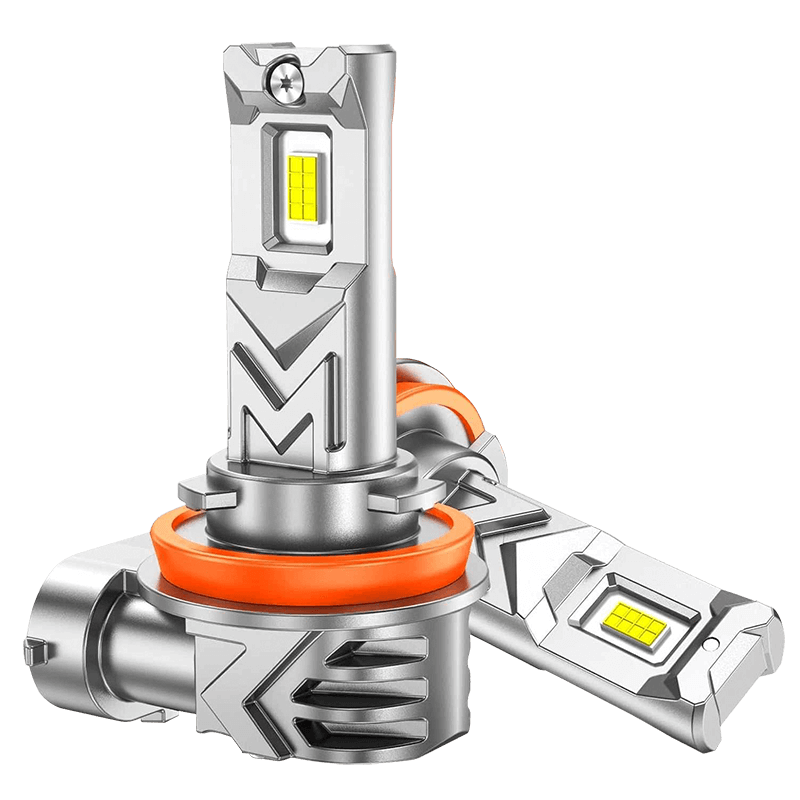
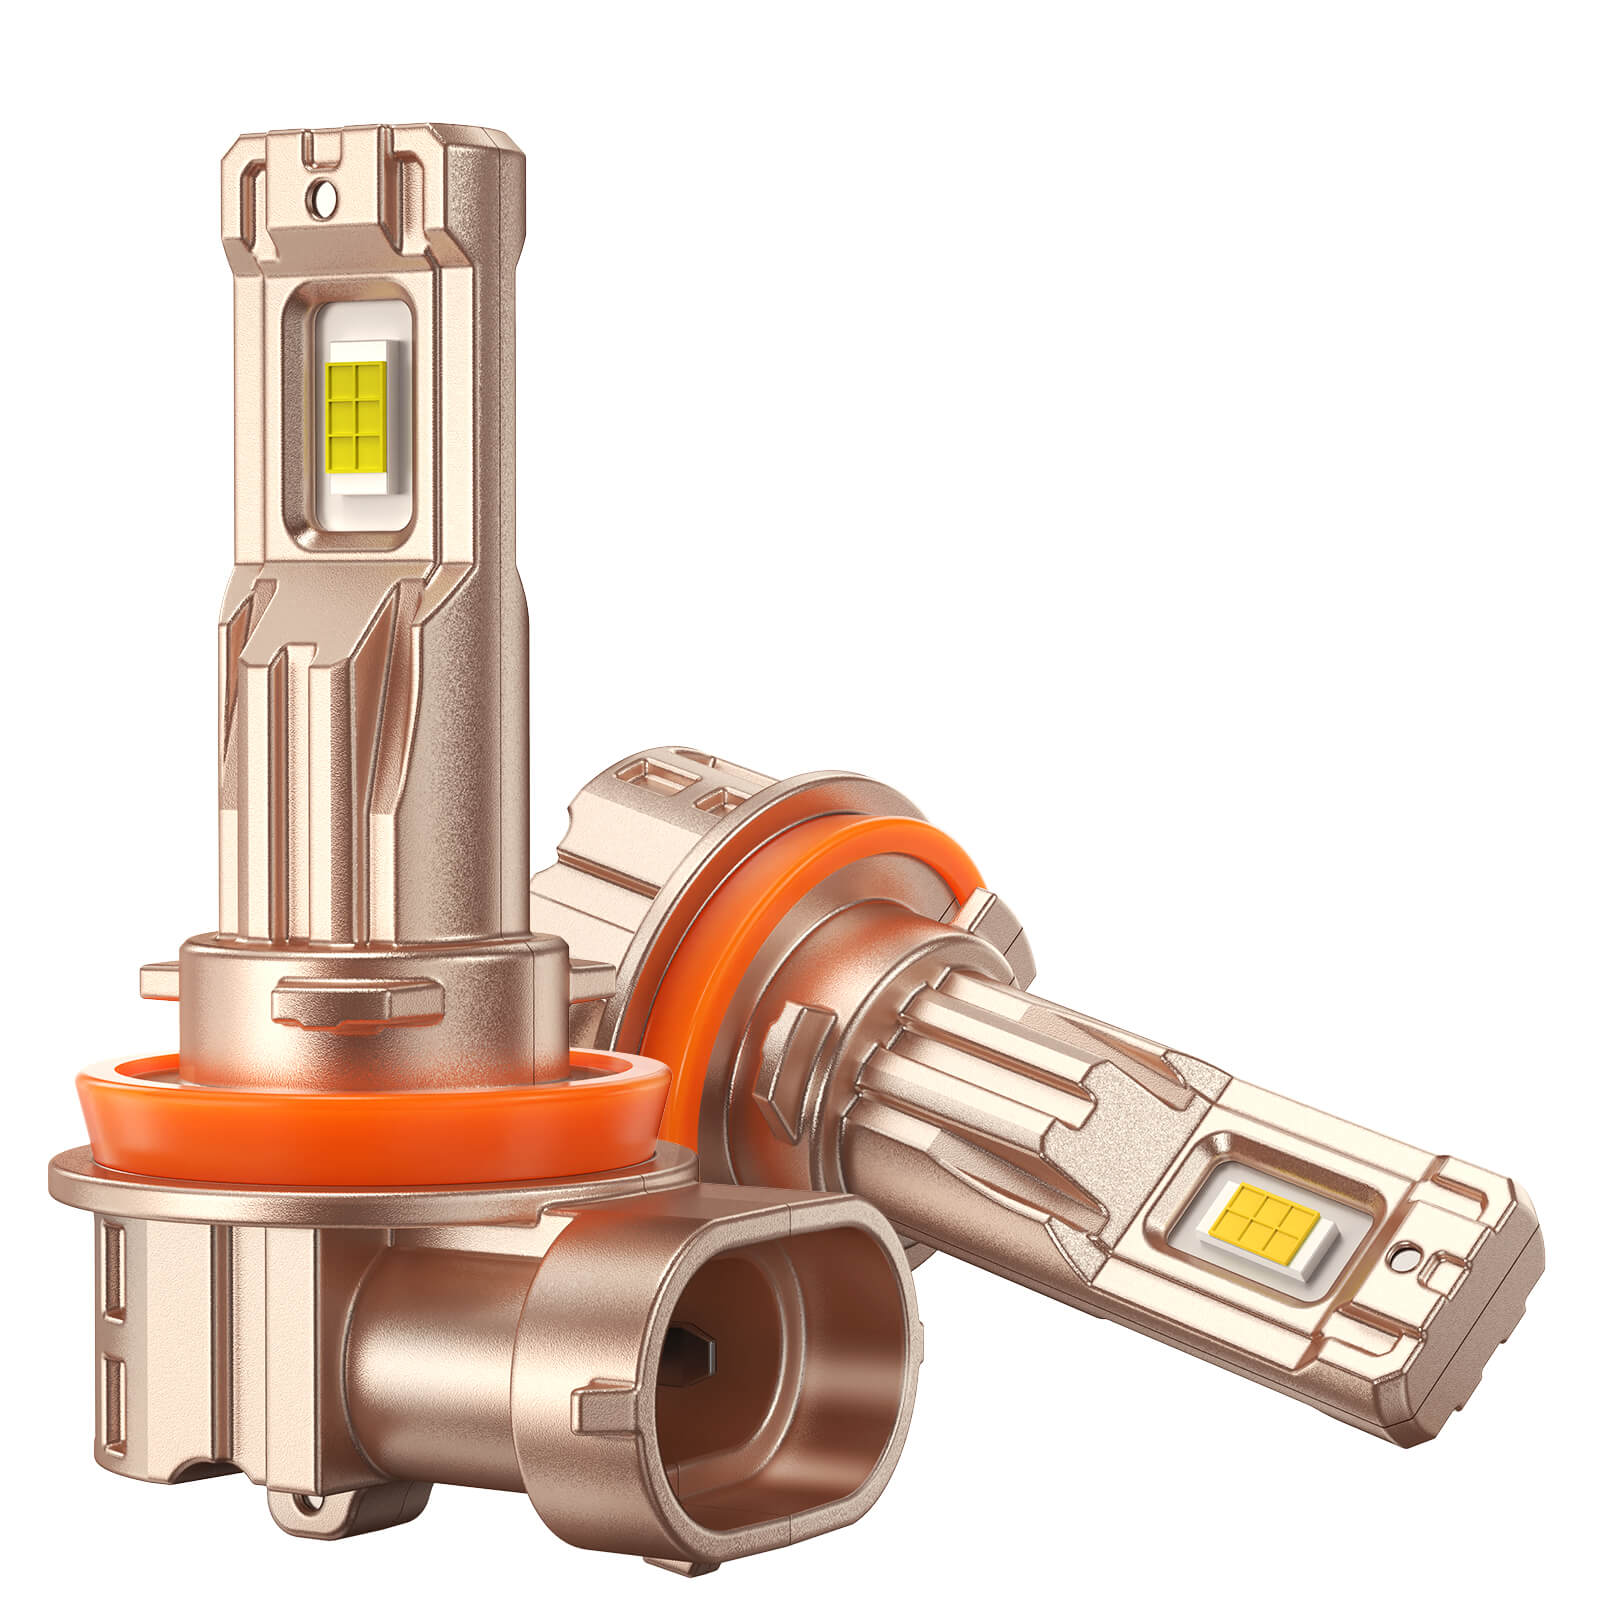


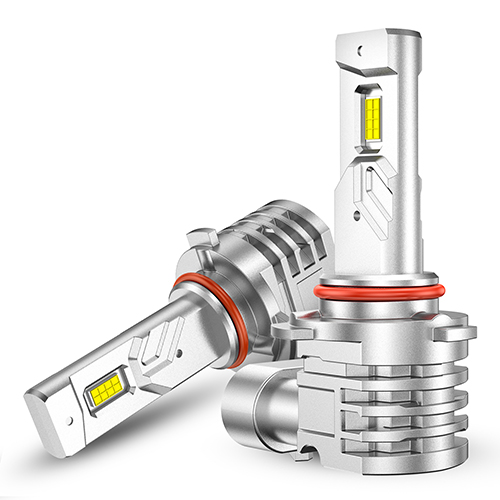
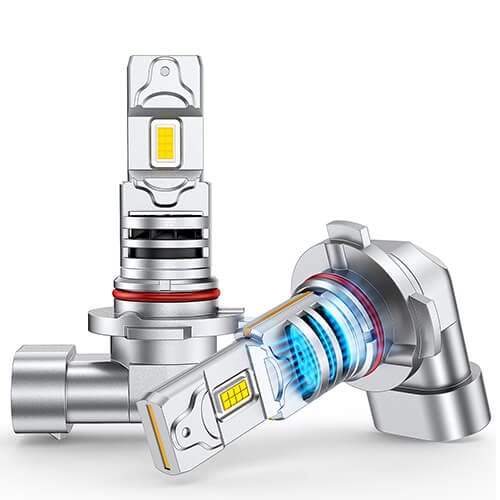



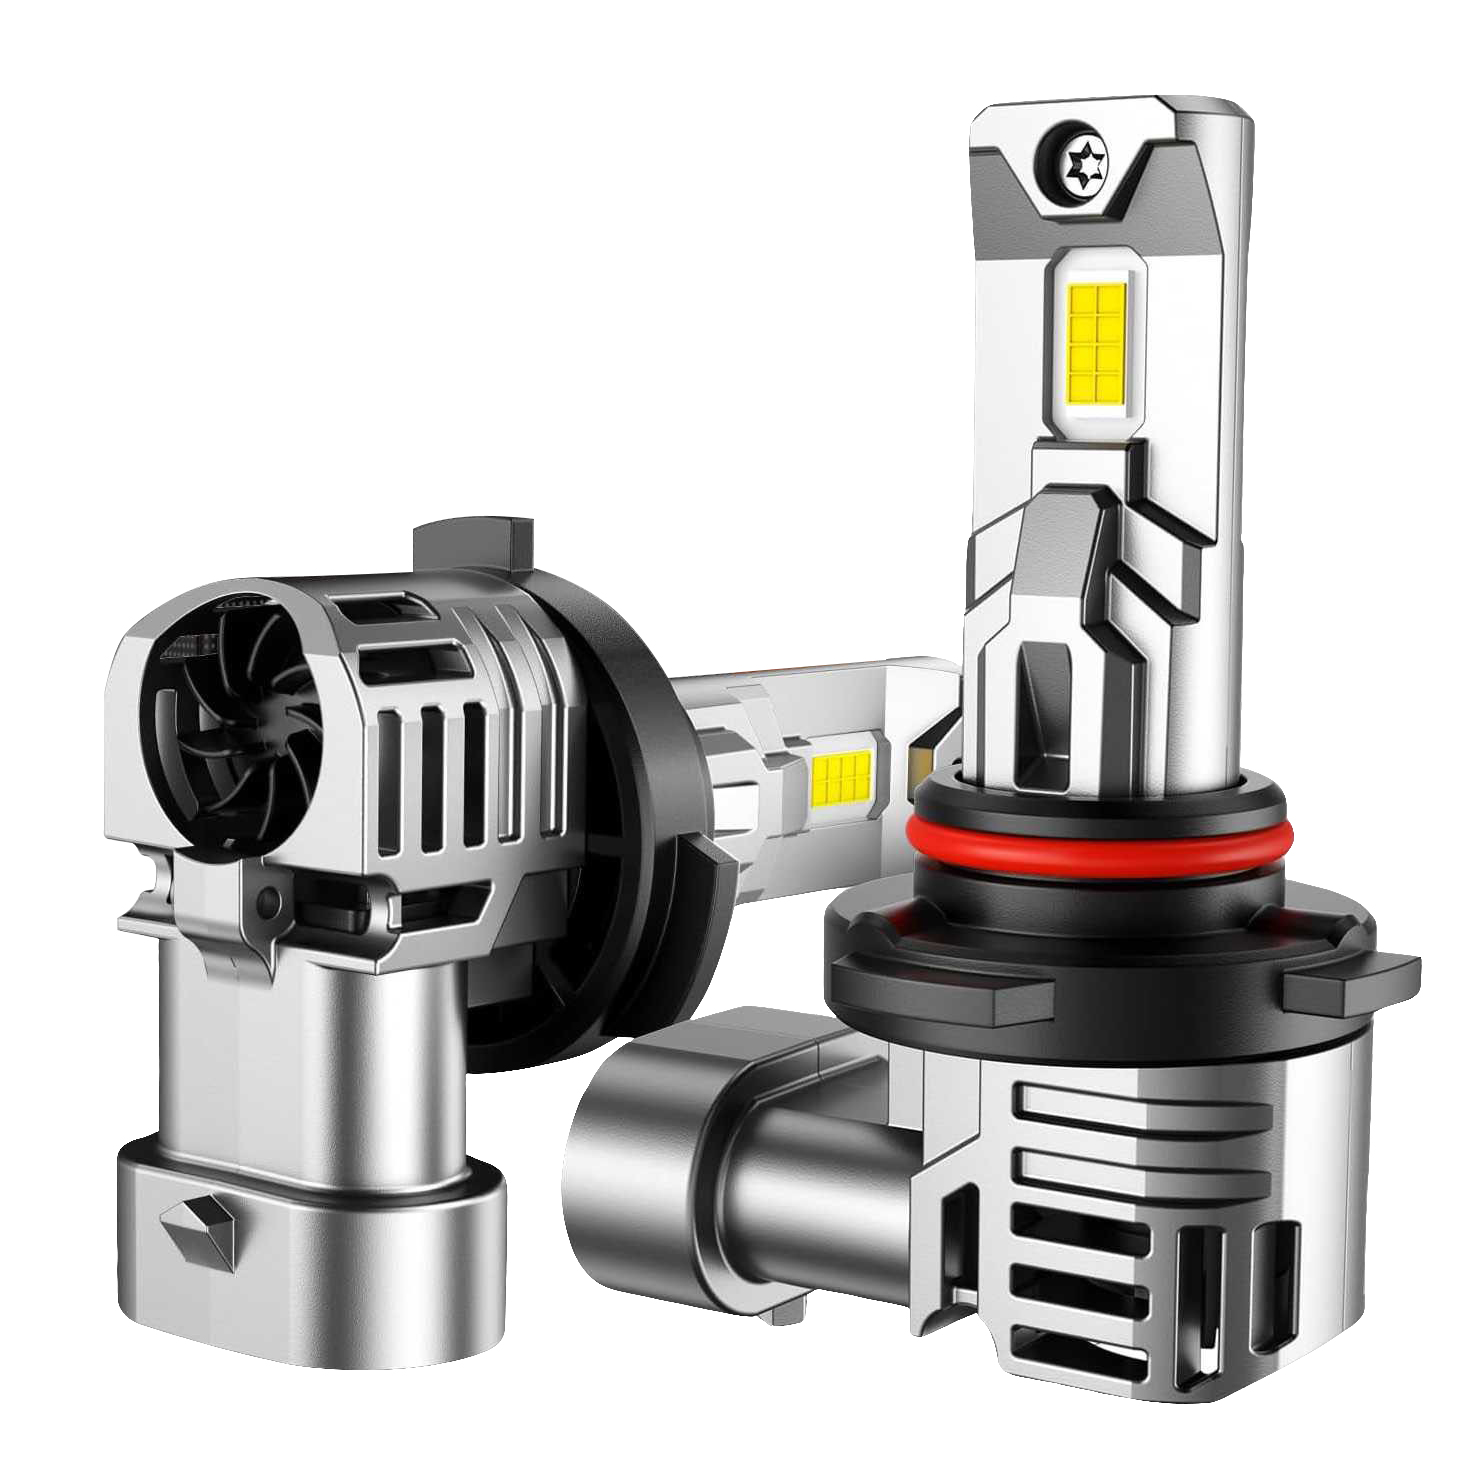


This guide covers the most common fitment, installation, electrical compatibility, beam-pattern, and performance issues involving SEALIGHT LED headlight, fog light, turn signal, brake, reverse, license plate, and interior bulbs.
Before You Start Troubleshooting
Before removing or reconnecting a bulb:
- Turn off the vehicle and remove the key.
- Allow the bulb, driver, decoder, and resistor to cool.
- Confirm the bulb number printed on the original bulb.
- Make sure the replacement bulb is installed in the correct lighting position.
- Check that all connectors are fully inserted.
- Make sure the bulb is completely seated and locked.
- Check that wiring is not touching the cooling fan.
- Keep the original bulbs for comparison and testing.
Do not force or modify the bulb base, locking tabs, or vehicle connector.
Fitment and Installation Problems
Why Does the Bulb Size Guide Not Match My Original Bulb?
The same model year may use different bulbs depending on the trim, production date, headlight package, or housing type.
Differences may include:
- Halogen, HID, or factory LED headlights
- Reflector or projector headlights
- Different high-beam and low-beam configurations
- Optional fog-light packages
- Aftermarket headlight assemblies
Check the number printed on the original bulb before ordering. The original bulb, connector, and locking tabs are normally the most reliable references.
What Should I Do if SEALIGHT Does Not List a Bulb for My Vehicle?
Check the original bulb number in the vehicle manual or on the bulb base.
Do not choose a bulb only because it looks similar. Bulbs such as H11, H11B, 9005, 9006, 9004, and 9007 may have different connectors, tabs, or electrical functions.
Send SEALIGHT Support photos of the original bulb, socket, and connector if you cannot identify the size.
Will the Bulbs Fit Aftermarket Headlights?
Vehicle fitment data normally applies to factory headlight assemblies.
If the headlights have been replaced or modified, check the bulb number required by the aftermarket headlight manufacturer. The factory bulb size may no longer apply.
Why Does Only One Pair in My Headlight and Fog-Light Kit Fit?
High beams, low beams, and fog lights must be checked separately. A package may contain the correct headlight bulbs but the wrong fog-light bulbs for a particular trim.
Compare each replacement bulb with the original bulb from the same lighting position. Do not assume that the entire package is incorrect because one pair does not fit.
What Should I Do if I Ordered the Wrong High-Beam or Low-Beam Bulb?
Check whether the purchased bulb is used in another position on the vehicle.
For example, some vehicles use 9005 for the high beam and H11 for the low beam. A similar-looking bulb should not be installed in another position unless the bulb number and application match.
Contact support for an exchange if the bulb is not used anywhere on the vehicle.
Why Is the LED Bulb Too Large for the Housing?
LED bulbs may be larger than halogen bulbs because they contain a cooling fan, heat sink, driver, or additional wiring.
Check whether the problem is caused by:
- The bulb base
- Bulb length or width
- Cooling-fan clearance
- The external driver
- The retaining clip
- The dust cover
If the connector and base fit but the bulb is too long, a more compact bulb in the same size may be required.
Why Will the Dust Cover Not Close?
Arrange the wiring so that it is not pinched and make sure the cooling fan can rotate freely.
Do not press the dust cover against the fan or heat sink. Do not cut the headlight housing unless the vehicle or headlight manufacturer permits it.
A compact bulb or compatible extended dust cover may be needed.
Why Does the Packaging Say “Headlight/Fog Light”?
Some bulb sizes, including H11, H9, and H8, may be used as headlights or fog lights depending on the vehicle.
The packaging describes possible applications of the bulb size. It does not mean that the product is only a fog-light bulb.
Confirm the bulb number and connector before installation.
Are SEALIGHT LED Bulbs Plug-and-Play?
Many SEALIGHT bulbs are designed for direct installation, but some vehicles may still require:
- A factory adapter or retaining clip
- More space behind the bulb
- An extended dust cover
- A decoder or anti-flicker module
“Plug-and-play” does not guarantee that every vehicle will require no additional parts.
How Should I Choose Between Different SEALIGHT Series?
Compare the specifications on each product page, including brightness, bulb dimensions, cooling design, electrical compatibility, and installation space.
A brighter or more powerful bulb may have a larger fan or heat sink. A compact series may be more suitable for a headlight housing with limited space.
Bulbs Not Working
Why Is My LED Bulb Not Lighting Up?
Check that:
- The connector is fully inserted.
- No connector pins are bent or pushed backward.
- The bulb is installed in the correct socket.
- The fuse is working.
- The original bulb still works in the same socket.
Small wedge and festoon bulbs are often polarity-sensitive. Remove the bulb, rotate it 180 degrees, and reinstall it.
For keyed headlight connectors, do not reverse or force the plug unless the product instructions specifically permit it.
Why Does Only One Bulb Work?
Swap the left and right bulbs.
- If the problem follows the bulb, the bulb or driver may be faulty.
- If the problem stays on the same side, inspect the socket, fuse, wiring, or ground.
- If both bulbs work after reconnection, the original connection was probably loose.
If the product has an external driver, swap the driver separately to identify the faulty component. Related guide: One or Both Headlights Not Working? Learn the Causes & Fixes
Why Do Both Bulbs Not Work?
Reinstall the original bulbs.
If the original bulbs work, check the LED bulb size, connectors, polarity, and electrical compatibility.
If the original bulbs also fail, inspect the vehicle fuse, relay, switch, wiring, and lighting circuit.
Why Did the Bulb Work at First but Fail Later?
A bulb that fails immediately is more likely to have an installation, polarity, connector, or compatibility problem.
A bulb that fails after days or weeks may be affected by:
- A loose connection
- Heat buildup
- A blocked or failed cooling fan
- Moisture
- Socket corrosion
- A failing driver
- A product fault
Swap the bulbs and reinstall the original bulb to determine whether the problem follows the product or stays with the vehicle.
Flickering and Dashboard Warnings
Why Are My LED Bulbs Flickering?
Common causes include:
- A loose connector
- Incorrect polarity
- Vehicle bulb monitoring
- PWM power control
- Reduced-voltage DRL operation
- An incompatible decoder
- A failing bulb or driver
- Unstable vehicle voltage
Check whether the flickering occurs:
- Immediately after installation
- Only when the engine is running
- Only in DRL mode
- Only after several minutes
- On one side or both sides
Swap the left and right bulbs. If the problem follows one bulb, the bulb or driver may be faulty. If both bulbs flicker in the same mode, vehicle compatibility is more likely. Related guide: Why Are My Headlights Flickering? Common Causes and Solutions
Why Does the Dashboard Show a Bulb Warning?
LED bulbs usually draw less power than halogen bulbs. The vehicle may interpret the lower load as a failed bulb.
First confirm that:
- All bulbs are operating.
- The connectors are secure.
- The warning refers to the recently replaced bulb.
- No other exterior bulb has failed.
A compatible decoder, load resistor, or vehicle coding may be required. If the bulb size and installation are correct but the warning remains, check whether a suitable CANbus-compatible LED bulb is available for that lighting position. Compatibility varies by vehicle, and some applications may still require a separate decoder, resistor or vehicle-specific solution.
Do I Need a CANbus Decoder?
Do not install a decoder unless there is a confirmed electrical compatibility problem.
A decoder or anti-flicker module may help with:
- Persistent flickering
- Dashboard bulb warnings
- Bulbs shutting off after startup
- DRL problems
- Some high- and low-beam switching problems
- Turn-signal hyperflashing
A decoder cannot correct the wrong bulb size, poor physical fitment, incorrect installation, a damaged socket, a poor beam pattern, or water entering the housing.
What Does “Built-In Decoder” Mean?
Some bulbs contain compatibility electronics inside the bulb or driver. Other products include a separate external decoder in the package.
Check the package contents and product instructions. A product described as including a decoder does not always mean that the decoder is built into the bulb body.
Even a CANbus-ready bulb may not work perfectly with every vehicle because monitoring systems vary.
What Should I Do if the Decoder Does Not Solve the Problem?
Remove the decoder and test the bulb in its basic configuration.
Then check:
- Whether the decoder matches the bulb size
- Whether it is intended for that lighting position
- Whether every connector is locked
- Whether the original bulb works
- Whether the problem follows the bulb during a swap test
A universal decoder will not work with every vehicle. Contact support if no compatible decoder is available.
Is It Normal for a Decoder or Resistor to Get Hot?
Some decoders and load resistors generate significant heat.
Do not install a heat-producing component against:
- Plastic
- Rubber
- Factory wiring
- The dust cover
- The bulb driver
- The headlight housing
Follow the installation instructions. Load resistors normally need to be secured to a suitable metal surface that can safely dissipate heat.
Do not leave the decoder or resistor loose inside the engine compartment.
Why Is There No Space to Install the Decoder?
Secure the decoder away from moving parts, the cooling fan, hot engine components, and sensitive wiring.
Use suitable cable ties or mounting hardware where permitted. Do not place a heat-producing resistor inside a sealed plastic housing or directly against the headlight assembly.
Daytime Running Light Problems
Why Does My 9005 High Beam Work but the DRL Flicker or Stay Off?
Some vehicles use the 9005 high-beam bulb as a daytime running light at reduced voltage or with a PWM signal.
The LED may work normally at full high-beam power but flicker, stay off, or display a warning in DRL mode.
A compatible anti-flicker module or decoder may help, but not every reduced-voltage DRL system can be corrected with a universal accessory.
When contacting support, specify whether the problem occurs in DRL mode, full high-beam mode, or both.
Why Does the Bulb Work With the Engine Off but Not While Driving?
The vehicle may change its voltage or activate bulb monitoring after the engine starts.
Check the connectors and compare operation with the engine off and running. If both bulbs fail only after the engine starts, the issue is more likely related to PWM, DRL operation, or vehicle electrical compatibility.
High-Beam and Low-Beam Problems
Why Are My High and Low Beams Reversed?
This can occur with dual-beam bulbs such as H4/9003, 9004/HB1, 9007/HB5, and H13/9008.
Check that:
- The bulb size exactly matches the original bulb.
- The connector is fully inserted.
- The bulb and removable collar are installed correctly.
- The product is designed for a dual-beam application.
Do not force or rotate a fixed keyed bulb base. If the bulb has an adjustable mounting collar, adjust it only according to the product instructions.
If the functions remain reversed, the bulb application or connector pin arrangement may not match the vehicle.
Why Will the Bulb Not Switch Between High and Low Beam?
Determine whether:
- Only the low beam works.
- Only the high beam works.
- Both functions remain on.
- The functions are reversed.
- The problem occurs only while the engine is running.
Test the original bulb. If the original bulb switches normally, the issue may involve the LED bulb, connector pinout, or vehicle electrical control.
A decoder may help in some electrically controlled systems, but it is not a guaranteed solution.
Beam Pattern and Headlight Aim
Must the LED Chips Face the 3 and 9 O’Clock Positions?
For many two-sided LED bulbs, the 3 and 9 o’clock positions are a useful starting point because they place the emitters near the original halogen filament position.
However, this is not a universal rule for every bulb and housing.
Correct installation should:
- Fully lock the bulb into place
- Keep the bulb straight
- Produce an even beam and clear cutoff
- Follow the product-specific instructions
Only adjust the mounting collar if the product is designed to be adjustable.
Why Is the Beam Uneven, Scattered, or Pointing Down?
Check that:
- The bulb is fully seated.
- The retaining clip or adapter is secure.
- The bulb is not tilted.
- Both bulbs are installed at the same angle.
- The LED emitters are correctly positioned.
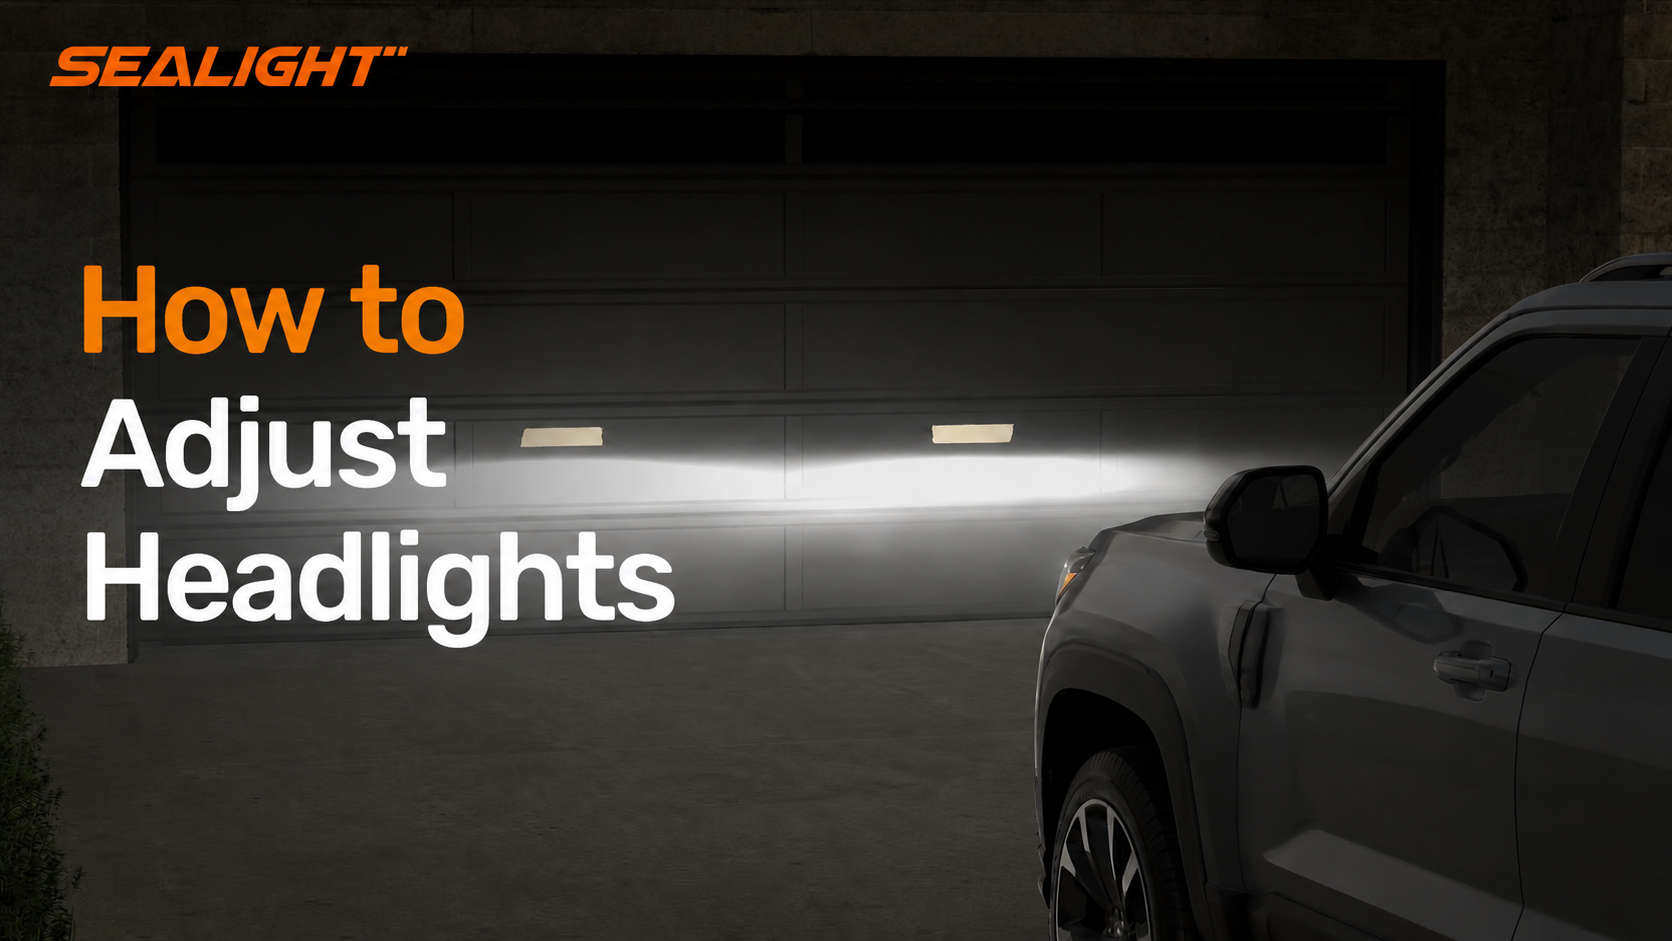
Park on level ground facing a wall and compare both sides.
If the bulbs are correctly installed, adjust the headlight aim according to the vehicle manual. A decoder cannot correct a poor beam pattern or incorrect headlight aim.
Why Does One Headlight Look Dimmer Than the Other?
Swap the bulbs.
If the dim output follows the bulb, the bulb or driver may be faulty. If the same side remains dim, inspect the lens, reflector, projector, socket, voltage, and headlight aim.
A cloudy lens or worn headlight housing can also create uneven output.
Turn Signal and Small-Bulb Problems
Why Are My LED Turn Signals Hyperflashing?
LED turn signals draw less current than incandescent bulbs. The vehicle may interpret this as a failed bulb and increase the flashing speed.
Possible solutions include:
- A compatible CANbus turn-signal bulb
- A load resistor
- An LED-compatible flasher relay
- Vehicle coding
Load resistors become very hot and must be installed safely away from plastic and wiring.
Why Does My White and Amber Switchback Bulb Not Change Colors?
A switchback bulb requires a dual-function socket that supplies separate signals for the parking light or DRL and the turn signal.
Typically:
- White operates with the parking-light or DRL circuit.
- Amber operates with the turn-signal circuit.
- Amber overrides white while the turn signal is active.
The bulb may not switch correctly if the socket is single-function, the vehicle does not supply both circuits, or the connector pinout is incompatible.
Color switching depends on the vehicle’s wiring and control signals, not simply on where the bulb is installed. Before replacing the bulb, confirm that the socket supports separate parking-light or DRL and turn-signal circuits. Drivers with a compatible dual-function socket can browse white and amber switchback LED bulbs by bulb size.
Why Is My Interior, License Plate, or Reverse Bulb Not Lighting Up?
Small wedge and festoon LEDs are often polarity-sensitive.
Remove the bulb, rotate it 180 degrees, and reinstall it. Also check that the contacts touch the socket and that the bulb is the correct size and length.
Radio Interference, Heat, and Noise
Can LED Bulbs Cause Radio Interference?
In some vehicles, the bulb driver or decoder may create electromagnetic interference.
Try the following:
- Test the bulbs without the decoder.
- Test one bulb at a time.
- Keep drivers and decoders away from antenna wiring.
- Reinstall the original bulbs to confirm that the LED system is the cause.
A dedicated EMI filter may be required. A standard load resistor is not designed specifically to correct radio interference.
Is Fan Noise Normal?
A soft, steady humming sound from an actively cooled LED bulb can be normal.
The following sounds may indicate a problem:
- Grinding
- Scraping
- Clicking
- Rattling
- Repeated stopping and restarting
- One fan being much louder than the other
Check that wiring and the dust cover are not touching the fan. Stop using the bulb if the fan is blocked or no longer operates.
Is It Normal for LED Bulbs to Get Hot?
LED bulbs, drivers, heat sinks, decoders, and resistors generate heat during operation.
Stop using the product if you notice:
- Smoke
- A burning smell
- Melted plastic
- Discolored connectors
- Damaged wiring
- Repeated thermal shutdown
Make sure the cooling fan and heat sink have enough ventilation.
Why Did My LED Bulb Fail Earlier Than Expected?
Bulb life may be reduced by:
- Poor ventilation
- A failed cooling fan
- Loose connections
- Moisture
- Voltage instability
- Damaged sockets
- Frequent overheating
Perform a left-to-right swap and test the original bulb. Keep the order information and contact support if the problem follows the SEALIGHT bulb.
Condensation and Water Entry
Why Is There Condensation Inside the Headlight?
A light temporary mist may appear because of temperature and humidity changes.
Check for:
- A loose dust cover
- A damaged or twisted O-ring
- A blocked ventilation port
- Wiring preventing the cover from closing
- Cracks in the lens or housing
- Damaged factory seals
The bulb alone does not seal the entire headlight assembly.
What Is the Difference Between Normal Condensation and Water Entry?
Normal condensation is usually a light mist that clears after the housing warms up or conditions change.
Possible water entry includes:
- Large droplets
- Water running down the lens
- Standing water
- Repeated heavy condensation
- Corrosion
- Electrical problems
If there is standing water, turn off the lights and inspect the housing, seals, dust cover, and ventilation ports before using the headlights again.
Still Have a Question? Contact SEALIGHT Customer Support
If the issue remains unresolved, please contact SEALIGHT Customer Support for help. Include your order details, vehicle information, bulb size, a brief description of the issue, and any helpful photos or videos so our support team can identify the cause and assist you faster.