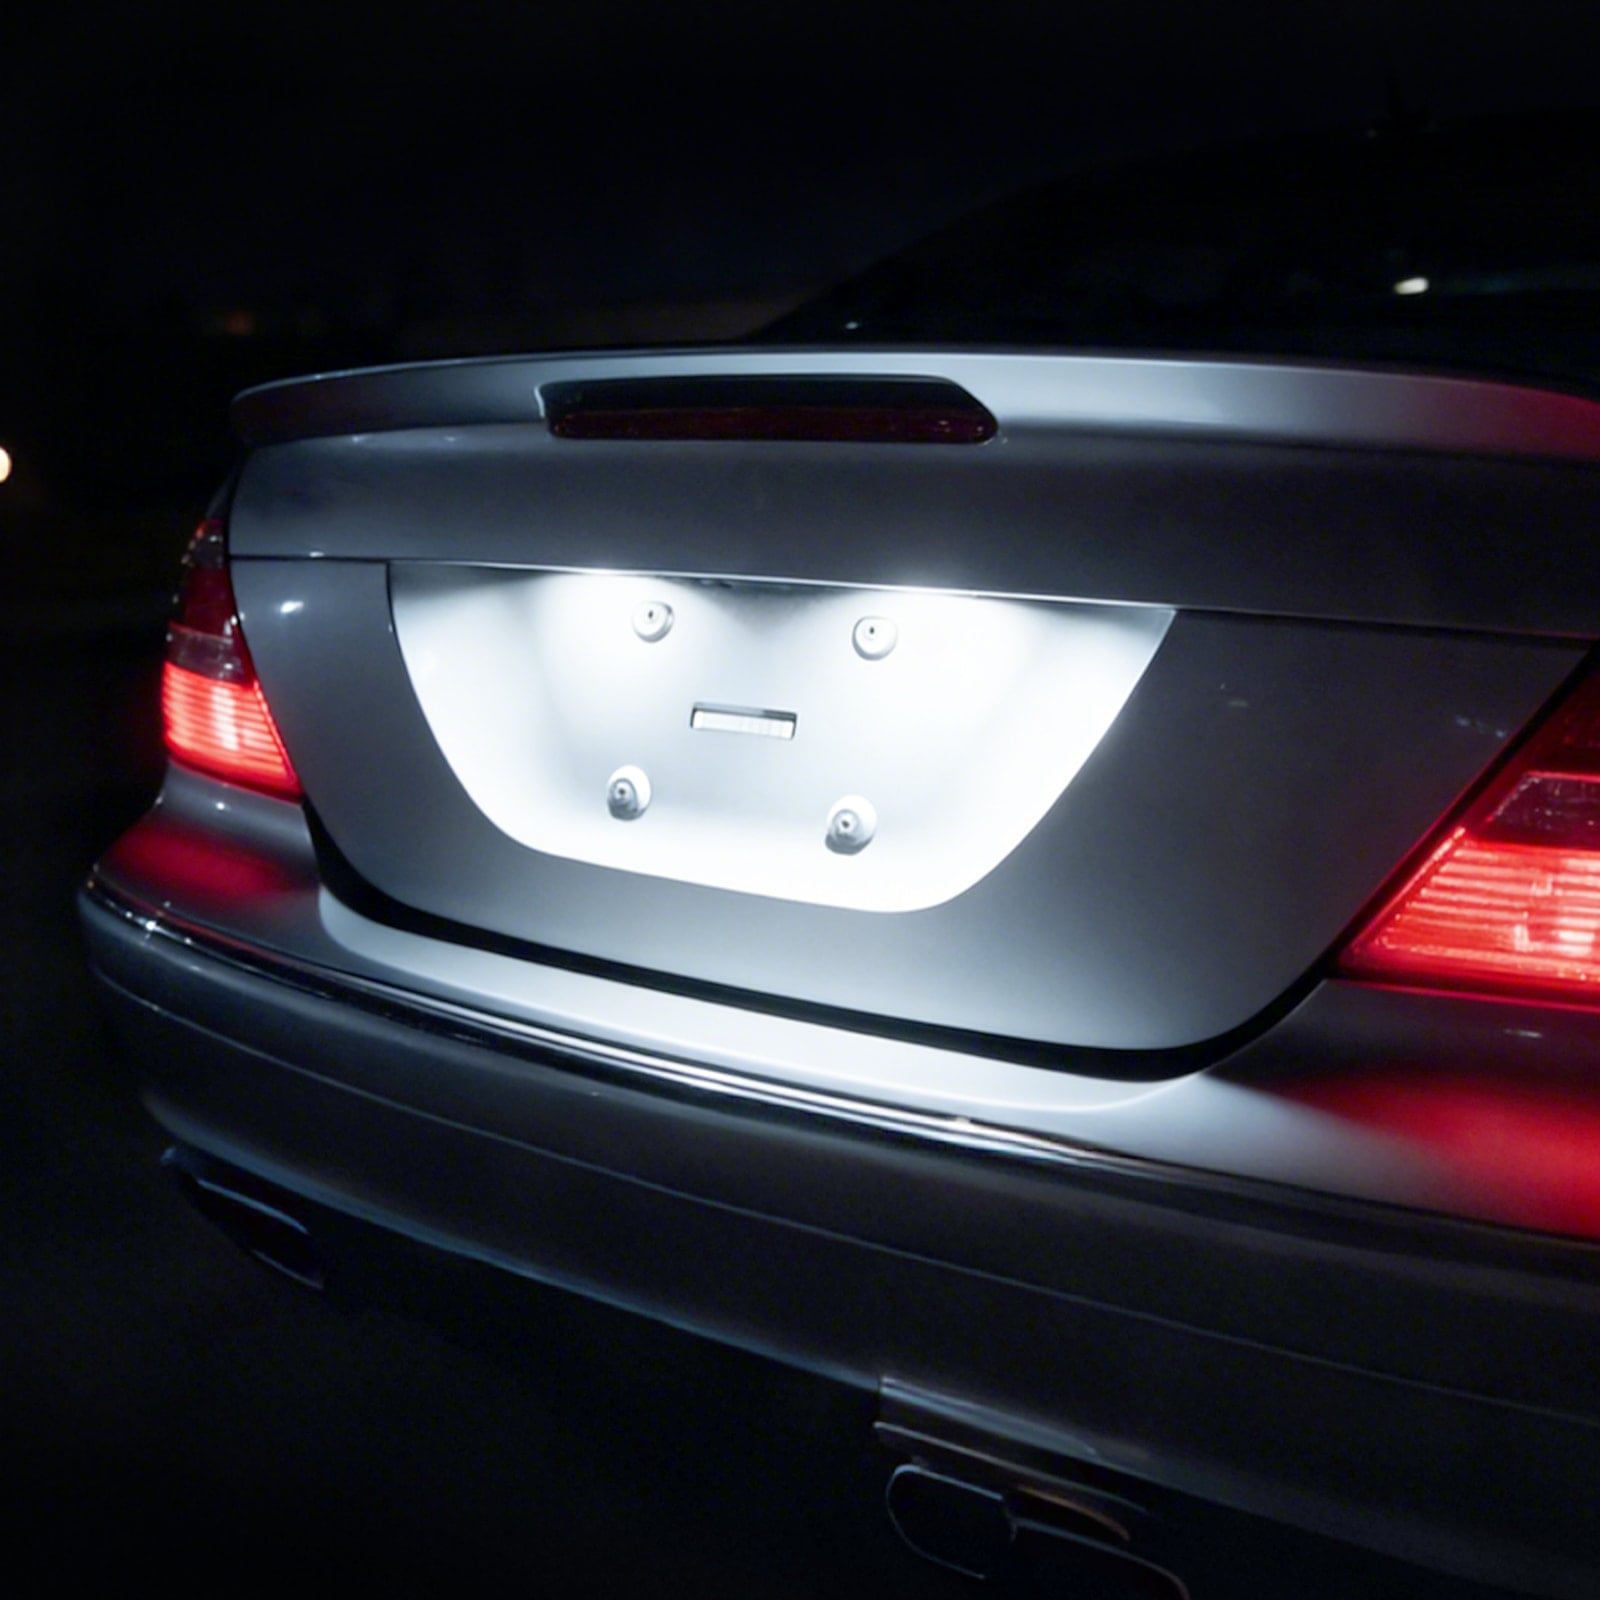


A burned-out brake light is easy to miss until another driver points it out, or you see one side dark in a reflection. If you are searching for how to replace brake light, you likely want a quick fix without paying for a simple shop visit. The good news is that brake light bulb replacement is often a small DIY job, as long as you choose the right bulb and reach the socket safely.
This guide shows you how to change a brake light the right way, from checking the bulb size to testing the new light before you drive. You will also learn what to check if the brake light is still not working after replacing the bulb. You can also compare common options for brake light bulb replacement before buying. That way, you can avoid buying the wrong part, fix the real issue, and keep your rear brake signal clear on the road.
Can You Replace a Brake Light by Yourself?
Yes, most drivers can replace a brake light by themselves. If only one brake light is out and the bulb is easy to reach, this is usually a quick DIY fix.
The key is simple: make sure you can access the bulb, check that the socket is not burned or corroded, and use the right brake light bulb size. That is why finding the correct bulb comes before you start the replacement.
If both brake lights are out, or the new bulb still does not work, the issue may not be the bulb. Check the fuse, brake light switch, socket, or wiring before buying another replacement.
How to Find the Right Brake Light Bulb Size Before Replacement
For a smooth brake light bulb replacement, confirm the exact bulb size before you buy. Two bulbs can look alike but use different bases, pins, or contact points. The wrong bulb may not fit the socket or work with both brake and tail light functions.
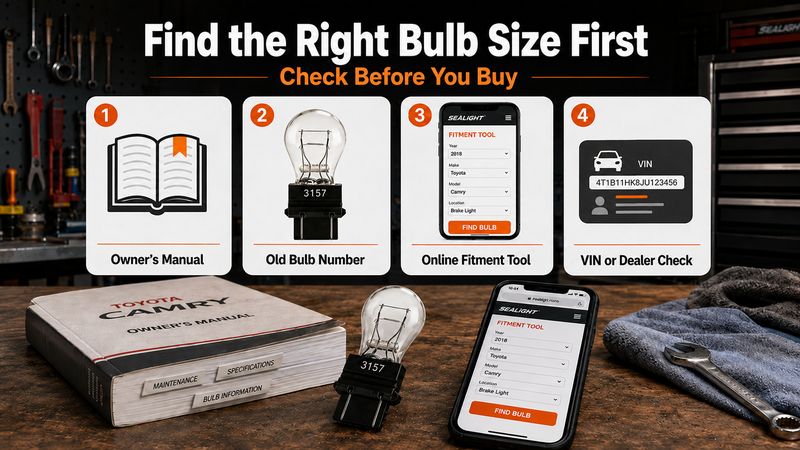
Best Ways to Find Your Brake Light Bulb Size
Use more than one method if you are not sure. Vehicle year, trim, and rear light design can change the bulb type.
| Method | What to Do | Why It Helps |
|---|---|---|
| Owner’s manual | Check the “Bulb Replacement” or “Specifications” section | Gives the factory bulb number |
| Old bulb number | Read the code on the old bulb base | Confirms the exact size |
| Online fitment tool | Enter your year, make, and model | Helps find matching bulbs fast |
| Dealership parts desk | Give them your VIN | Useful for trim-specific bulbs |
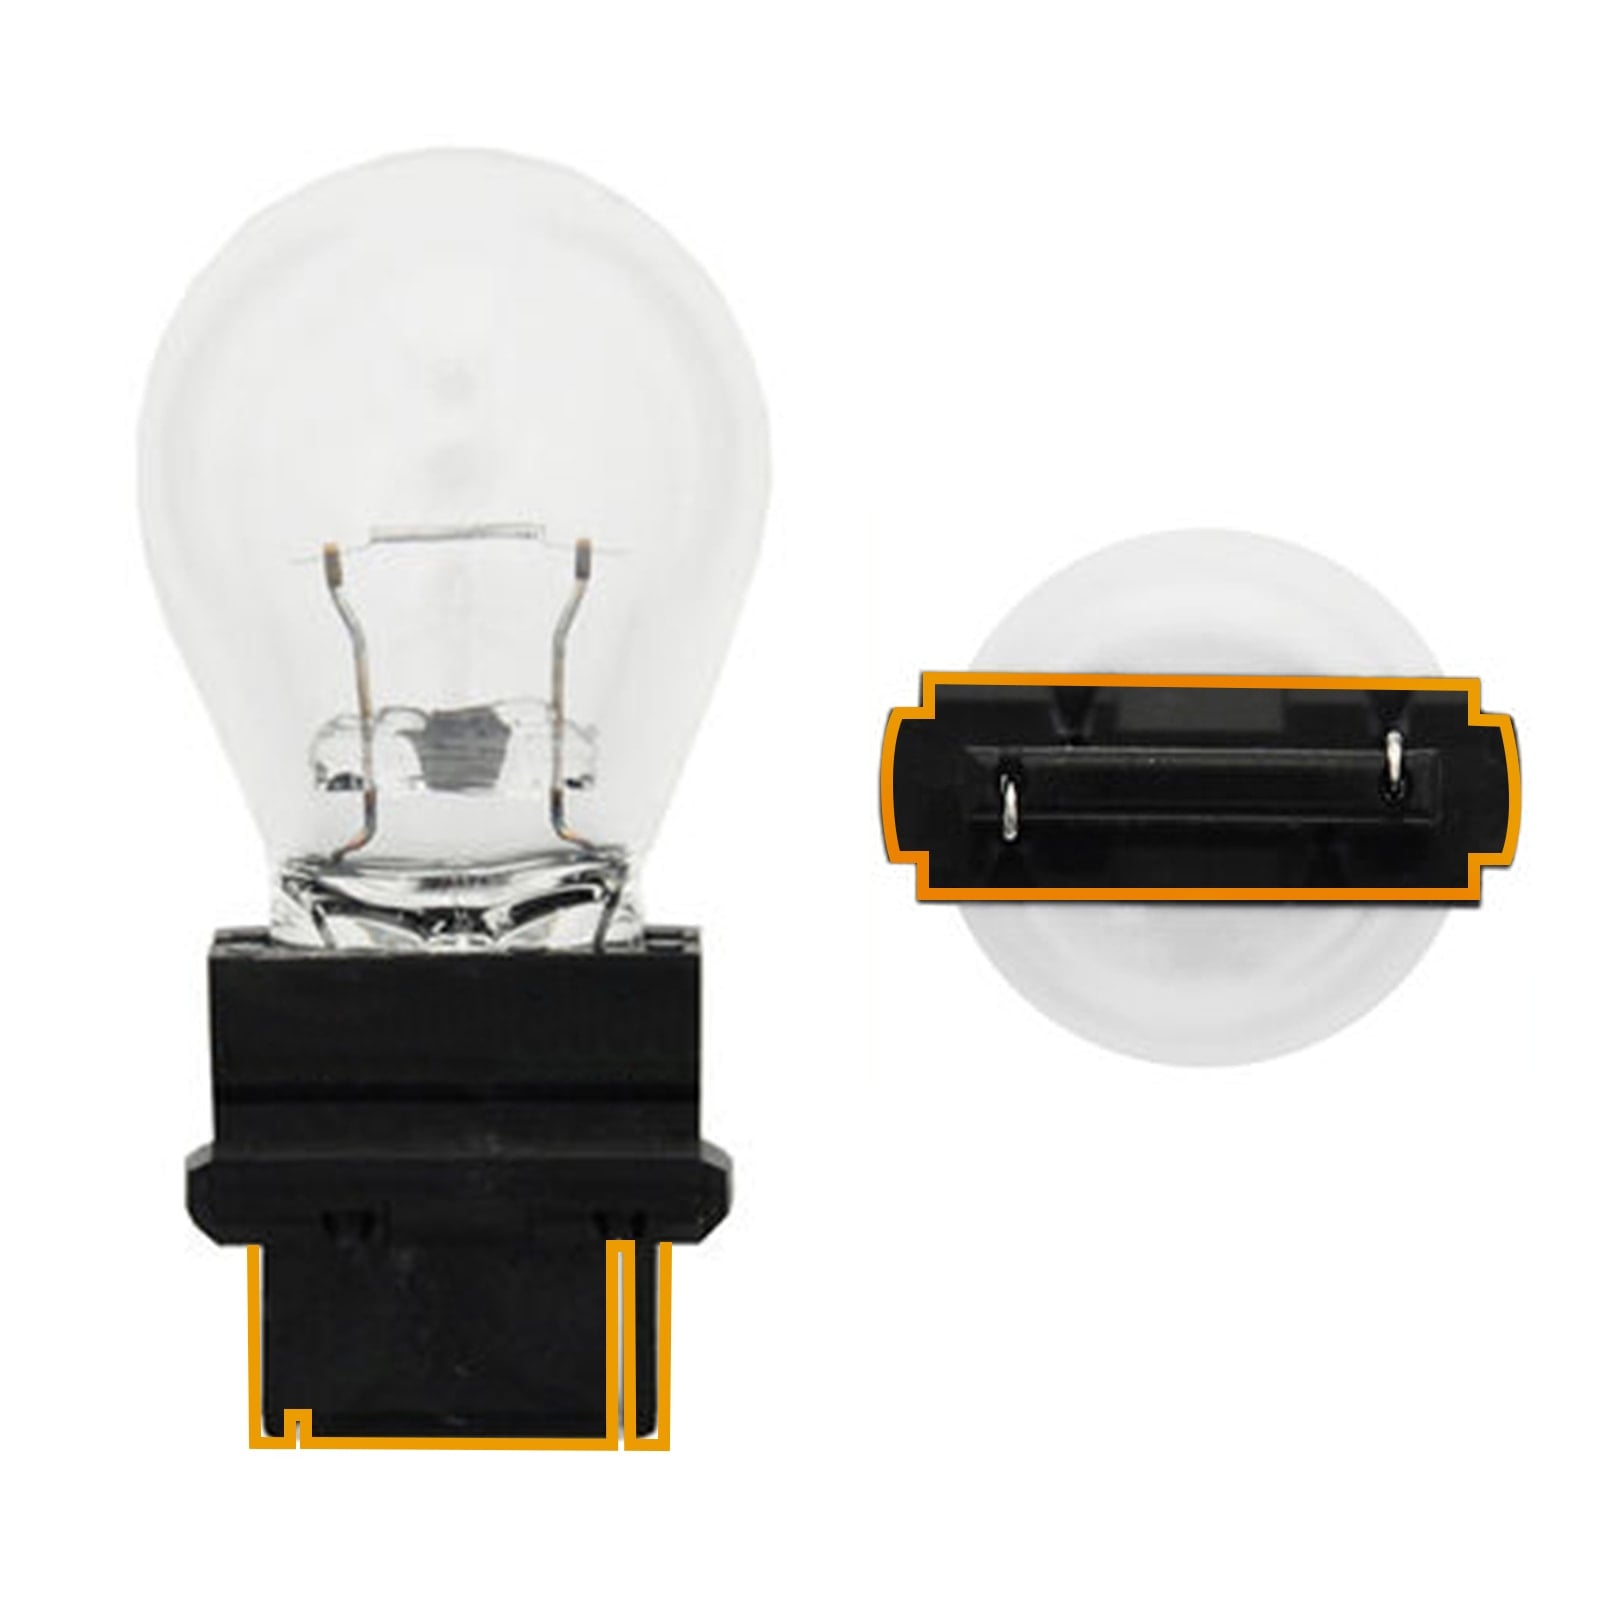
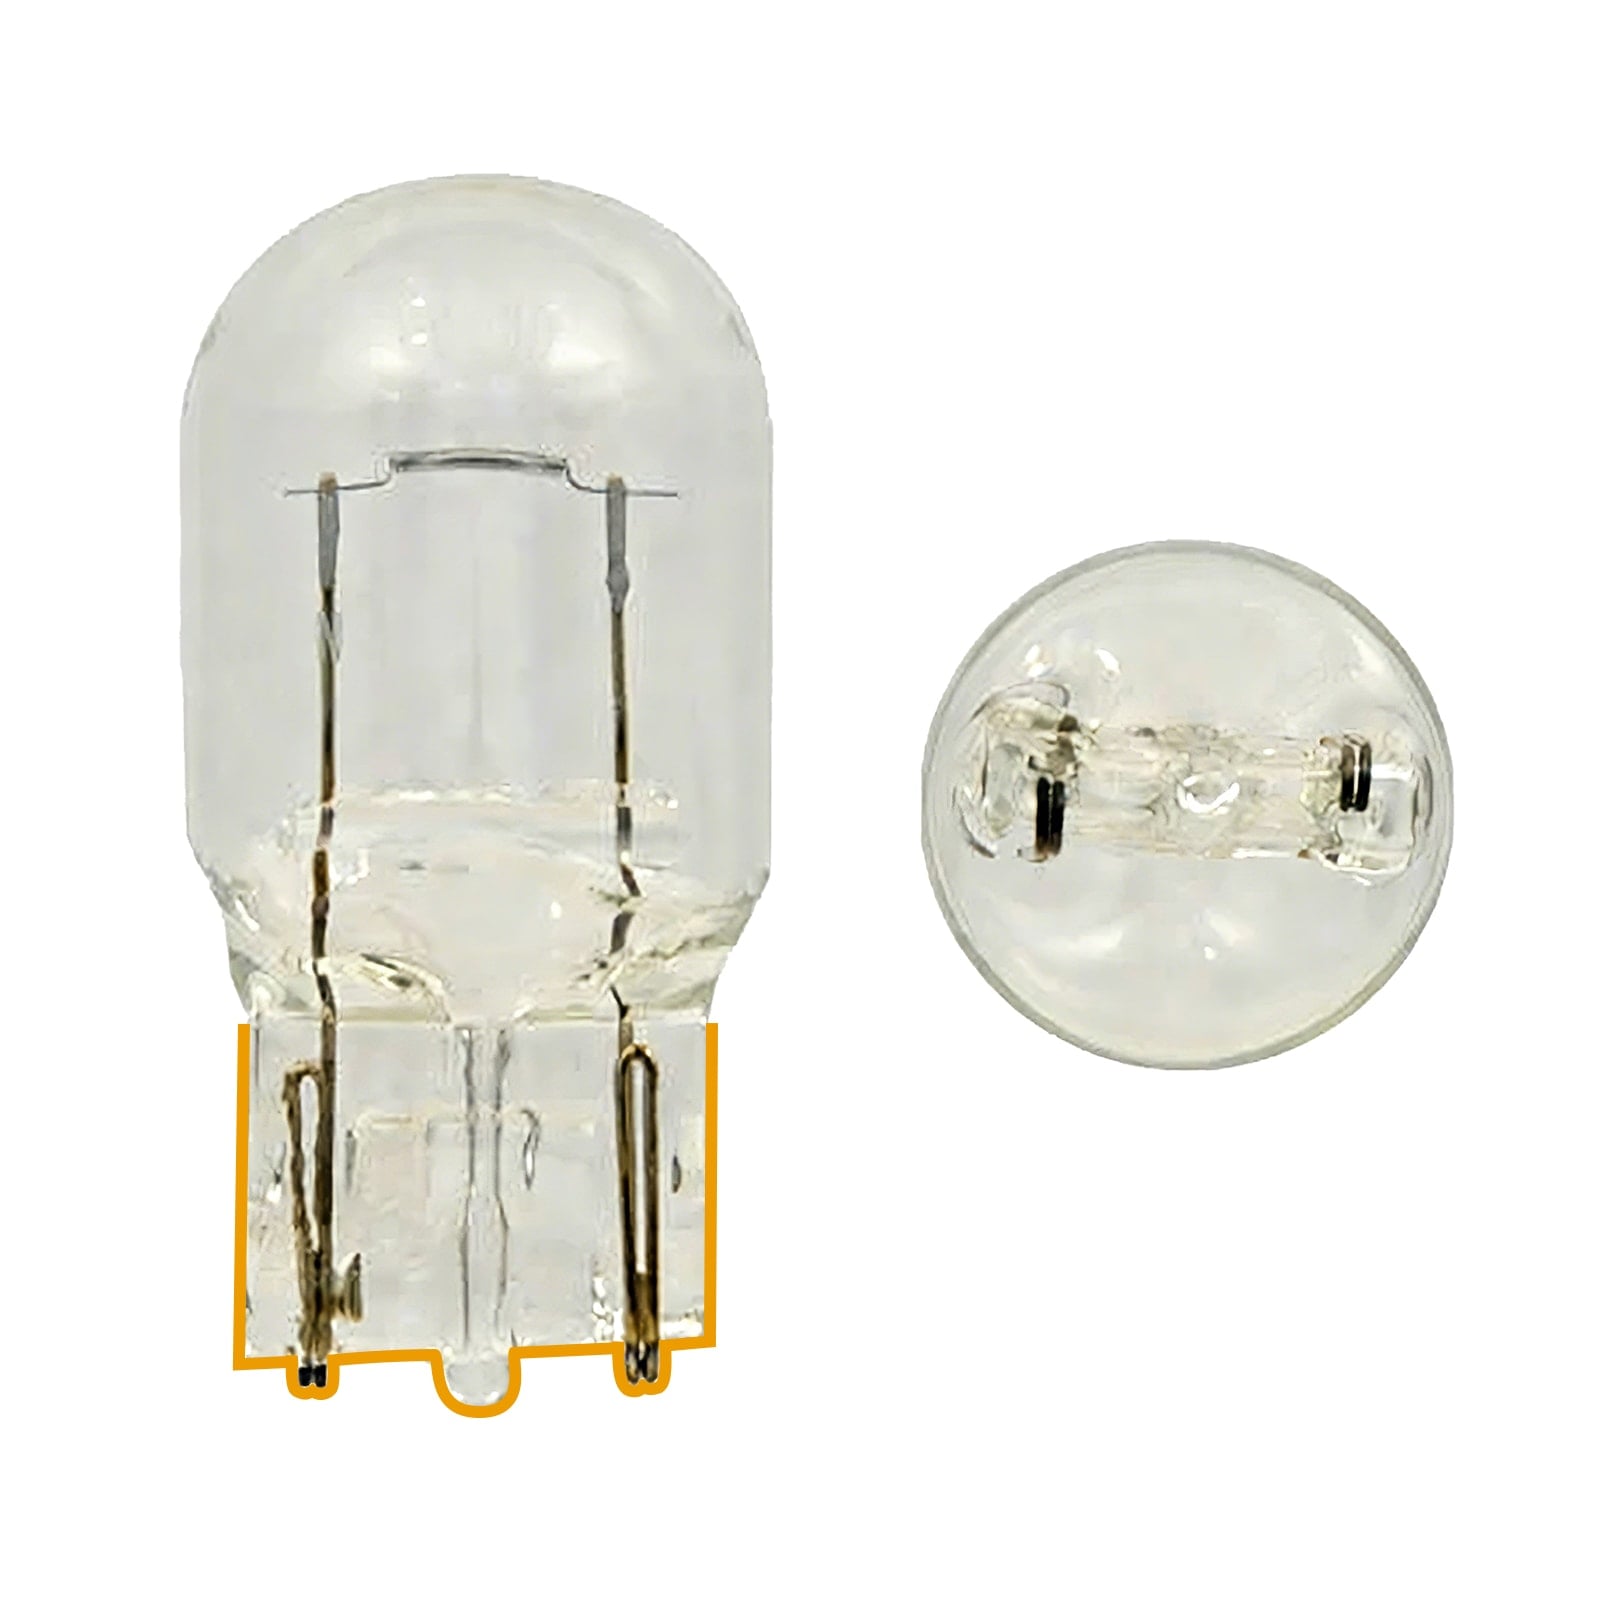
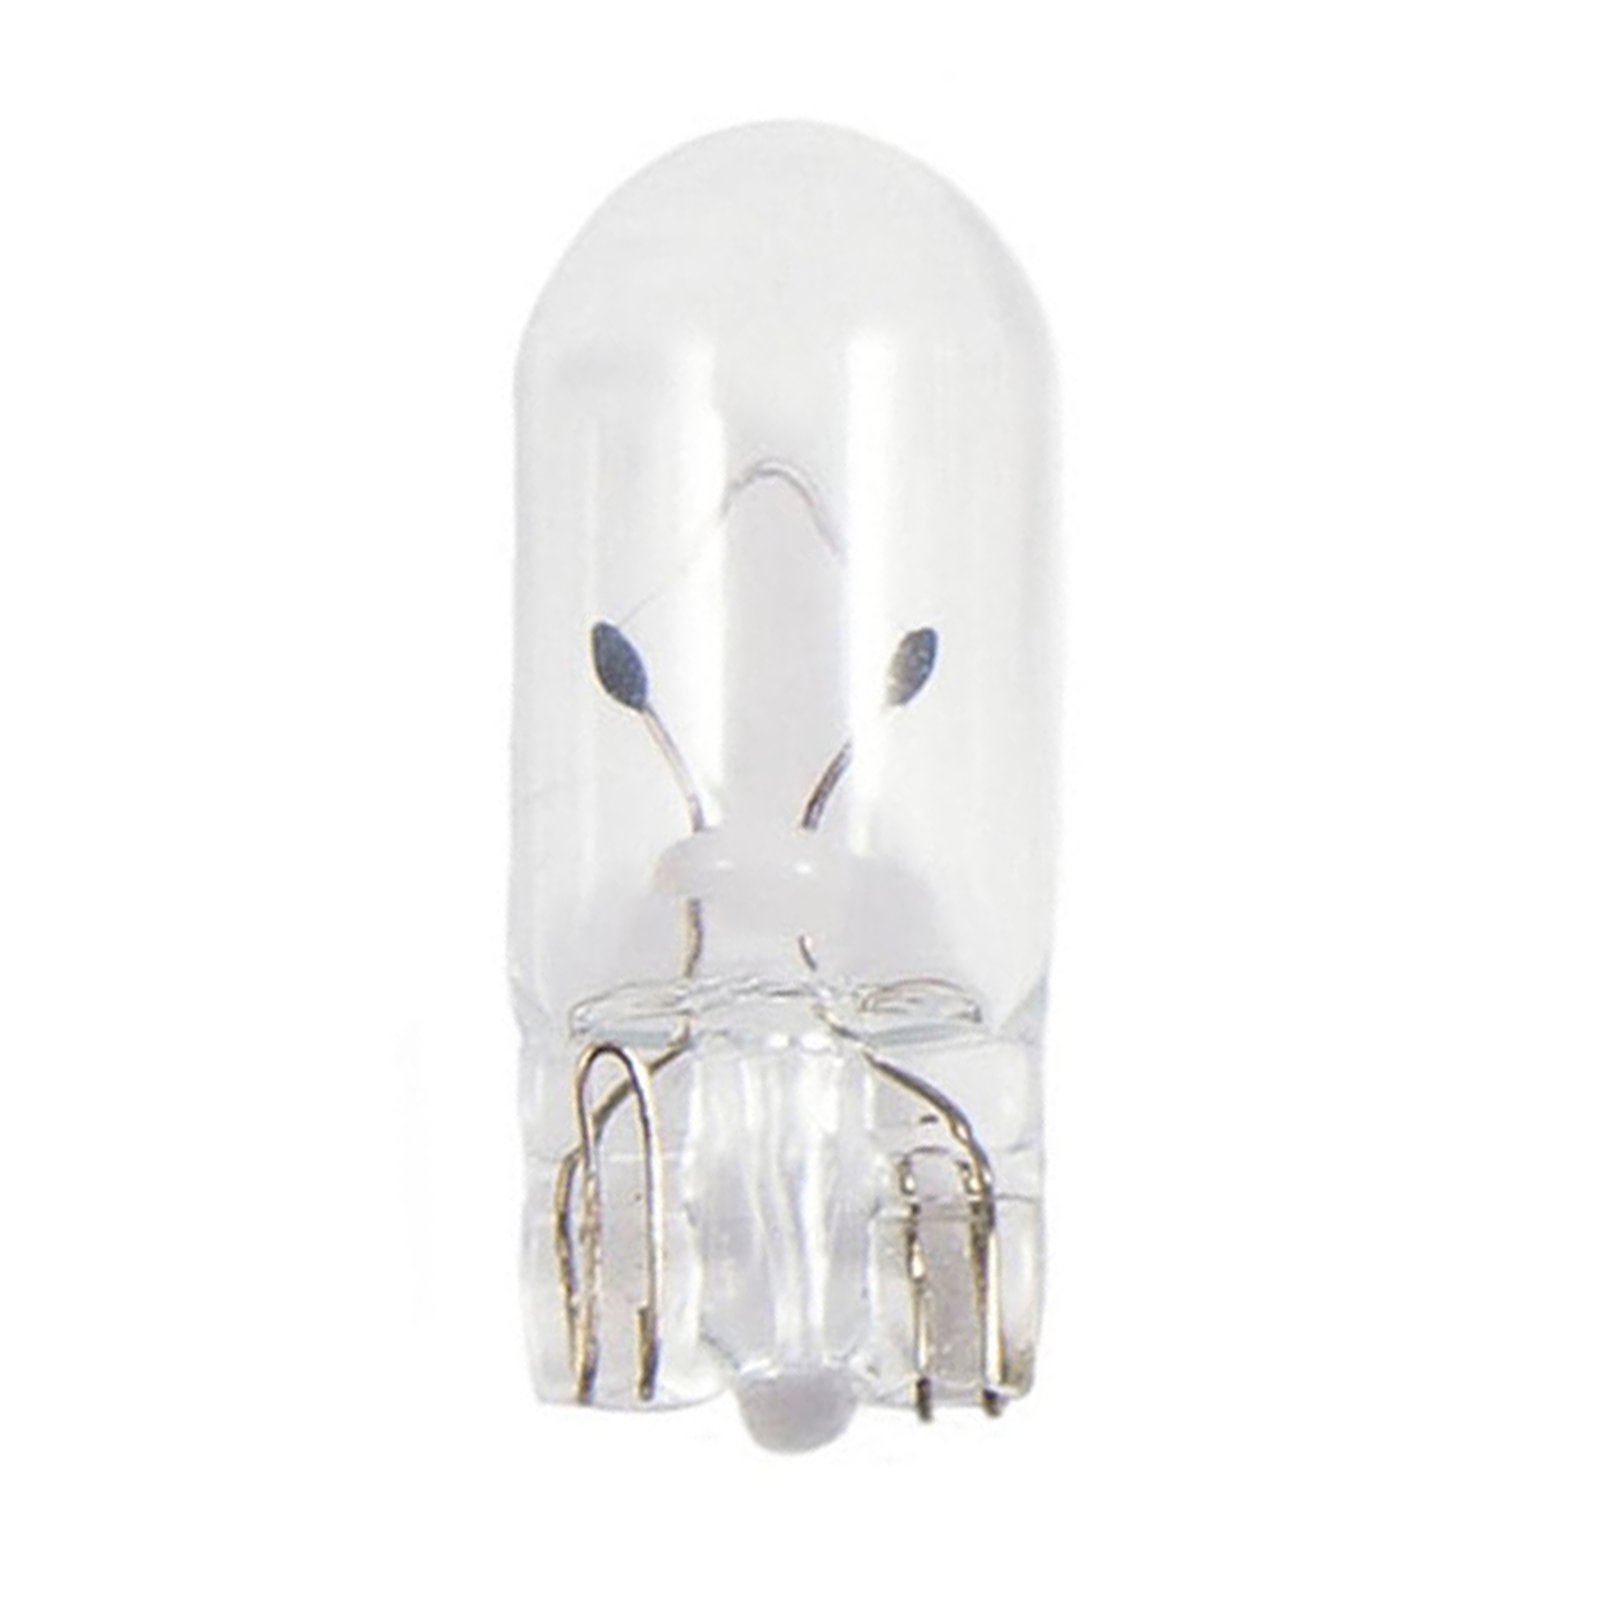
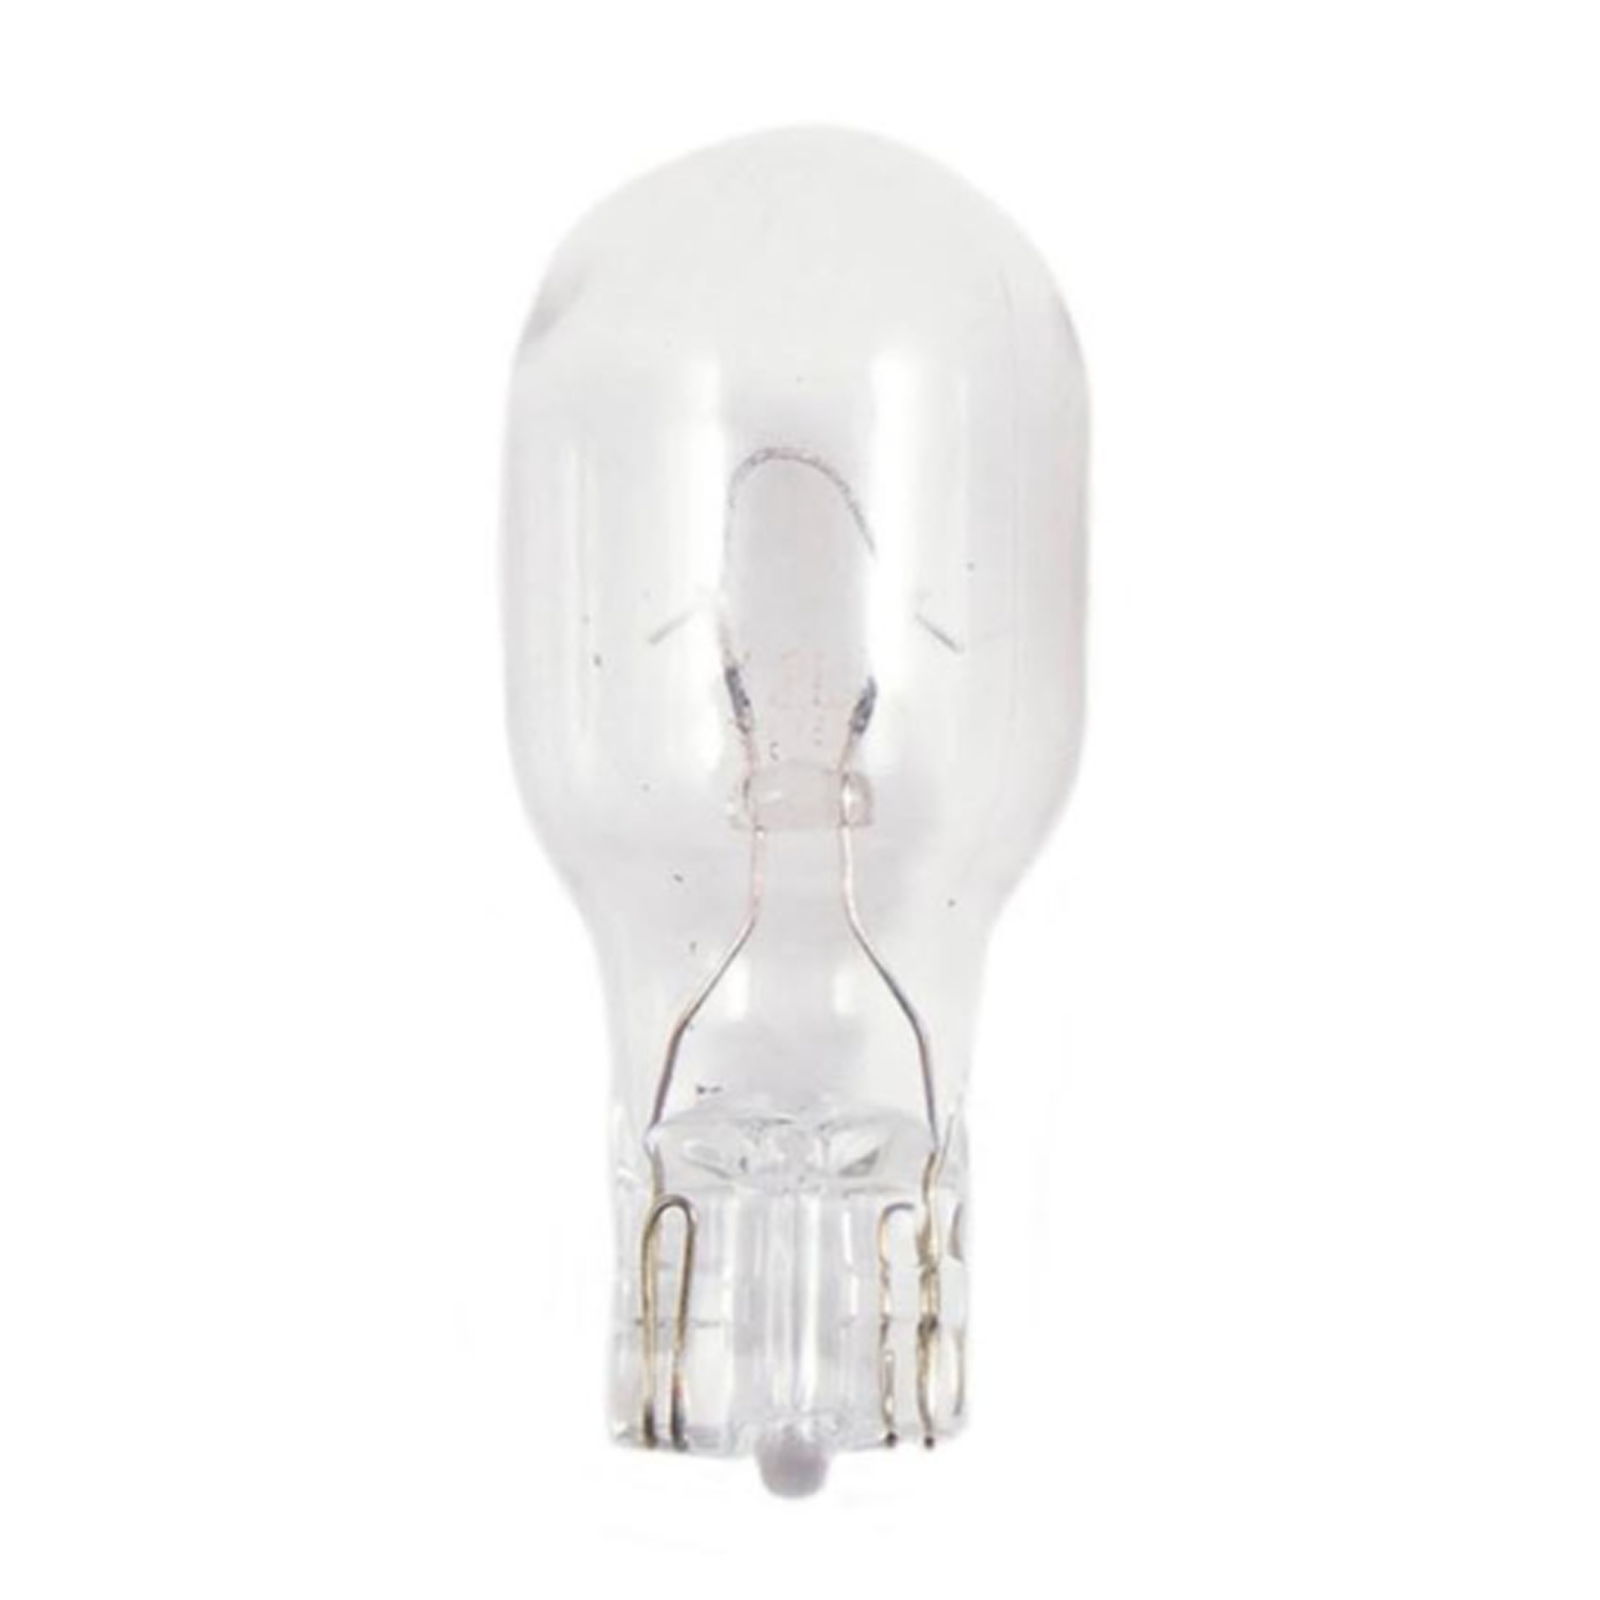
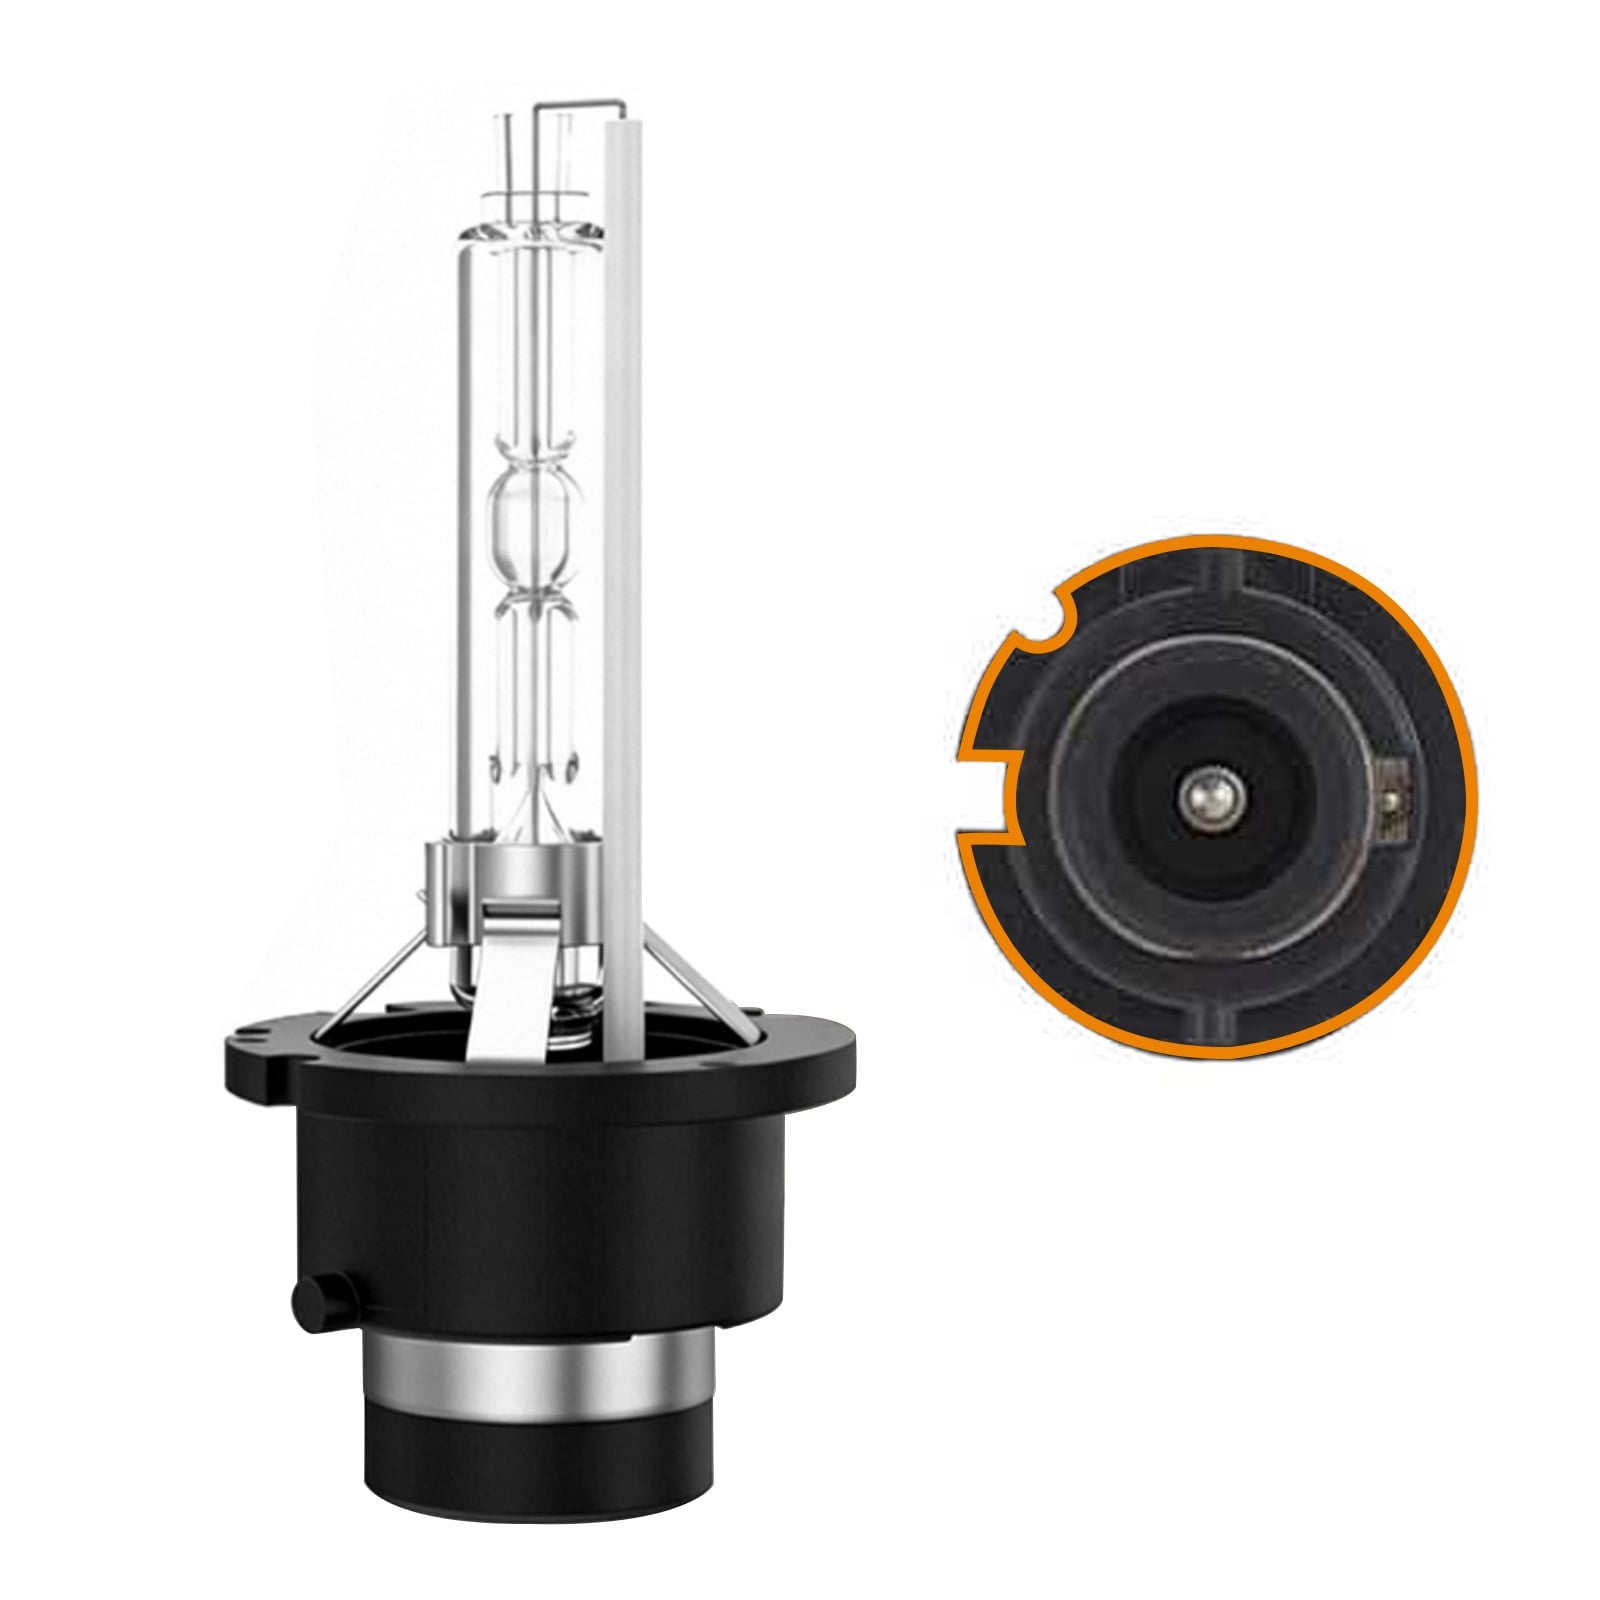
Common brake light bulb sizes include 1156/1157, 3156/3157, and 7440/7443. Still, do not buy from a size list alone. Always match the bulb to your vehicle.
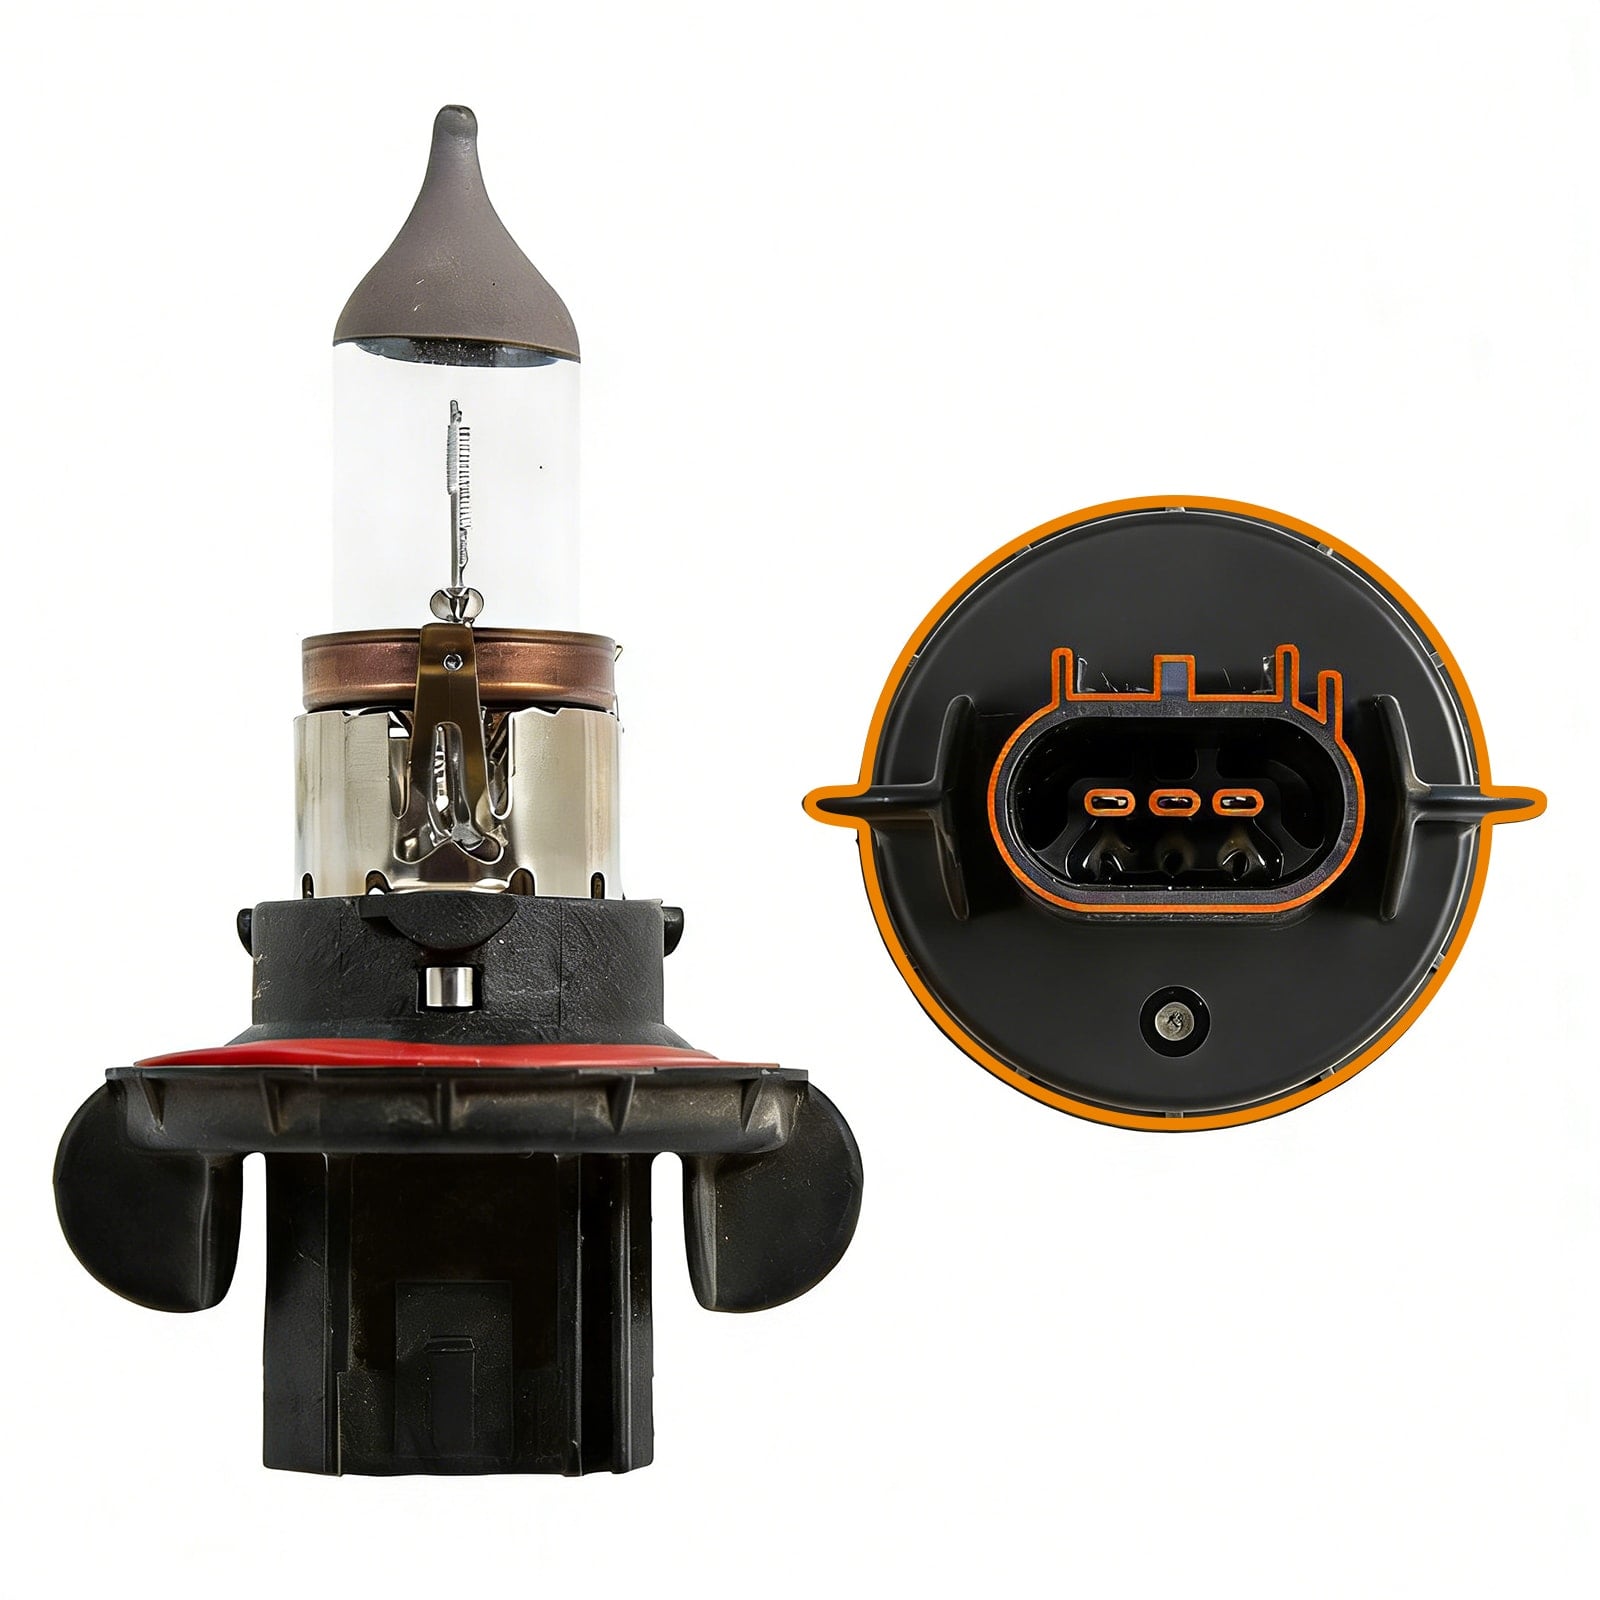
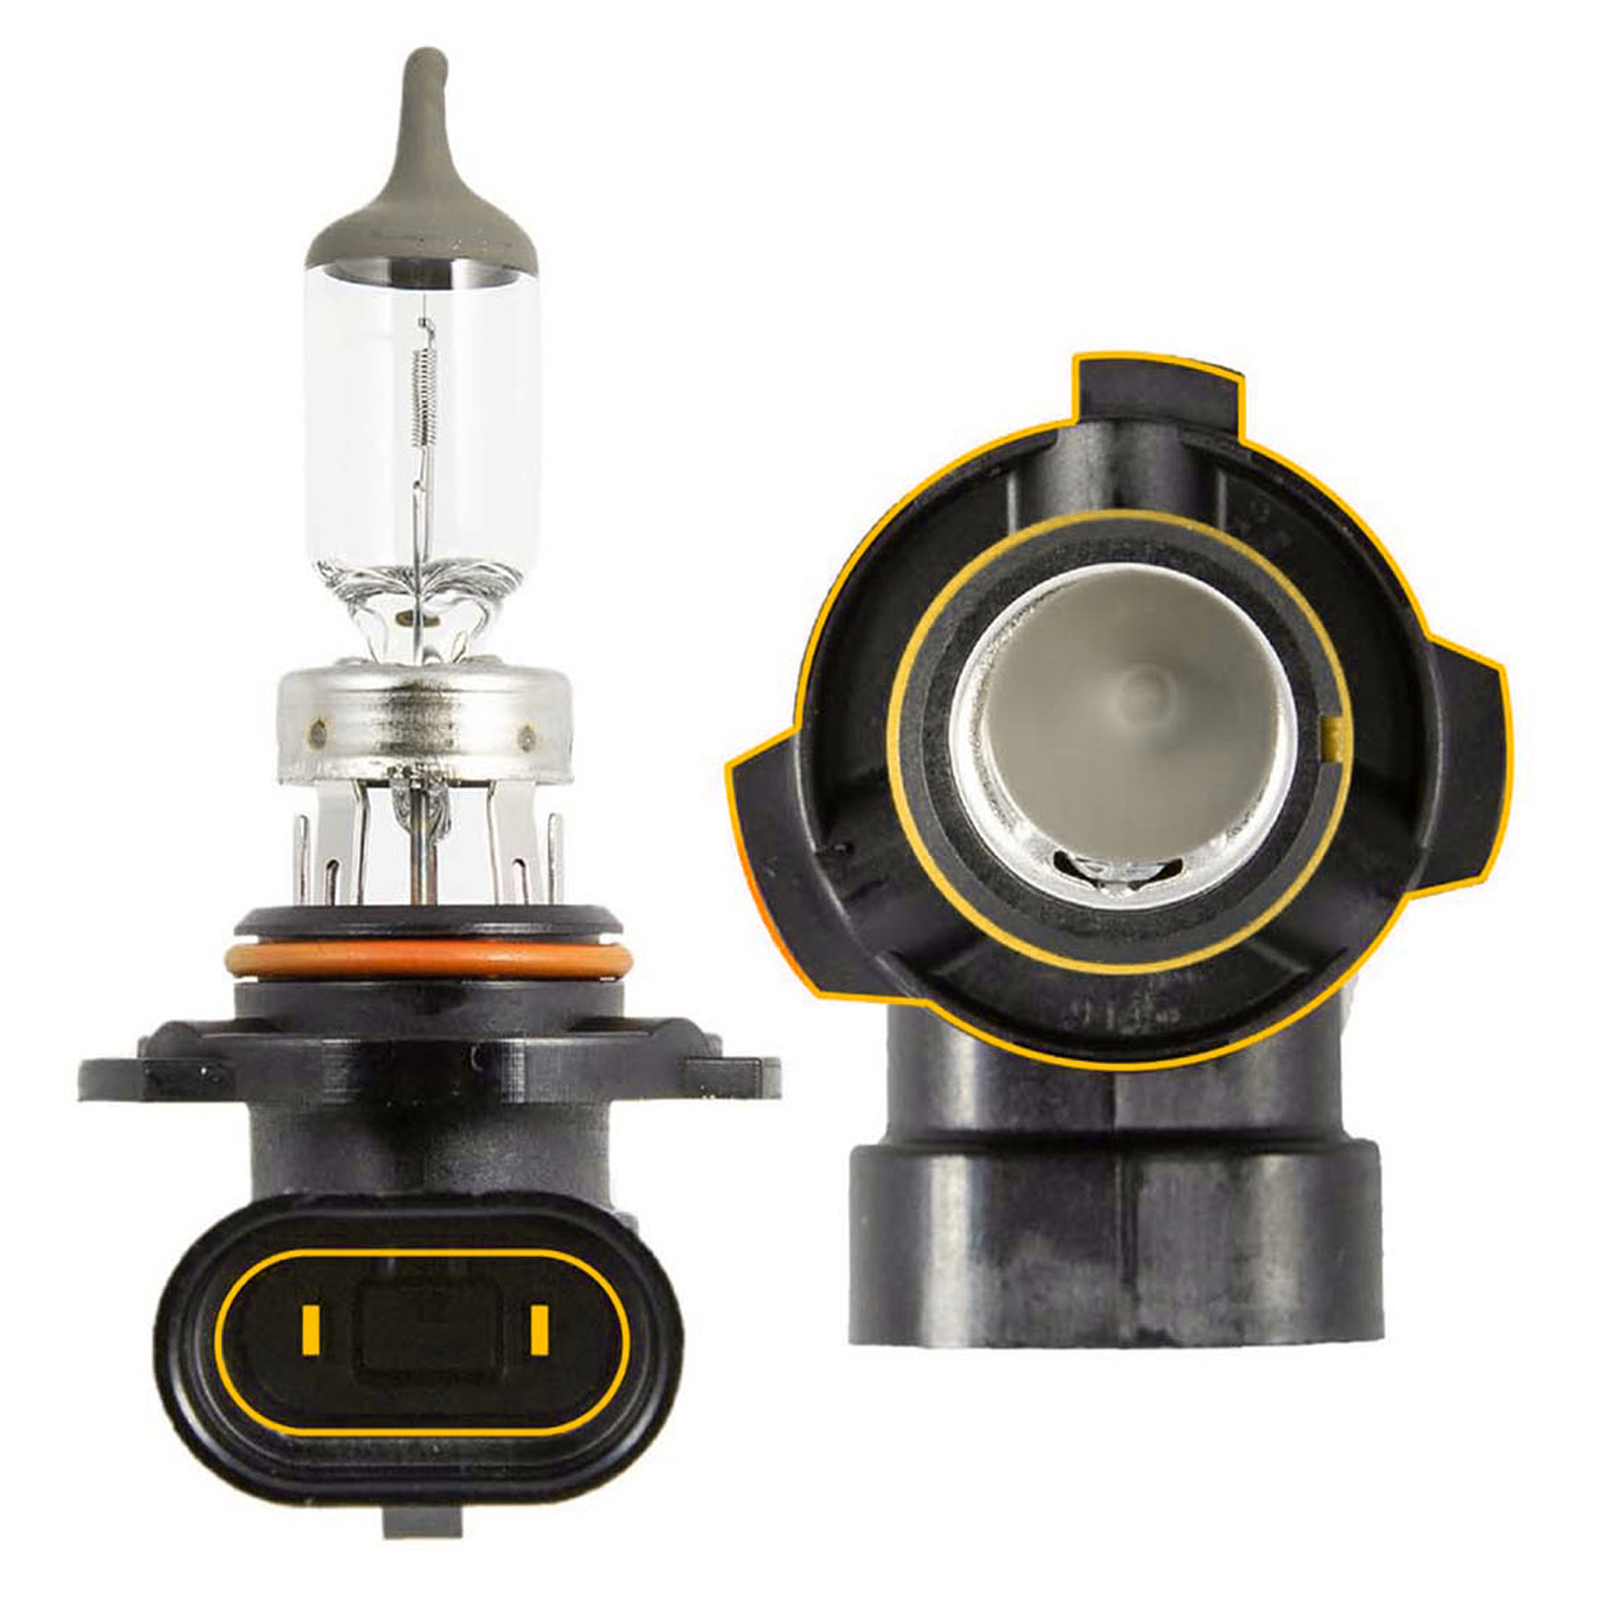
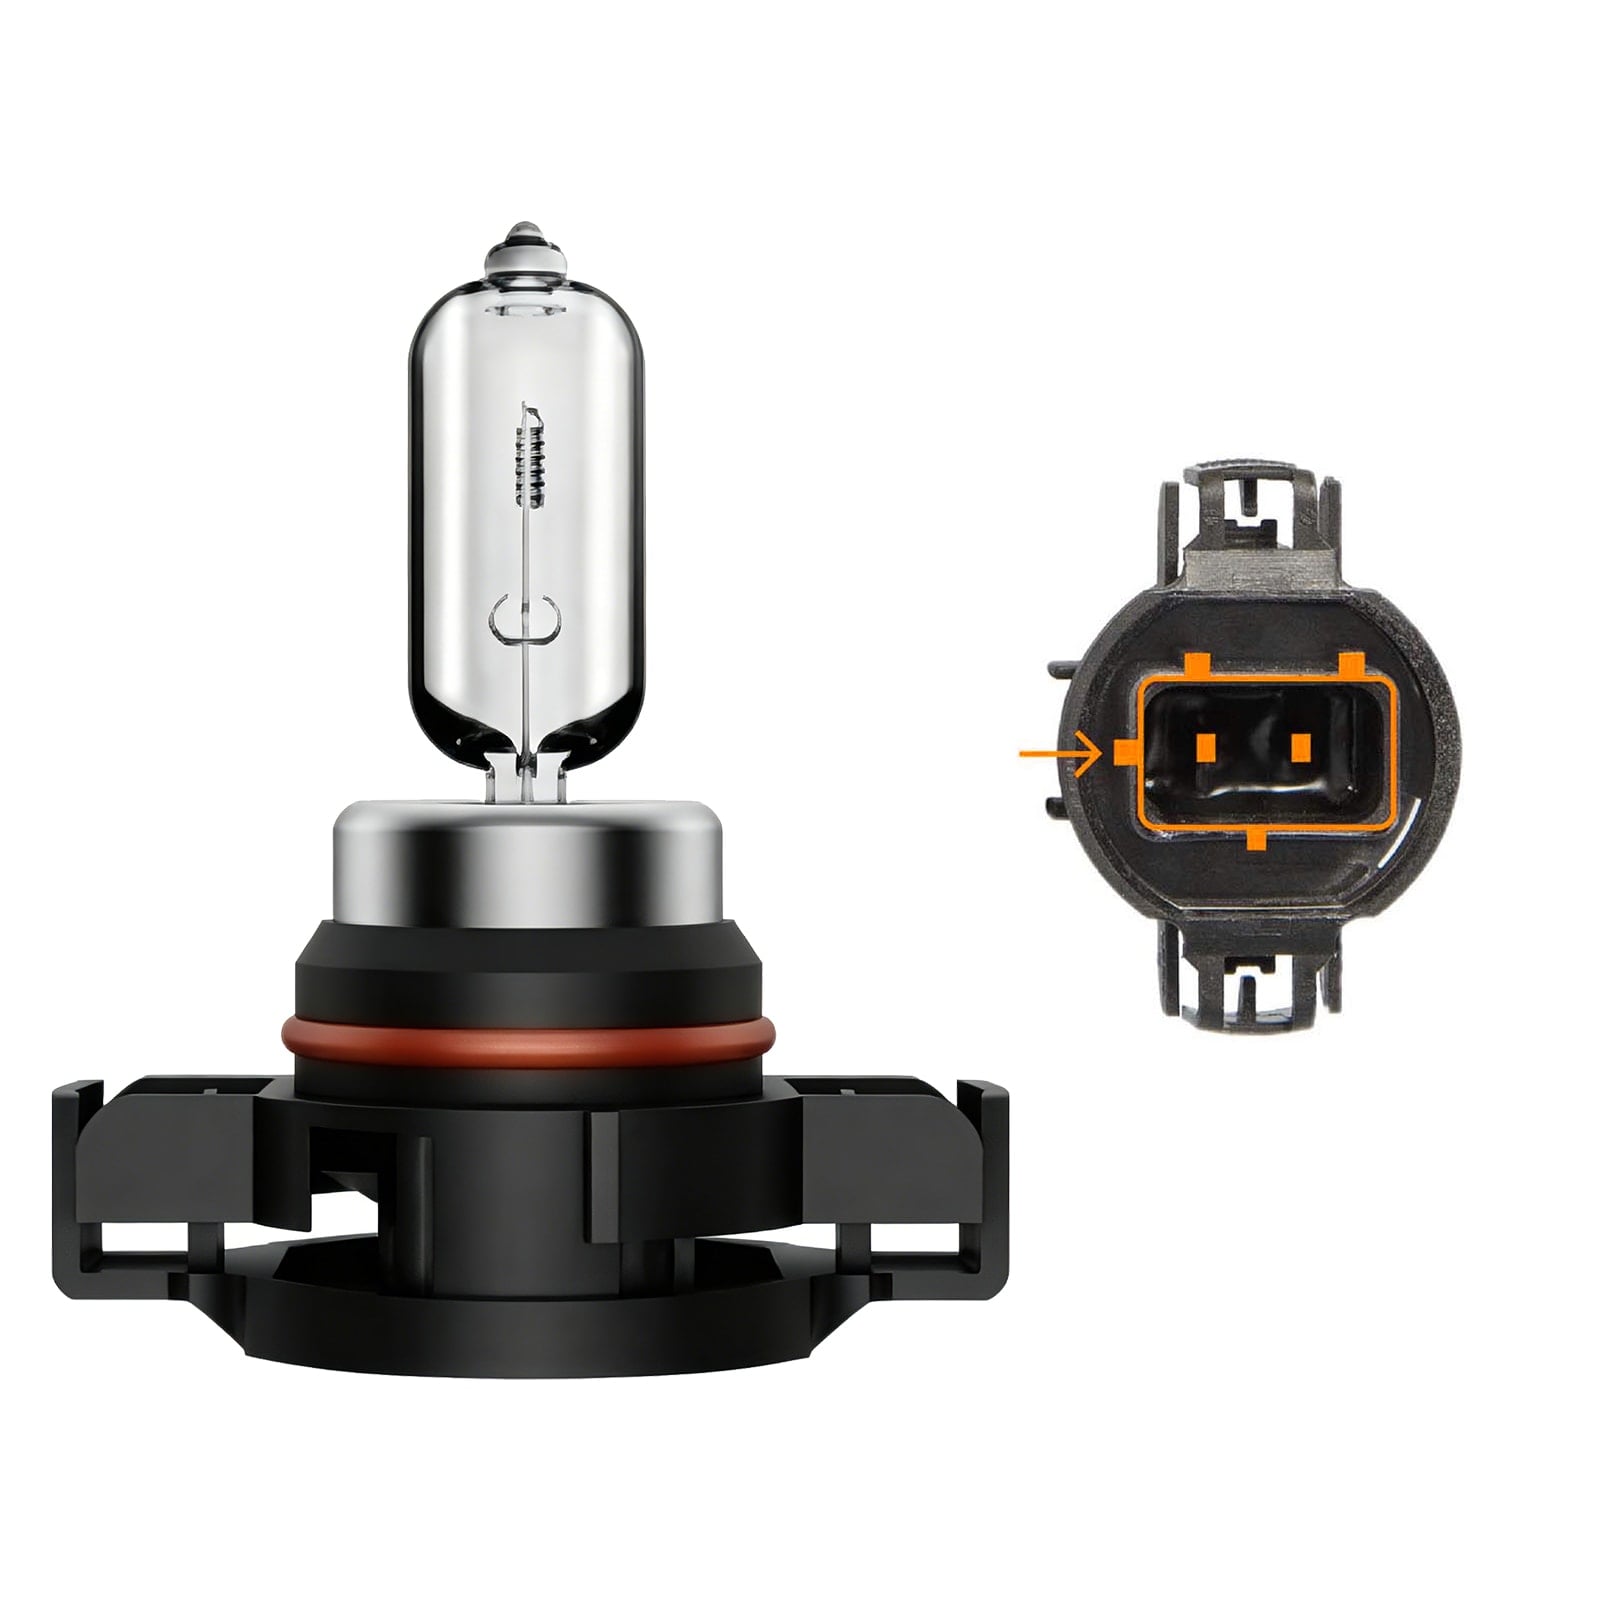
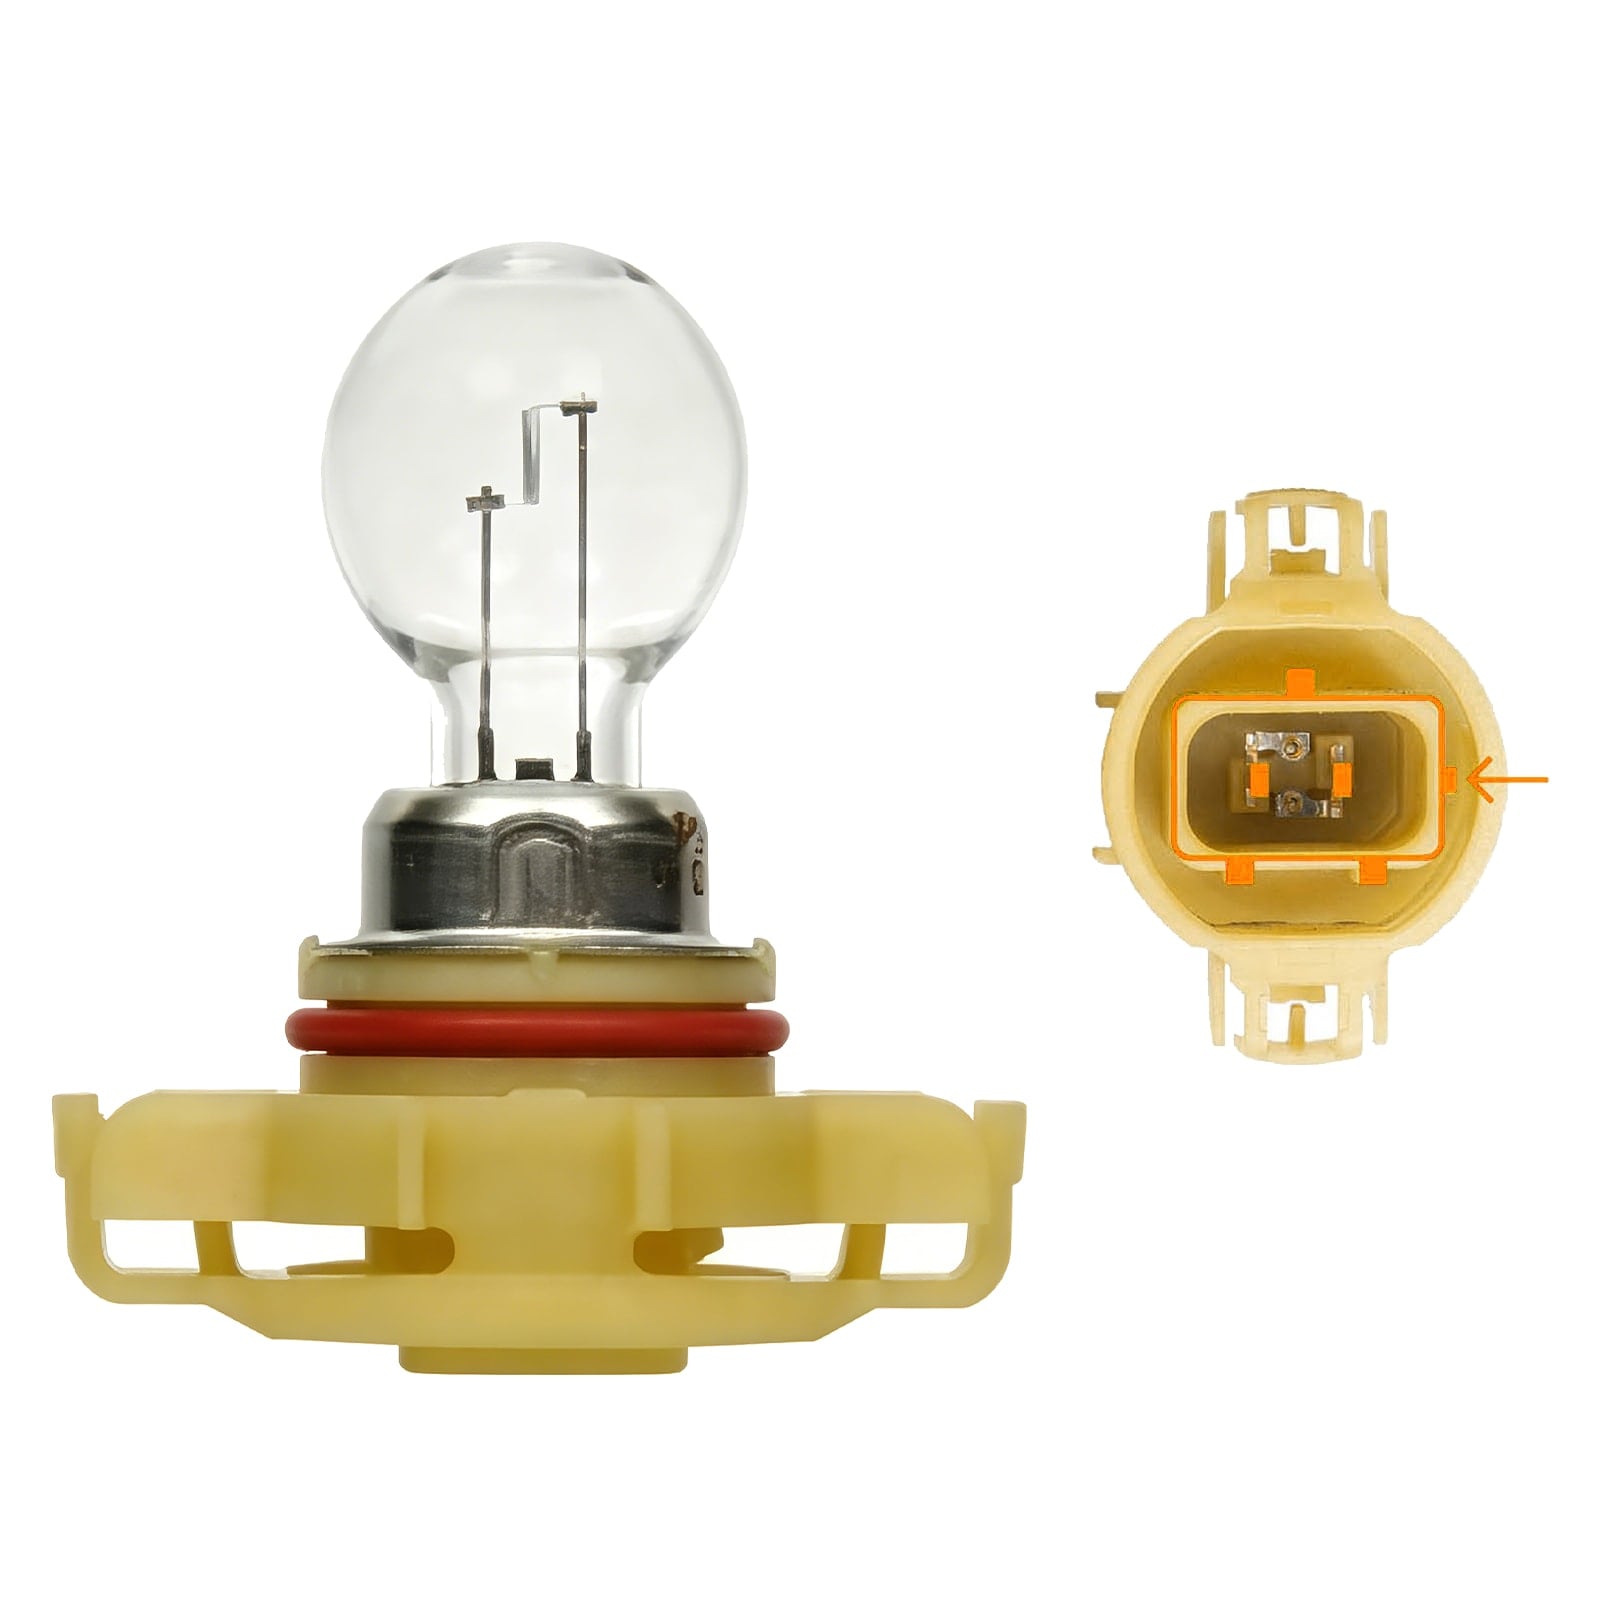
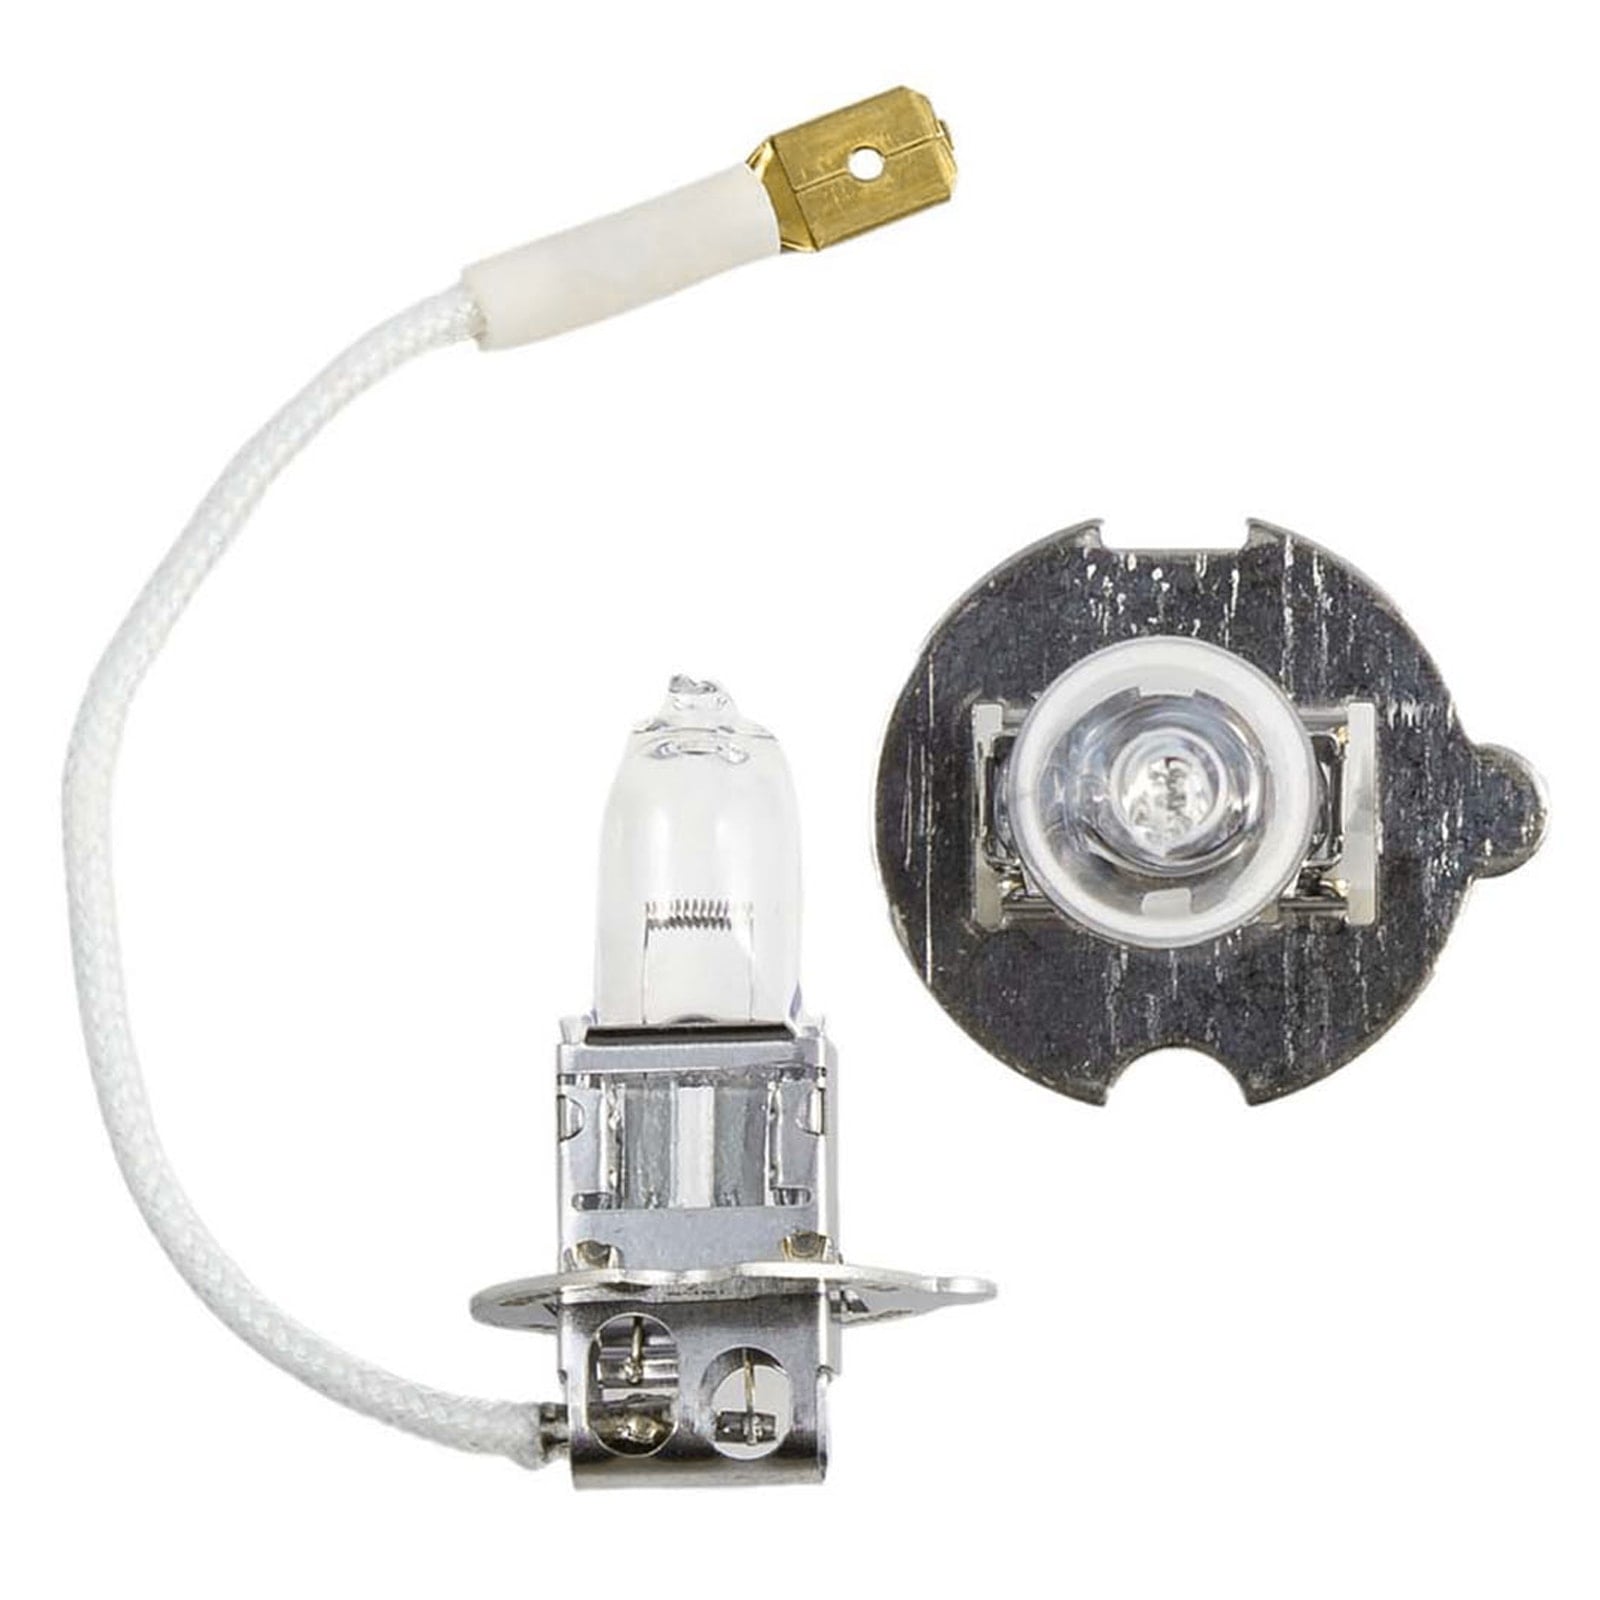
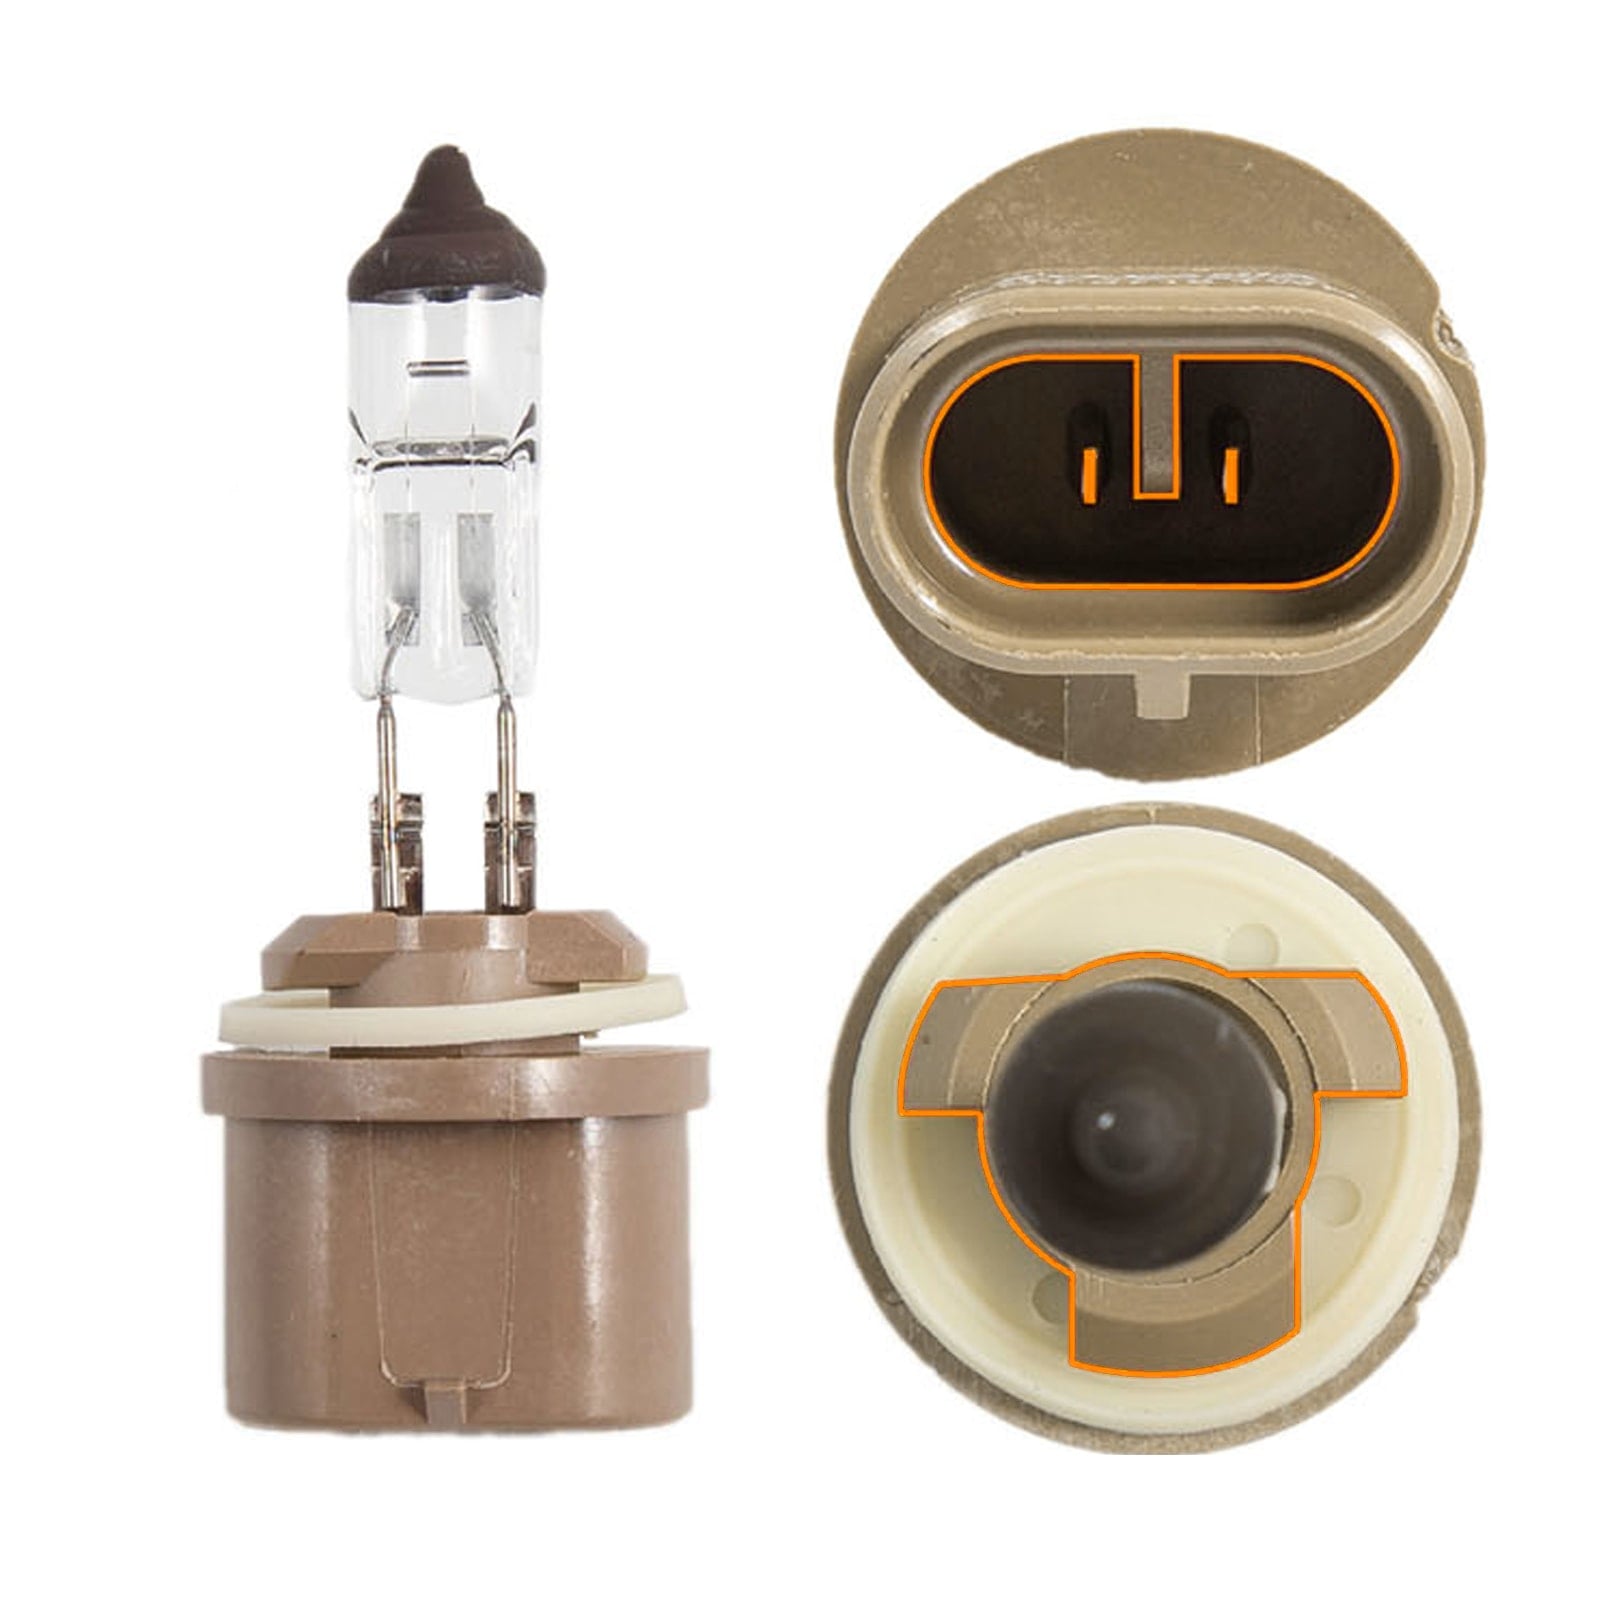
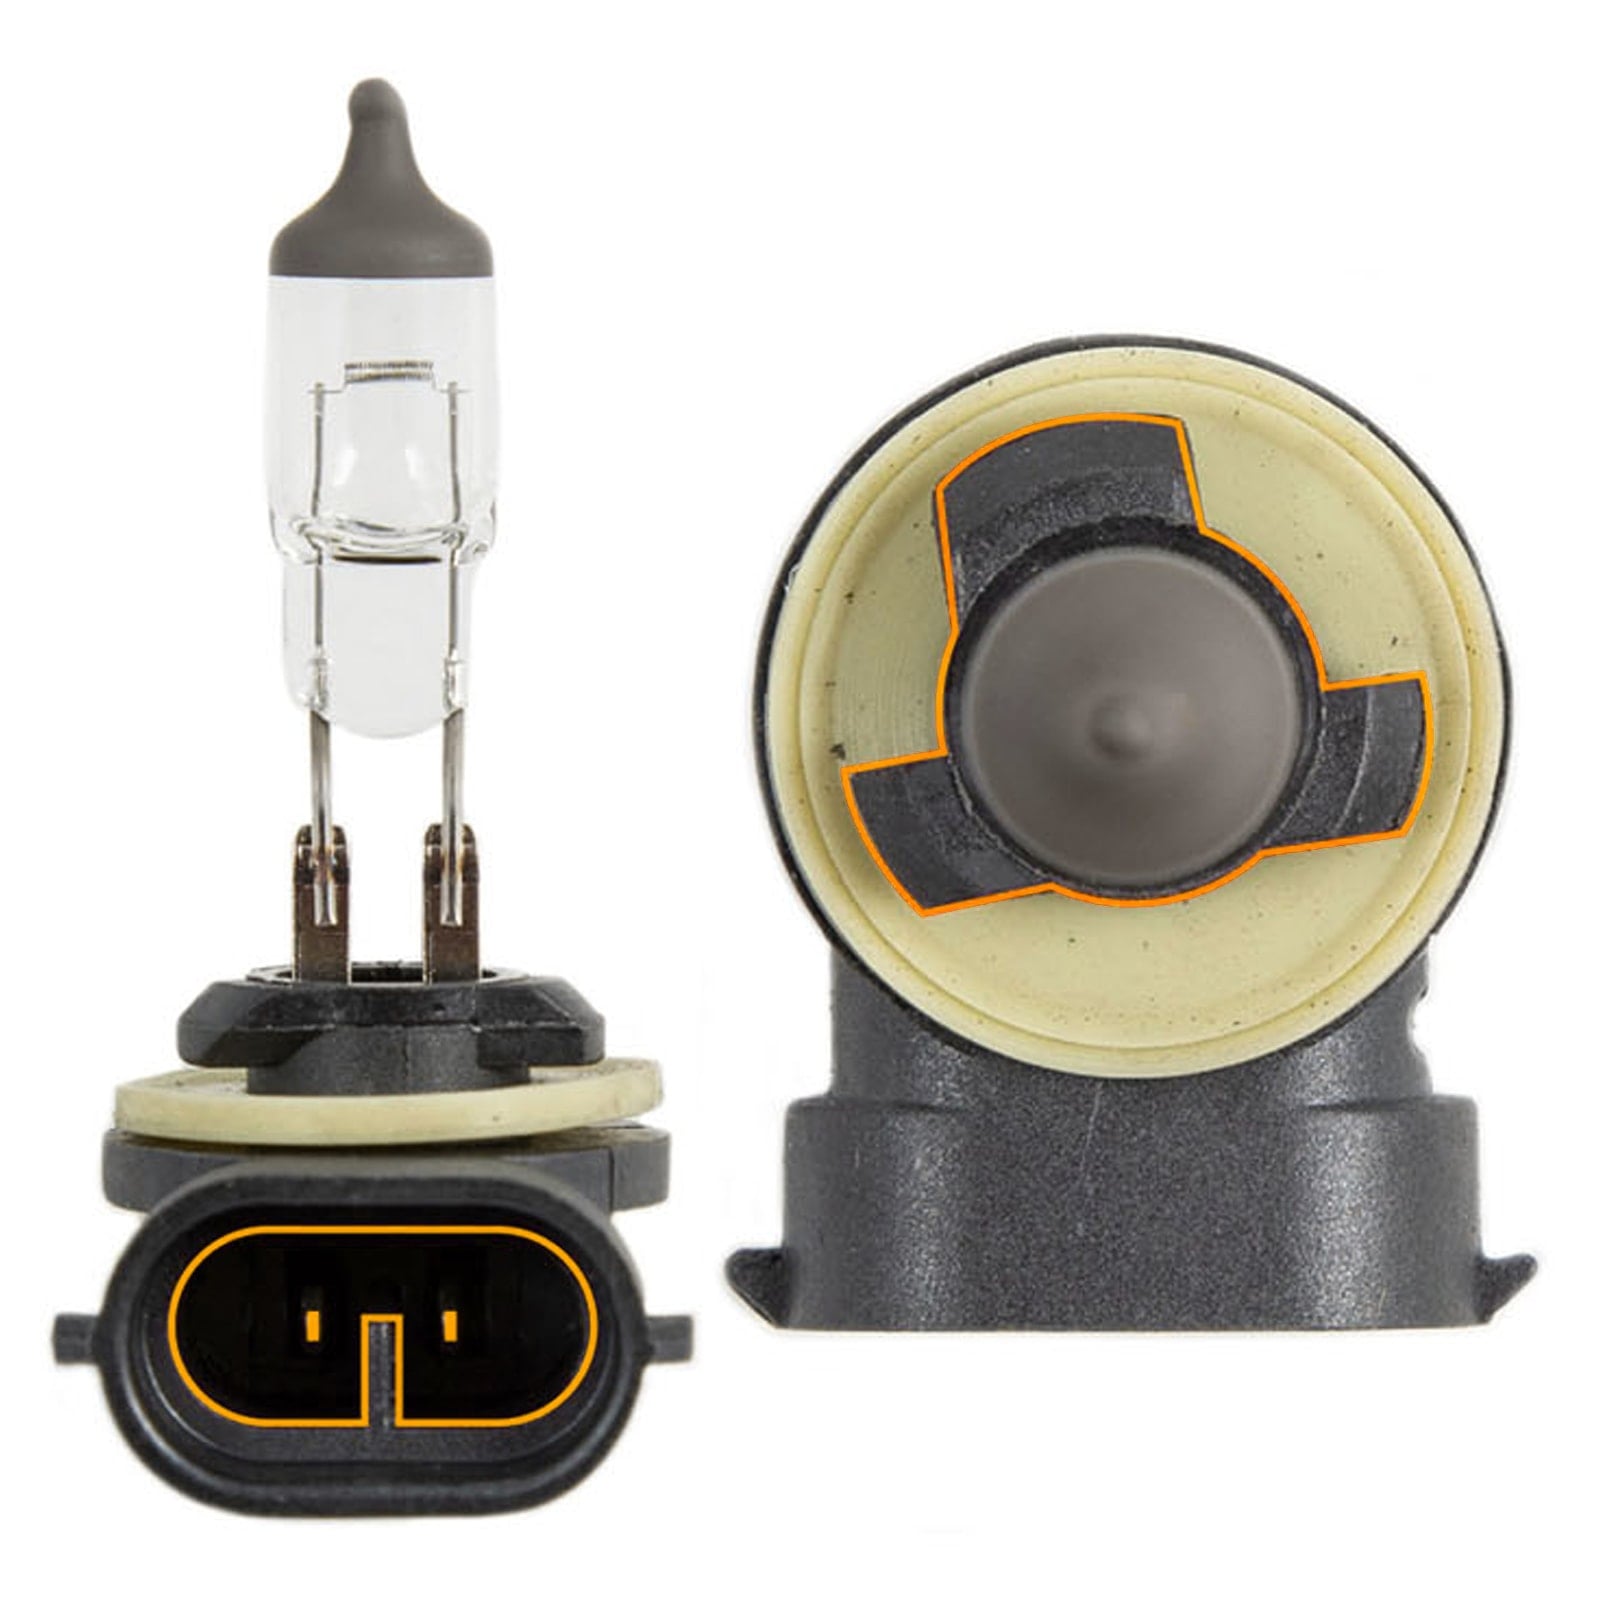
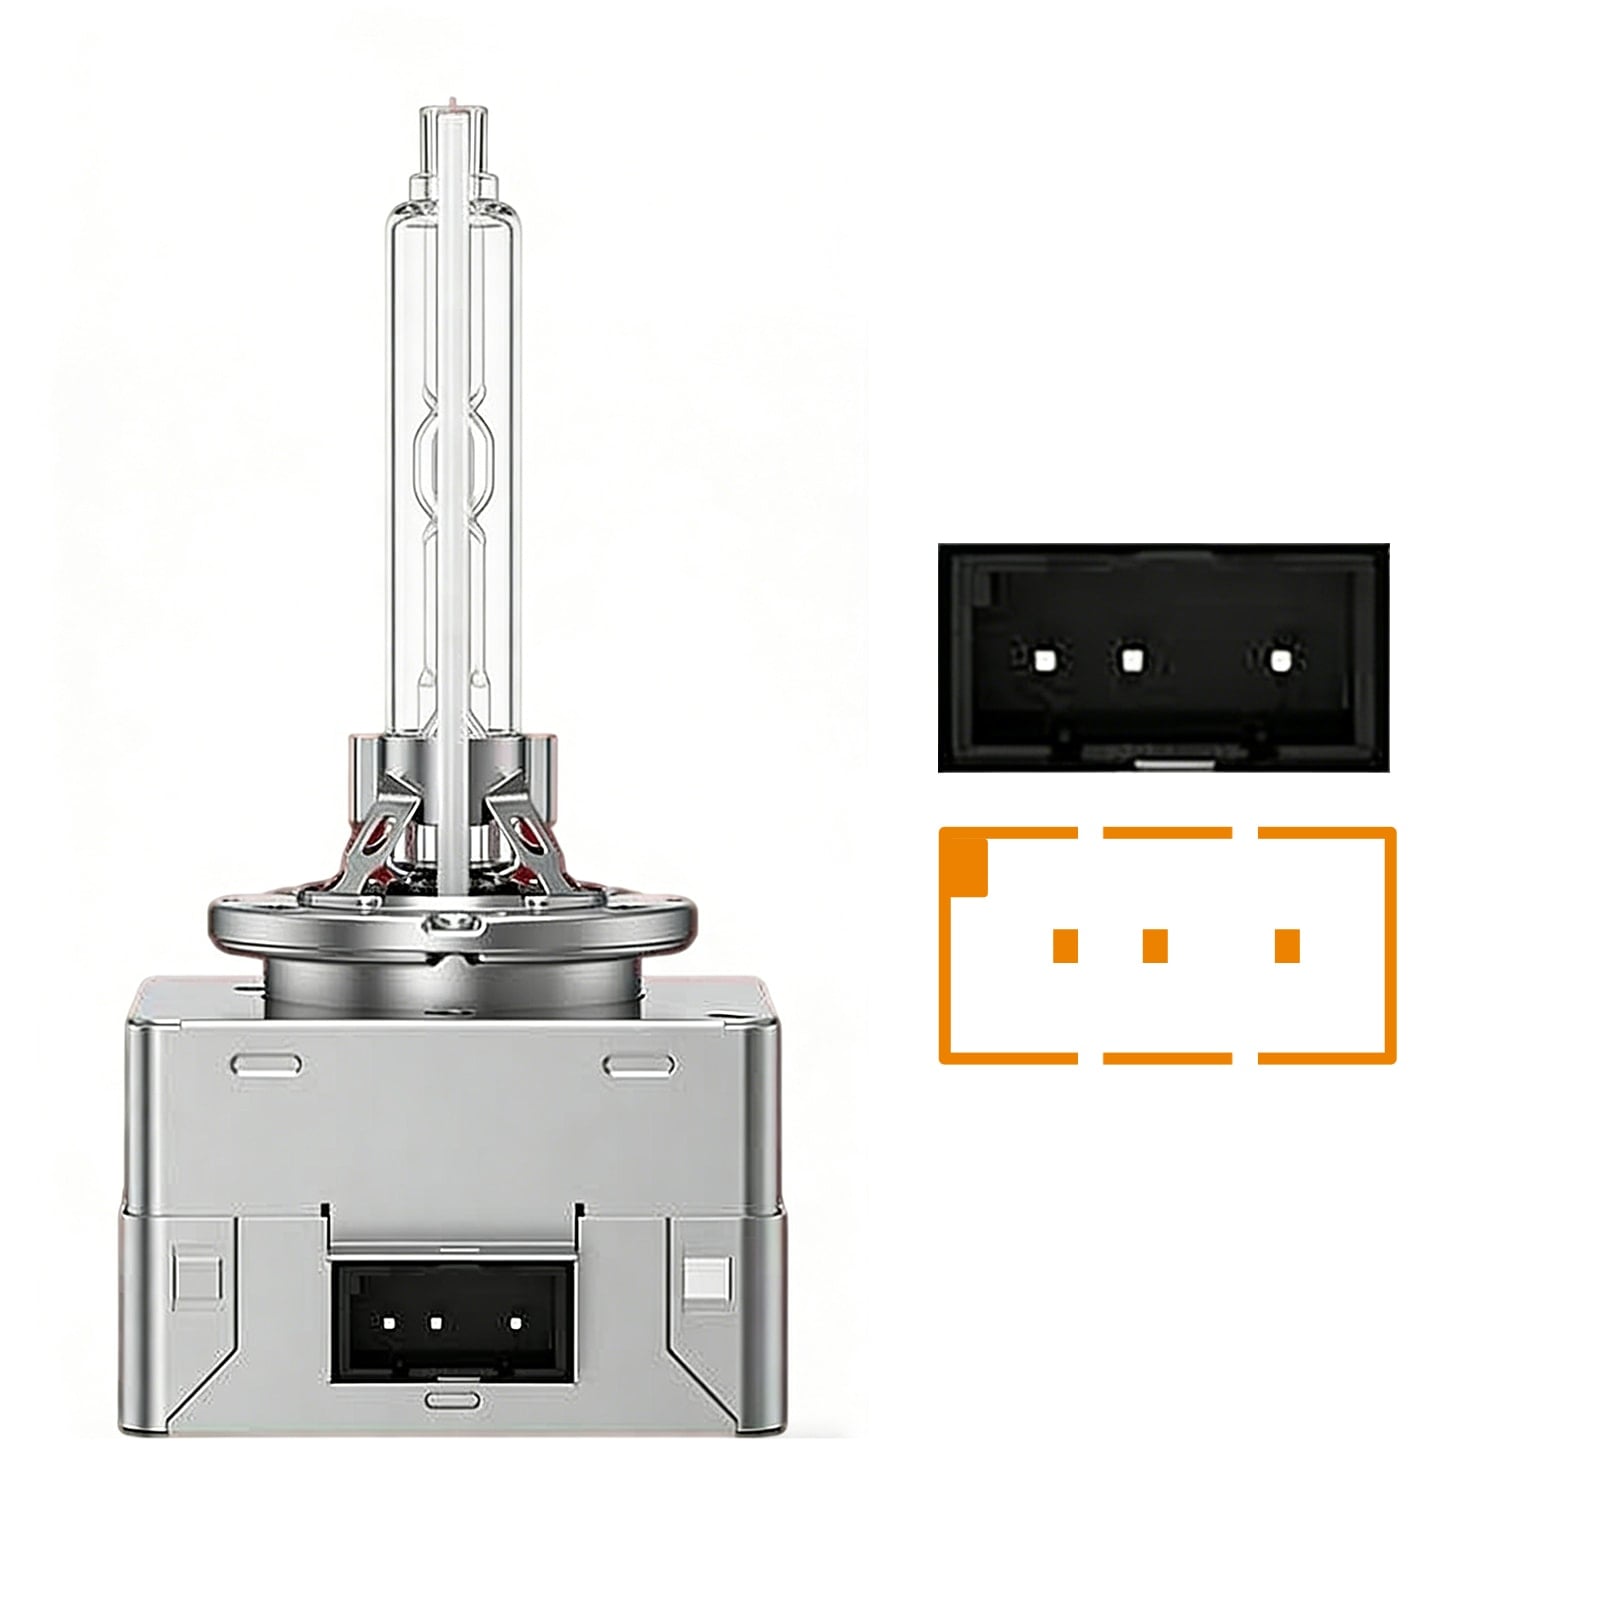
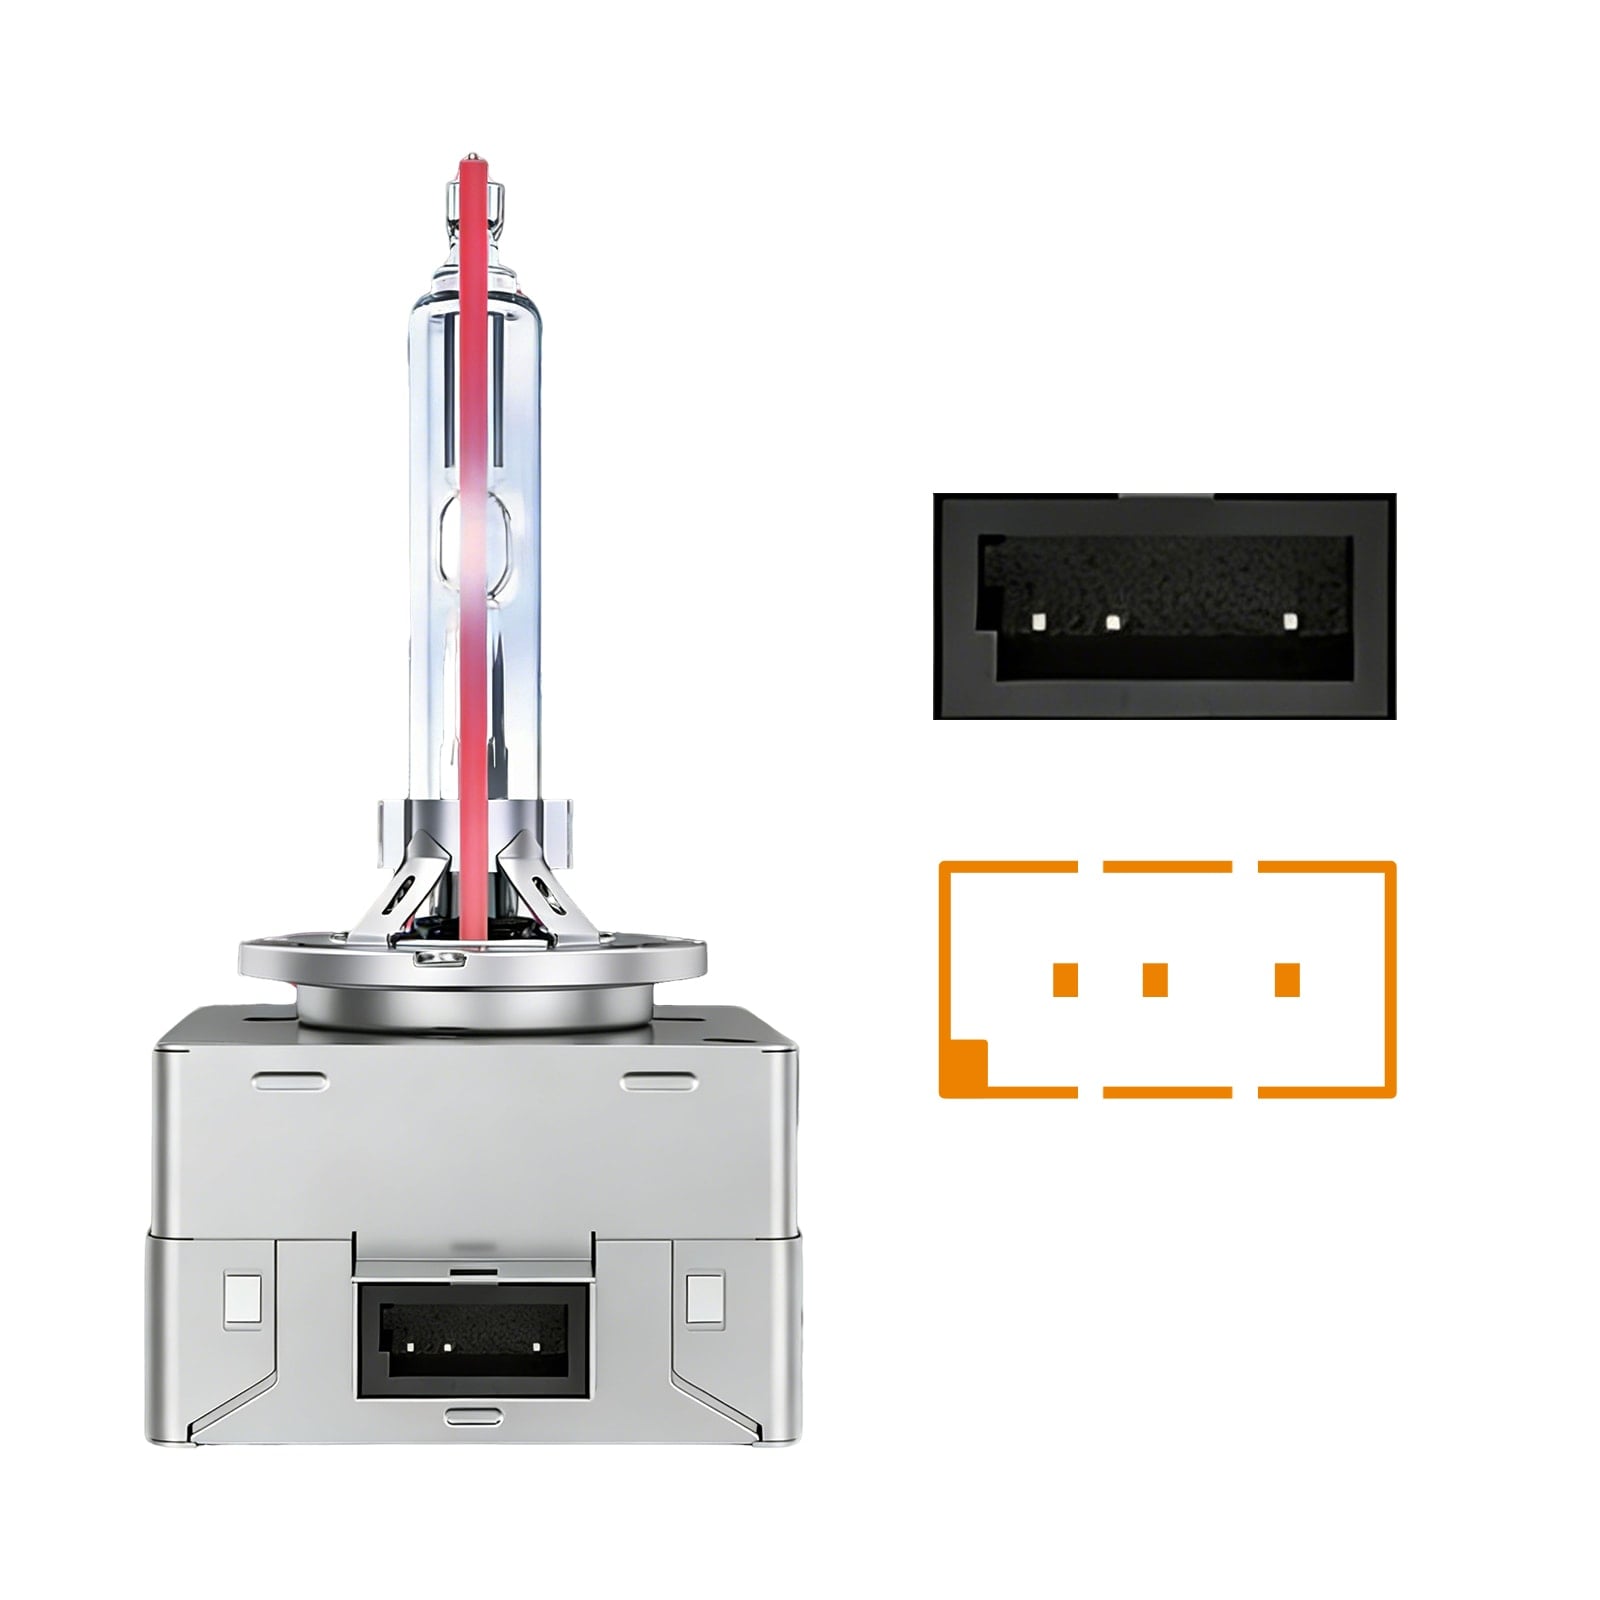
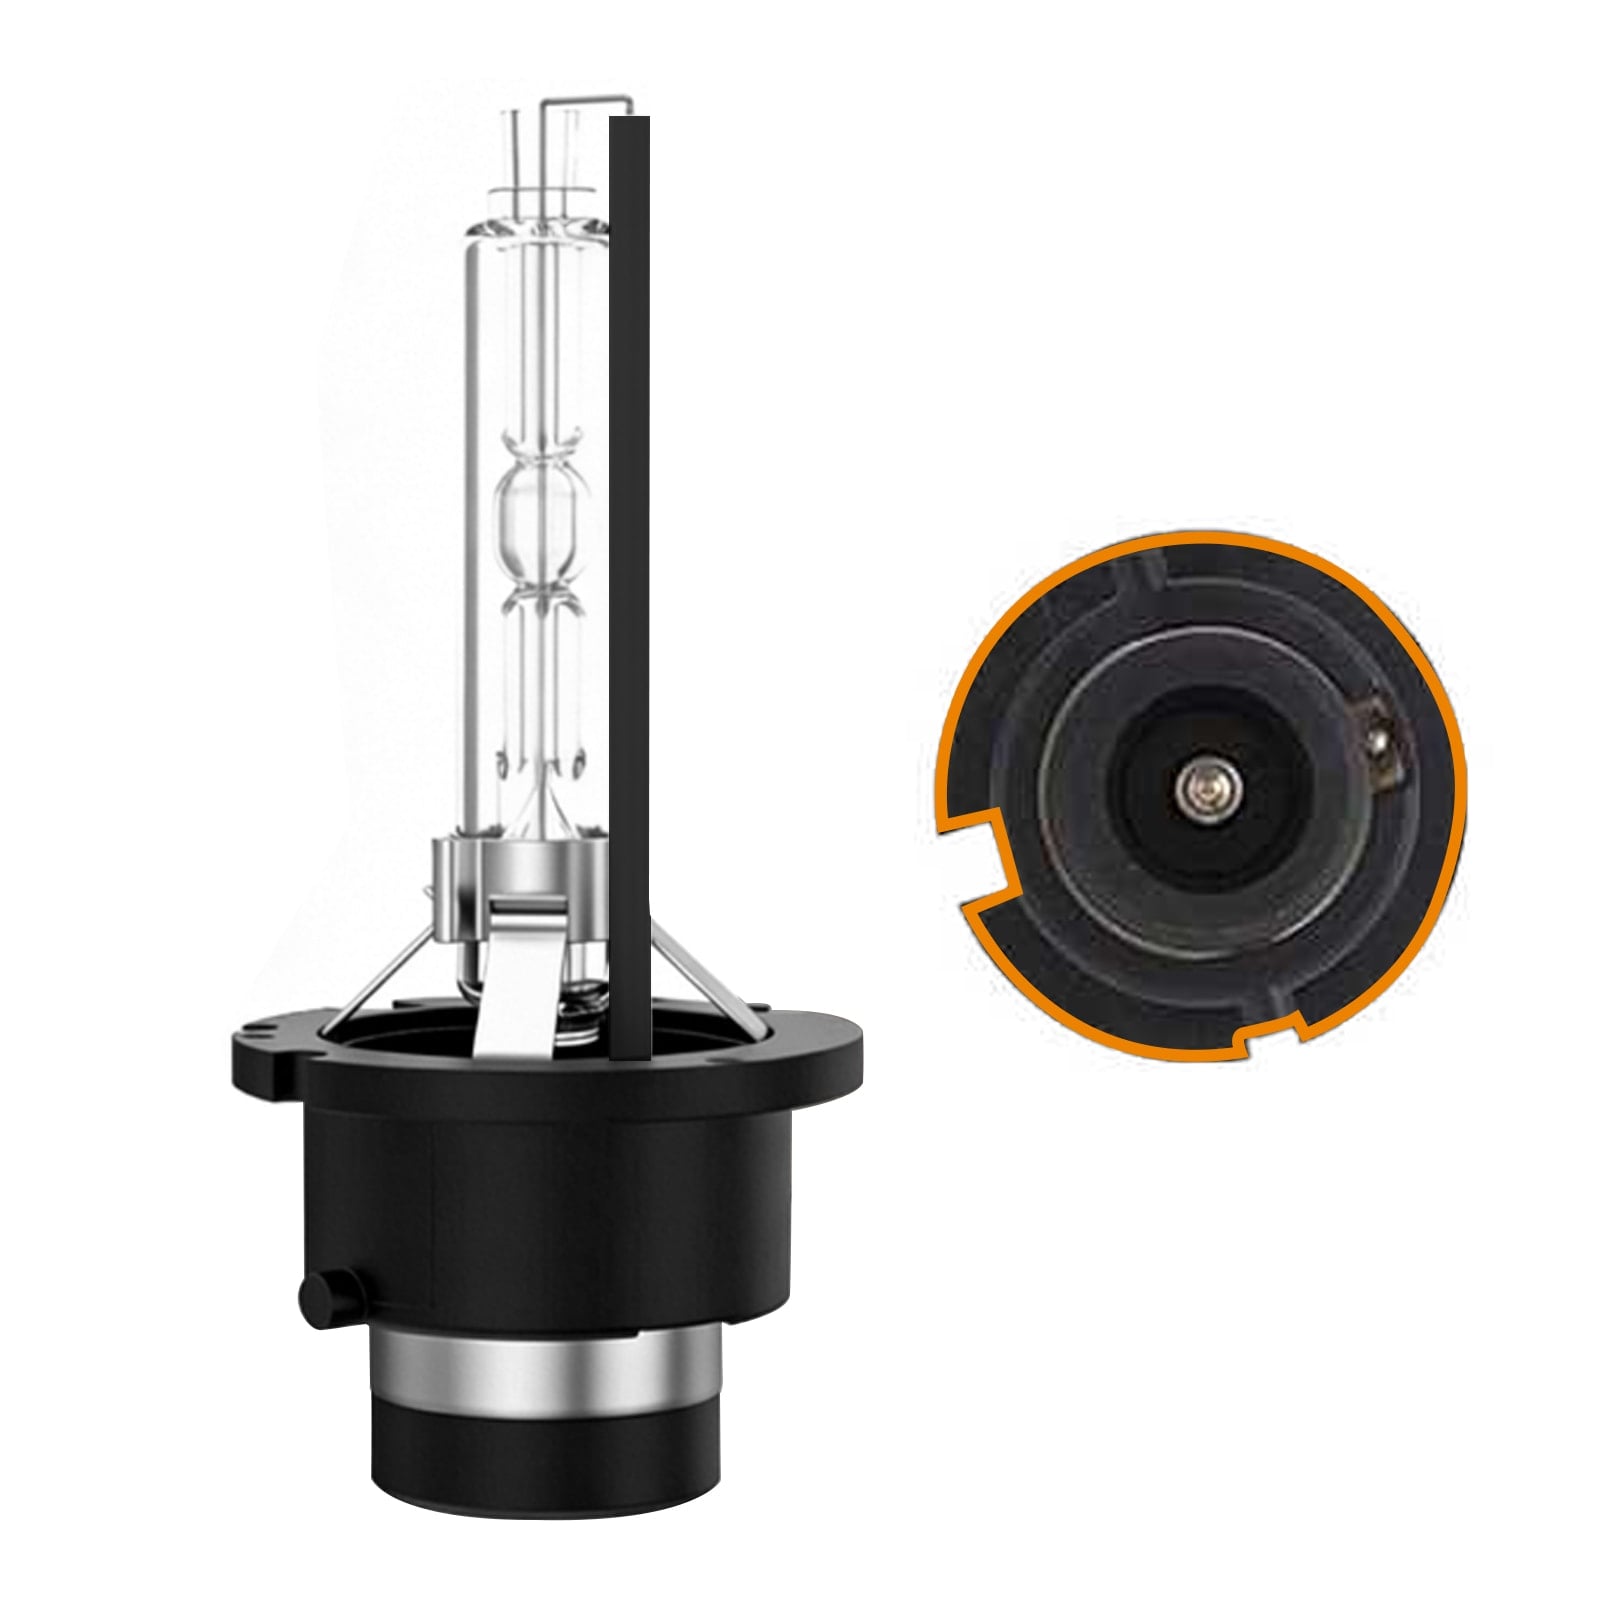
Check the Bulb Base and Function
When you remove the old bulb, compare it with the new one. Check the base shape, locking tabs, pins, and metal contacts. If these parts do not match, the bulb may not seat correctly.
Also check if your car uses a single-function or dual-function bulb. A dual-function bulb may handle both tail light and brake light output.
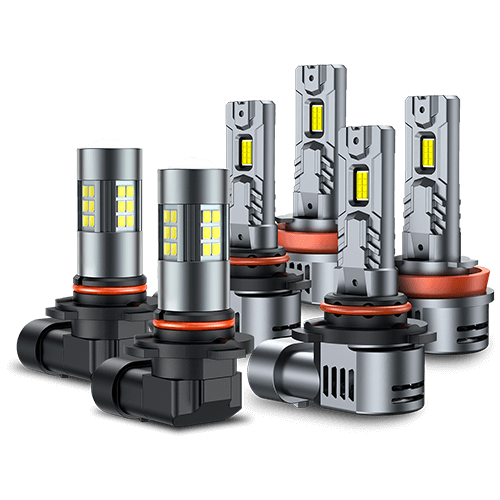
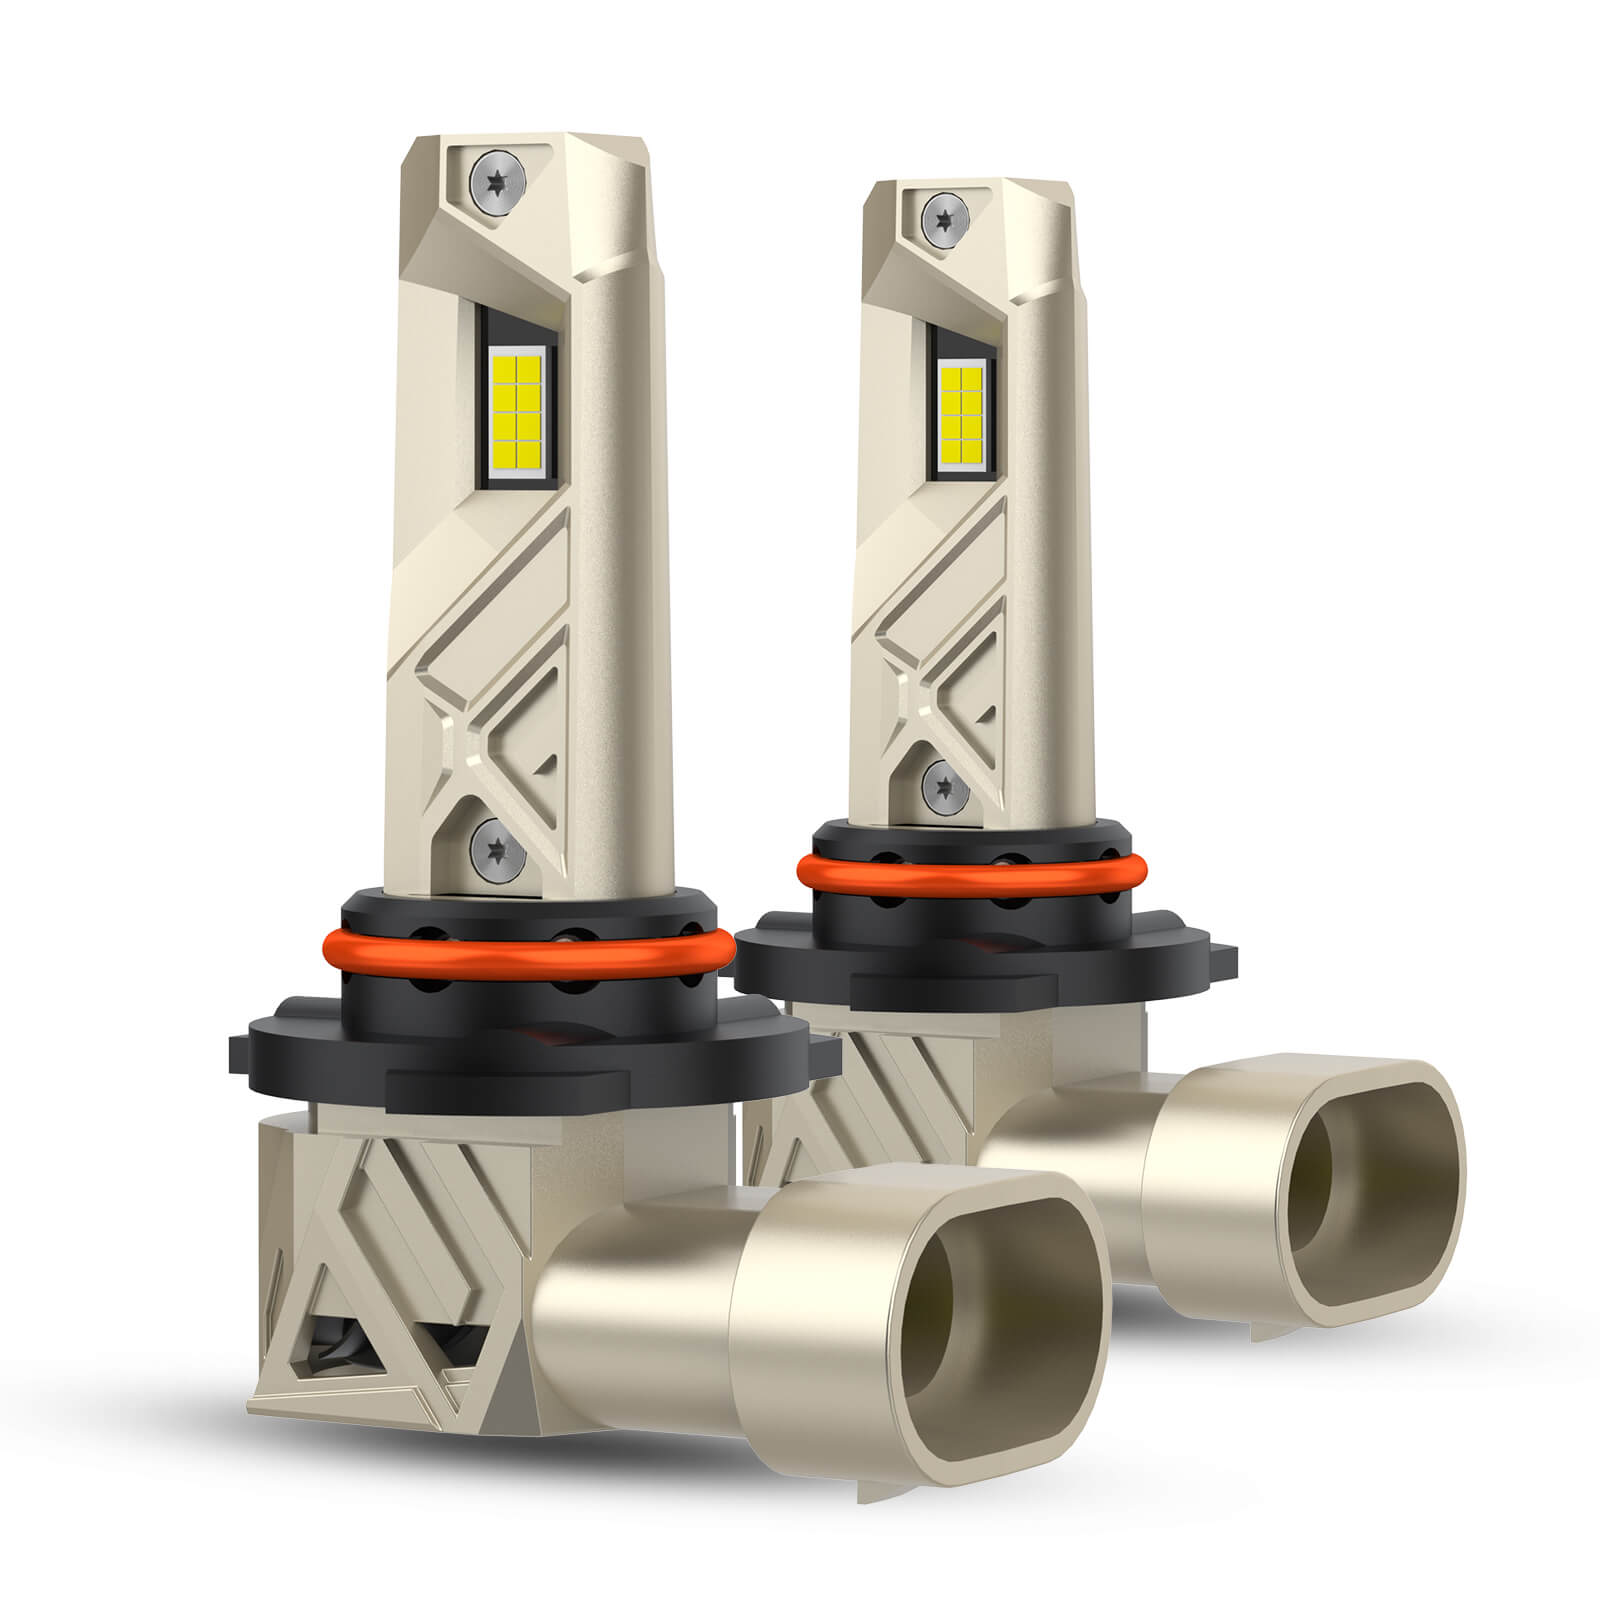
Choosing SEALIGHT LED Brake Light Bulbs
If you want to upgrade to LED brake light bulbs, choose the same base fitting and the right light color. Some vehicles use a red bulb. Others use a white bulb behind a red lens.
SEALIGHT brake light bulbs are available for many common sizes. Before ordering, use the SEALIGHT automotive bulb finder or check your old bulb number to confirm the right match.
How to Replace Brake Light Bulb Step by Step
Now that you know the correct bulb size, you can start the brake light replacement. If you are learning how to change a brake light for the first time, take it slow and test the bulb before you close everything up.
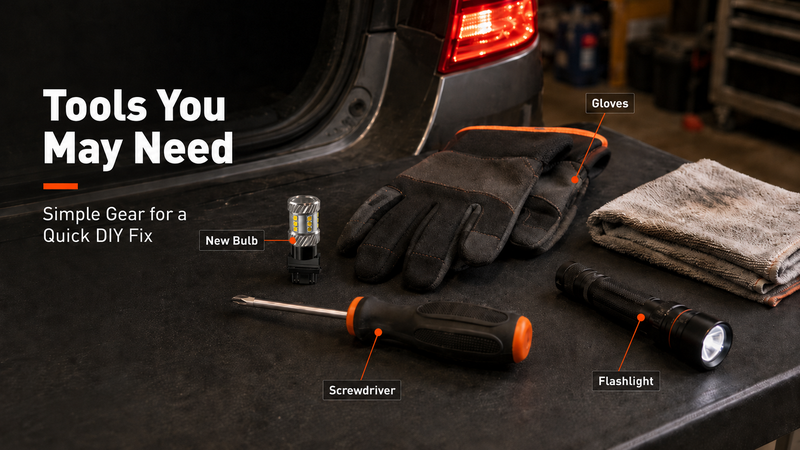
Tools You May Need
| Tool or Item | Why You Need It |
|---|---|
| New brake light bulb | Replaces the burned-out bulb |
| Gloves | Keeps oil and dirt off the bulb |
| Screwdriver | Removes covers, screws, or trim |
| Socket wrench | Helps remove some rear light housings |
| Flashlight | Makes the socket easier to see |
| Clean cloth | Wipes dirt or moisture from the area |
Step 1: Park Safely and Turn the Car Off
Park on a flat surface. Turn off the engine and set the parking brake. Avoid replacing a brake light on the side of a busy road. Move to a driveway, parking lot, or safe shoulder first.
Step 2: Find the Brake Light That Is Out
Ask someone to press the brake pedal while you stand behind the car. You can also park near a wall and use the reflection. For a full lighting check, AAA also explains how to check your car lights, including brake lights, turn signals, and headlights.
If you are trying to fix left back brake light bulb, first confirm that only the left side is out. Check the left brake light, right brake light, and third brake light. If only one side is out, the bulb or socket is the likely starting point. If all brake lights are out, the issue may not be the bulb.
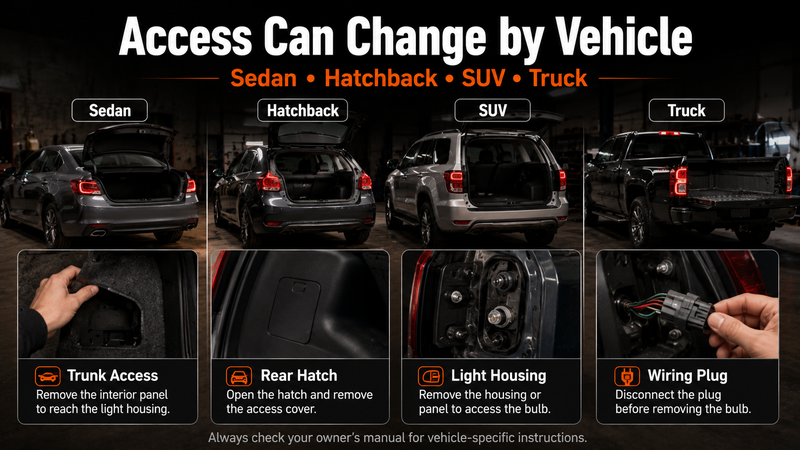
Step 3: Open the Trunk or Rear Hatch
Open the trunk, liftgate, or rear hatch. Look behind the brake light area for an access panel. Some cars let you reach the bulb from inside. Others need the rear light housing removed from outside. Do not pull hard on trim panels. Check for hidden clips or screws first.
Step 4: Remove the Bulb Socket
Find the brake light bulb socket. In many vehicles, you can twist it counterclockwise and pull it out. If your car uses a rear light housing, remove the screws or bolts first. Keep the hardware in one place.
Step 5: Take Out the Old Brake Light Bulb
Remove the old bulb carefully.
- Wedge-style bulbs usually pull straight out.
- Bayonet-style bulbs usually push in and twist.
- If the bulb is broken, wear gloves and remove the glass slowly.
Before installing the new bulb, check the socket. Burn marks, rust, or melted plastic can mean the socket needs repair.
Step 6: Install the New Brake Light Bulb
Install the new bulb the same way the old one came out. Make sure it sits fully in the socket. If you use a SEALIGHT LED brake light bulb, do not force it. The base and contacts should match the old bulb. If it does not turn on during testing, remove it and rotate it if the socket design allows.
Step 7: Test the Brake Light Before Reassembly
Test the new bulb before reinstalling the panel or housing. Ask someone to press the brake pedal again.
The brake light should:
- Turn on when the pedal is pressed
- Turn off when the pedal is released
- Match the other side in brightness
- Stay steady without flickering
Step 8: Do a Final Safety Check
Reinstall the socket, panel, or rear light housing. Then test the brake lights one more time.
If the light still does not work, do not keep replacing bulbs. The issue may be the socket, fuse, wiring, or brake light switch. If the new bulb works but the other side looks dim or slow, consider replacing both sides with matching SEALIGHT LED brake light bulbs for even, reliable rear visibility.
How Much Does Brake Light Bulb Replacement Cost

Brake light bulb replacement is usually cheap if the socket and wiring are fine. In most cases, the bulb costs far less than the labor. That is why many drivers choose DIY brake light replacement after they find the correct bulb size.
Brake Light Replacement Cost: DIY vs Shop
| Service Type | Estimated Cost | What You Pay For |
|---|---|---|
| DIY replacement | $5–$20+ | The brake light bulb only |
| Local mechanic or quick lube | $50–$80 | Bulb plus basic labor |
| Dealership or specialty shop | $100–$160+ | Higher labor rate or diagnosis |
If your vehicle uses a dual-function brake/tail bulb, the cost is usually similar. The price may rise if the shop needs to remove the rear light housing or diagnose an electrical issue. If you plan to use a shop, a repair cost estimate can help you compare local pricing before booking service.
What Affects the Cost of Tail Light Bulb Replacement
The final price depends on a few simple factors:
- Bulb type: Standard bulbs cost less. LED brake light bulbs may cost more but can offer better brightness and longer life.
- Vehicle design: Some cars have easy trunk access. Others need the rear light housing removed.
- Labor rate: Dealerships and specialty shops usually charge more.
- Extra repairs: A bad socket, blown fuse, or wiring issue can raise the cost.
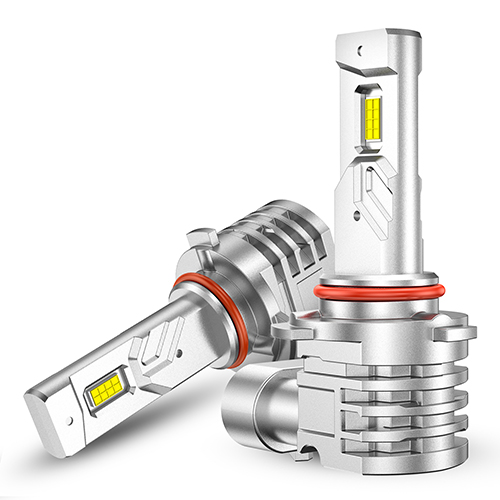
Is a SEALIGHT Brake Light Bulb a Good Value
SEALIGHT brake light bulbs are a good value if you want a brighter, longer-lasting replacement without paying shop labor for a simple bulb change. Many drivers do not just need a cheap bulb. They need the right fit, clear brake visibility, and a bulb that works well for daily driving.
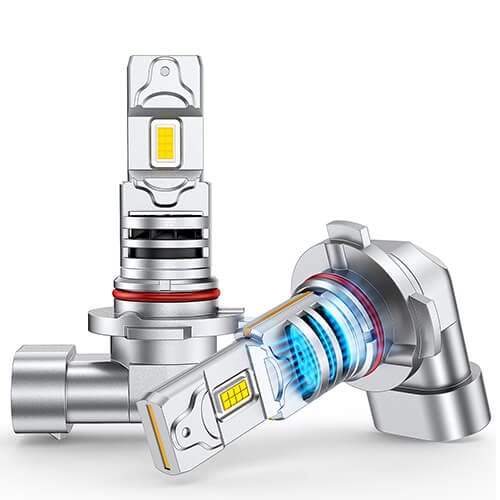
SEALIGHT offers many common brake light bulb sizes for cars, SUVs, and trucks, so it is easier to find a match for your vehicle. The LED design can help improve rear visibility, respond quickly when you press the brake pedal, and reduce the need for frequent replacement.
It is also a practical choice if your old bulbs are dim, slow to light up, flickering, or mismatched from side to side. Before ordering, check your old bulb number or use the SEALIGHT fitment tool. The right bulb size gives you a cleaner install, brighter brake signal, and better value for the money.
How to Fix Brake Light Not Working After Replacing Bulb
If the brake light is still not working after replacing the bulb, do not buy another bulb right away. The new bulb may be fine. Before you pay for a shop diagnosis, run a few quick checks. For broader DIY upkeep, the Car Care Council offers a helpful car maintenance guide for common vehicle checks.
Quick Troubleshooting Checklist
| What to Check | What It Means | What to Do |
|---|---|---|
| Bulb fit | Bulb may not be seated fully | Remove and reinstall it |
| Socket contacts | Contacts may be dirty or loose | Clean corrosion and check the fit |
| Brake light fuse | Fuse may be blown | Replace with the same amp rating |
| Brake light switch | Pedal may not send the signal | Check the switch near the brake pedal |
| Wiring or ground | Power may not reach the bulb | Inspect plugs, wires, and ground point |
1. Start With the Simple Signs
If only one brake light is out, start with the bulb, socket, and ground. Remove the new bulb and install it again. Make sure it locks into the socket. Some dual-function bulbs, such as 3157 or 1157, can sit slightly off if they are not installed right.
Then check the socket for green or white corrosion, rust, burn marks, or loose contacts. A poor connection can keep a good bulb from working.
2. If Both Brake Lights Are Out
If both brake lights are out, check the brake light fuse first. Use your owner’s manual to find the right fuse. Replace it only with the same amp rating.
If the fuse is good, check the brake light switch near the brake pedal. A bad switch can stop all brake lights from turning on, even when the bulbs are new.
3. When to Stop DIY Brake Light Repair
Stop DIY repair if you see burned wiring, melted connectors, water damage, or repeated blown fuses. Brake lights are safety lights, so electrical problems should be fixed correctly before you drive.
Popular Vehicle-Specific Brake Light Replacement Guides
The basic steps are similar for most cars, but the access point can change by model. That is why many drivers search by vehicle, such as Subaru Impreza, Ford Fiesta, Hyundai Elantra, Ford Focus, or Nissan Pathfinder.
Use this quick guide as a starting point. Always confirm the brake light bulb size before you buy a replacement.
| Vehicle | What Usually Changes | What to Check First |
|---|---|---|
| Subaru Impreza | Rear hatch or cargo trim access | Old bulb number and socket fit |
| Ford Fiesta | Rear light housing may need removal | Screws, clips, and bulb base |
| Hyundai Elantra | Trunk-side access is common | Bulb socket and rear trim panel |
| Ford Focus | Housing fasteners may vary by year | Bulb number and wiring plug |
| 2014 Nissan Pathfinder | Hatch trim or rear housing access | Socket position and bulb type |
| Trucks and SUVs | Larger housings or extra screws | Wiring harness and ground point |
What Most Vehicle Guides Have in Common
No matter which vehicle you drive, the safe order is the same:
- Confirm the bulb size.
- Find the access point.
- Remove the old bulb.
- Check the socket.
- Install the new bulb.
- Test the brake light before closing the housing.
If you are not sure which bulb fits, check your owner’s manual, old bulb number, or the SEALIGHT fitment tool before ordering. This helps avoid the most common brake light replacement mistake: buying the wrong bulb.
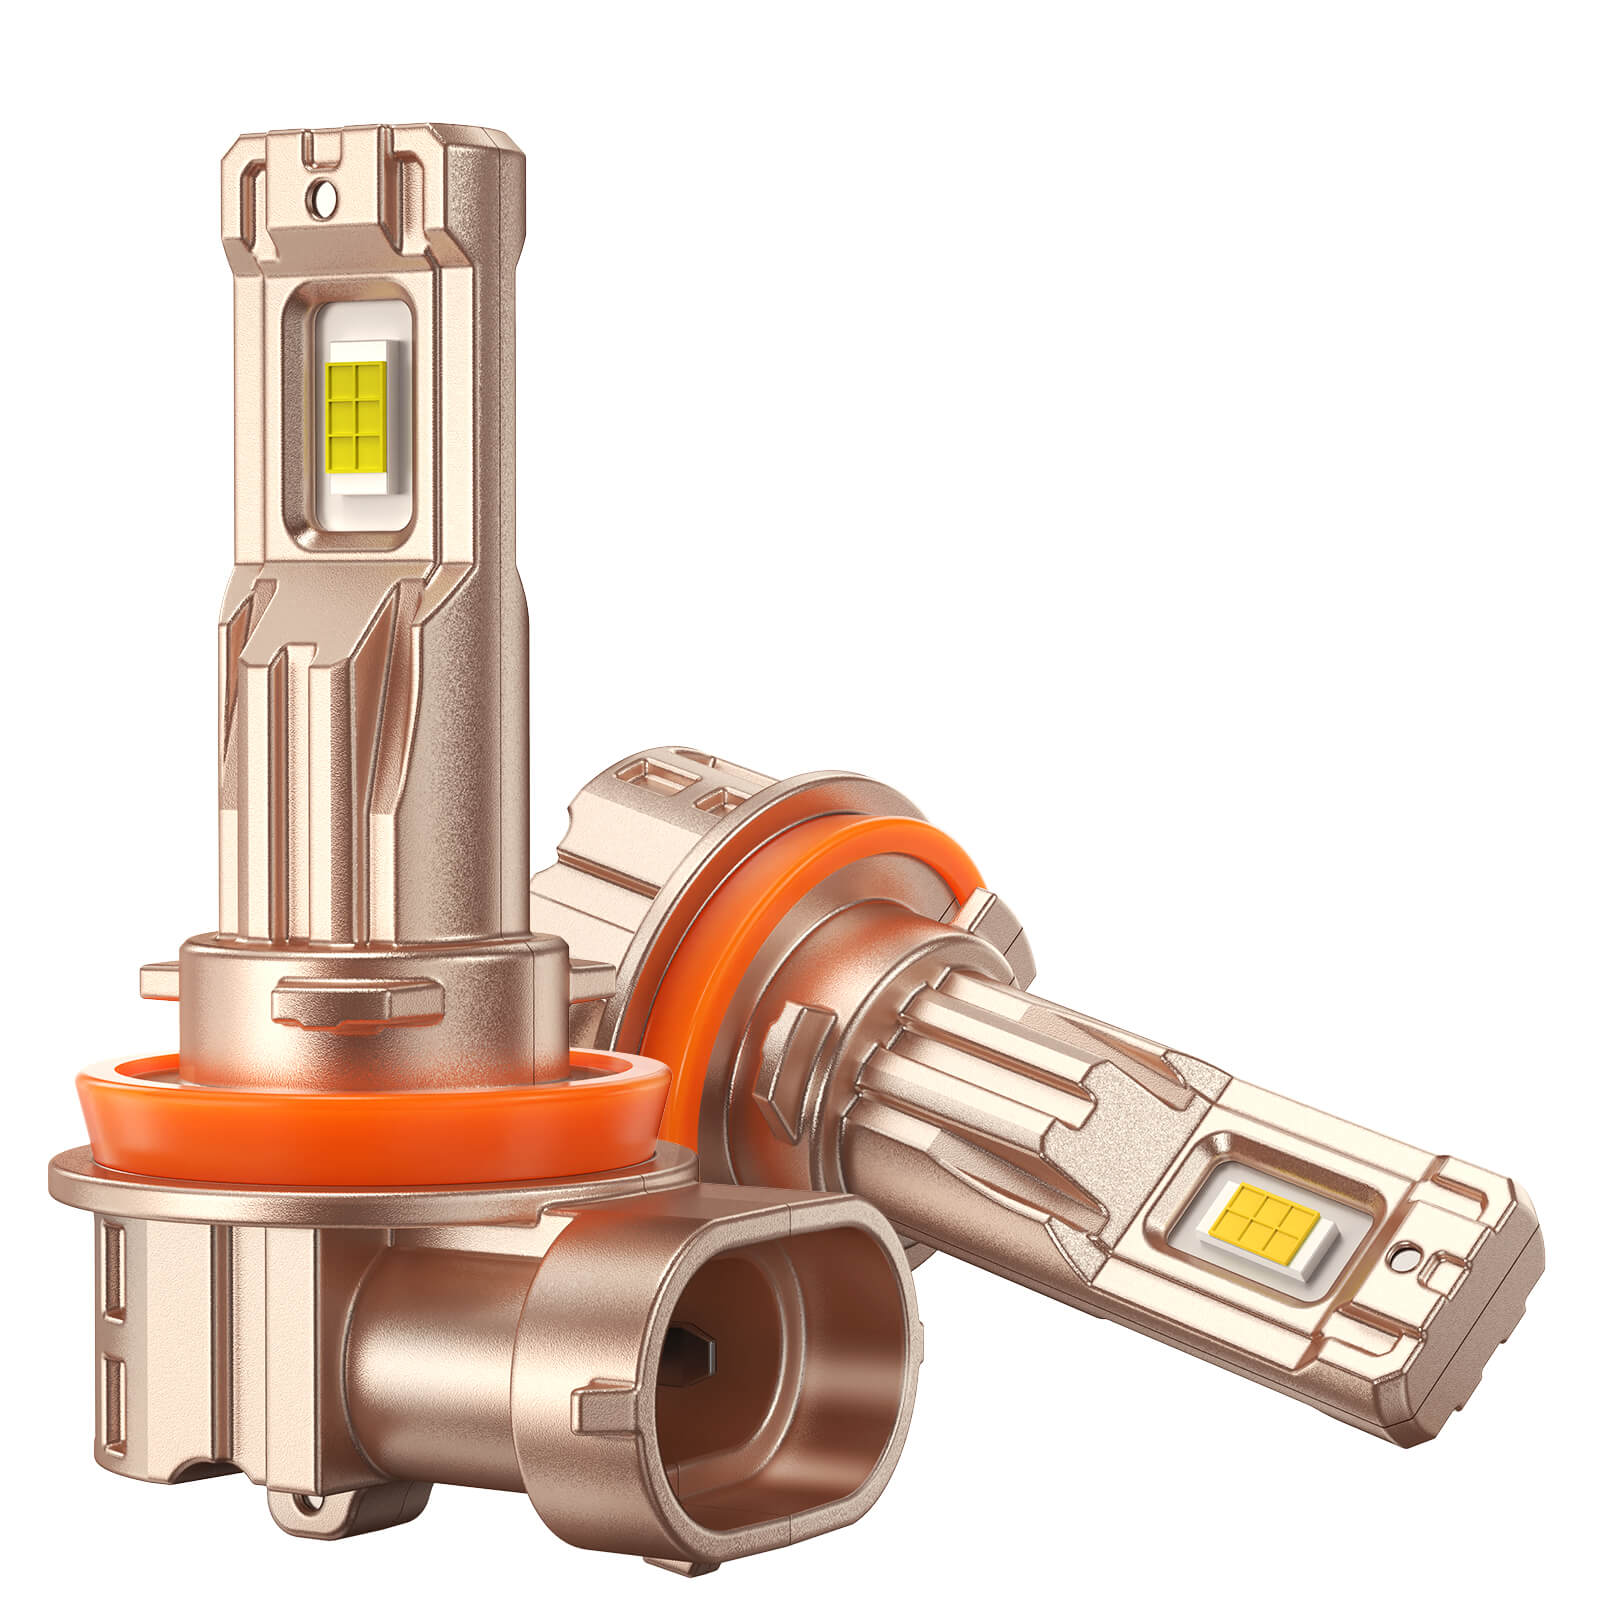
Conclusion
Brake light replacement is a simple job for many drivers, but the right fit matters. Check the bulb size first, install it carefully, and always test the brake light before you drive. If the new bulb still does not work, check the socket, fuse, switch, or wiring before replacing bulbs again.
If your old brake lights are dim, slow, or mismatched, SEALIGHT brake lights can be a practical upgrade. Choose the correct size for your vehicle so the bulb fits right and the brake signal stays clear.