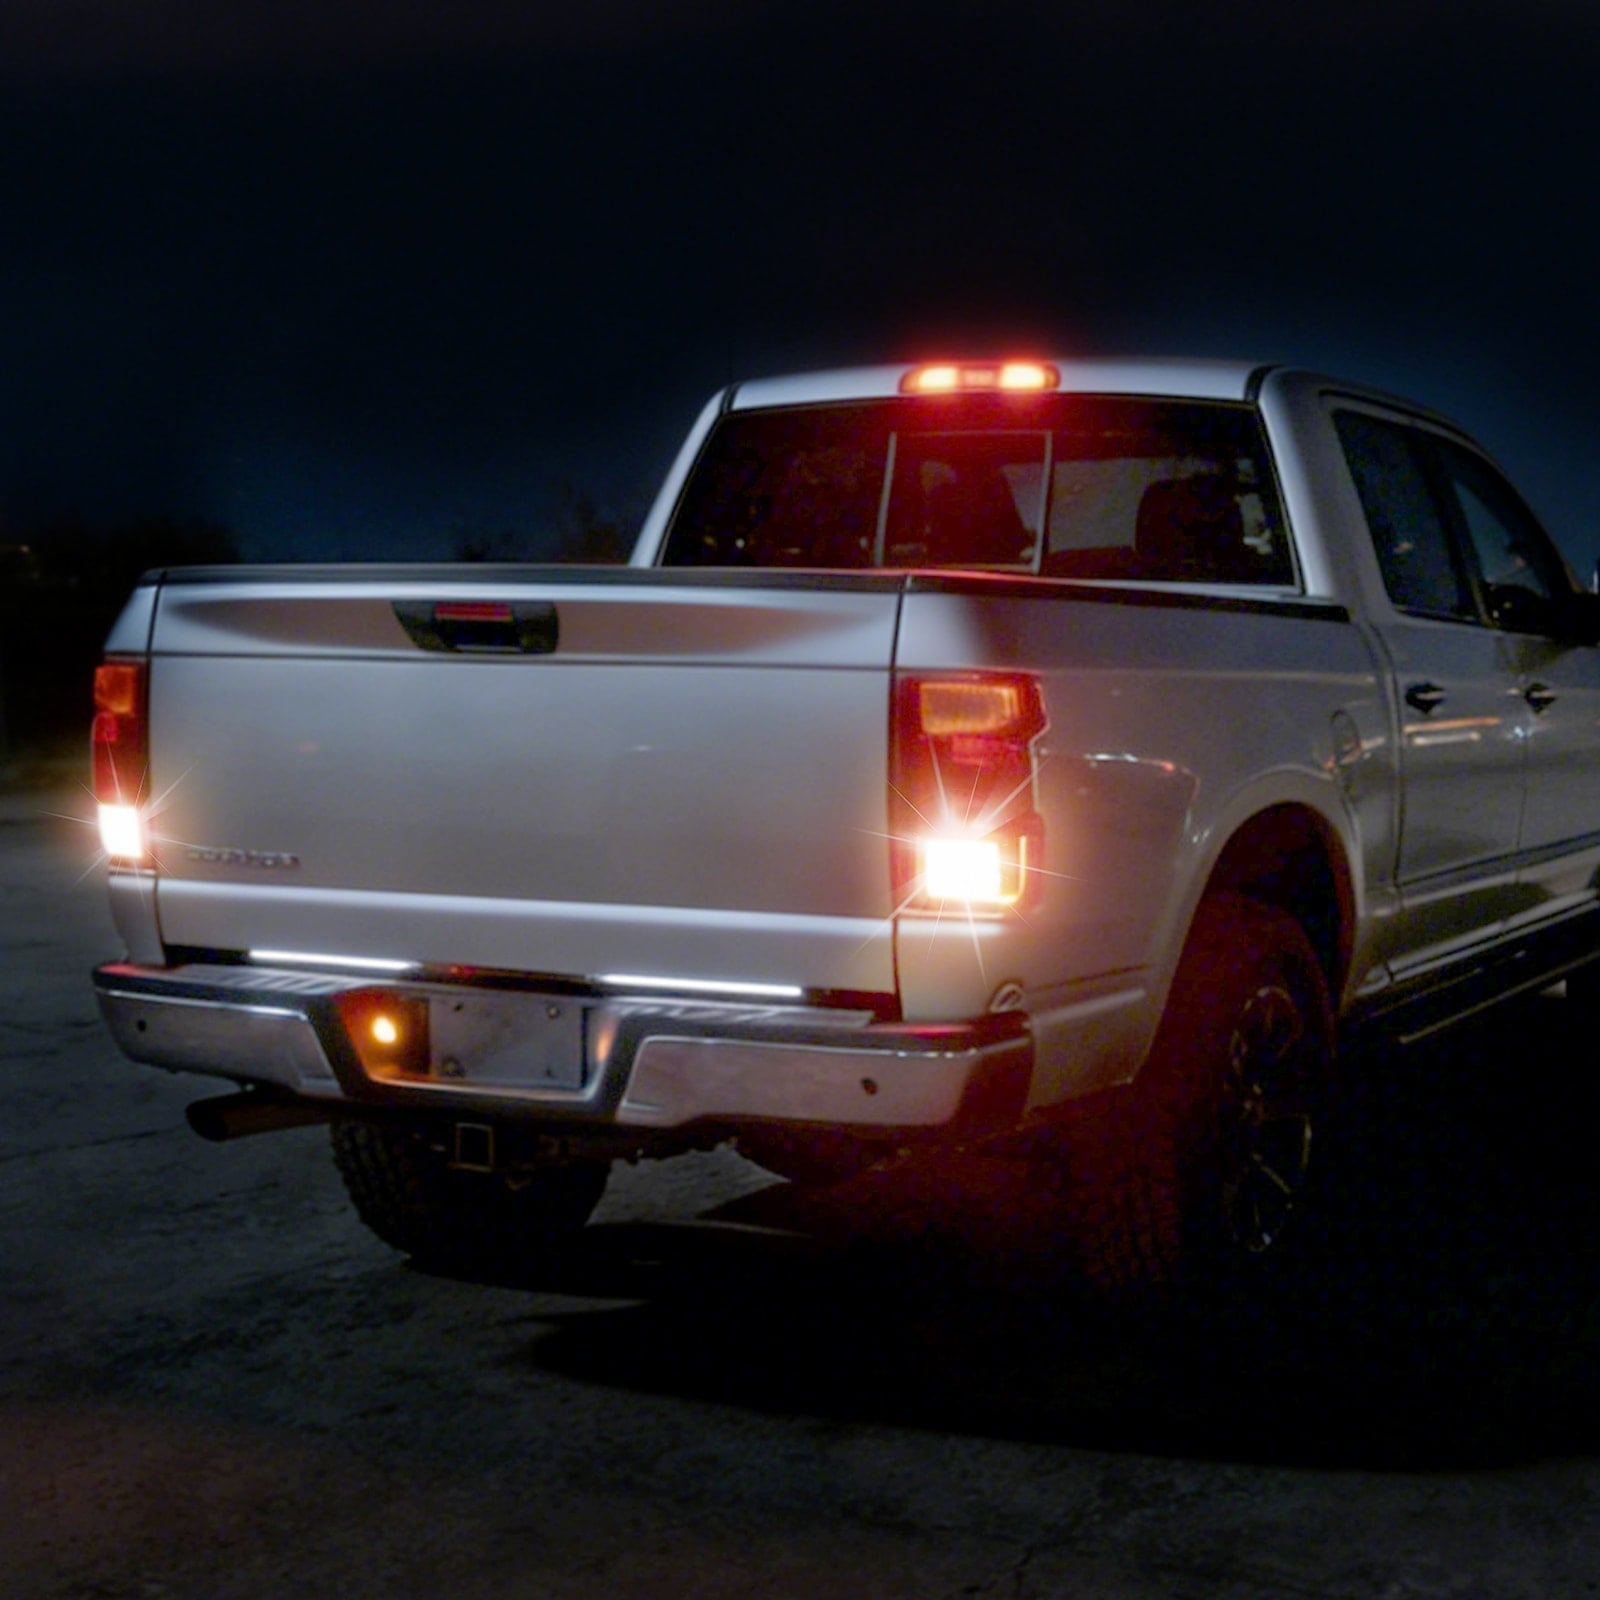


If your brake lights stay on, you may be dealing with more than a small exterior light issue. The lights can drain your battery overnight and confuse drivers behind you, especially if the brake light remains on after you release the pedal.
In most cases, the fix starts under the brake pedal. A bad brake light switch, a missing brake pedal stopper, or a pedal that does not return fully can keep the lights on. This guide shows you how to find the cause, stop the battery drain, and know when brake light bulbs are actually the problem.
Why Are My Brake Lights Staying On?
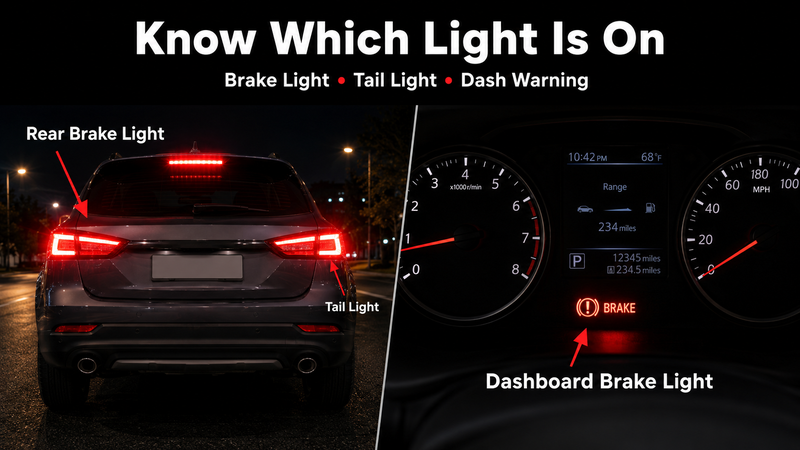
Before you fix the problem, make sure you know which light is staying on. Rear brake lights, tail lights, and the dashboard brake warning light point to different issues. If your rear brake lights stay on, the problem often starts near the brake pedal.
If your tail lights won’t shut off, the issue may be in the parking light circuit. If the brake warning light on the dash stays on, treat it as a brake system warning. You can search NHTSA recalls to see if your vehicle has related brake or lighting safety notices.
Use this quick check before replacing any parts:
| What You Notice | Most Likely Cause | First Fix to Try |
|---|---|---|
| Rear brake lights stay on | The car thinks the brake pedal is still pressed | Check the brake light switch and brake pedal stopper |
| Brake lights stay on when car is off | The switch may not be fully pressed by the pedal | Inspect the brake pedal stopper and switch position |
| Brake lights stay on after replacing brake light switch | The new switch may be misadjusted | Recheck the switch position and connector |
| Brake lights stay on when headlights are on | Wrong bulb type, socket corrosion, poor ground, trailer wiring faults, or aftermarket LED wiring issues | Check the brake/tail light bulb, socket, and ground |
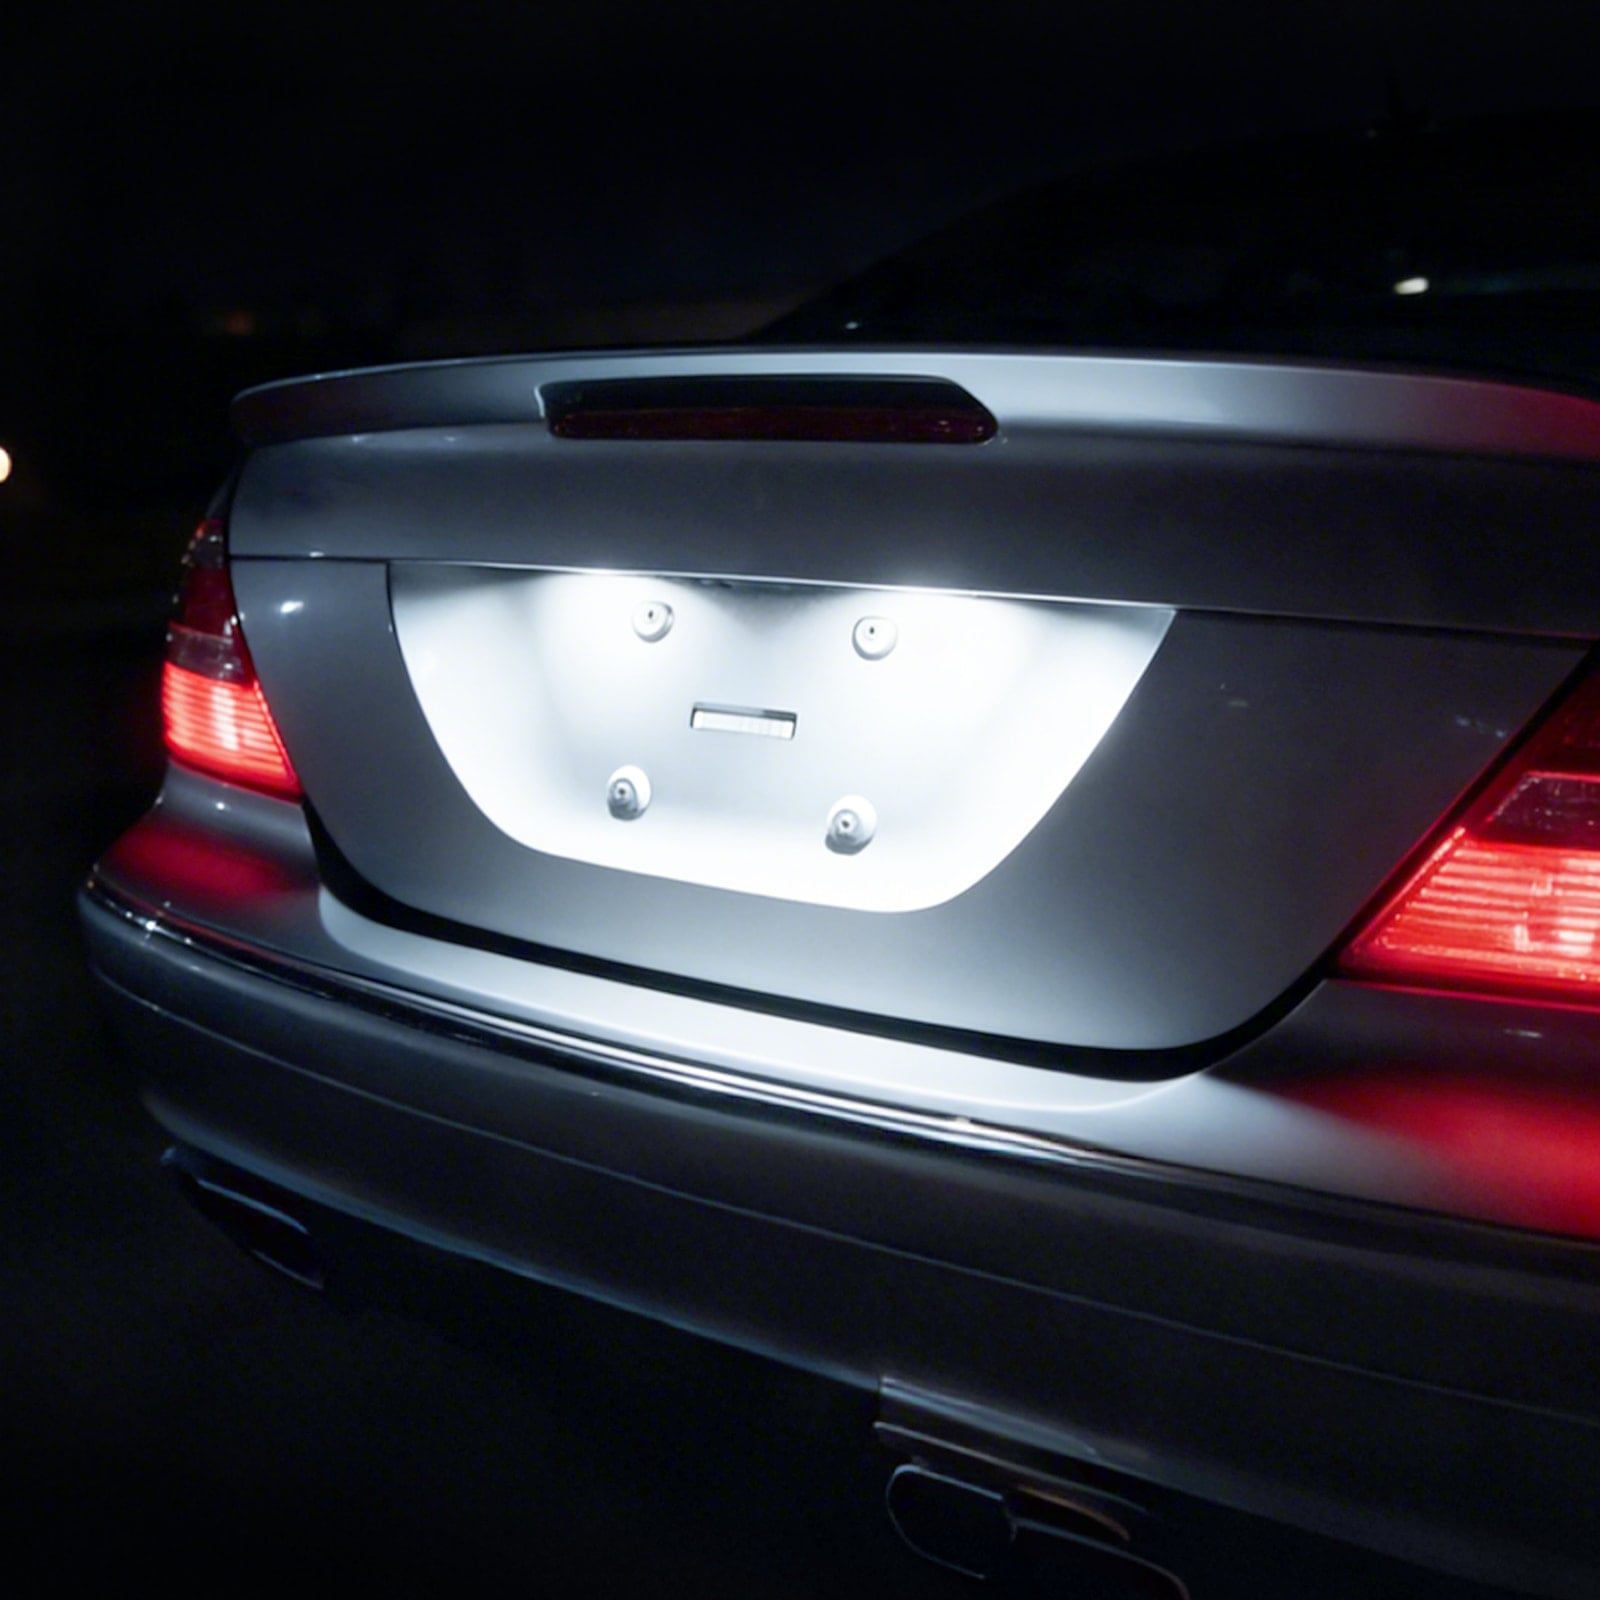
| Tail lights won’t shut off | Headlight switch, relay, or parking light circuit issue | Inspect the tail light circuit |
| Dashboard brake light stays on | Parking brake, low brake fluid, hydraulic brake system fault, or vehicle-specific warning sensor | Check the parking brake and brake fluid level |
Rear Brake Lights Stay On
If your rear brake lights won’t turn off, start under the brake pedal. A faulty brake light switch, missing brake pedal stopper, or pedal that does not return fully can keep the lights on. This is also a common reason brake lights stay on when the car is off.
Brake Lights Stay On When Headlights Are On
If the brake lights stay on when headlights are on, the issue may not be the brake pedal switch. Check the brake/tail light bulb, socket, ground wire, and tail light assembly. Wrong bulb type, poor ground, socket corrosion, trailer wiring faults, or aftermarket LED wiring issues can all cause electrical backfeed.
Dashboard Brake Light Stays On
If the dashboard brake light stays on, treat it as a safety warning, not a rear bulb issue. Common causes include an engaged parking brake, dangerously low brake fluid level (which can be a secondary result of severely worn brake pads), or a malfunctioning fluid level sensor. Some vehicles may also illuminate a warning for worn brake pads. You can also check NHTSA vehicle safety resources if the dashboard brake warning light stays on.
First, make sure the parking brake is fully released. Then check the brake fluid level under the hood. If the fluid is low, or if the brake warning light on the dash stays on, have the brake system inspected. Low brake fluid can point to worn brake pads or a leak.
How To Fix Brake Lights Stay On - Quick Fixes
Once you know which light is staying on, start with the fastest fixes first. Most brake light remains on issues are caused by a missing brake pedal stopper pad, a misaligned brake light switch, or a faulty switch. These quick checks can help stop battery drain and prevent unsafe driving.
If the problem is a weak, burned-out, flickering, or wrong-size bulb, SEALIGHT brake Lights can be a better replacement choice for brighter rear visibility. But if your brake lights won’t go off because of a bad switch or missing stopper, replace those parts first. A new bulb will not fix a stuck brake light circuit.
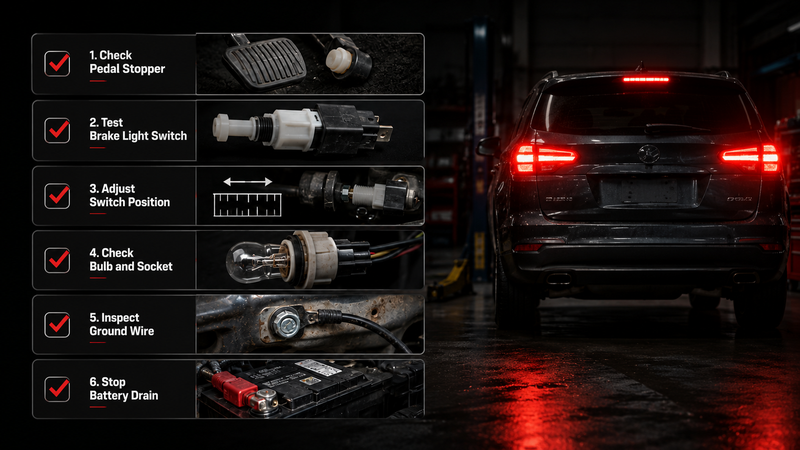
Quick Fix Checklist
| Step | What to Check | What It Means |
|---|---|---|
| 1 | Broken plastic pieces under the brake pedal | The brake pedal stopper may have fallen apart |
| 2 | Brake pedal stopper pad | The pedal or stopper may not be pressing the switch plunger when released |
| 3 | Brake light switch | The switch may be stuck, loose, or misaligned |
| 4 | Switch adjustment | The switch may sit too far from the pedal |
| 5 | Brake/tail light bulb and socket | The wrong bulb or bad socket may cause rear light issues |
| 6 | Ground wire and tail light assembly | Poor ground or water damage may cause backfeed |
| 7 | Fuse or battery cable | Temporary way to stop battery drain |
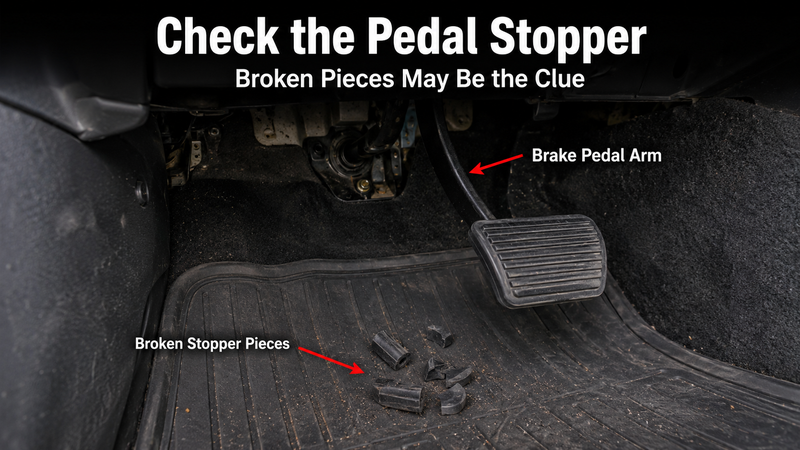
Step 1: Check for Broken Plastic Pieces Under the Brake Pedal
Start inside the car. Look at the floor mat under the brake pedal. If you see small pieces of hard plastic or rubber, the brake pedal stopper may have broken.
That small pad is easy to miss, but it has an important job. It presses the brake light switch when the pedal is released. If the pad falls out, the switch plunger extends/springs out, closing the circuit and keeping the lights on, and the brake lights won’t turn off.
What to look for
- Small plastic or rubber pieces on the floor
- An empty hole on the brake pedal bracket
- Brake lights that turn off when you press the switch by hand
- Brake lights that stay on even when the pedal is not touched
If you find broken pieces, do not replace the brake light bulbs yet. The bulbs are not the cause.
Step 2: Install a New Brake Pedal Stopper Pad
If the stopper pad is missing, replace it first. This is often one of the cheapest and fastest fixes.
Press the brake pedal down to create more room. Find the empty hole on the metal brake pedal bracket. Then snap the new brake pedal stopper pad into place. Release the pedal and check the rear brake lights. If the lights turn off, you will find the problem.
Temporary fix:
Step 3: Test the Brake Light Switch
Note: This manual test applies primarily to traditional mechanical plunger-style switches. Modern vehicles equipped with Hall-effect or magnetic brake sensors may require an OBD2 scanner to read sensor data.
If the stopper pad looks fine, test the brake light switch next. The switch is usually near the top of the brake pedal arm.
If your vehicle uses a plunger-type brake light switch, press the switch button by hand. Then check the rear lights.
- If the brake lights turn off, the switch may be working, but it may not line up with the pedal.
- If the brake lights stay on, the switch may be stuck, worn, or faulty.
- If the lights stay on after unplugging the brake light switch, the problem is less likely to be the switch itself. Look for a short to power, electrical backfeed, a stuck relay, BCM-related fault, trailer wiring issue, or aftermarket wiring problem.
Step 4: Adjust the Brake Light Switch
A brake light switch can move out of position. This can happen after repairs, pedal work, or switch replacement. If the switch sits too far from the pedal, the pedal cannot press the button all the way in. The brake light remains on because the switch still thinks the pedal is being pressed.
Find the threaded switch near the brake pedal. Loosen the lock nut. Move the switch closer to the pedal arm. Make sure the pedal arm or stopper pad fully depresses the switch plunger when the pedal is released.
After adjusting it, test the brake lights:
| Pedal Position | Brake Light Should Be |
|---|---|
| Pedal released | Off |
| Pedal lightly pressed | On |
| Pedal released again | Off |
If your brake lights stay on after replacing the brake light switch, this step is especially important. A new switch can still cause the same problem if it is not adjusted correctly.
Step 5: Replace a Faulty Brake Light Switch
If the switch button sticks or does not respond, replace the switch. This is usually a simple repair, but the exact process can vary by vehicle.
Before you start, disconnect the battery. Then unplug the wiring harness from the brake light switch. Remove the old switch by twisting or unbolting it from the bracket. Install the new switch, plug the harness back in, and adjust the switch position.
Then test the brake lights again. If they now turn off and on normally, the switch was the problem.
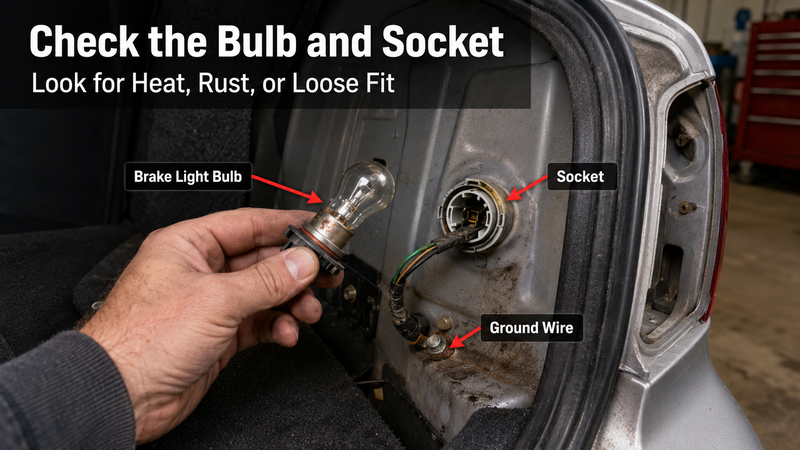
Step 6: Check the Brake Light Bulb, Socket, and Ground
If only one rear light acts strange, or if your brake lights stay on when headlights are on, move to the rear light area. This is where many basic guides stop too early. Not every brake light problem is under the pedal.
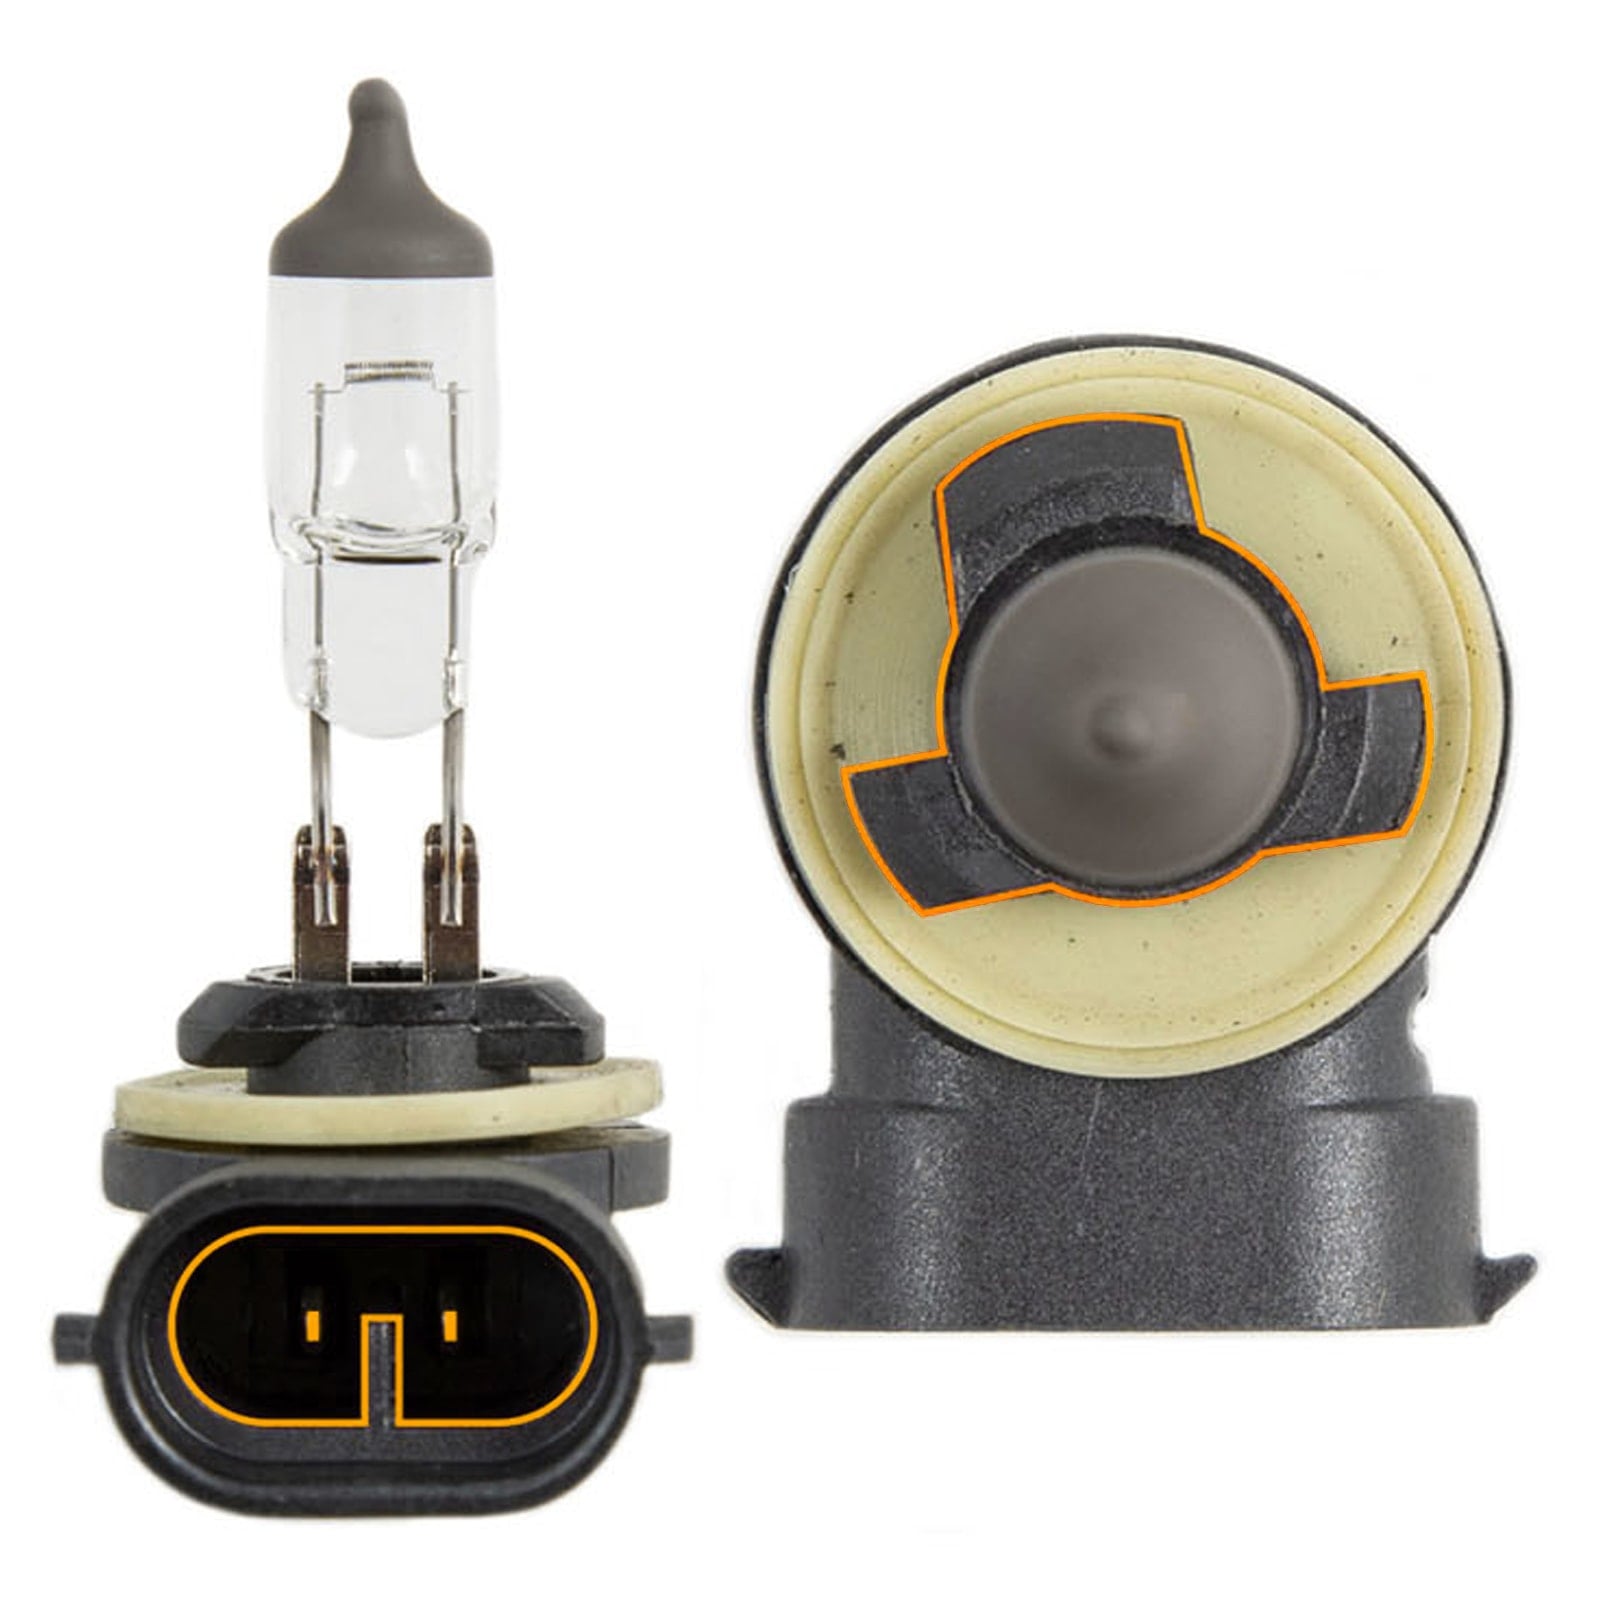
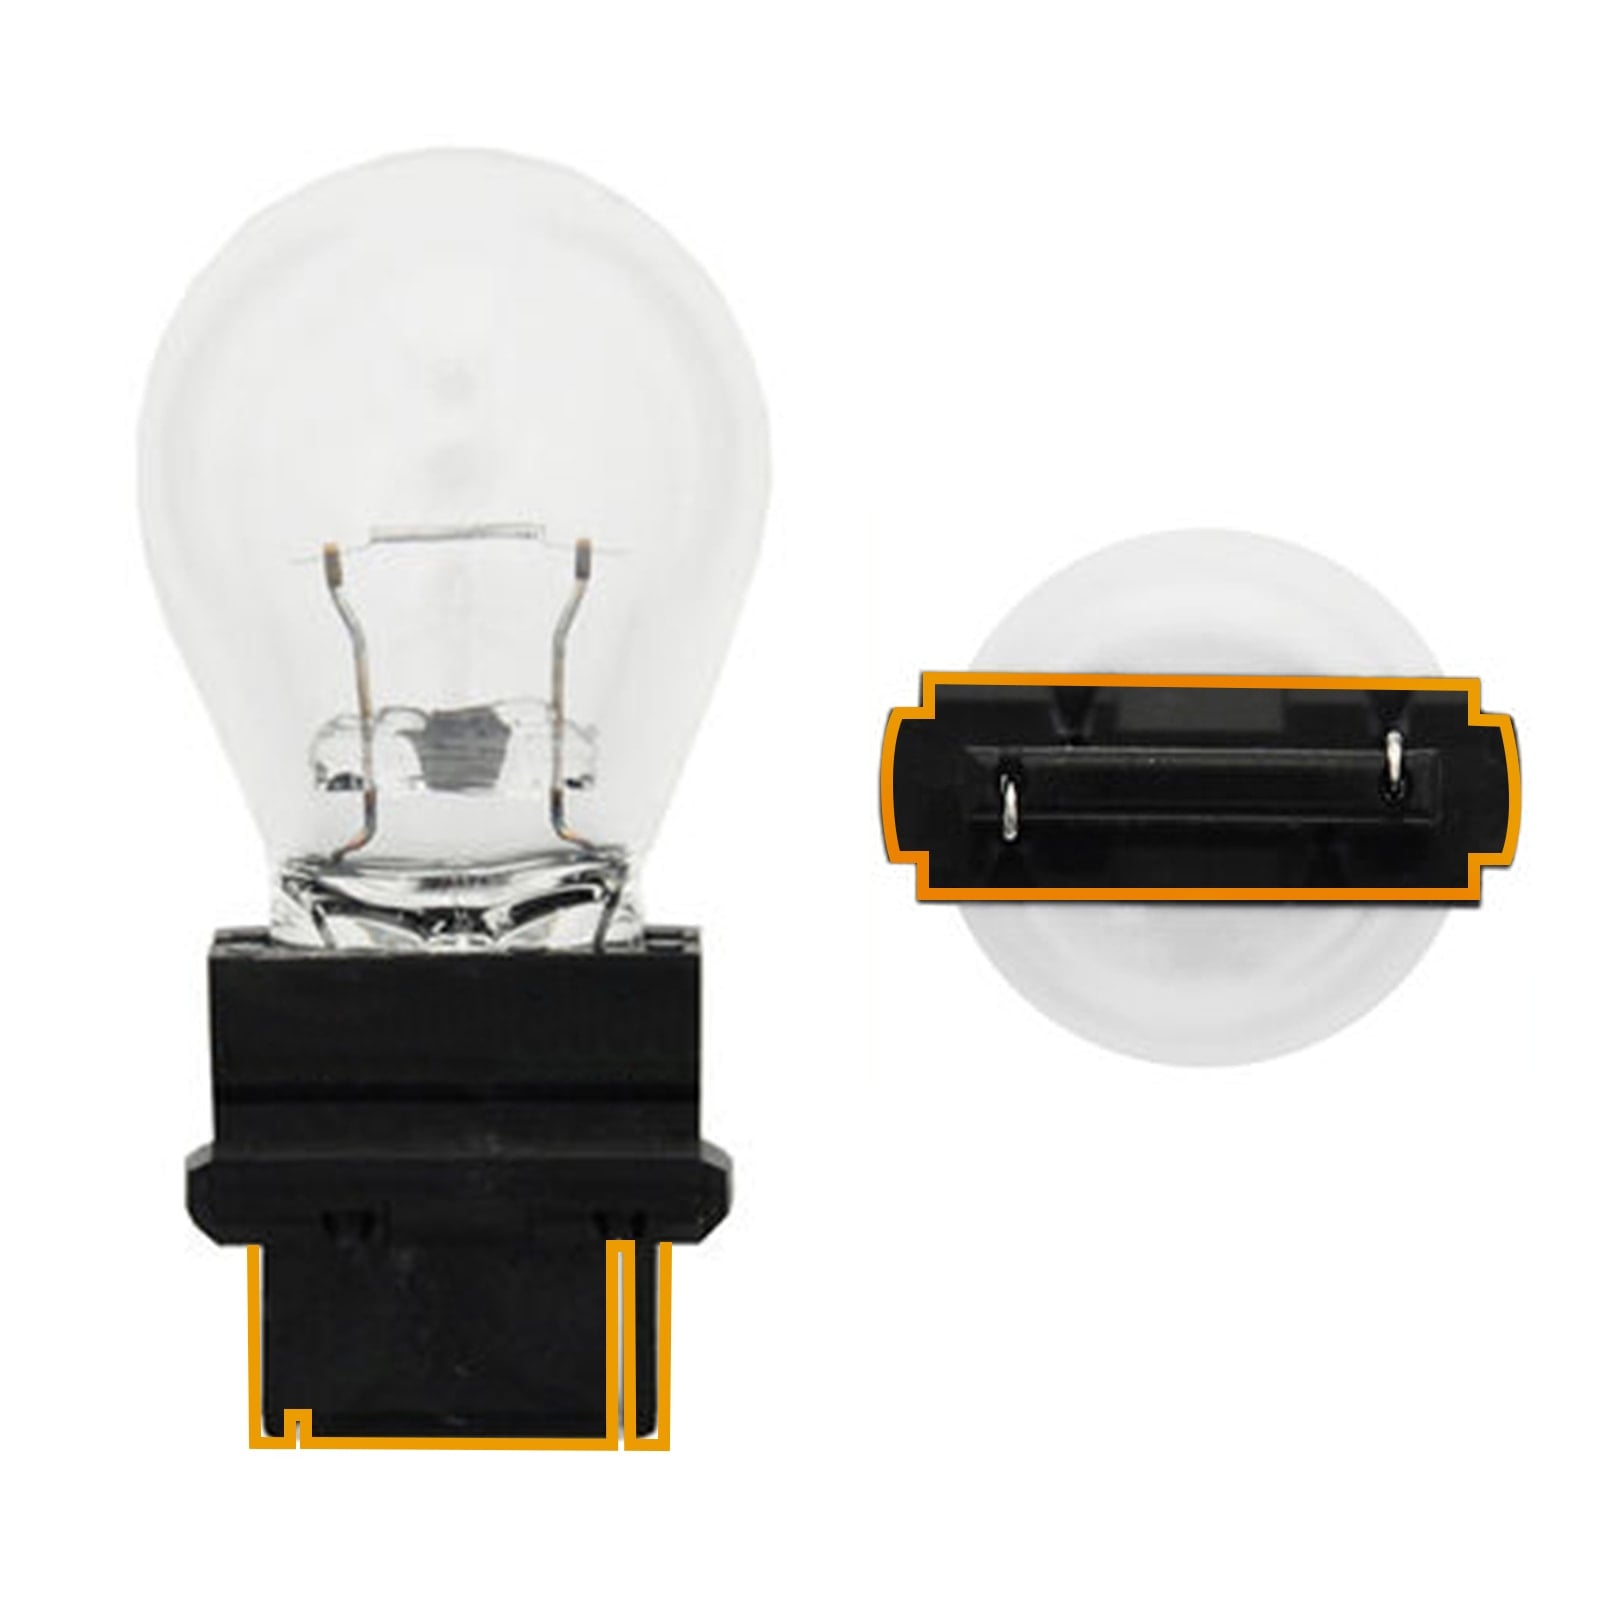
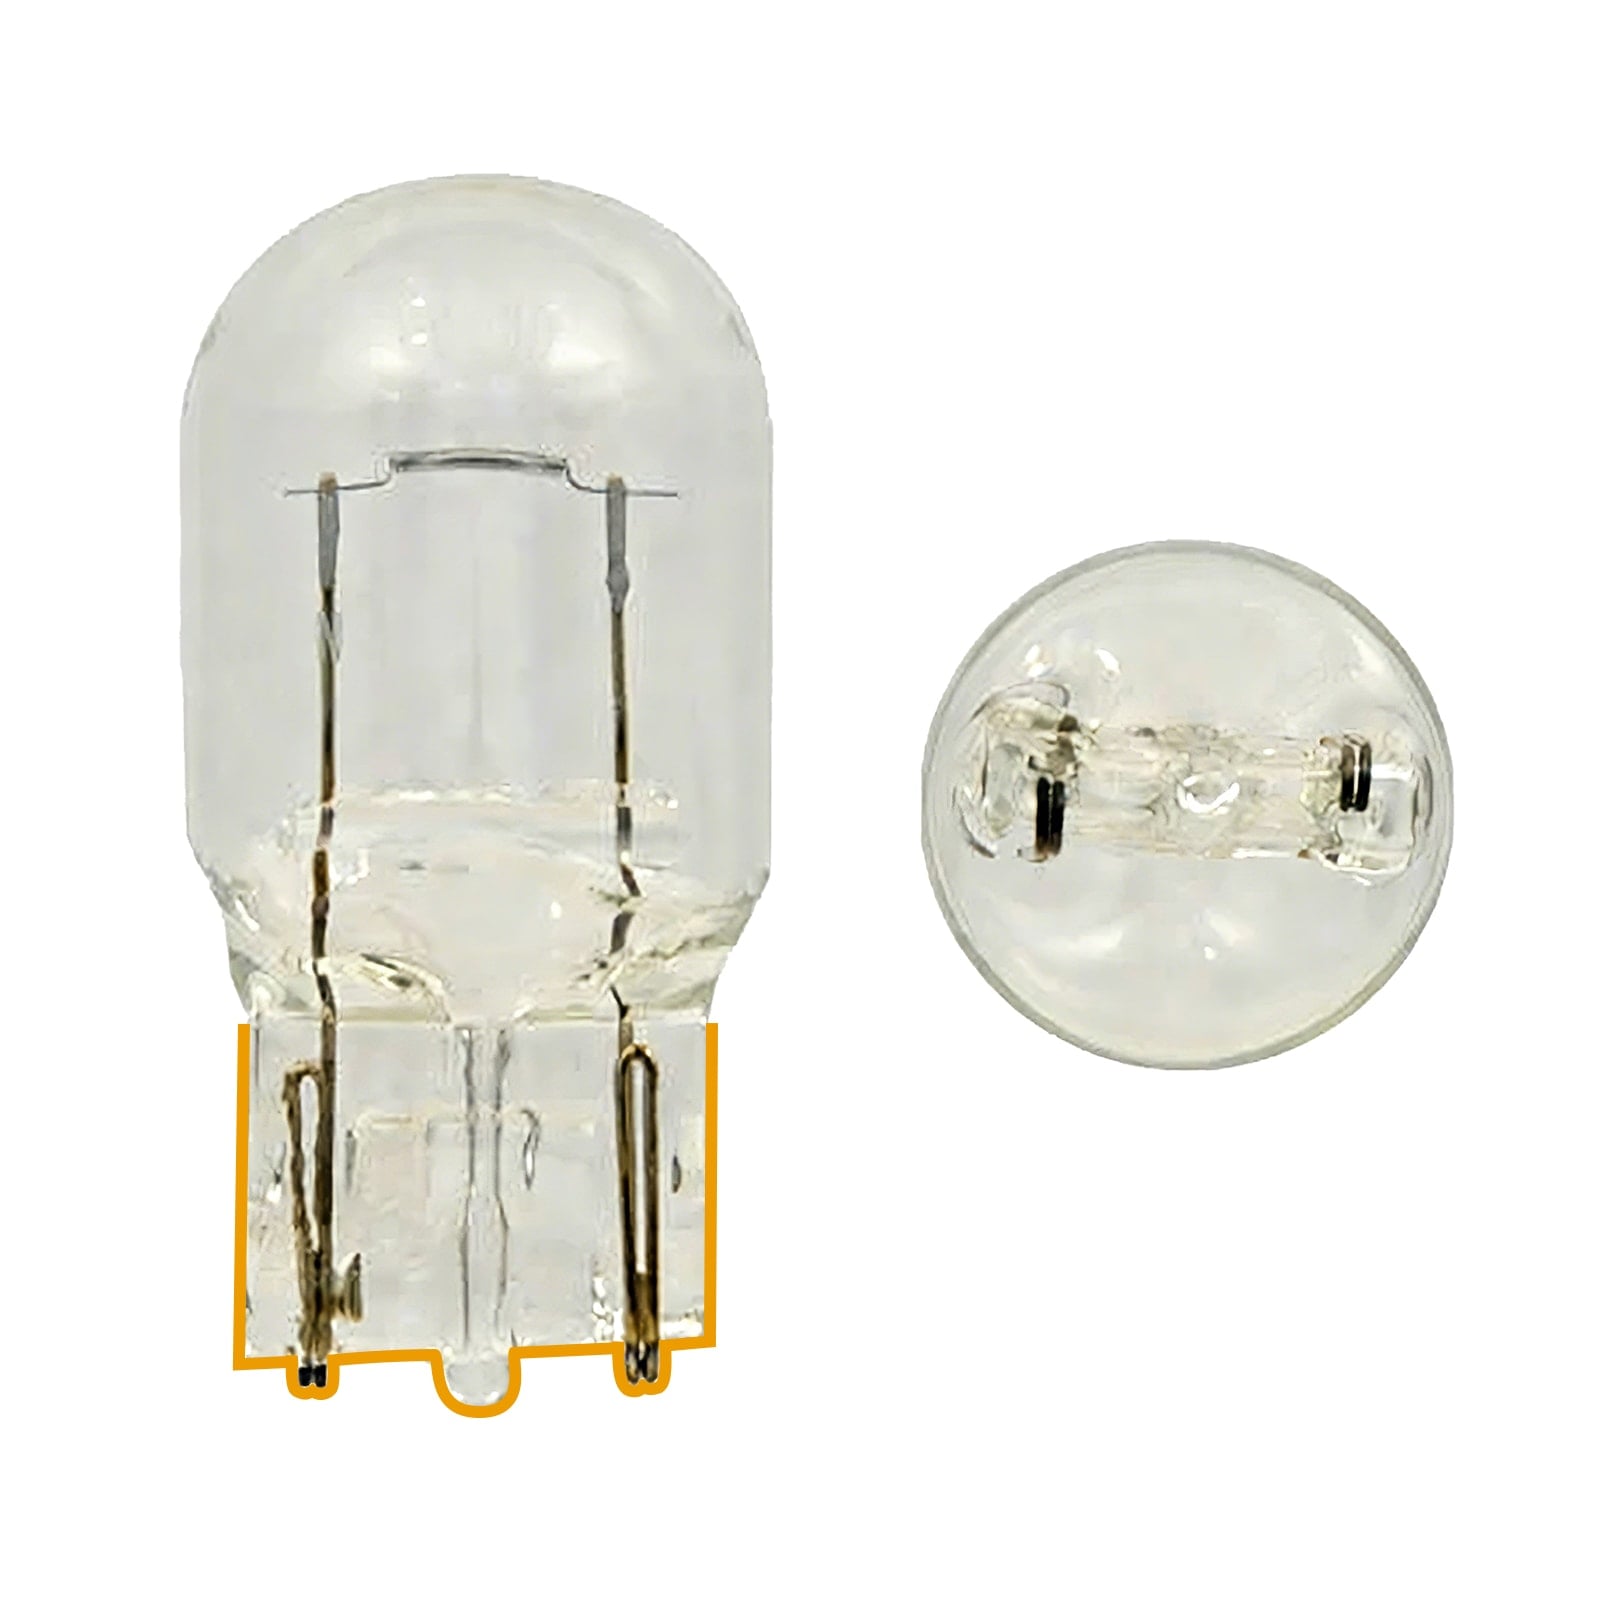
Check the brake/tail light bulb first. Make sure it is the correct type for your vehicle. Many cars use dual-function brakes and tail light bulbs. On vehicles that use dual-filament or dual-function bulbs such as 1157, 3157, or 7443, installing the wrong bulb can cause the brake and tail light circuits to backfeed.
This is also where SEALIGHT brake lights fit naturally. If your old brake light bulbs are dim, slow to respond, flickering, or mismatched, upgrading to the correct SEALIGHT LED brake light bulbs can improve rear visibility and make your brake signal easier to see.
Check for these signs
- Melted or dark bulb socket
- Green or white corrosion
- Loose bulb fit
- Water inside the tail light assembly
- Brake lights that change when headlights turn on
- One side brighter than the other
- Dim or flickering brake light bulbs
If the bulb is old, dim, flickering, or the wrong size, replace it with the correct brake light bulb. If the socket is burned or corroded, fix the socket first. A new bulb may not work well in a damaged socket.
Step 7: Check the Tail Light Assembly and Wiring
If the brake light bulb and socket look fine, check the tail light assembly, ground wire, and nearby wiring. Water inside the housing, loose ground, or damaged wiring can cause strange rear light behavior.
This is especially important when tail lights won’t shut off, one side acts differently from the other, or the rear lights change when the headlights are on.
When to suspect wiring, relay, module, or ground issues
- The brake lights stay on even after unplugging the brake light switch, which may point to a short to power, stuck relay, BCM issue, trailer wiring fault, or aftermarket wiring problem.
- Only one side stays on.
- The lights change when you turn on the headlights.
- The tail light assembly has moisture inside.
- The issue started after installing new bulbs, trailer wiring, or aftermarket accessories.
If the wiring looks damaged, have it inspected. Do not cut or splice brake light wires unless you know the circuit.
Step 8: Stop Battery Drain While You Wait for the Fix
If your brake lights won’t go off and you cannot fix them right away, stop the battery drain first.
Pulling the brake light fuse is the preferred temporary method. Disconnecting the negative battery cable should be a last resort, as it may reset your vehicle’s clock, radio settings, and computer learning data on modern cars. Check your owner’s manual before pulling any fuse. Do not guess, because some fuses control more than one system.
This is only a temporary step. Do not drive the vehicle until the brake lights operate normally. Driving without functional brake lights may be illegal and unsafe.
When the main issue is fixed, check the bulbs again. If the brake lights are weak, uneven, or slow to respond, replacing them with automotive rear lights can be a smart final step for better rear visibility.
How To Fix Brake Lights Stay On When Car Is Off
If your brake lights stay on when the car is off, deal with the battery first. Many brake light circuits can still get power after the key is out. That means a stuck switch or missing pedal pad can leave the lights on all night.
Start with these quick checks:
| What to Check | Why It Matters |
|---|---|
| Brake pedal stopper | A missing pad can keep the switch from closing |
| Brake light switch | A stuck or misaligned switch can keep the lights on |
| Brake pedal return | A pedal that does not come back fully can hold the switch open |
| Brake light fuse | Pulling the correct fuse can stop battery drain for now |
| Rear bulb and socket | Check this if only one side stays on |
Stop Battery Drain First
Pulling the brake light fuse is usually preferred. Disconnecting the negative battery cable can also stop battery drain, but may reset some vehicle settings. Check the owner’s manual before pulling any fuse. This is only a temporary fix. Do not drive without working brake lights.
Check the Pedal Area Before Replacing Bulbs
When all rear brake lights stay on after the car is off, the issue is usually under the brake pedal. Check for a missing stopper pad, a loose brake light switch, or a pedal that does not return fully.
If only one rear light stays on, the problem may be closer to the rear of the vehicle. Check the bulb, socket, ground, and tail light assembly.
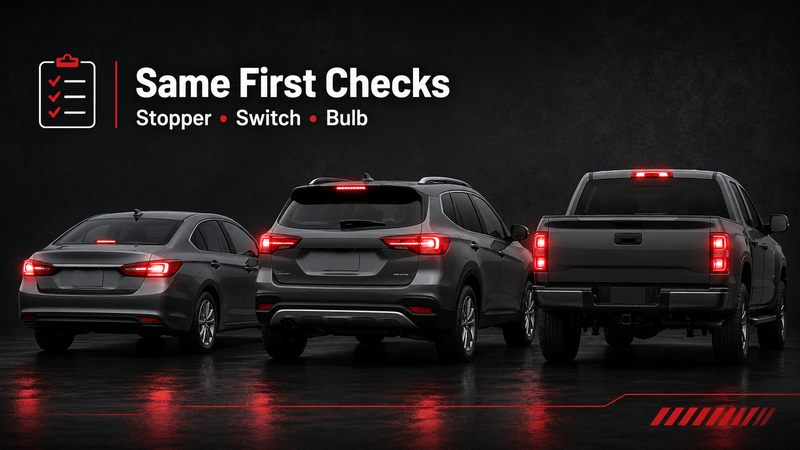
Vehicle Notes
For many vehicles—including Toyota, Honda, Hyundai, Nissan, Infiniti, Ford Fusion, and numerous F-Series models—the first step is still to inspect the brake pedal area. Exact part locations can vary by year, but the first step is usually the same: check the brake pedal stopper and brake light switch before replacing bulbs.
Need to Replace Brake Light Bulbs? Best Choices
Once the brake lights turn off normally, take one more look at the bulbs. A bad brake light bulb usually will not make all brake lights stay on, but it can cause dim, uneven, flickering, or weak rear lighting.
Replace the Bulb If You Notice This
You may need new brake light bulbs if:
- one brake light is out
- one side looks dimmer than the other
- the light flickers when you press the brake
- the bulb or socket shows heat damage
- the issue started after installing the wrong bulb size
- your rear brake signal looks weak at night
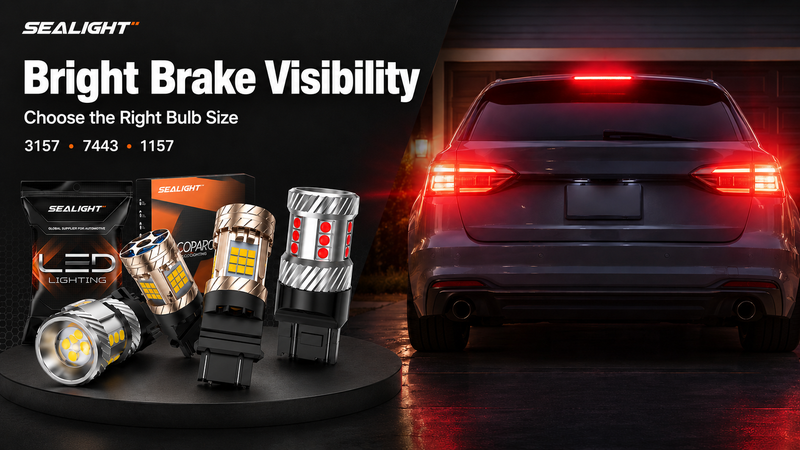
For many vehicles, common brake/tail light bulb sizes include 3157, 3156, 7443, 7440, 1157, and 1156. Always match the bulb size before buying.
A Smart Upgrade: SEALIGHT Brake Lights
If your old bulbs are weak, burned out, or mismatched, SEALIGHT Brake Lights can be a practical LED upgrade for better rear visibility. The SEALIGHT brake/tail lights collection includes options for common brake and tail light applications, including 3157/3156, 7443/7440, and 1157/1156 fitments.
For daily replacement, you can look at SEALIGHT LED brake/tail light options such as the SLJ series. Match the LED color to your vehicle’s lens and original bulb specification. Red LEDs are generally recommended behind red lenses for the most efficient light output.
Fitment tip: Check your owner’s manual, the old bulb number, or the SEALIGHT fitment tool before ordering. The right LED brake light bulb can improve brightness and response, but it will not fix a stuck switch, missing brake pedal stopper, or wiring short.
FAQs About Brake Lights Staying On
How do you fix a brake light that stays on?
Start with the brake pedal area. Check the brake pedal stopper, brake light switch, and pedal return first. If only one brake light has a problem, inspect the bulb, socket, ground, and wiring on that side.
Why are my brake lights not shutting off?
Your brake lights may stay on because the car still thinks the brake pedal is pressed. Common causes include a stuck switch, missing stopper pad, or misaligned brake light switch.
Do brake lights drain the battery?
Yes. Brake lights can drain the battery if they stay on after the car is off. Pulling the fuse or disconnecting the negative battery cable is only a temporary fix.
Can I drive if my brake lights stay on?
It is not safe for regular driving. Brake lights that stay on can confuse drivers behind you because they cannot tell when you are actually braking.
Why do my brake lights stay on after replacing the brake light switch?
The new switch may be misaligned or not fully seated. Recheck the switch position, connector, and brake pedal stopper before moving on to wiring or socket checks.
What causes the brake light on dash to stay on?
A brake light on the dash usually points to a brake system warning, not just an exterior brake light issue. Check the parking brake and brake fluid level first. A dashboard brake warning light may also point to a hydraulic brake system fault, ABS-related issue, or vehicle-specific sensor. Some vehicles have a separate brake pad wear warning, while others may show low fluid as pads wear.
When should I replace my brake light bulbs?
Replace brake light bulbs when they are burned out, dim, flickering, mismatched, or the wrong size. If all brake light stay on, fix the switch, stopper, or wiring issue first. After the cause is repaired, properly sized SEALIGHT brake light bulbs can help restore bright, reliable brake visibility.
Conclusion
Brake lights stay on issue can drain the battery and create safety risks on the road. In most cases, the cause is a bad brake light switch, missing brake pedal stopper, poor pedal return, or wiring issue. Start with the pedal area, then check the bulb, socket, and ground if only one brake light acts up. Fix the real cause first.
If your brake light bulbs are dim, flickering, burned out, or mismatched, upgrade to properly sized SEALIGHT brake lights for bright, reliable brake visibility.