


Brake lights not working isn’t just an inconvenience, it is a serious safety risk linked to nearly 30% of rear end collisions. The reassuring part is that around 80% of these issues can be diagnosed and fixed at home, often in under an hour, since most failures trace back to a few common causes. Picture slowing down in heavy traffic while the driver behind you has no warning, this is exactly why identifying and resolving the problem quickly matters. In this guide, we will walk through a clear, step by step process to diagnose the root cause and safely fix your brake lights.

Before You Start: Confirm Exactly What's Failing
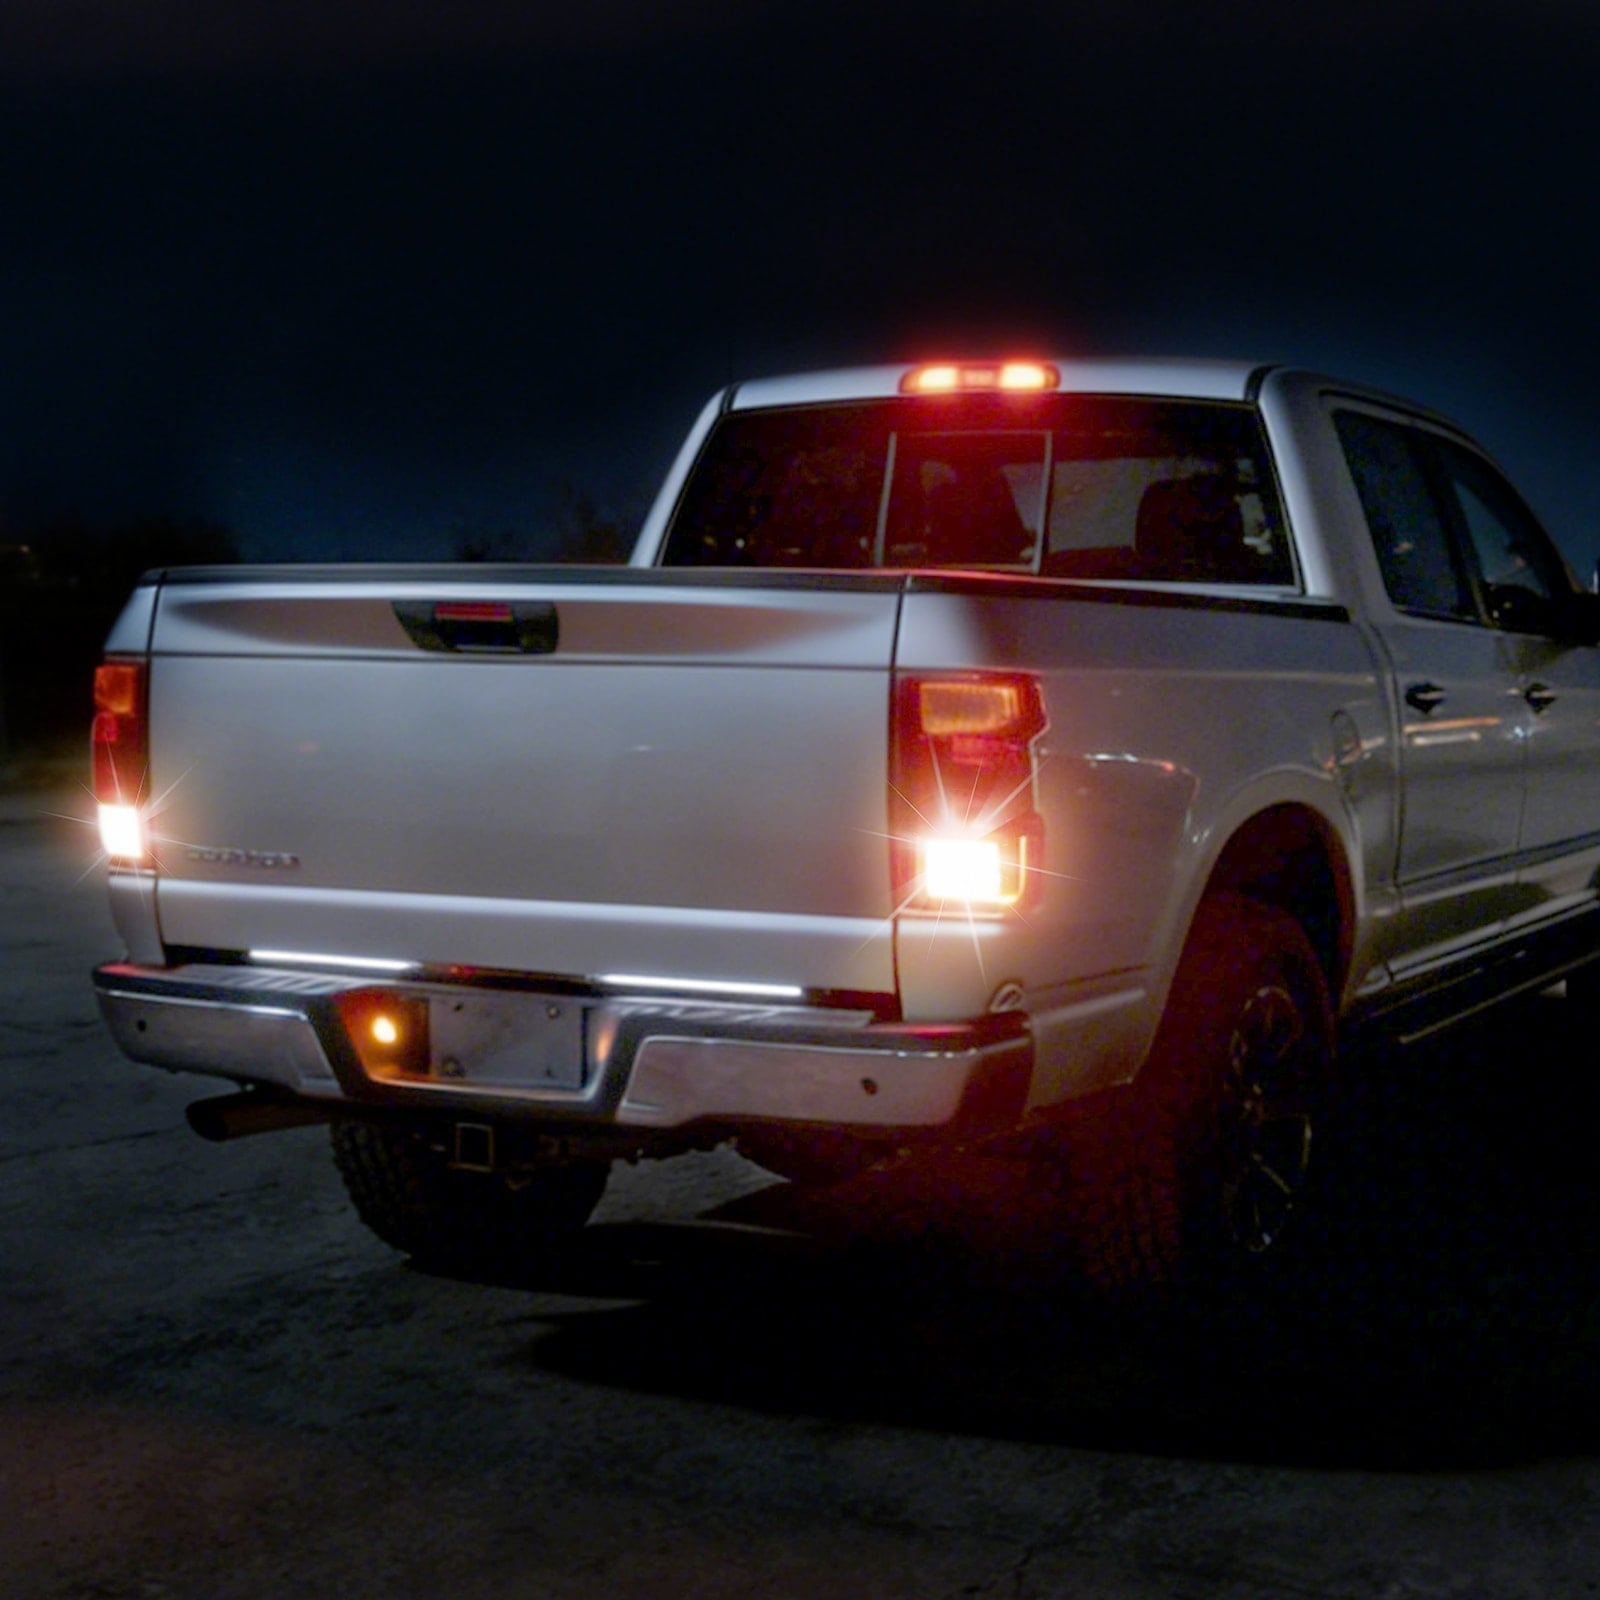
The fastest way to narrow down why your brake lights are not working is to get eyes on them while someone presses the pedal. Use the buddy system — have a friend stand at the rear while you press the brake — or wedge a heavy object against the pedal and walk around to check yourself. This one step will immediately tell you whether you're dealing with one light out or both, which changes everything about where to look next.
- One brake light out → likely a bulb or socket issue
- Both brake lights not working → points to a central component: fuse, brake light switch, or wiring
Why Your Brake Lights Stop Working (The Most Common Causes)
Brake light problems usually fall into one of four categories: a blown fuse, a burned-out bulb, a faulty brake light switch, or a wiring issue. Pinpointing which one applies to your situation is the key to a fast fix.
Understanding the difference between your brake lights and tail lights also matters here. Both use the same bulb housing in most vehicles, but they operate on separate circuits. That's why you can have a situation where your tail light works but your brake light doesn't — and it's also why diagnosing the problem requires a bit of logic before you start pulling things apart.
Is There a Fuse for Brake Lights? Yes — Start Here
The brake light fuse is always the first thing to check. It's the quickest inspection and costs nothing if the fuse is fine — or just a couple of dollars if it isn't.
Yes, there is a dedicated fuse (sometimes shared with other lighting circuits) that protects your brake lights. When this fuse blows, it cuts power to the entire brake light circuit, which is why both brake lights stop working at once. A single burned-out bulb won't blow a fuse, but a short circuit in the wiring or a faulty socket can.
Where Is the Brake Light Fuse Located?
The brake light fuse location varies by make and model, but you'll typically find it in one of two places:
- The interior fuse box — usually located under the dashboard on the driver's side, near the steering column or door panel
- The engine bay fuse box — a larger black plastic box near the battery or firewall
Check your owner's manual first. It will have a fuse diagram that tells you exactly which fuse number controls the brake lights. The fuse is usually labeled "STOP," "BRAKE," or "STOPLAMP." If you don't have your manual, a quick search for your year, make, and model will get you there.
How to Check and Replace a Brake Light Fuse
Pull the fuse using the plastic fuse puller stored inside the fuse box lid (or use needle-nose pliers carefully). Hold it up to a light source — a blown fuse will have a visibly broken metal strip inside. Replace it with a new fuse of the exact same amperage rating. Fuses are color-coded and stamped with their amp rating, so match it precisely.
Brake light fuse replacement takes about two minutes. If the new fuse blows immediately after replacement, stop — that's a sign of a deeper electrical short that needs professional attention.
Both Brake Lights Not Working? How to Narrow It Down
When both brake lights stop working simultaneously, the problem is almost always upstream from the bulbs — meaning the fuse, the brake light switch, or a wiring fault affecting the whole circuit.
Check the Brake Light Switch First
The brake light switch is a small sensor mounted on the brake pedal bracket under the dashboard. Every time you press the brake pedal, this switch closes the circuit and sends power to your brake lights. When it fails or gets knocked out of position, neither brake light gets the signal to illuminate.
To test it: have a helper watch the rear of the car while you press the brake pedal slowly. If nothing lights up at all — no bulbs, no flicker — and your fuse checks out fine, the brake light switch is a prime suspect. On many vehicles, the switch can be adjusted or reset by repositioning it on the bracket. Replacement switches are inexpensive and usually bolt-on jobs.
One often-overlooked detail: most brake light switches are triggered by a small rubber or plastic stopper on the pedal arm. Over time, this stopper can crumble, compress, or fall off entirely. When it goes missing, one of two things happens — the switch never gets triggered (so your brake lights don't come on at all), or the switch stays permanently engaged (so your brake lights never turn off, even with the car parked). If your switch looks fine but the lights still misbehave, check this stopper first. It's a cheap fix that often gets missed.
Corrosion, Bad Sockets, and Ground Wire Problems
If your brake lights are not working but tail lights are — and you've already ruled out the bulb — a corroded socket or bad ground is the next likely suspect.
Look inside the bulb socket for white or green buildup. This corrosion breaks the electrical connection just enough to prevent the higher-current brake circuit from functioning, while the dim tail light filament still barely gets through. Clean the socket contacts with a 50/50 vinegar solution and fine sandpaper, then apply a thin coat of dielectric grease before reinstalling the bulb. Dielectric grease seals out moisture and prevents the corrosion from coming back.
Most taillight assemblies share a single ground wire — usually a black wire bolted to the car's metal frame inside the trunk or behind the panel. If this ground connection is loose or corroded, it can cause both the brake light and the turn signal on that side to fail simultaneously. Cleaning the contact point down to bare shiny metal and retightening the bolt often restores everything at once.
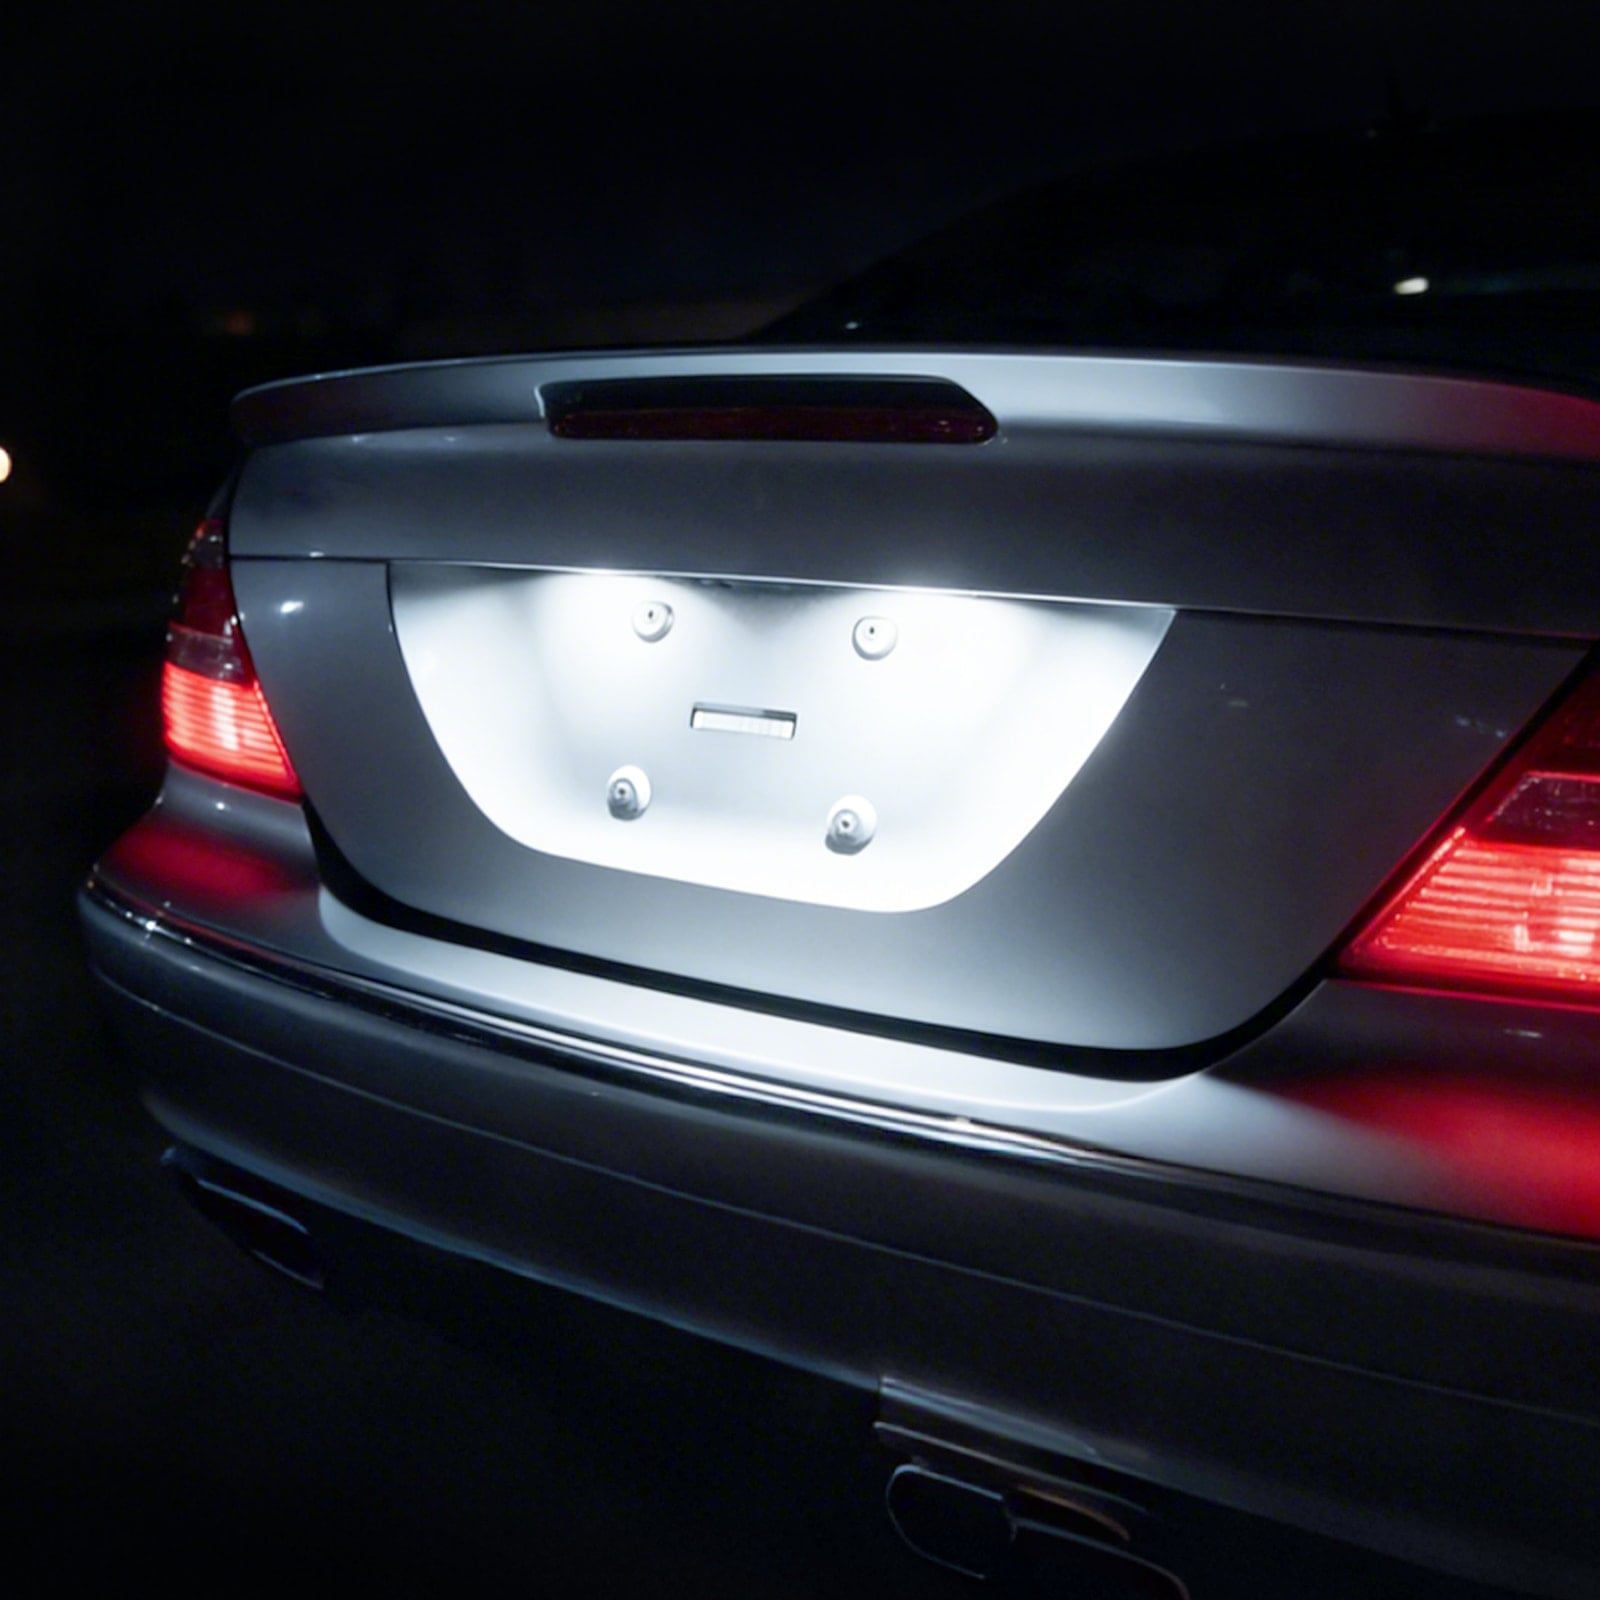
Brake Light Doesn't Work But Tail Light Does — What's Going On?
This is one of the most confusing scenarios, and it trips up a lot of people. If your tail light works but your brake light doesn't on the same side, the problem is almost certainly the bulb itself — specifically, a dual-filament bulb with one filament burned out.
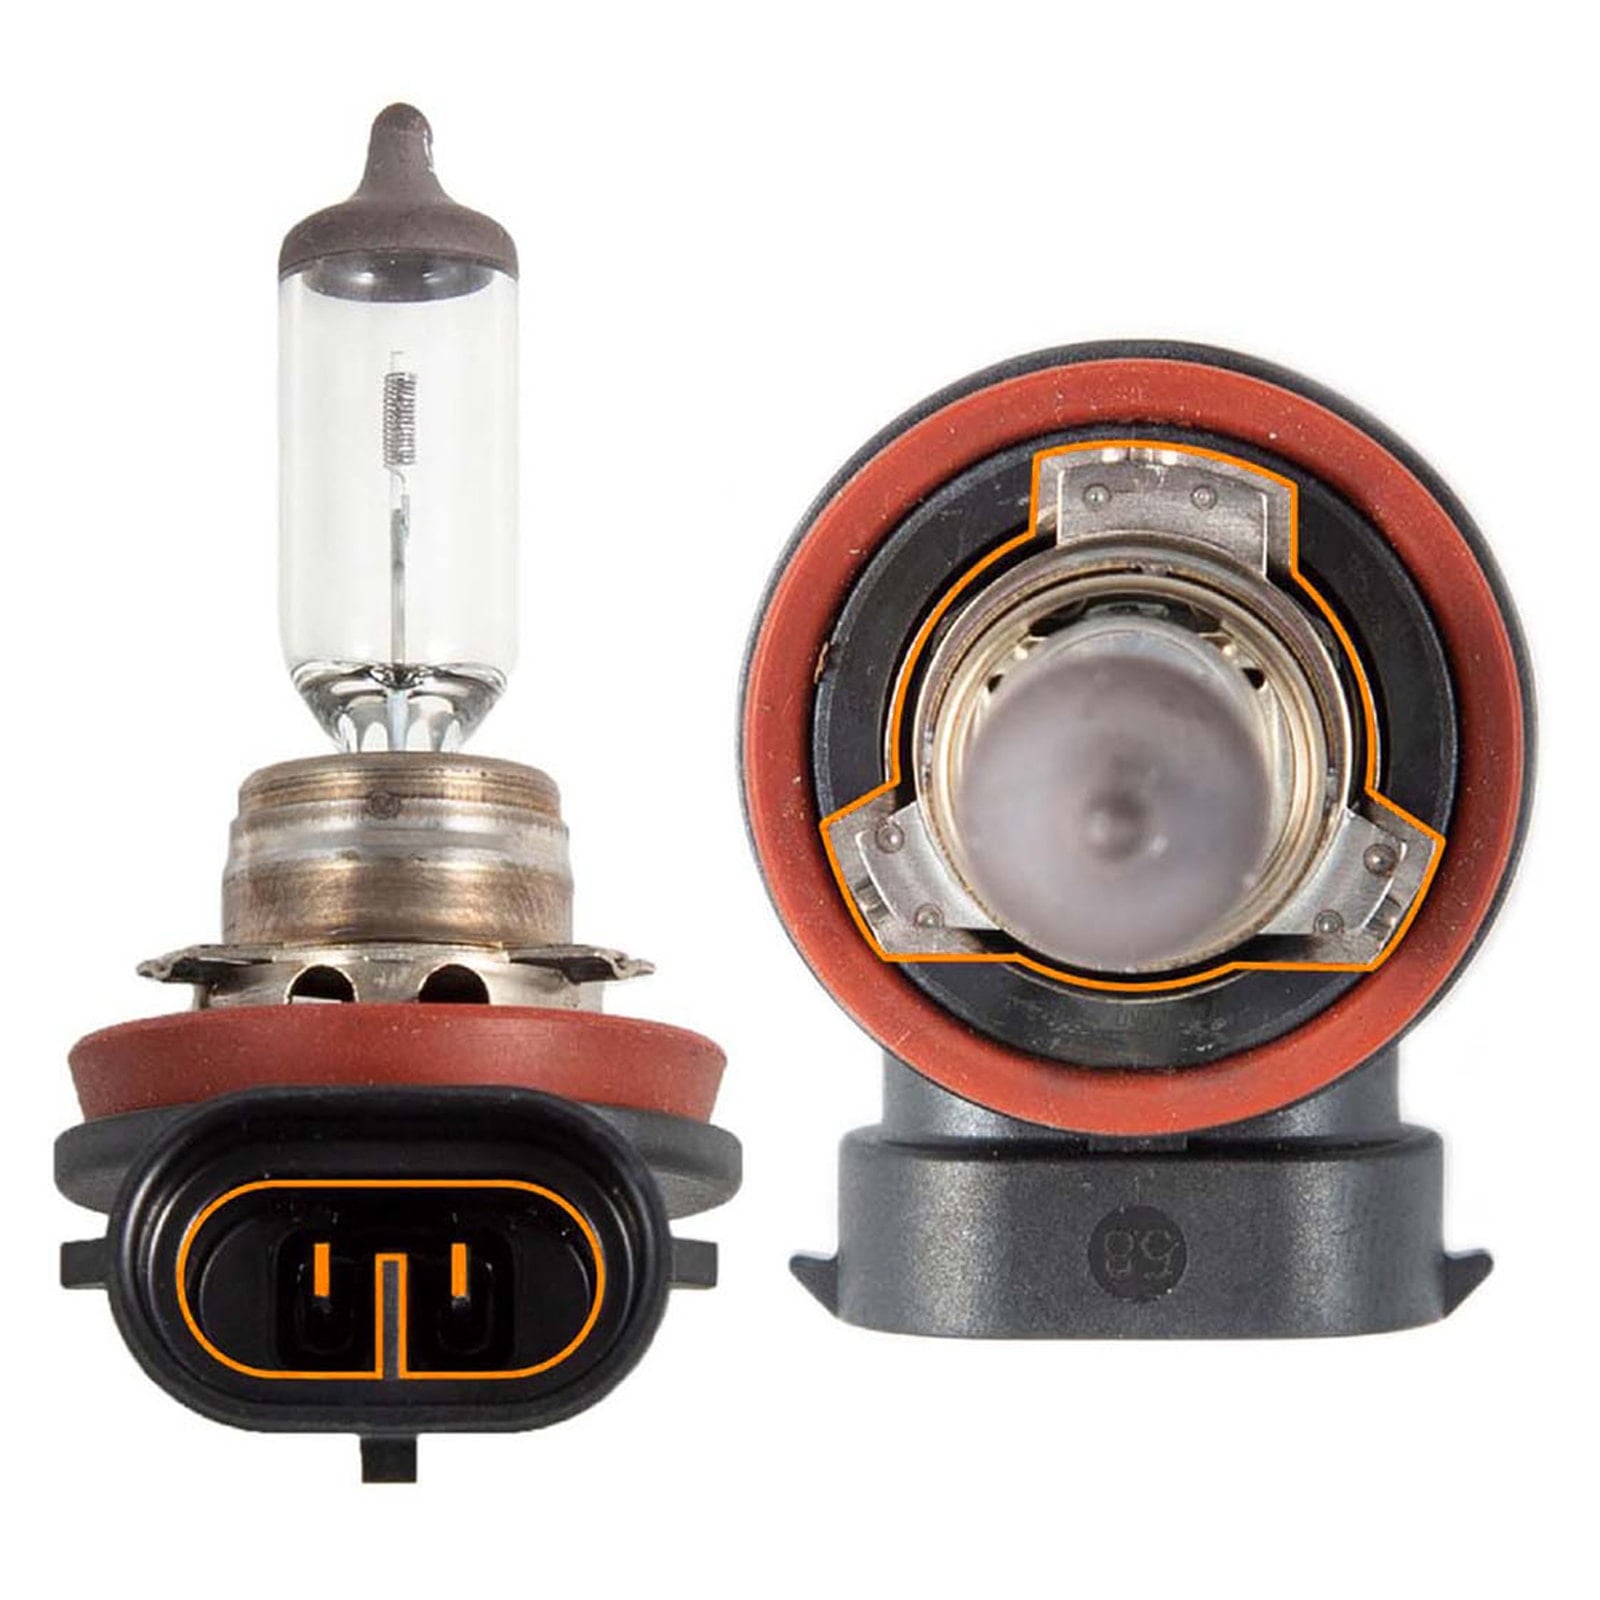
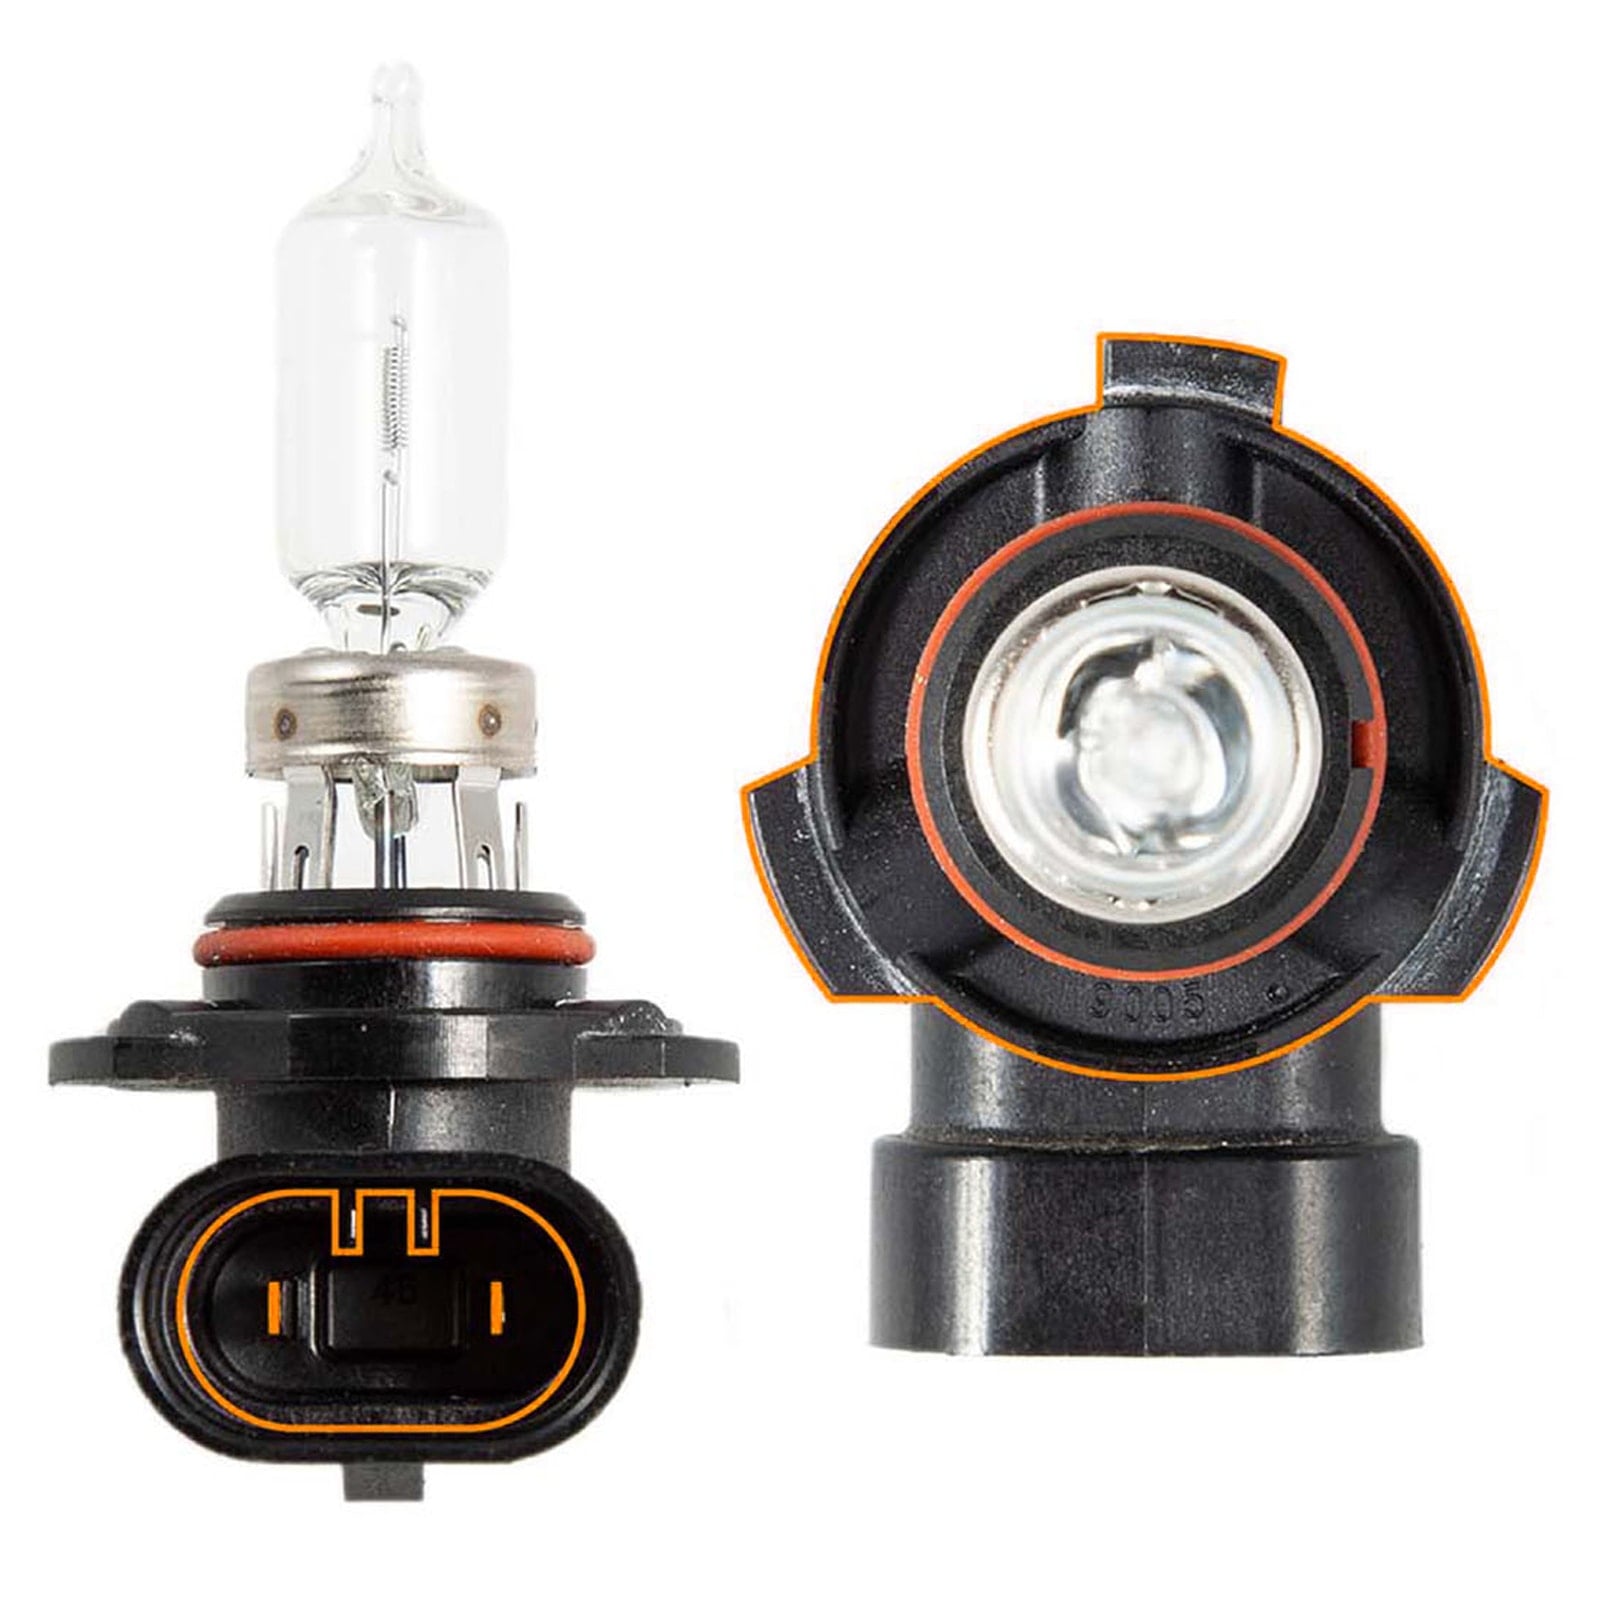
Understanding Dual-Filament Bulbs
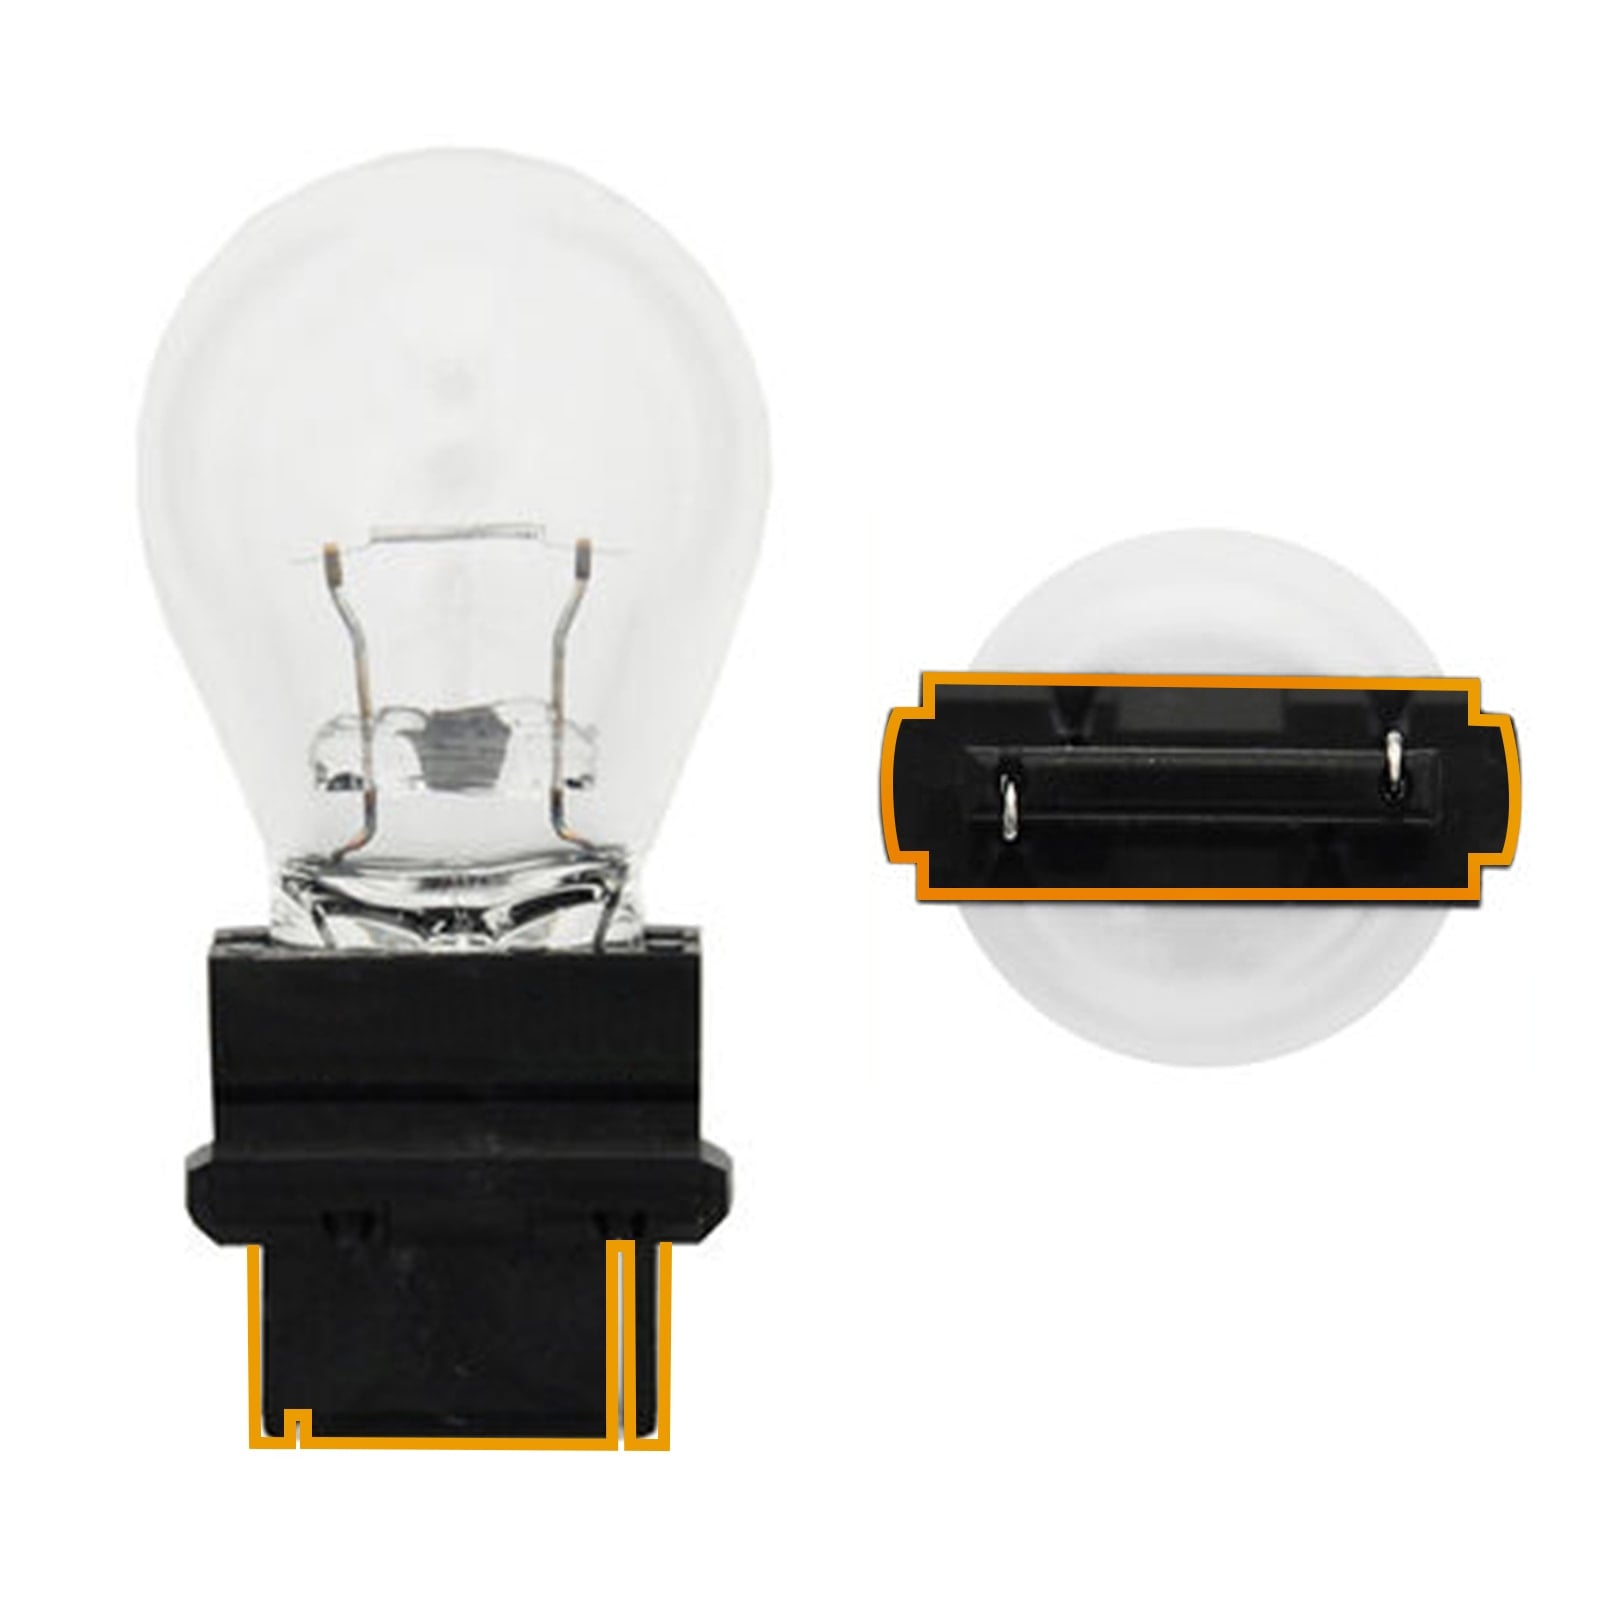
Most traditional brake/tail light assemblies use a single dual-filament bulb, typically a 3157 or 1157 type. One filament runs at low brightness for the tail light function. The other, brighter filament activates when you press the brake. If the brake filament burns out while the tail light filament is still intact, you get exactly this scenario: tail light works, brake light doesn't.
Pull the bulb, hold it up to the light, and look for a broken filament. It's usually obvious.
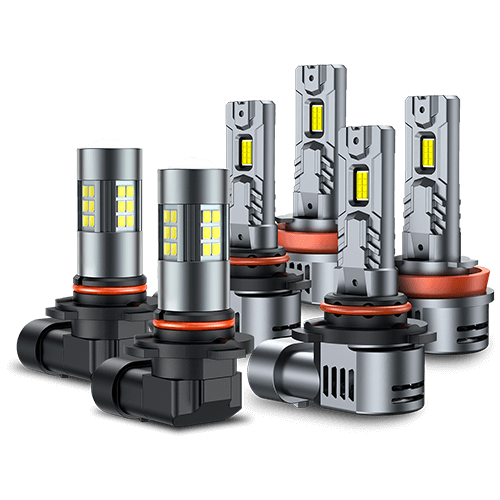
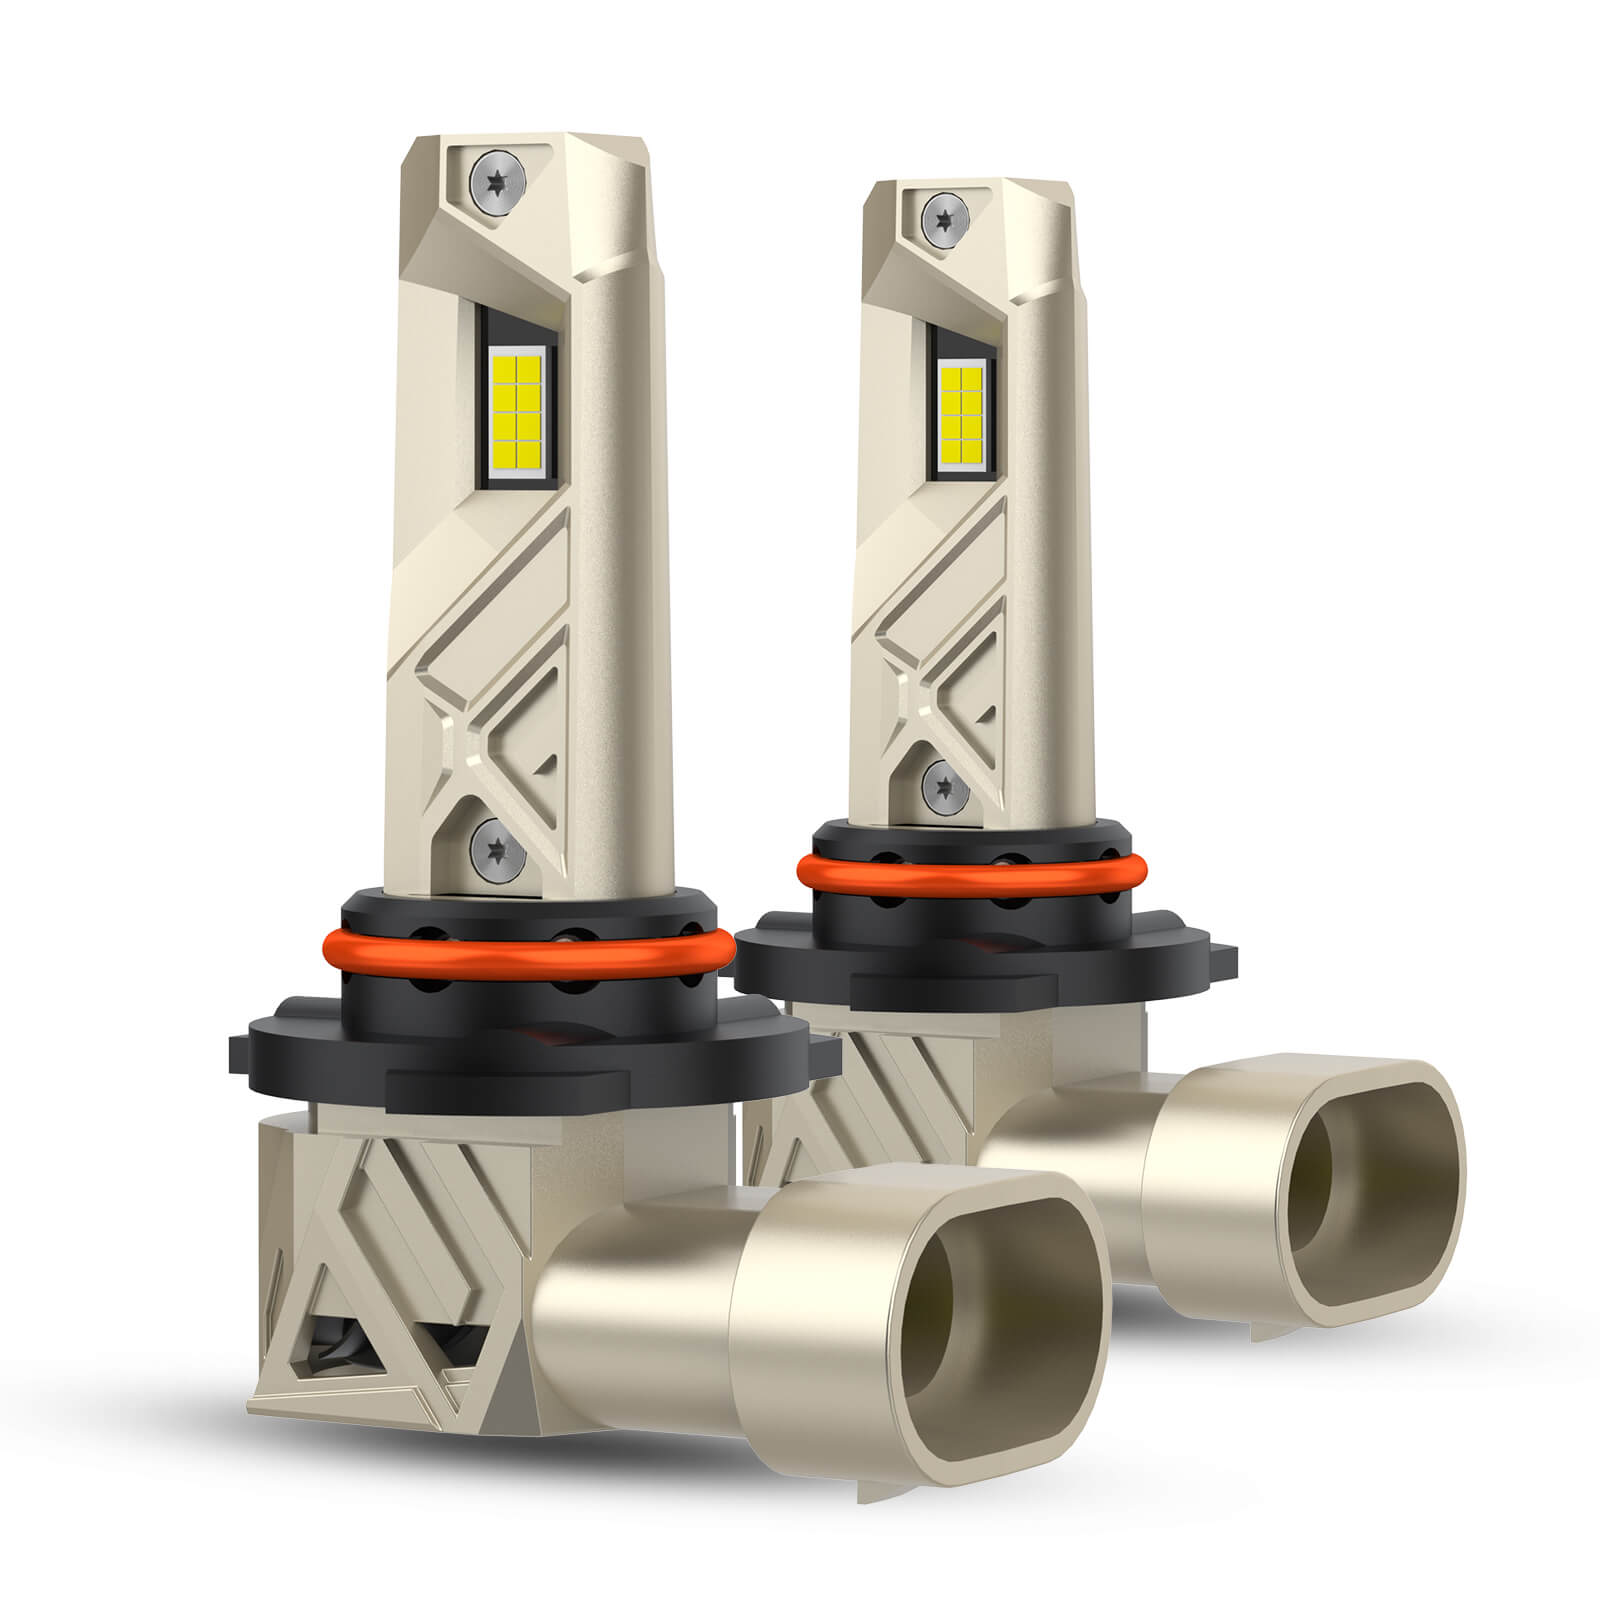
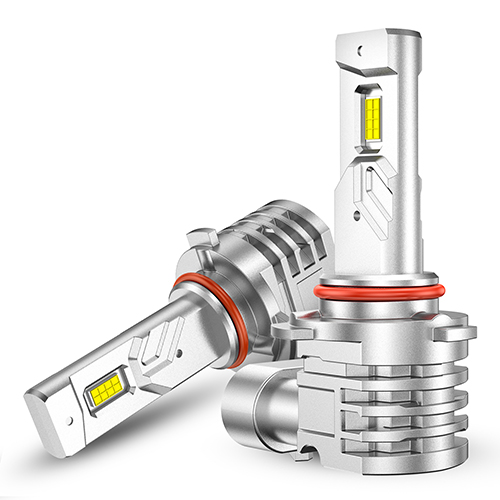
If you're ready to fix the issue for good, you can find the perfect match for your vehicle in this collection of LED brake light bulbs.
When It's Not the Bulb
If the bulb looks intact, test it with a multimeter or swap it with a known-good bulb. If the new bulb also fails to light on the brake circuit, check the socket for corrosion or a burned contact. A socket that's developed a poor connection may still carry enough current for the dim tail light but not enough for the brighter brake light — a nuance that makes this problem tricky to diagnose without testing.
Brake Lights Not Working on One Side vs. Both
It helps to think about this problem in terms of scope:
One brake light out → Almost always a burned-out bulb (find new brake light replacement bulbs here) or bad socket. The fuse and brake light switch affect the whole circuit, so if one side works, those components are fine.
Both brake lights out → Start with the fuse, then the brake light switch, then inspect the wiring. Bulbs burning out simultaneously on both sides at the same time is extremely rare.
Tail lights work, brake lights don't → Dual-filament bulb failure is the most likely answer. If both sides have this problem simultaneously, the brake light switch is suspect.
Brake lights flash or flicker → Loose or corroded socket connection, or a ground issue. Can also happen with poorly seated bulbs.
If Your Brake Lights Fail While Driving
If you discover your brake lights are out while you're already on the road, alert other drivers manually until you can pull over safely. Extend your left arm out the window and angle it downward with your palm facing rearward — this is the universal hand signal for slowing or stopping. You can also switch on your hazard lights to warn drivers behind you that something is wrong. Get off the road as soon as it's safe and address the problem before driving further.
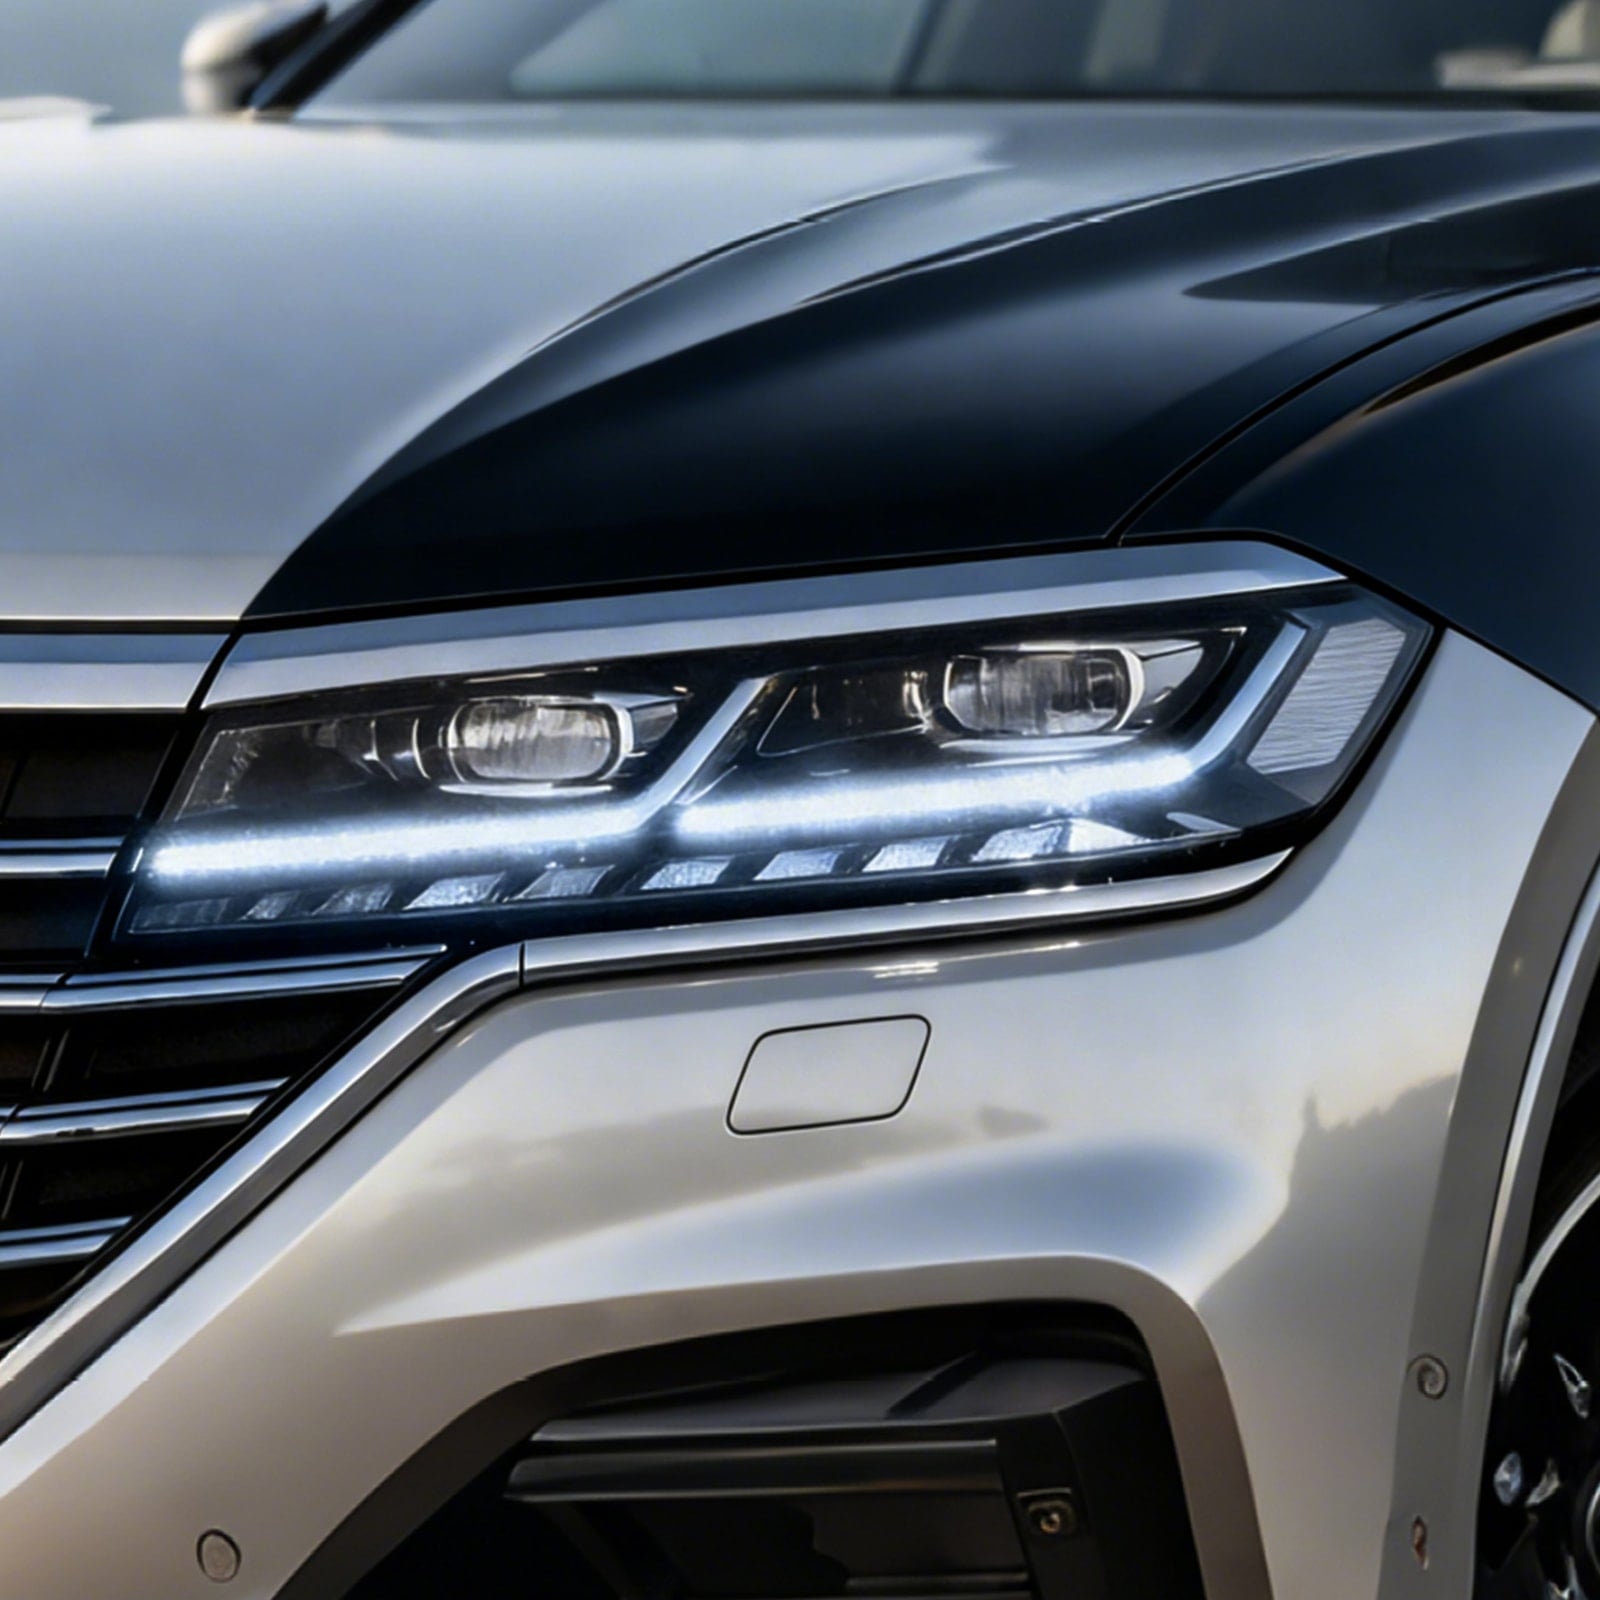
Upgrading to LED Brake Lights: A Smarter Long-Term Fix
If you're already replacing your brake light bulbs, it's worth considering an upgrade to LED. LED brake lights respond faster than traditional incandescent bulbs — the difference is about 200 milliseconds, which at highway speeds translates to several additional feet of stopping distance for the driver behind you. That's a real-world safety advantage.
LED brake light bulbs also last significantly longer — typically 30,000 hours or more compared to 1,000–2,000 hours for halogen — which means you're unlikely to be doing this job again anytime soon.
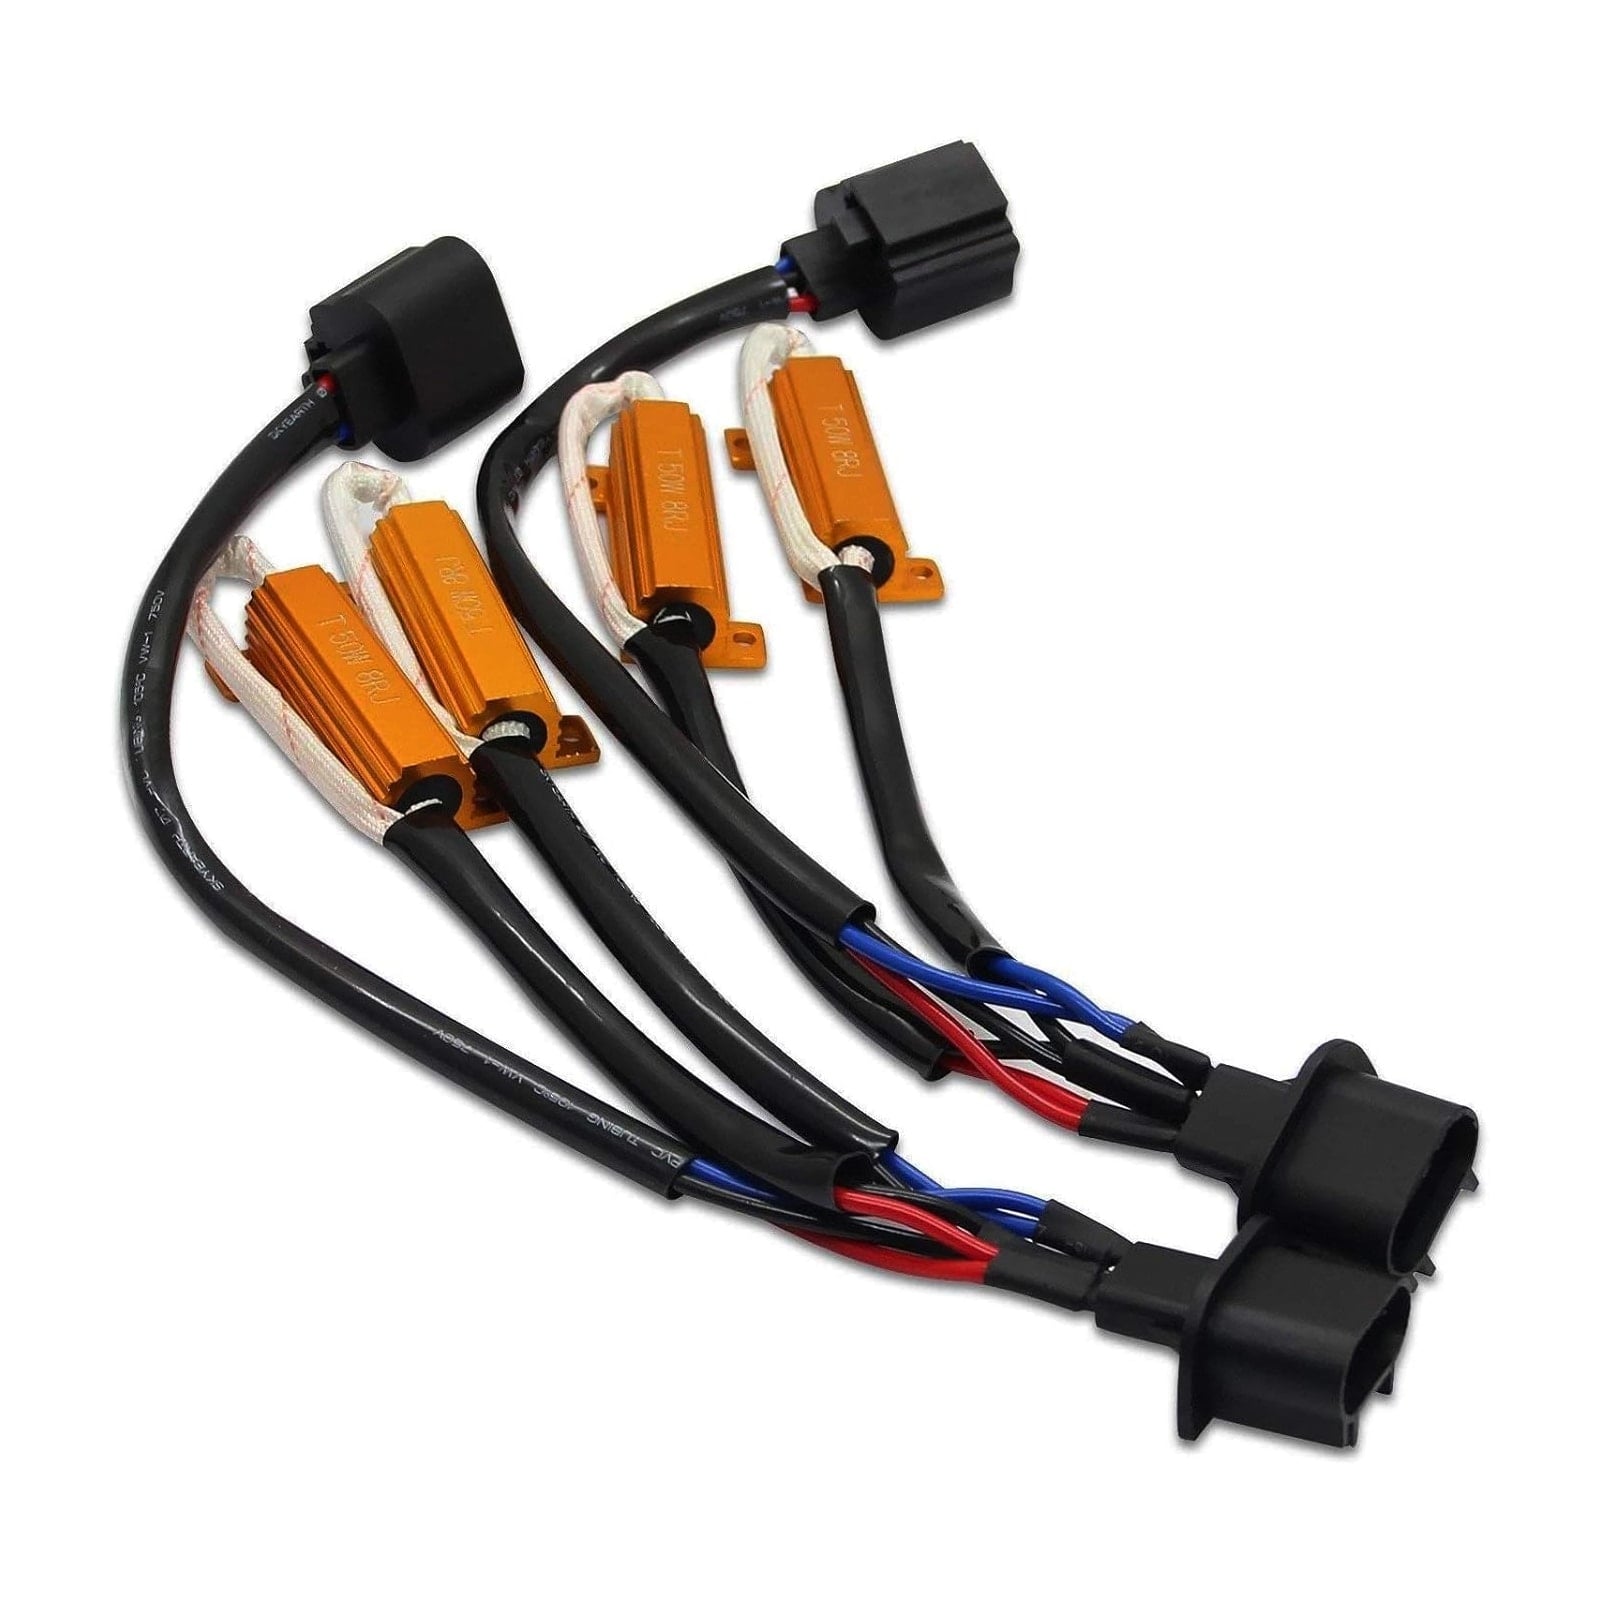
One important note: some vehicles experience a "hyperflash" issue when switching to LED bulbs, where the turn signals blink too rapidly. This happens because the car's flasher relay detects lower resistance and interprets it as a burned-out bulb. Adding a resistor or swapping to an LED-compatible flasher relay solves it quickly.
Sealight's LED replacement bulbs are designed for broad vehicle compatibility and come with the specifications needed to match your application. Explore the SEALIGHT LED brake light bulbs product lineup to find the right fit for your make and model.
Step-by-Step Brake Light Troubleshooting Summary
When you're staring at a brake light problem, it’s suggested to work through it in this order:
- Confirm what's failing — use the buddy system or wedge the pedal to see which lights are out
- Check the fuse — locate the brake light fuse using your owner's manual, inspect it, and replace if blown
- Test the bulbs — pull each brake light bulb and inspect the filaments; swap with a known-good bulb if unsure
- Inspect the sockets — look for corrosion, burn marks, or bent contacts; clean with vinegar and apply dielectric grease
- Test the brake light switch — have a helper confirm whether any light activates; check the rubber stopper on the pedal arm; adjust or replace the switch if needed
- Check the ground wire — locate the shared ground bolt behind the taillight assembly, clean to bare metal, and retighten
Start at step one and work your way down. Most brake light problems are resolved by step three.
Final Thoughts
Brake lights not working is a solvable problem, and in most cases, it doesn't require a shop visit or specialized tools. Whether it's a blown brake light fuse, a failed dual-filament bulb causing that tail-light-works-but-brake-light-doesn't scenario, or a misadjusted brake light switch, you now have a clear path to diagnosing and fixing it. Work through the steps methodically, and you'll have full lighting restored quickly. While you're at it, consider making the upgrade to LED brake bulbs for better response time and far fewer future replacements.